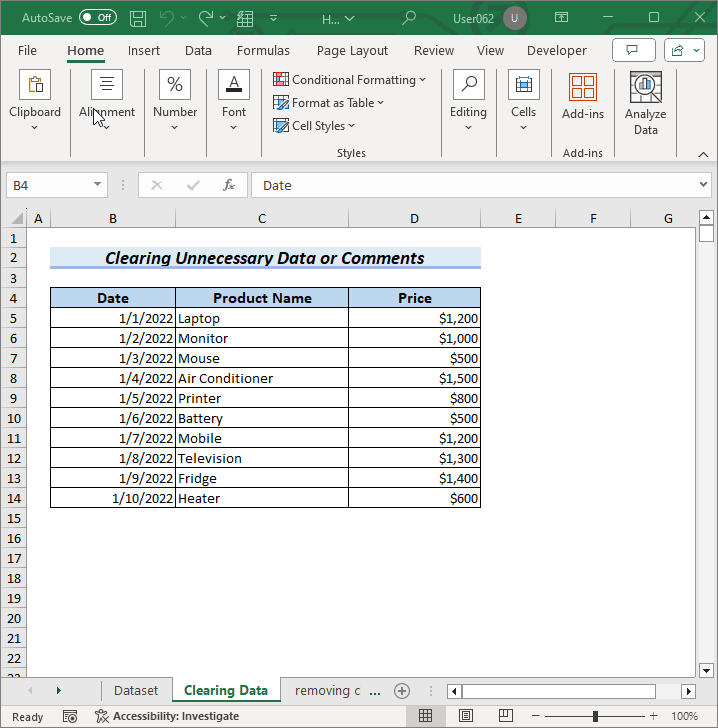
Method 1 – Clearing Unnecessary Data Outside the Used Range
Steps:
- Select the whole row after the last row of the data table.
- Press the Ctrl + Shift + Down Arrow keys together.
- Under the Home tab, select Editing > Clear > Clear All or press the Ctrl + ‘-‘ keys.
- Press Ctrl + S to save the document.
 The vertical scroll bar is adjusted.
 - Select the whole column after the last column.
- Press the Ctrl + Shift + Right Arrow keys together.
- Clear all data and save the document.
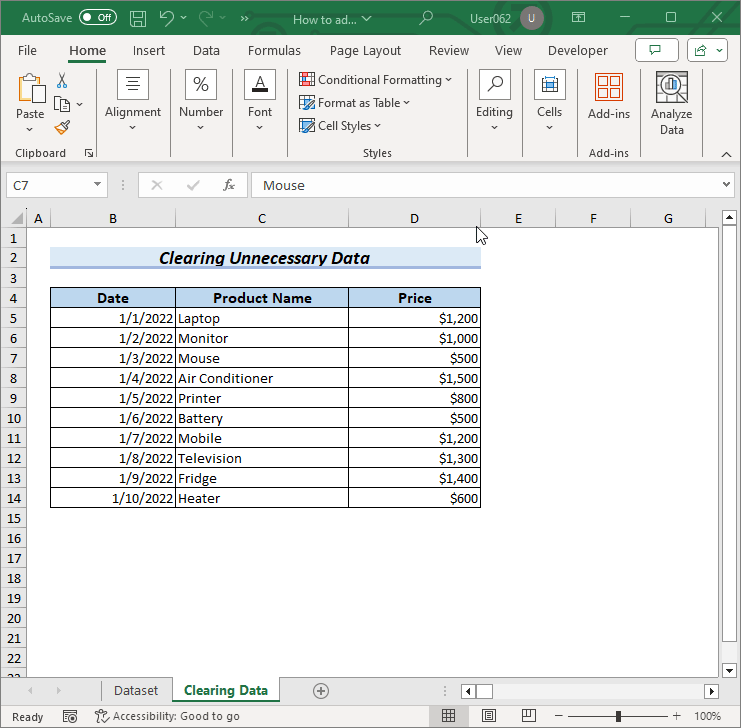 You can see that the horizontal scroll bar is adjusted too.
If the above procedures do not adjust the scroll bar, follow the steps below:
- Press Alt + F11 to open the Visual Basic editor.
- Select View > Immediate or press Ctrl + G to open the Immediate window.
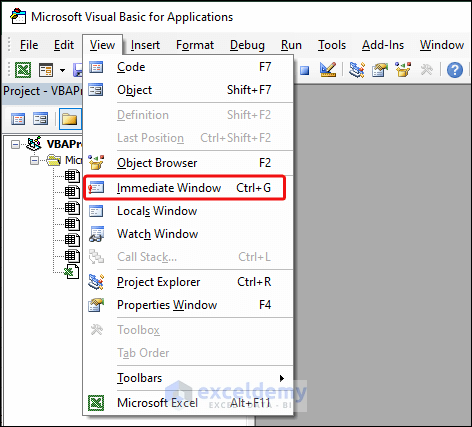
- Enter UsedRange in the Immediate window.
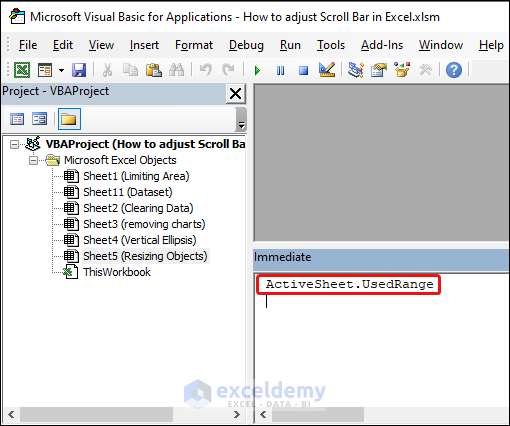 Press Enter.
Go back to your sheet and see that the scroll bar gets adjusted.
Read More: How to Insert Scroll Bar in Excel
Method 2 – Removing Hidden Charts or Other Objects in Lower Cells
Steps:
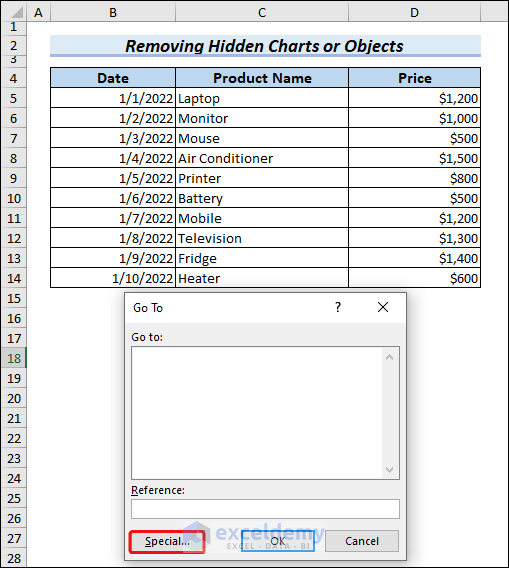
- Press Ctrl + G to open the Go To dialog box.
- Select Special.
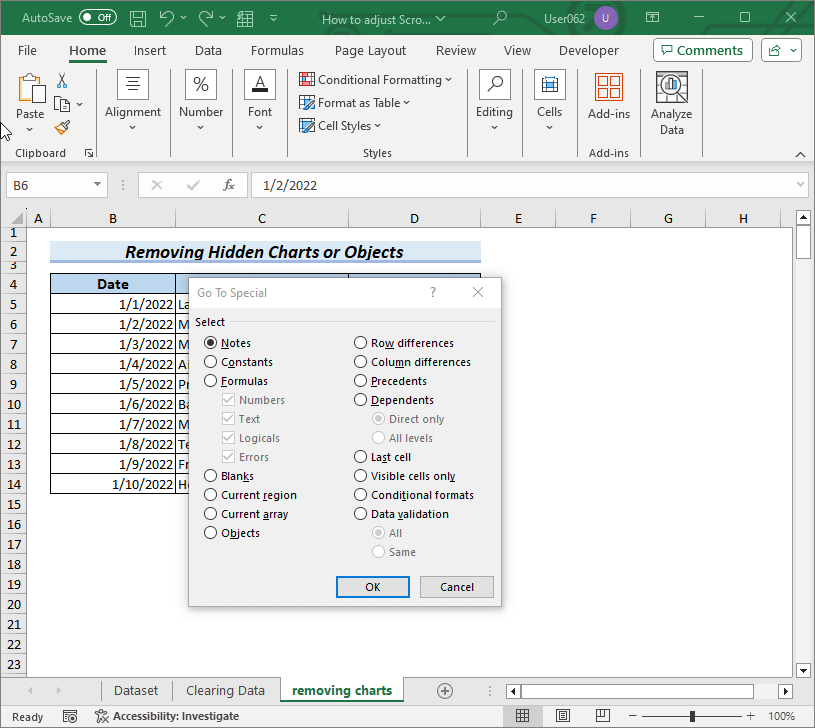
- Choose Objects from the Go To Special dialog box and click OK. The charts or other objects will be selected.
- Press the Delete button.
- Move the scroll box to the top and save the document.
 You can see that the scroll bar gets adjusted.
To unhide hidden charts, follow the steps below:
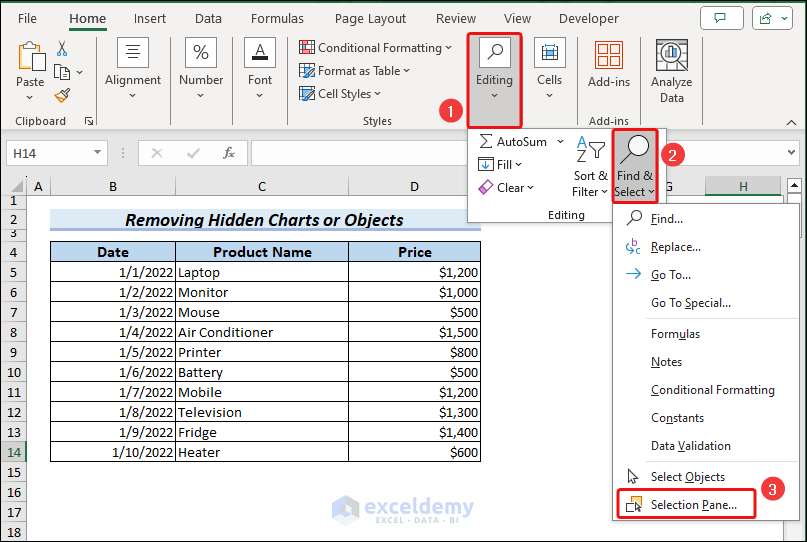
- Under the Home tab, select Editing > Find & Select > Selection Pane.
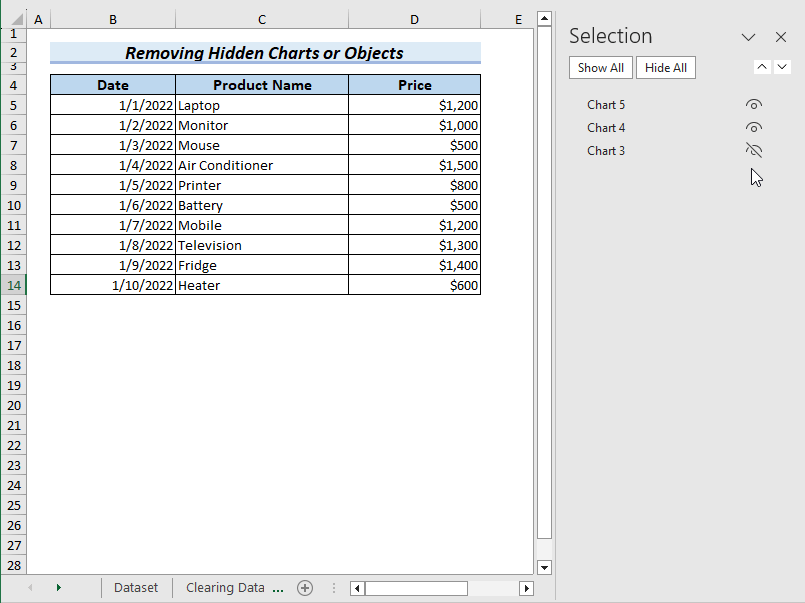
- Toggle the unhide icon beside the chart name.
Follow the steps shown in this method to remove the chart.
Read More: How to Remove Scroll Bar in Excel
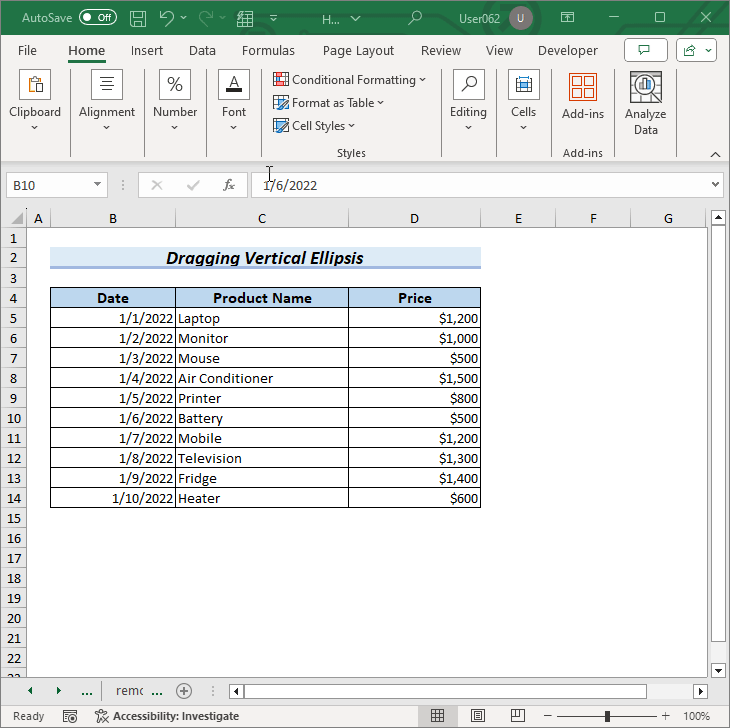
Method 3 – Dragging Vertical Ellipsis to the Right or Left
If the horizontal scroll bar becomes wide, it may cover the area of the sheet names. It can cause problems for users to view the data in the sheets properly.
In this case, you must drag the vertical ellipsis (three vertical dots) to the right or left to adjust the horizontal scroll bar. The procedure is shown in the following GIF.
Method 4 – Limiting the Scroll Area
Steps:
- Select Developer > Properties.
- In the Properties window, define the ScrollArea.
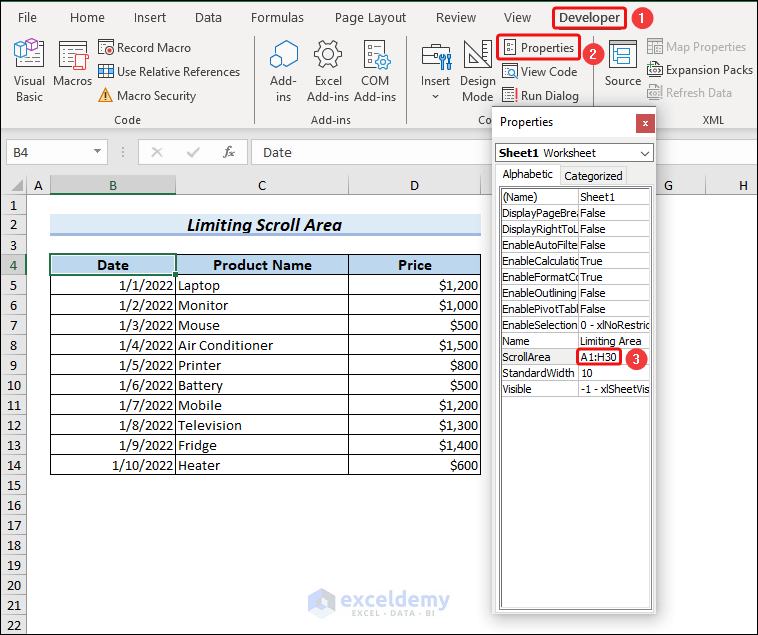
- Close the window.
Now, your worksheet scroll bar is adjusted and cannot be scrolled to a longer range.
Method 5 – Resizing Objects, Charts or Shapes
The presence of large objects or shapes can also be a reason for fast scrolling. In that case, we have to adjust the scroll bar.
To adjust the scroll bar, resize or delete the object or shapes to a smaller shape. See the image below.
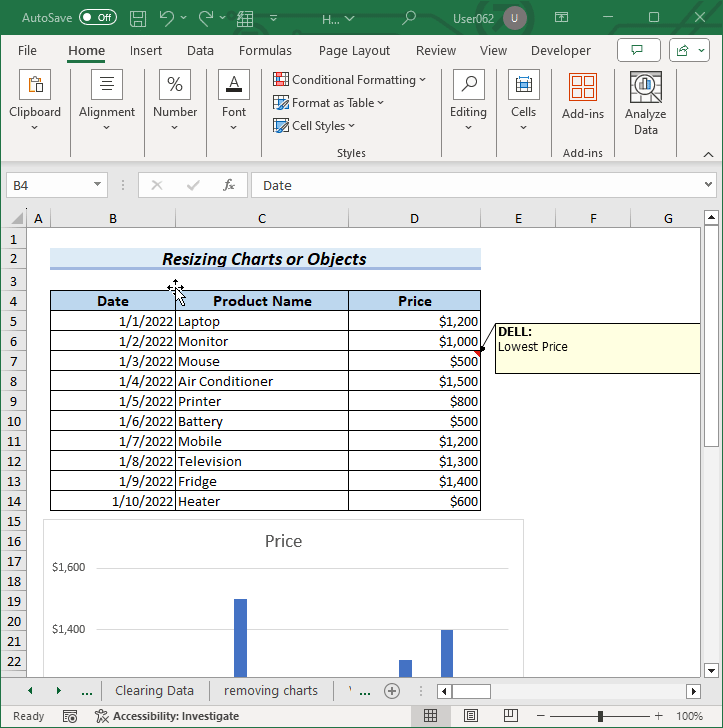
The bar chart is resized, the note is deleted, and the scroll bar is adjusted as well.
Download the Workbook
Related Articles
<< Go Back to Scrollbar in Excel | Excel Parts | Learn Excel
Get FREE Advanced Excel Exercises with Solutions!
