In this tutorial, we will be discussing how you can view worksheets of an Excel workbook in multiple ways. For example, look at this workbook.

It has three worksheets. The first worksheet is Accounts and it has data in seven hundred and twelve rows. If you forgot how to reach the last active cell in a worksheet, just press and hold CTRL and then press End key on your keyboard. You will reach the last active cell of the worksheet.
Viewing Two Different Worksheets at the Same Time
Now you may want to work with two different worksheets of a workbook at the same time. You can do so if you can open one or more additional windows of the same workbook.
To open an additional window of an open workbook, just go to View Ribbon and click on the New Window command in the Window group of commands.

A new window has been created. The new window is of the same size and by default, it is cascaded with the old one if your open workbook is not maximized.

If your open workbook is maximized, then the new window will also be maximized. Notice the text in the windows’ title bars: they are “Worksheets Viewing.xlsx:1” and “Worksheets Viewing.xlsx:2”.
To help you to keep track of the windows, Excel appends a colon and a number to each window.
You can create more than one window for an Open workbook.

To work easily amongst them, you can arrange these workbooks on the screen by adjusting their size in your own way.
If you remember our last post about “Arrange All”, you will recall the many numbers of ways in which different windows can be arranged side by side or vertically for ease of navigation and operation. The Side by Side Option will help you with synchronous scrolling too.
Read More: Viewing and Scrolling Multiple Excel Workbooks at the Same Time
Splitting Worksheet to See the Same Worksheet
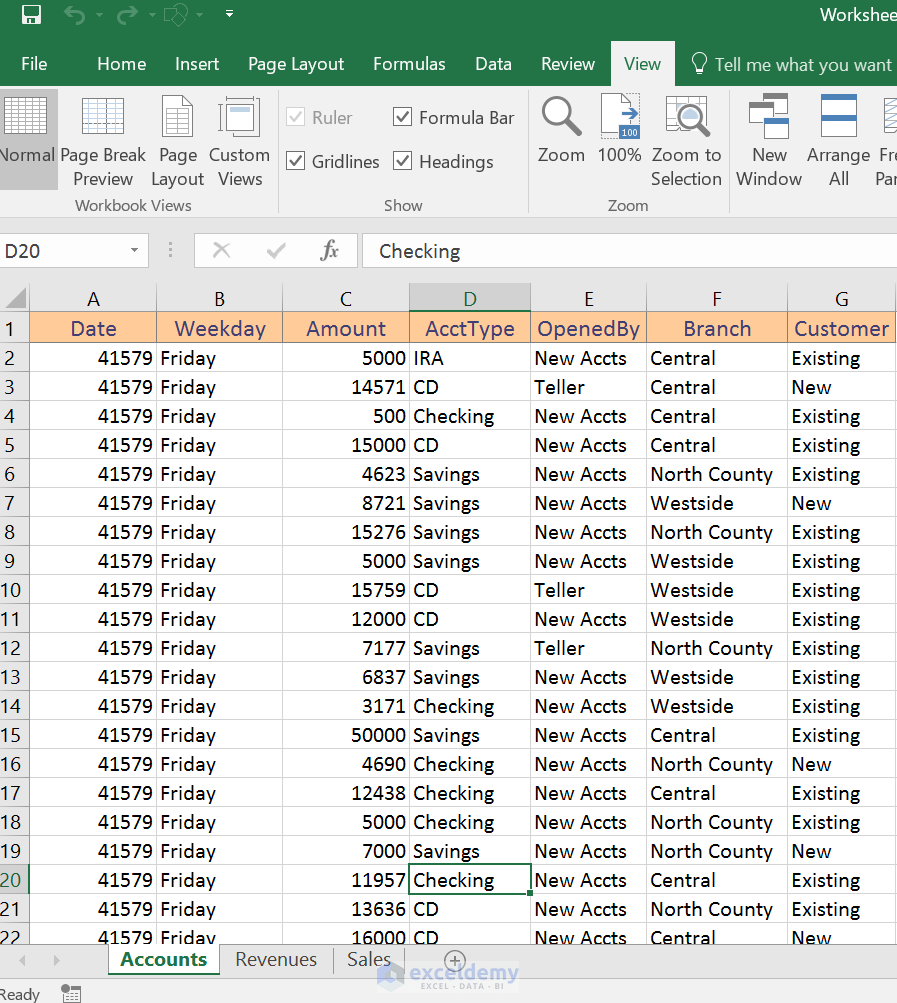
Now we shall see how you can view two distant portions of your worksheet without creating a new window. It’s by splitting the worksheet window into panes. The split occurs at the location of the cell pointer. I place my cursor at this cell (D20) and I choose the Split command in the View Ribbon.
You see the worksheet has been split into four panes at my cursor pointer.

Clicking on split command again will remove the split areas in the worksheet.
Using Free Panes in Excel Worksheets
Now we shall learn how you can keep the titles or a zone under your observation by freezing panes. For example, in this worksheet (the following worksheet), there is a heading. When I scroll down, the headings will become invisible and it will become tough to say which data is under which heading. Or it may be a situation when you want to freeze a portion of your worksheet. To solve this problem, Excel has a nice tool.
You can freeze the top row or the first column or a portion of your worksheet. Let’s create the top row freeze. Click on the Freeze Panes drop-down, and select “Freeze Top Row” option.

I scroll down; the top row has been frozen.

Similarly, the first column can be frozen too.

You can’t freeze both the first row and first column at the same time. To be able to do so, you have to freeze the panes.
Read More: How to use cell references with multiple worksheets in Excel
Select cell B2 and click the Freeze Panes drop-down and choose Freeze Panes option.

So you see rows and columns both are frozen, these can be changed in size as per choice as well.
This brings us to the end of another post that will help you increase your work productivity.
Please do give these a try and let us know in the comments what you would like to learn next.
Until then keep Excelling.

