While working in Excel, sometimes we need to move columns for many reasons like if we do a mistake to arrange columns or maintaining the chronology. Excel offers some quick and smart features to do it. You will learn 3 quick methods from this article to move columns in Excel without overwriting with clear demonstrations.
How to Move Columns in Excel without Overwriting: 3 Quick Ways
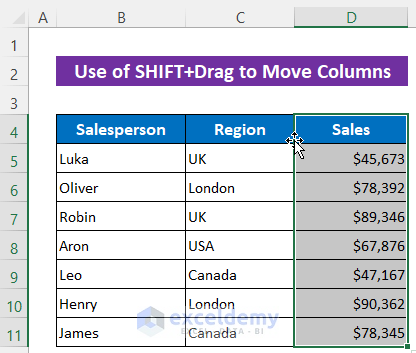
To explore the methods, we’ll use the following dataset that represents some salesperson’s Sales in different Regions.

1. Use SHIFT+Drag to Move Columns in Excel without Overwriting
First, we’ll learn how to use SHIFT + Drag to move columns. It’s quite easy and useful for a small dataset. Here, I’ll move the Sales column between the Salesperson and Region columns.
Steps:
- Select the Sales column.
- Keep the mouse cursor at the left border and it will show a 4 directional arrow.
- Then just press and hold the SHIFT key and drag the column between the Salesperson and Region columns by pressing the left click of your mouse.
- When you will see a vertical green line between the columns then release the left click first and then release the SHIFT key.
Soon after, you will see that the column is moved successfully.

Read More: How to Move Columns in Excel Table
2. Apply Insert Cut Cells in Excel to Move Columns without Overwriting
Now we’ll use a command- Insert Cut Cells from the Context menu to move columns without overwriting. It is feasible for a large dataset.
Steps:
- Select the column that you want to move. I selected the Sales column.
- Then press CTRL + X to cut it.
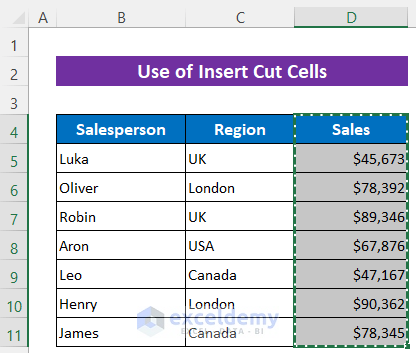
- Later, select the first cell of the column before which you want to move. I’ll move before the Region column.
- Then right-click your mouse and select Insert Cut Cells from the Context menu.
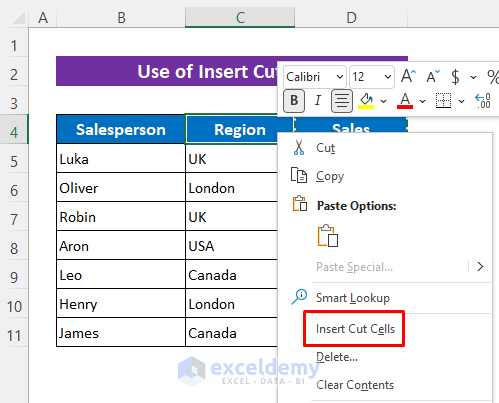
Now have a look that the column is moved properly.

3. Use Sort Command to Move Columns in Excel without Overwriting
Now we’ll learn a tricky way to do the task. We can indirectly use the Sort command to move columns without overwriting. Let’s see how to do it.
Steps:
- First, give your desired serial number in the immediate upper row of your dataset.
- I used 1,2,3.

- Then select the whole dataset including the added row.
- Next, click as follows: Data ➤ Sort & Filter ➤ Sort.

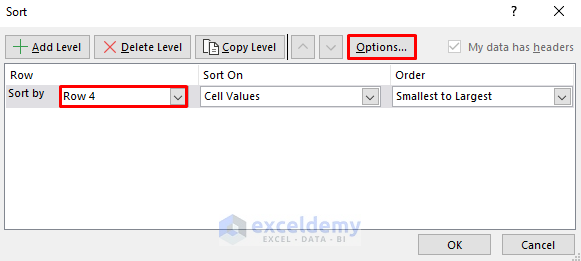
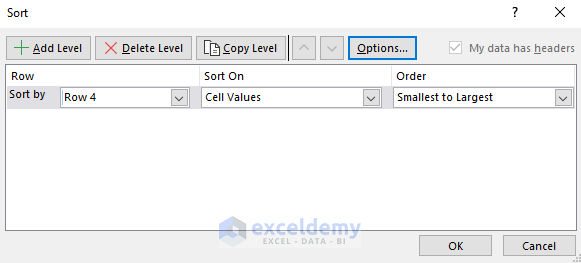
Soon you will get a dialog box.
- Select the row number from the Sort by I selected Row 4 as I placed the serial number in Row 4.
- Then click Options.
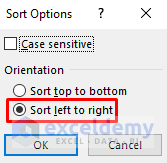
And soon after, another dialog box will open up.
- Mark Sort left to right and press OK.
It will take you back to the previous dialog box.
- At this moment, nothing to do more. Just press OK.
Now see that the columns are arranged according to the given serial, consequently, the Sales column moved between the Salesperson and Region columns.

- Finally, just delete the added row.

Practice Section
You will get a practice sheet in the Excel file given above to practice the explained ways.

Download Practice Workbook
You can download the free Excel template from here and practice on your own.
Conclusion
I hope the procedures described above will be good enough to move columns in Excel without overwriting. Feel free to ask any question in the comment section and please give me feedback.
Related Articles
<< Go Back to Move Columns | Columns in Excel | Learn Excel
Get FREE Advanced Excel Exercises with Solutions!
