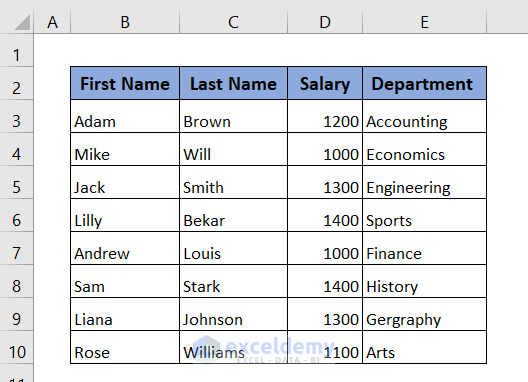
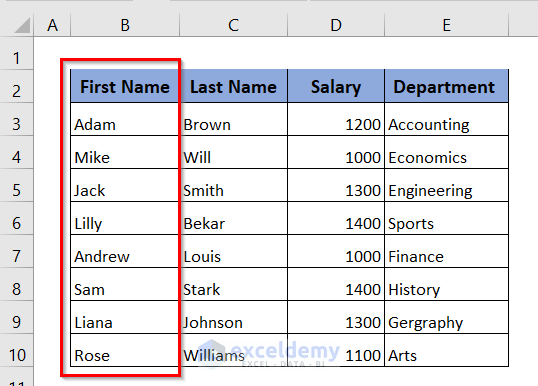
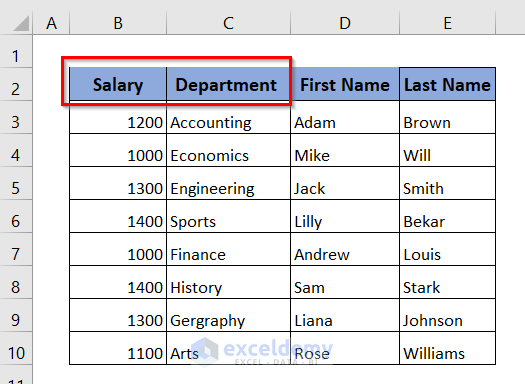
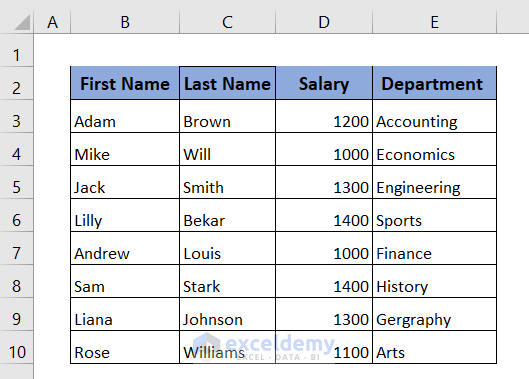
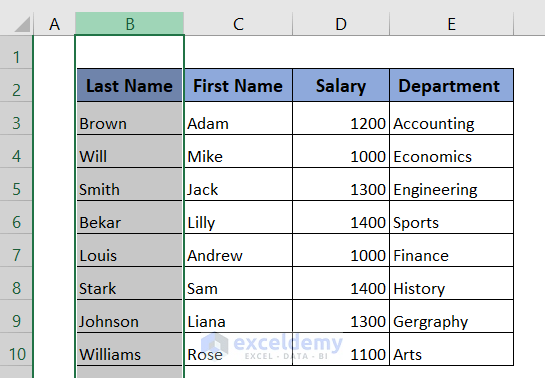
To demonstrate our methods, we’ll use the following table containing Last Name, First Name, Salary and Department columns. We used Excel 365 in this tutorial, but the methods apply to any available Excel Version.
Method 1 – Using SHIFT Key to Move a Single Column
Let’s move the First Name column (column C) to the left of Column B.
STEPS:
➤ select the First Name column.
➤ Hover the mouse cursor over the selected border. A four-sided cursor appears.
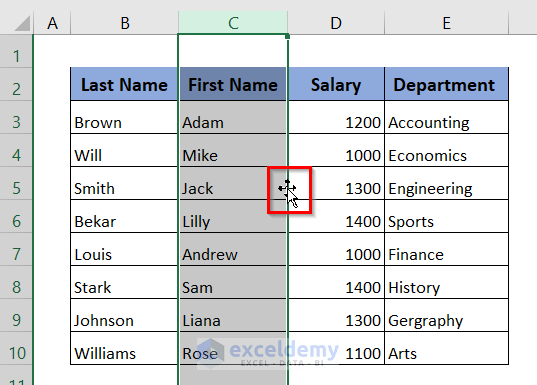
➤ Press and hold the SHIFT key on the keyboard, then click and hold the left mouse button.
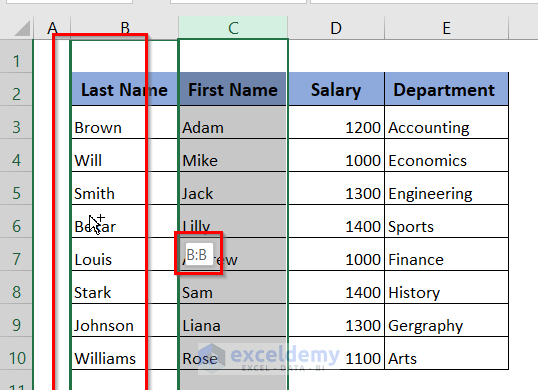
Now, it’s time to move the column to a new position at column B, where a green border is displayed.
A B:B sign is visible, which indicates that the First Name column will be moved to column B.
➤ Release the left mouse button.
➤ Release the SHIFT key.
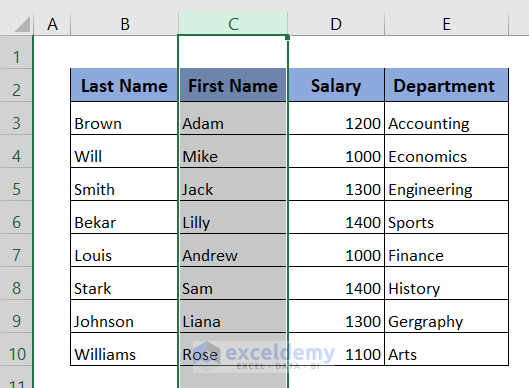
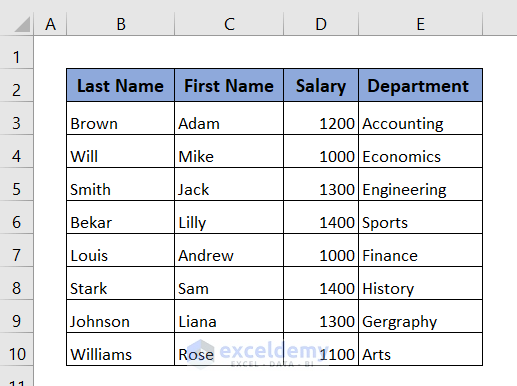
The First Name Column is moved left.
Method 2 – Using SHIFT Key to Move Multiple Columns in Tables
Let’s shift both the Salary and the Department columns to new positions at columns B and C respectively.
STEPS:
➤ Select the Salary and Department columns.
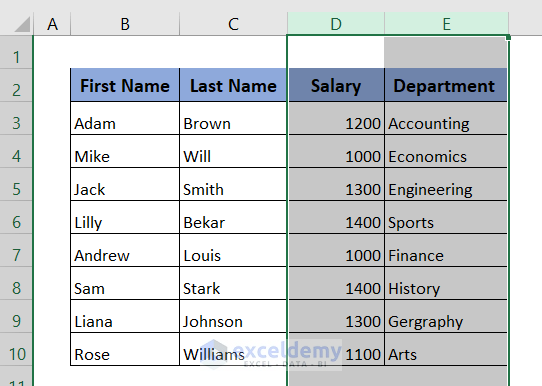
➤ Hover the mouse cursor over the selected border. The cursor changes to a four-sided arrow.
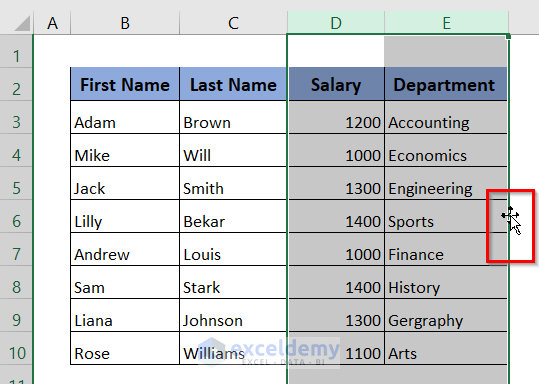
➤ Press and hold the SHIFT key.
➤ Click and hold the left mouse button.
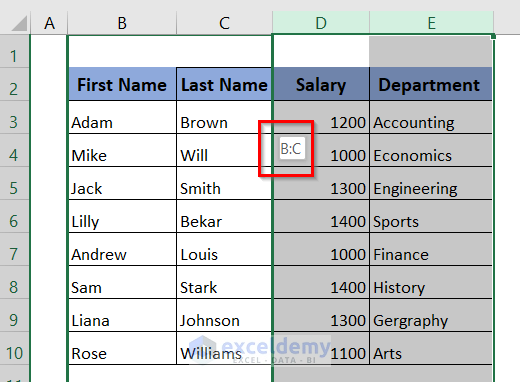
Now, we’ll move the columns to the new positions at columns B and C, where a green border is displayed.
A B:C sign is also displayed, which indicates that the Salary and Department columns will be moved to columns B and C.
➤ Release the left mouse button.
➤ Release the SHIFT key.
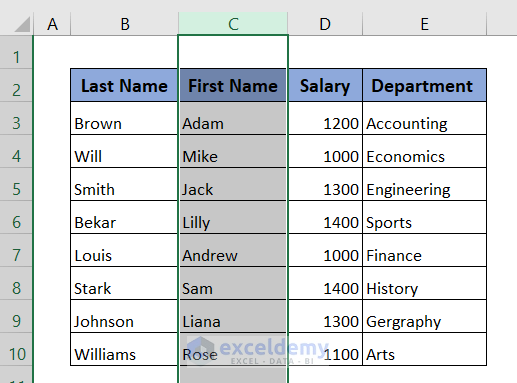
The Salary and Department columns are moved to columns B and C respectively.
Method 3 – Using Insert Cut Cells
Let’s place the First Name column at column B using Insert Cut Cells method.
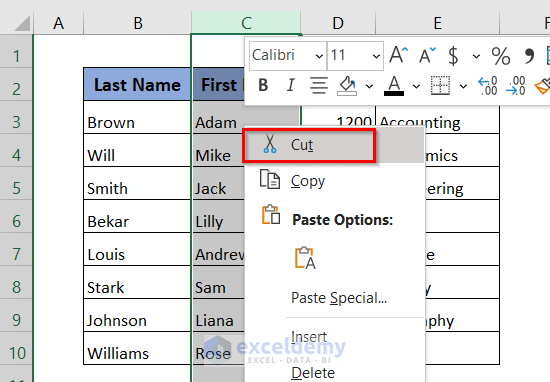
➤ Select column C (First Name).
➤ Right click on the mouse, and select Cut from the context menu.
➤ Select the column in which we want to insert the column, namely column B.
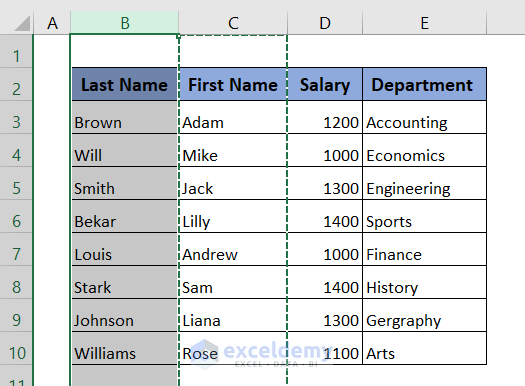
➤ Right click on Column B and select Insert Cut Cells from the context menu.
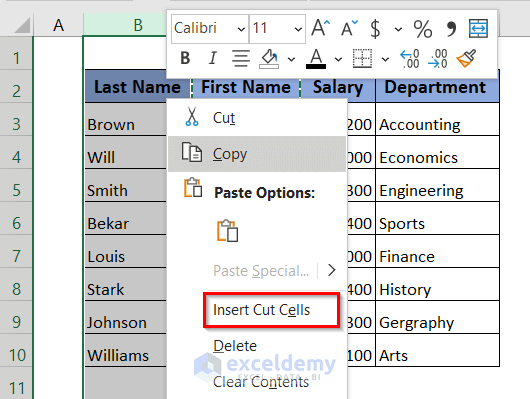
The column First Name is moved to column B.
Method 4 – Using the Sort Option
Let’s sort the columns from left to right.
STEPS:
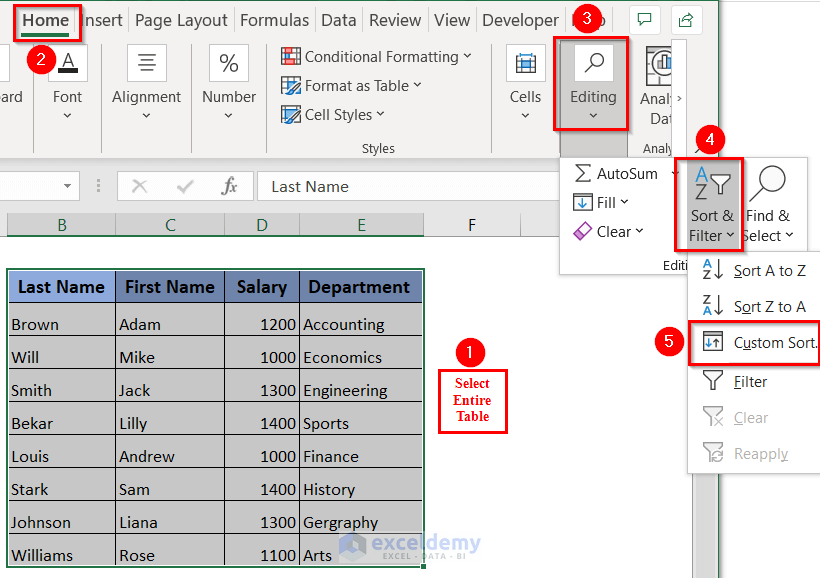
➤ Select the entire table.
➤ In the Home tab on the ribbon, click Editing.
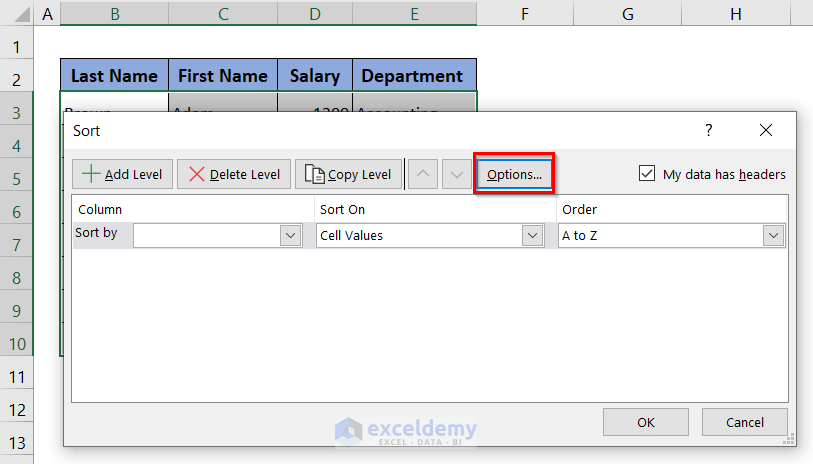
➤ Select Sort & Filter then Custom Sort. A Sort window opens.
➤ Click on Options.
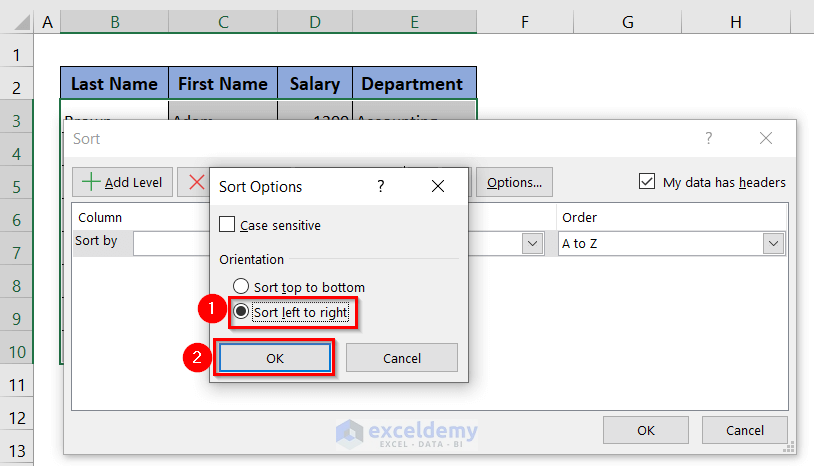
➤ Select Sort left to right,
➤ Click OK.
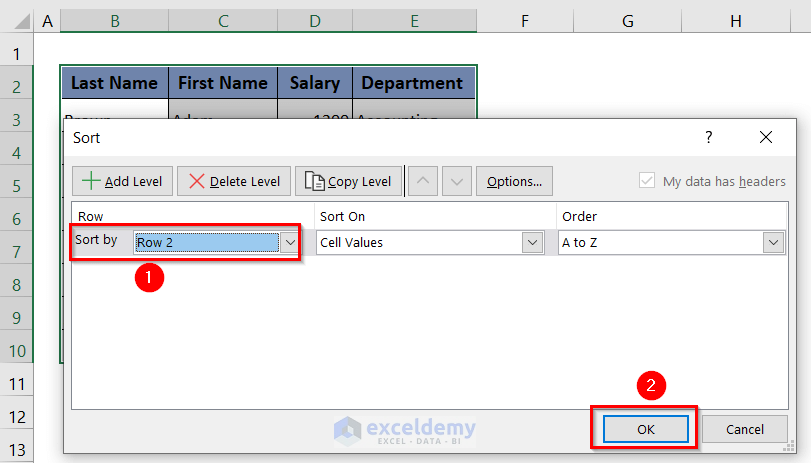
➤ In the Sort by box, select Row 2.
➤ Click OK.
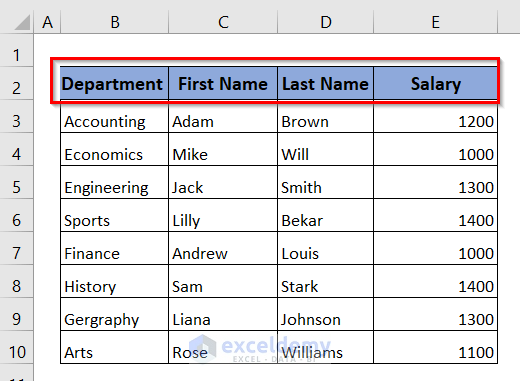
The columns in the table are sorted from left to right.
Method 5 – Delete a Column to Move Columns Left
Let’s delete the column Last Name, which will automatically move the columns toward the left.
STEPS:
➤ Select the column Last Name.
➤ Right click on the mouse.
➤ Click Delete from the context menu.
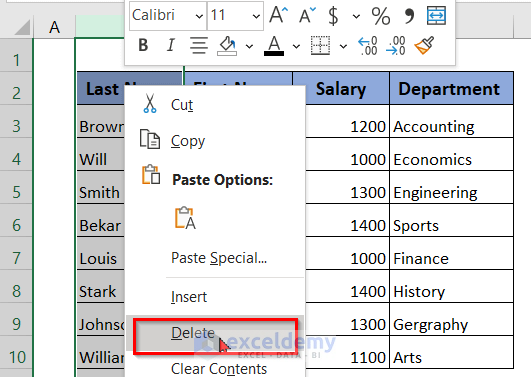
The column is deleted and remaining columns move left.

Download Practice Workbook
<< Go Back to Move Columns | Learn Excel
Get FREE Advanced Excel Exercises with Solutions!

These are not tables. Yet your title say tables.
Hello SamCJam,
Thanks for pointing that out. In Excel terminology, the examples shown are lists of data formatted in worksheet ranges, not officially structured Excel Tables (those created with Ctrl + T).
The methods still work the same way for moving columns, but I’ll make the distinction clearer so the title and content align better. Appreciate your feedback!
Regards,
ExcelDemy