In this tutorial, we will show you how you can make gridlines darker in Excel. When we open a workbook Microsoft Excel automatically adds gridlines in each worksheet of that workbook. However, the gridlines on our screen may be too light sometimes. We may need to darken the gridlines for the sake of our job.
What Are Gridlines in Excel?
In Microsoft Excel, the gridlines are thin lines that occur between two cells on a worksheet. Generally, we use the gridlines to specify the boundaries of cells, columns, and rows in a worksheet. Also, the gridlines in Excel make it simple for the users to browse around the worksheet’s columns and rows.
How to Make Gridlines Darker in Excel: 2 Easy Ways
In this tutorial, we will explain two easy ways to make gridlines darker in Excel. For instance, in the first method, we will use the settings option to make gridlines darker in a particular worksheet. In the second method, we will bake gridlines darker by creating a border for the entire worksheet. After completing this tutorial, we will also be able to modify the default color of gridlines.
1. Make Gridlines Darker in Excel Using Settings Option
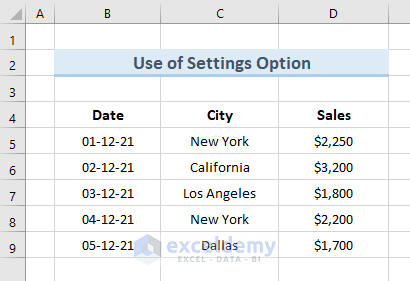
First and foremost, we will use the settings option of Excel to make gridlines darker. In the following dataset, we can see thin gridlines. We will make the gridlines of the following image darker so that users can easily view these lines.
Let’s see the steps to perform this action.
STEPS:
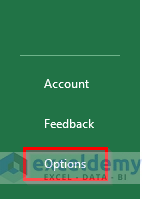
- To begin with, go to the File tab.

- In addition, select Options.
- Next, a new pop-up window will open.
- Furthermore, on the left side of the pop-up window, select the option Advanced.
- Then, on the right side of the pop-up window scroll down to ‘Display options for this worksheet’.
- After that, click on the drop-down menu next to the gridline color. Select a darker color from the available options.
- Now, click on OK.

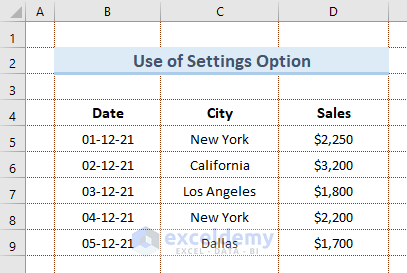
- Lastly, we get results like the image below. The image shows darker gridlines than our original dataset.
2. Create a Border on Worksheet to Make Gridlines Darker in Excel
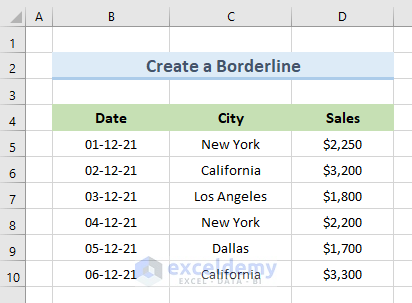
If we want to make gridlines darker, we can easily do it by adding a border to the entire worksheet. For instance, we will consider the same dataset with thin gridlines that we used in the previous example. In this method, we will create a borderline in our worksheet to make the gridlines darker in the following image.
Let’s see the steps to execute this method.
STEPS:
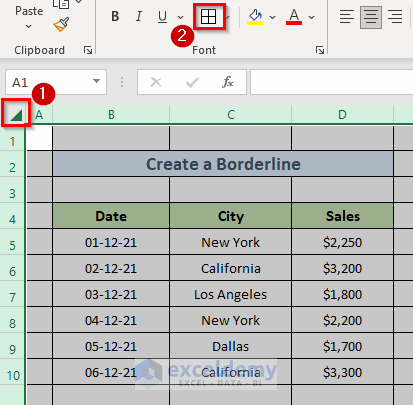
- Firstly, click on the triangle icon in the upper left corner of the worksheet.
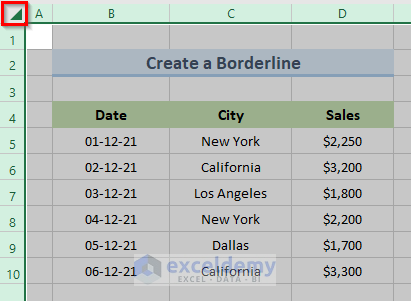
- Secondly, go to the Home tab.
- Thirdly, click on the Broders drop-down from the Font section of the ribbon.
- Next, select the option ‘All Borders’ from the drop-down menu.
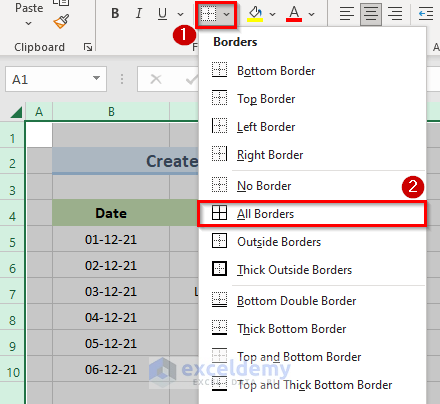
- So, the above actions create a borderline across all the cells of the worksheet.
- If you want to change the color of the gridlines, from the Font section of the ribbon click on the Borders drop-down.
- Then, go to the ‘Line Color’ option and select the color that you want.
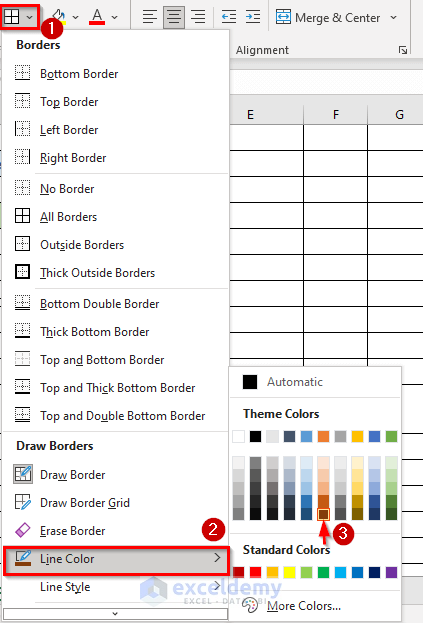
- Again, click on the triangle icon which selects the entire sheet.
- After that, click on the ‘All Borders’ icon from the ribbon.
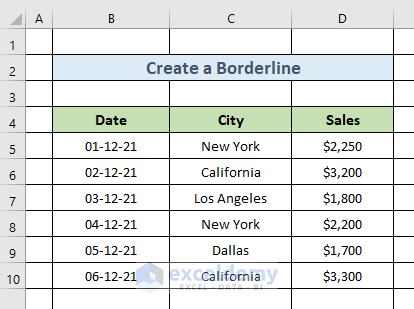
- Finally, we get results like the following image. We can see that the gridlines in the following image are not only darker but also in our preferred color.

Download Practice Workbook
We can download the practice workbook from here.
Conclusion
In conclusion, this tutorial shows how to make gridlines darker in two different ways. To put your skills to the test, download the practice worksheet included in this article. Please leave a comment in the box below if you have any questions. Our team will try to reply to your message as quickly as possible. In the future, keep an eye out for more innovative Microsoft Excel solutions.
Related Article
<< Go Back to Edit Gridlines | Gridlines | Learn Excel
Get FREE Advanced Excel Exercises with Solutions!

The suggestion you laid out were followed and succesful thank you
Hello Peter,
You are most welcome. Thanks for your feedback and appreciation. Glad to hear our suggestion was helpful.
Keep exploring Excel with ExcelDemy!
Regards,
ExcelDemy