Dataset Overview
Suppose we have a dataset with several rows containing data, and we want to insert a comma at the end of each row.

Method 1 – Utilize Excel Ampersand (&) Operator
- Click on the cell in column C (e.g., C5).
- In the formula bar, enter the following formula:
=B5&","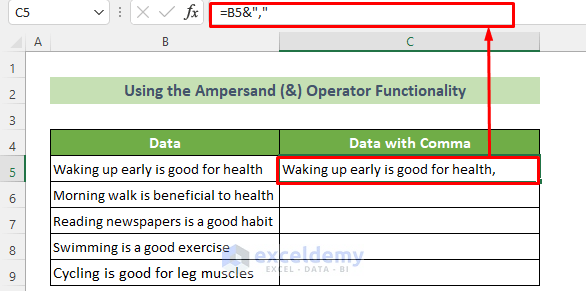
- Press Enter.
- The comma is added to the end of the content in cell B5, appearing in cell C5.
- Drag the fill handle (located at the bottom right corner of the cell) downward to copy the formula for all cells below.
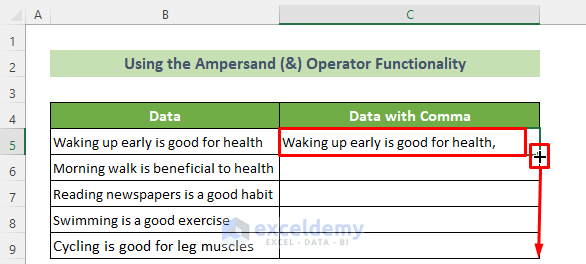
- All cells in the same column will have commas at the end of their data.
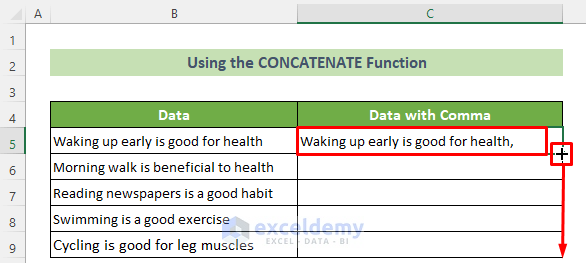
Method 2 – Use CONCATENATE Function
- Click on the cell in column C (e.g., C5).
- Enter the following formula in the C5 cell:
=CONCATENATE(B5,",")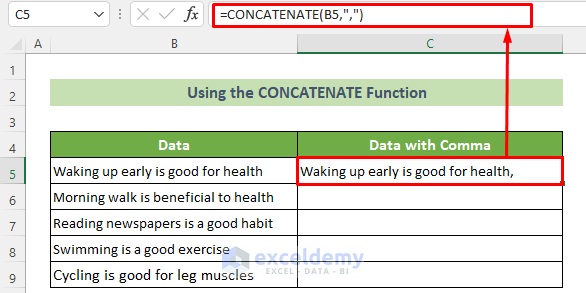
- Press Enter.
- The C5 cell now contains the data from B5 along with a comma at the end.
- Drag the fill handle down to apply the formula to other cells.
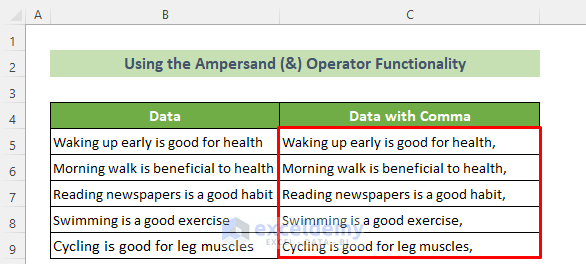
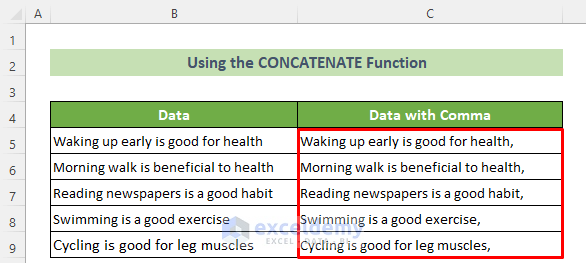
You will see that you have inserted commas in Excel for multiple rows successfully. The result will look like this:
Read More: How to Use Comma in Excel Formula
Method 3 – Apply a VBA Code to Insert Commas
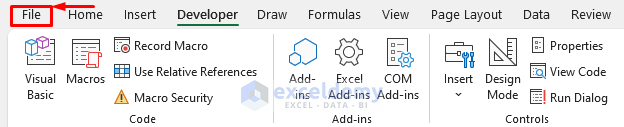
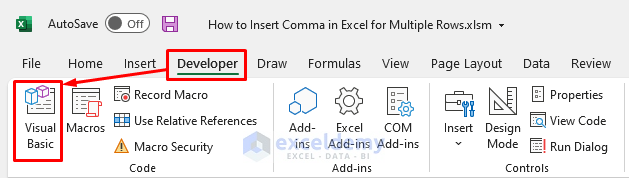
- Go to the Developer tab and select the Visual Basic tool.
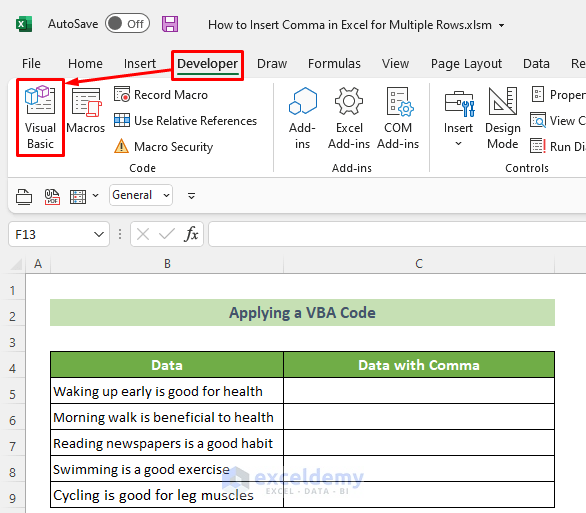
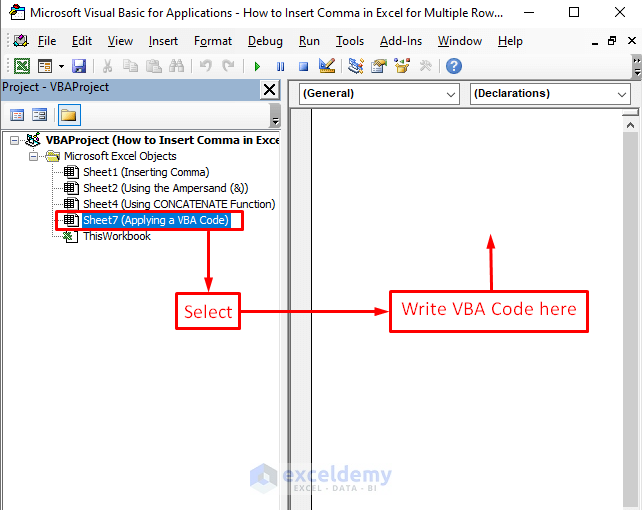
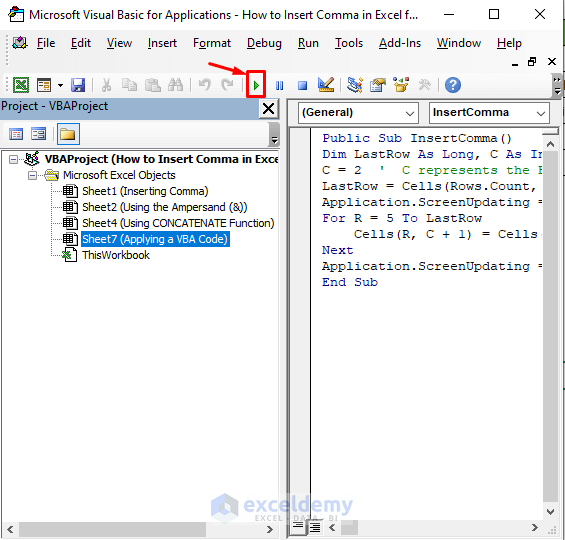
- In the Microsoft Visual Basic for Applications window, choose the sheet where you want to apply the code (e.g., Sheet 7).
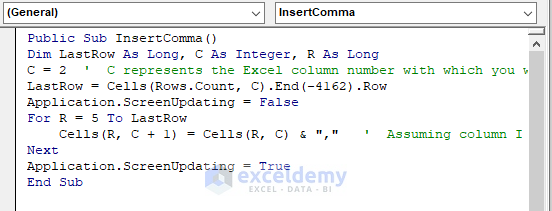
- Enter the following VBA code:
Public Sub InsertComma()
Dim LastRow As Long, C As Integer, R As Long
C = 2  '  C represents the Excel column number with which you will add comma and R is the Row Excel row number from which you want to add comma.
LastRow = Cells(Rows.Count, C).End(-4162).Row
Application.ScreenUpdating = False
For R = 5 To LastRow
    Cells(R, C + 1) = Cells(R, C) & ","   '  Assuming column I +1 is free.
Next
Application.ScreenUpdating = True
End Sub
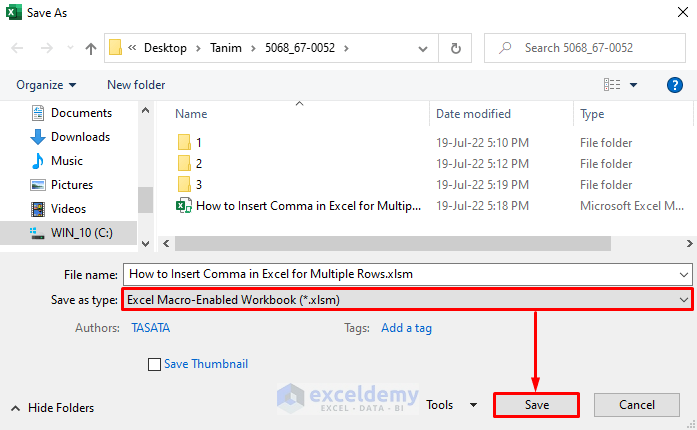
- Save the file in macro-enabled format (e.g., .xlsm).
- Close the code window and go to the File tab.
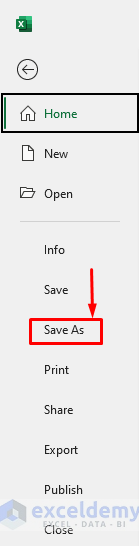
- Click on Save As.
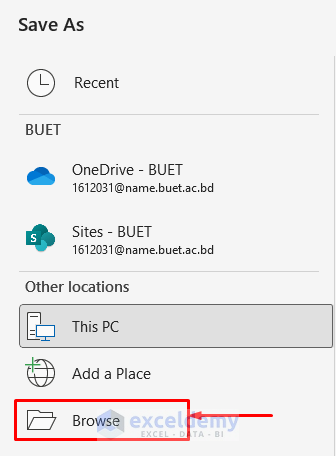
- Choose the Excel Macro-Enabled Workbook option and save the file.
- Return to the Developer tab, click Run, and select the created macro.
- Click Run to execute the code.
- The Macros window will appear.
- Choose the Created macro from the Macro Name List: Sheet7.InsertComma.
- Click on the Run button.

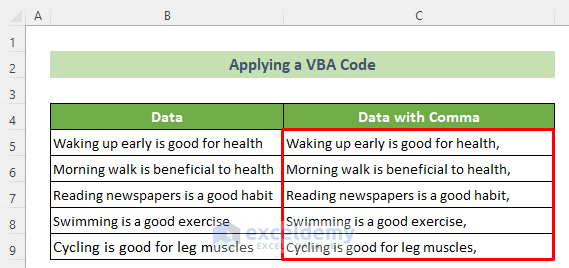
- After clicking the Run button in the Macros window, you’ll observe that the VBA code runs.
- Commas will be inserted in Excel for multiple rows based on the instructions provided in the VBA code.
- The outcome should resemble the figure below:
Download Practice Workbook
You can download the practice workbook from here:
Related Articles
- How to Add Comma Before Text in Excel
- How to Add a Comma Between City and State in Excel
- How to Apply Excel Number Format in Thousands with Comma
- How to Insert Comma Between Words in Excel
- How to Add Thousand Separator in Excel Formula
<< Go Back to How to Add Comma in Excel | Concatenate Excel | Learn Excel
Get FREE Advanced Excel Exercises with Solutions!
