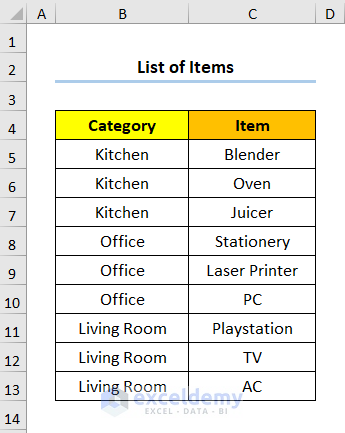
The dataset shows Category and Item names.
Method 1 – Adding 1 to Increment the Row Number in Excel
Steps:
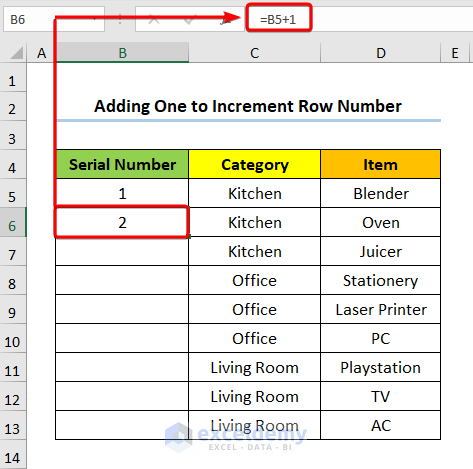
- Enter 1 in B5 and press ENTER.
- Go to B6 and enter the formula below.
=B5+1
B5 refers to Serial Number 1.
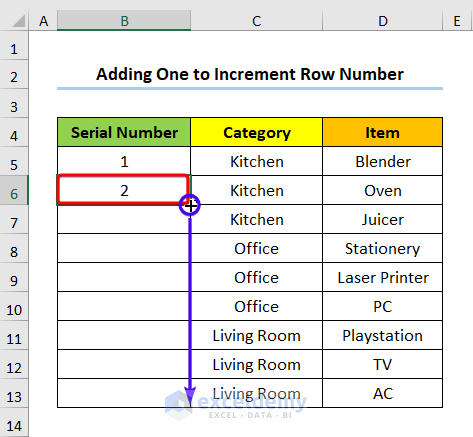
- Copy the formula across the cells you want to fill.
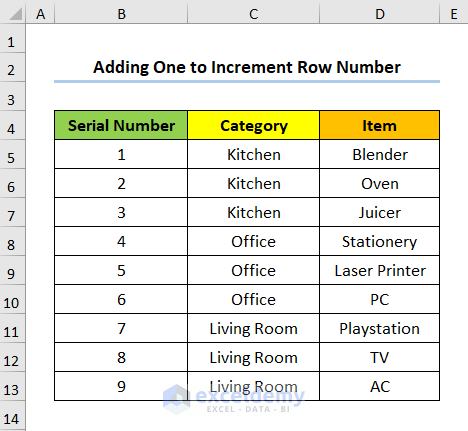
The table below showcases the result.
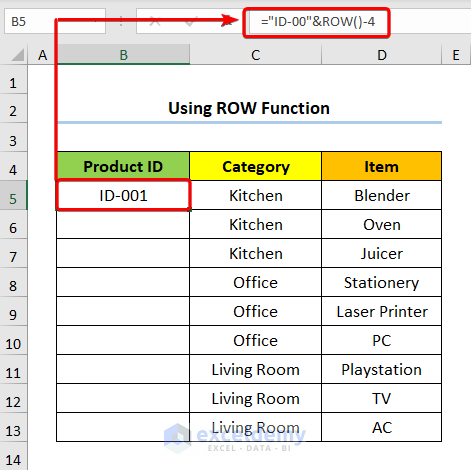
Method 2 – Using the ROW Function
Steps:
- Enter the following in B5:
="ID-00"&ROW()-4
Formula Breakdown:
- “ID-00” represents a string of text.
- Since no arguments are given in the ROW function, it returns the current row number- 5.
- Subtract 4 from 5 to return the result: 1.
- Text and value are concatenated using Ampersand (&).
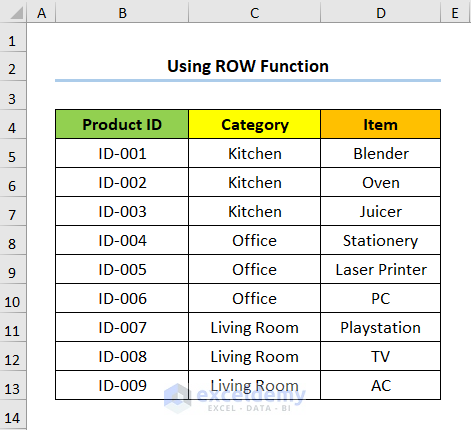
- Use the Fill Handle to drag the formula across the cells you want to fill.
This is the output.
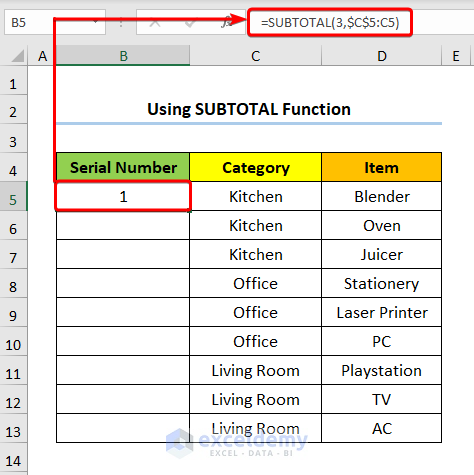
Method 3 – Increasing the Row Number Using the SUBTOTAL Function in the Formula
Steps:
- Go to B5 and enter the following formula:
=SUBTOTAL(3,$C$5:C5)
C5 represents the Category of Kitchen.
Formula Breakdown:
- 3 refers to the function_num argument which relates to the COUNTA function.
- COUNTA function counts all cells that are not blank.
- $C$5:C5 indicates the ref1 argument (the range of cells that we want to count).
- Absolute Cell Reference is used for the first cell reference ($C$5) only. Last cell reference (C5) changes according to the row containing the formula.
Note: Make sure to provide an Absolute Cell Reference in C5 pressing F4.
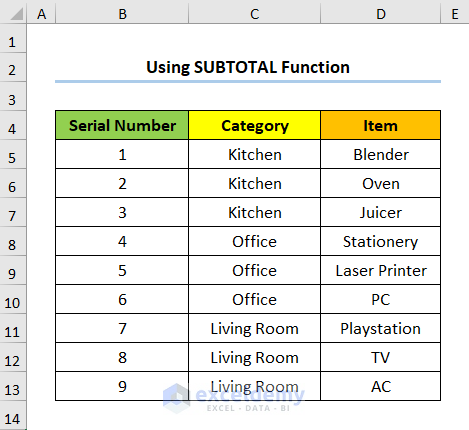
- Use the Fill Handle to drag the formula across the cells you want to fill.
This is the output.
Read More: Subtotal Formula in Excel for Serial Number
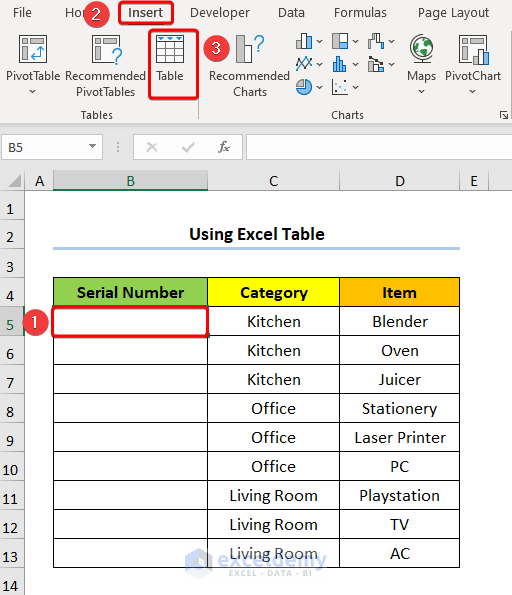
Method 4 – Using the Table Option to Increment the Row Number
Steps:
- Select any cell within the dataset. B5 here.
- In the Insert tab and click Table.
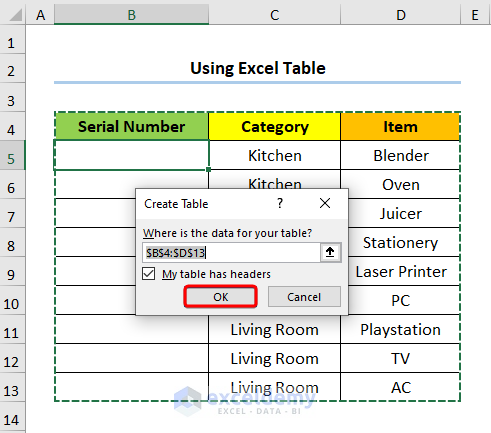
In the Create Table dialog box:
- B4:D13 range is selected automatically.
- Check My table has headers.
- Click OK.
- Enter the following in B5.
=ROW()-ROW(Table1[#Headers])
Formula Breakdown:
- Table1[#Headers] is the reference argument of the second ROW function which returns the row number of the table header.
- The first ROW function still returns the row number of the current cell.
- Subtracting the row number of the table header from the current cell returns the Serial Number.
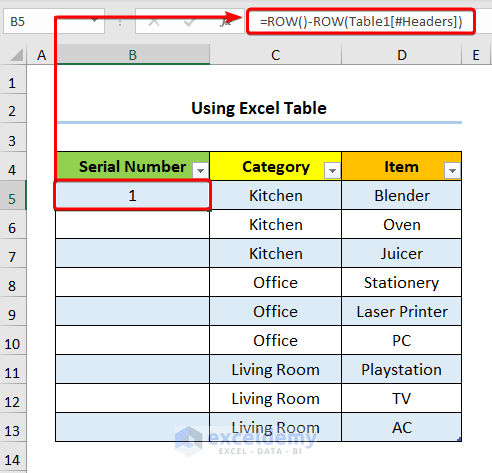
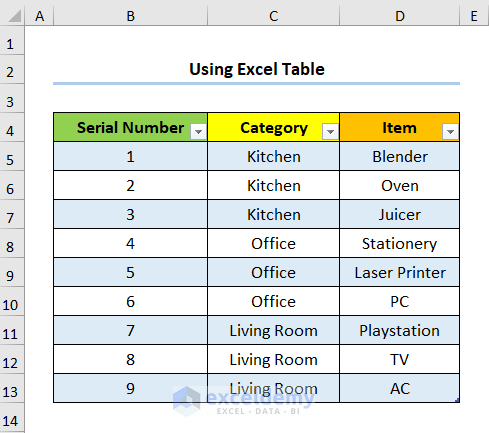
- Press ENTER and the Serial Number column will automatically be filled.
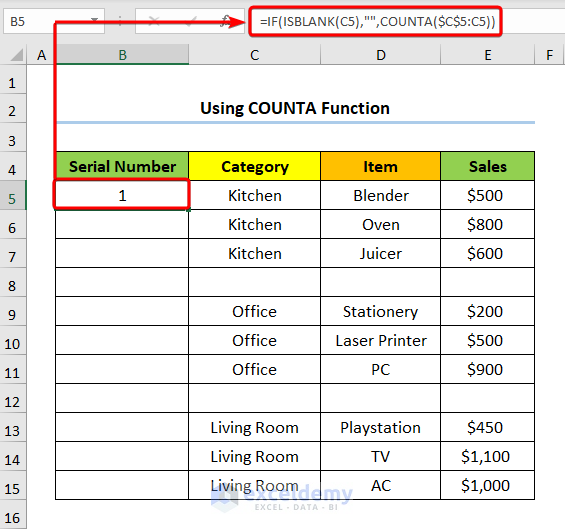
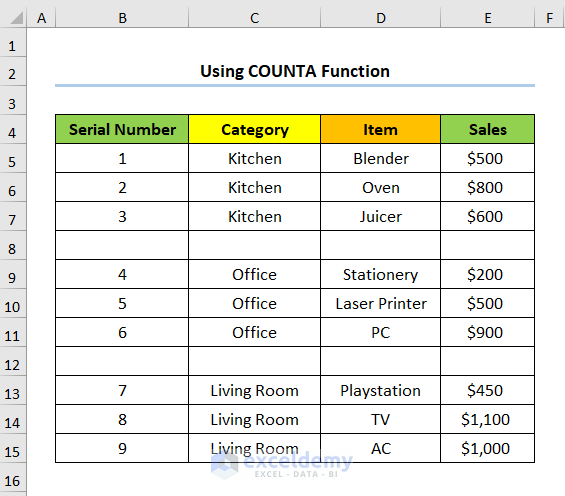
Method 5 – Applying the COUNTA Function to Increase the Row Number for Non-Blank Rows
Steps:
- Select B5 cell.
- Enter the following:
=IF(ISBLANK(C5),"",COUNTA($C$5:C5))
C5 refers to the Category of Kitchen.
Formula Breakdown:
- ISBLANK(C5) is the logical_test argument that checks if C5 is blank.
- “” is the value_if_true argument which returns blank if the logical test is TRUE.
- COUNTA($C$5:C5) is used as the value_if_false argument which is returned if the logical test is FALSE.
- The COUNTA function counts all non-blank cells in the given range.
This is the output.
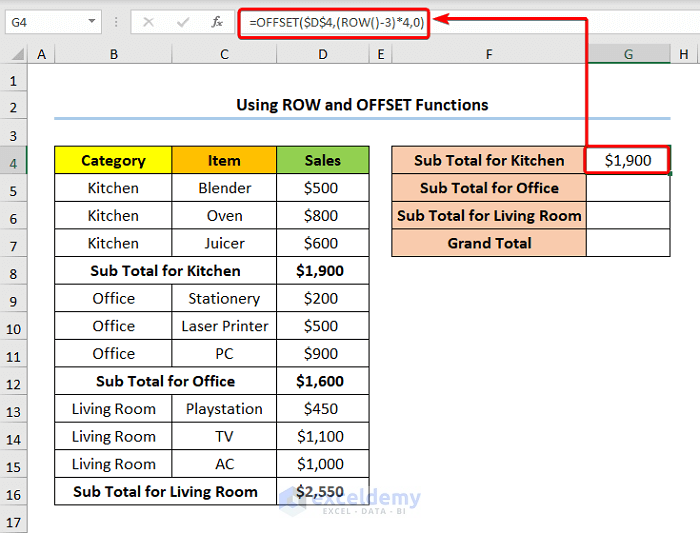
Method 6 – Increment a Specific Number of Rows with the ROW and OFFSET Functions
Steps:
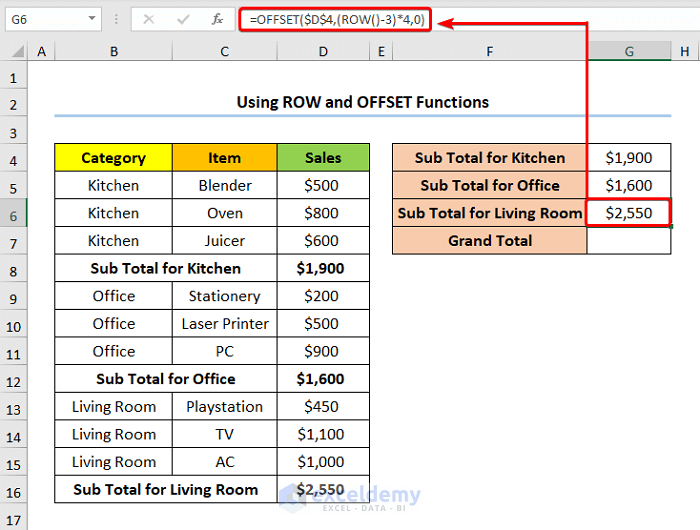
- Go to G4 and enter the following:
=OFFSET($D$4,(ROW()-3)*4,0)
D4 represents the column heading for Sales.
Formula Breakdown:
- ROW() → returns the serial number of the row in cell G4.
- Output → 4
- ROW()-3 → becomes
- 4-3 → 1
- (ROW()-3)*4 → becomes
- 1*4 → 4
- OFFSET($D$4,(ROW()-3)*4,0) → becomes
- OFFSET($D$4,4,0) →The OFFSET function returns a range of cells from the specified rows and columns. Where 4 is the rows argument which tells the function how many rows to move from the initial reference $D$4 and 0 represents the columns argument which specifies the column from starting point. The function looks up Column D.
- Output → $1,900
- Copy the formula to obtain the Sub Total for Office.
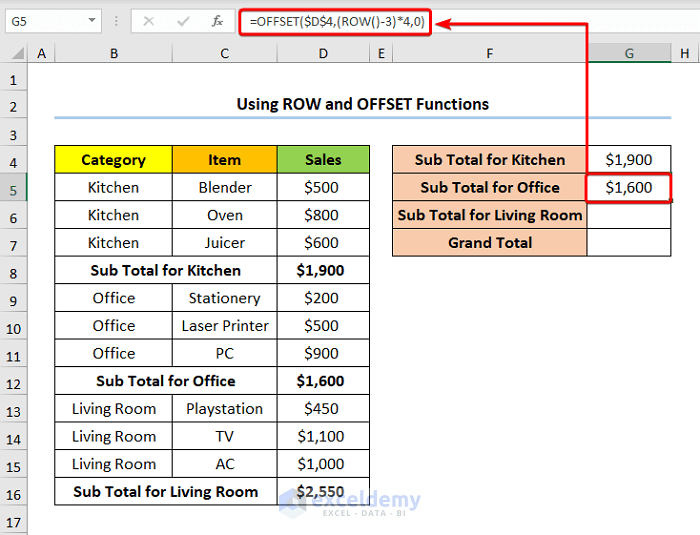
- Repeat the process for Sub Total for Living Room.
The SUM function adds values in G4:G6 and returns the Grand Total.
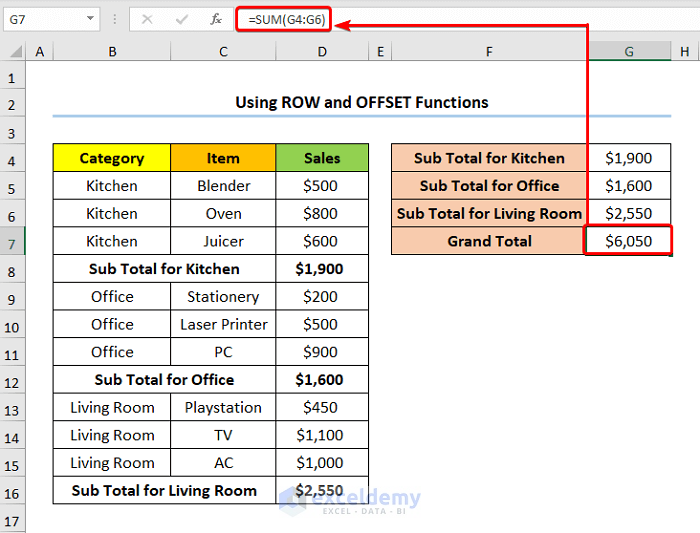
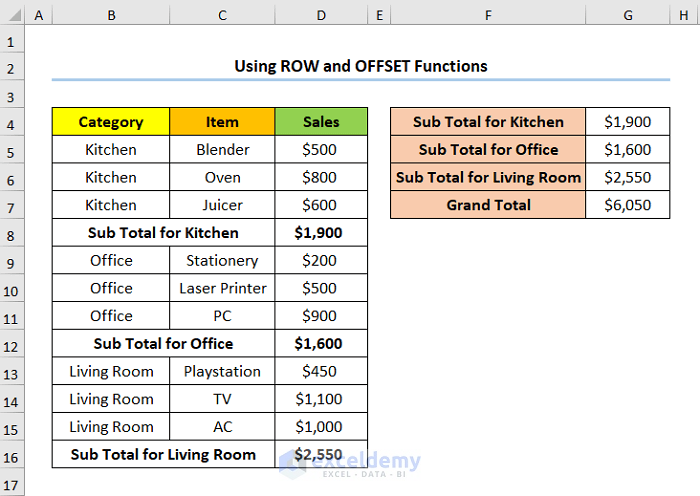
This is the output.
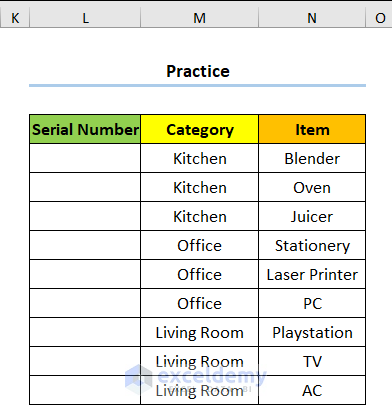
Practice Section
Practice using the table below:
Download the Practice Workbook
Related Articles
- How to Perform Numbering in One Cell in Excel
- How to Add Numbers 1 2 3 in Excel
- How to Create a Number Sequence with Text in Excel
- How to Create a Number Sequence in Excel Based on Criteria
<< Go Back to Serial Number in Excel | Numbering in Excel | Learn Excel

