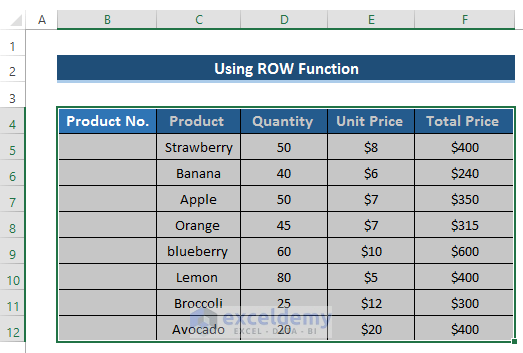
Example 1 – Using the ROW Function
Steps
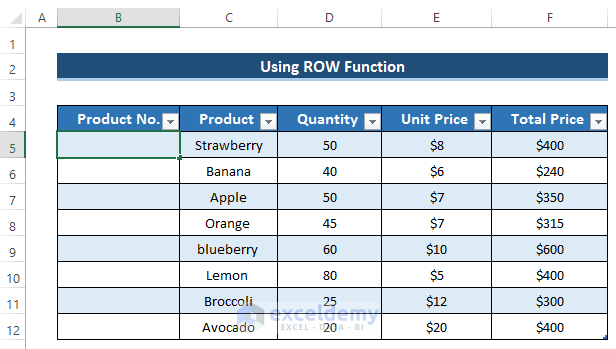
- Select the range of cells B4:F12.
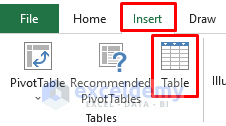
- Go to the Insert tab in the ribbon.
- From the Tables group, select the Table option.
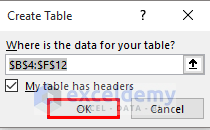
- The Create Table dialog box will appear.
- Click on OK.
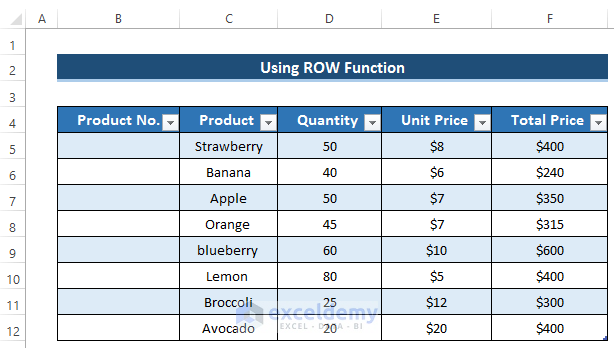
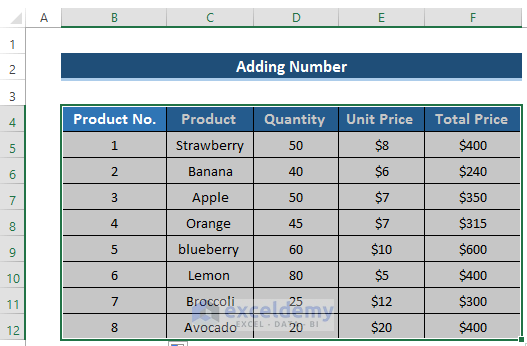
- We will get the following table.
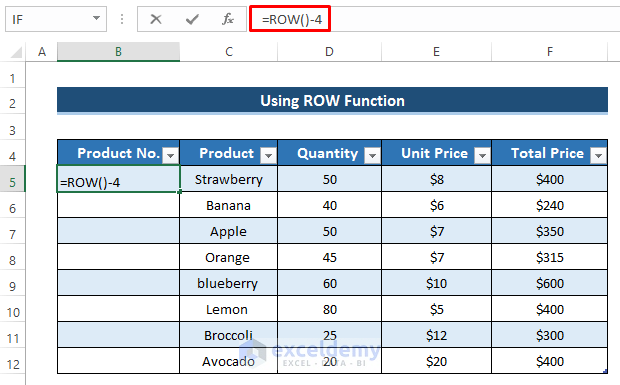
- Select cell B5.
- Use the following formula in the formula box.
=ROW()-4Here, we subtract 4 because the ROW function will give us the existing row. By subtracting 4, we can get the first number.
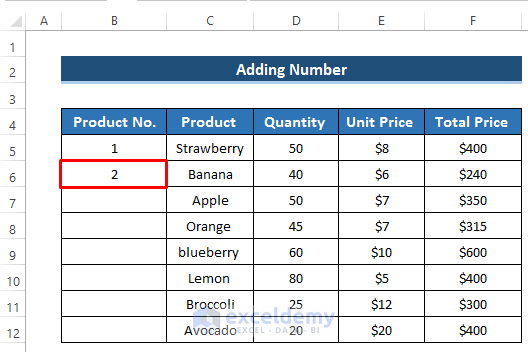
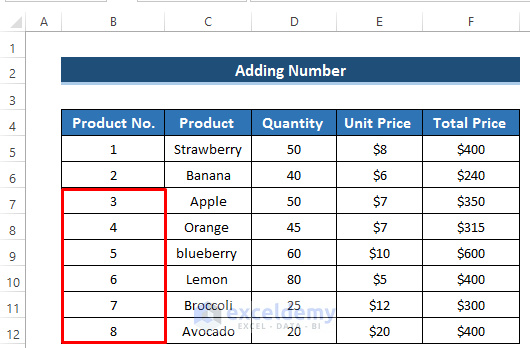
- Press Enter and it will automatically fill all the blank cells in Product No.
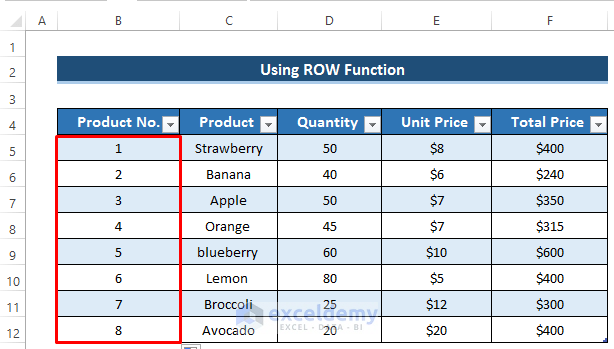
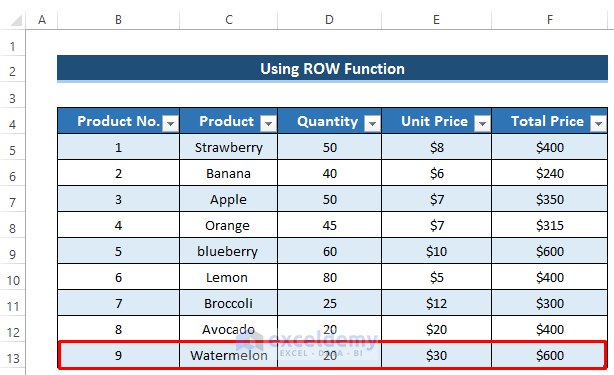
- If we insert a new row, it will automatically change the numbering.
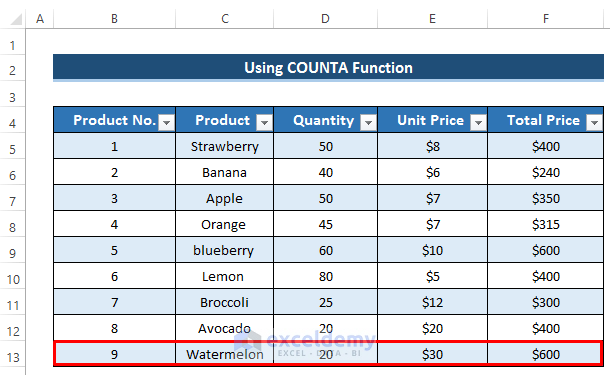
Example 2 – Applying the COUNTA Function
Steps
- Select cell B5.

- Use the following formula.
=COUNTA($C$5:C5)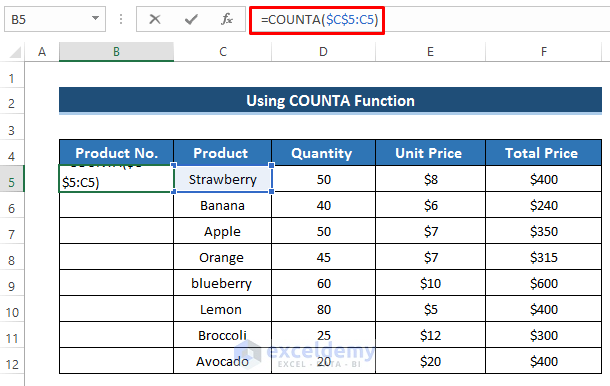
- Press Enter to apply the formula.
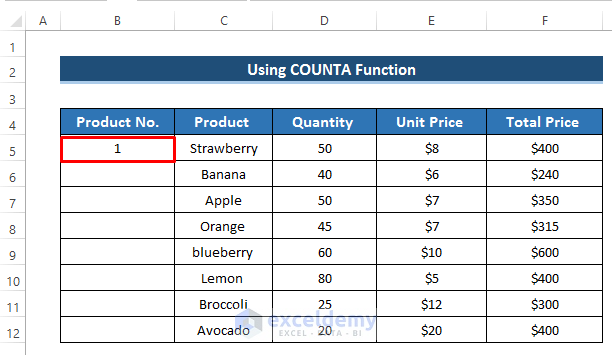
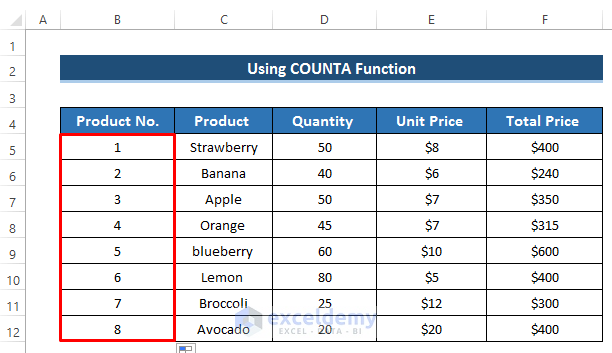
- Drag the Fill Handle icon down the column.
- Select the range of cells B4:F12.
- Go to the Insert tab in the ribbon.
- From the Tables group, select the Table option.
- The Create Table dialog box will appear.
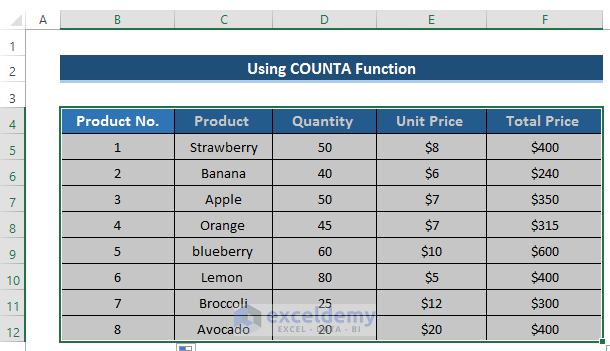
- Click on OK.
- We will get the following table.

- If we insert a new row, it will automatically update the auto-numbering sequence.
Read More: How to Add Automatic Serial Number with Formula in Excel
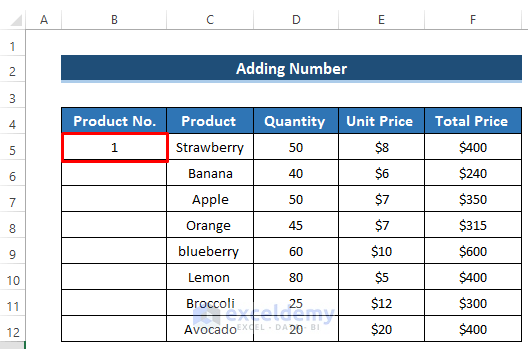
Example 3 – Adding Numbers via an Addition Formula
Steps
- Put the value 1 in cell B5.
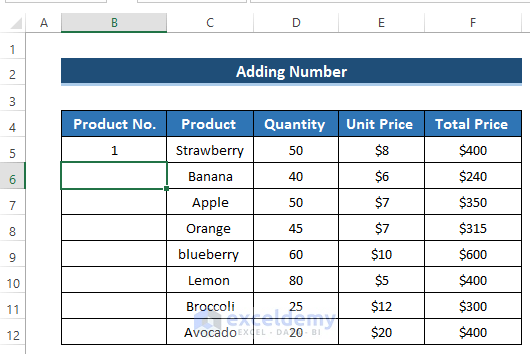
- Select cell B6.
- Use the following formula.
=B5+1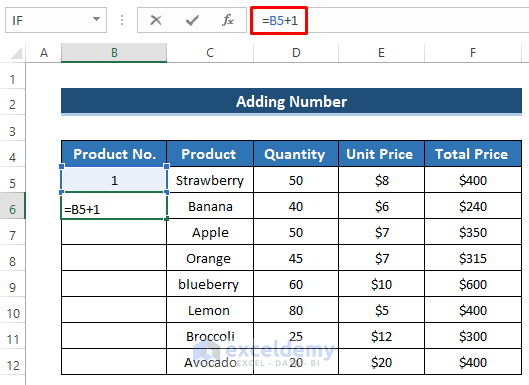
- Press Enter to apply the formula.
- Drag the Fill Handle icon down the column.
- Select the dataset.
- Go to the Insert tab in the ribbon.
- From the Tables group, select the Table option.
- Then, the Create Table dialog box will appear.
- Click on OK.
- Here’s the resulting table.

- If we insert a new row, it will automatically update the auto-numbering sequence.

Read More: Automatically Number Rows in Excel
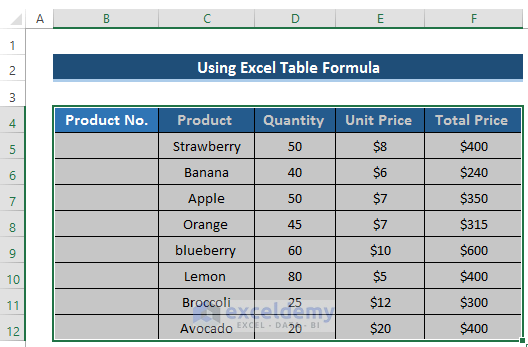
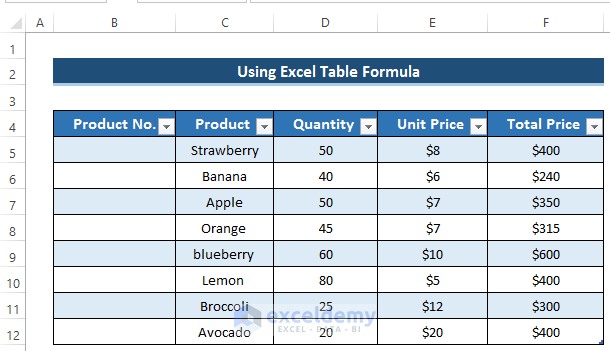
Example 4 – Using an Excel Table Formula
Steps
- Select the dataset.
- Go to the Insert tab in the ribbon.
- From the Tables group, select the Table option.
- The Create Table dialog box will appear.
- Click on OK.
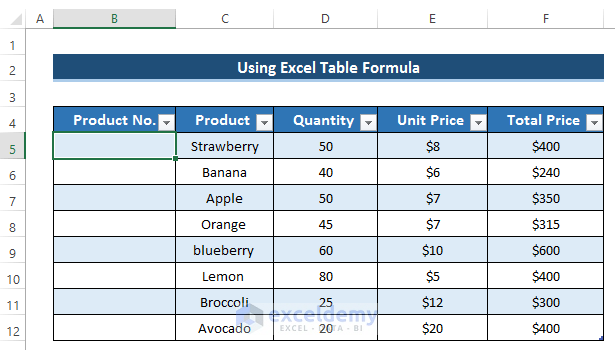
- We will get the following table.
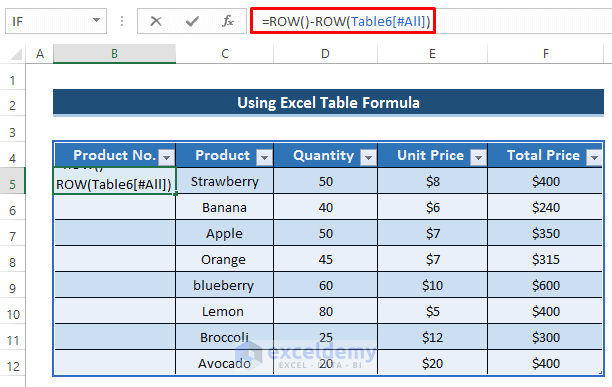
- Select cell B5.
- Use the following formula in the formula box.
=ROW()-ROW(Table6[#All])Change the table name from Table6 to the name of your table (listed in the ribbon).
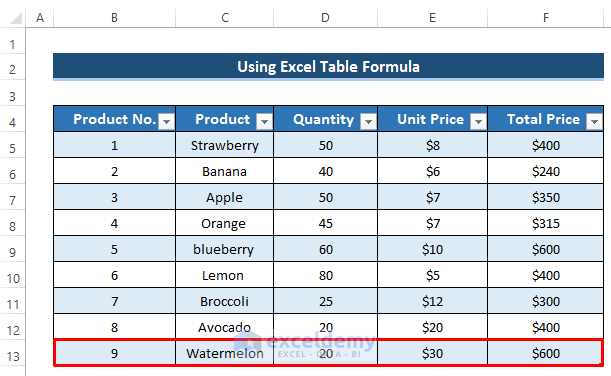
- Press Enter and It will automatically fill all the blank cells in Product No.

- If we insert a new row, Excel will automatically change the numbering.
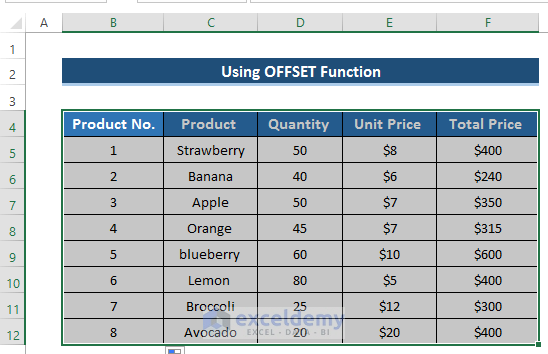
Example 5 – Implementing the OFFSET Function
Steps
- Put value 1 in cell B5.
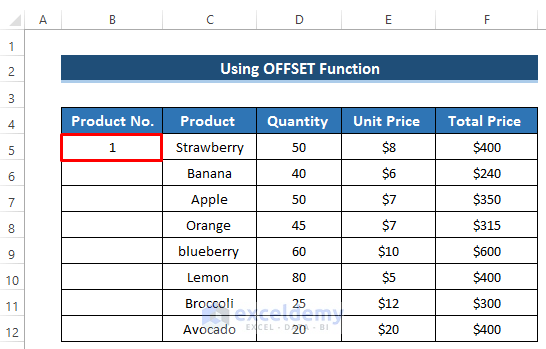
- Select cell B6.
- Insert the following formula:
=OFFSET(B6,-1,0)+1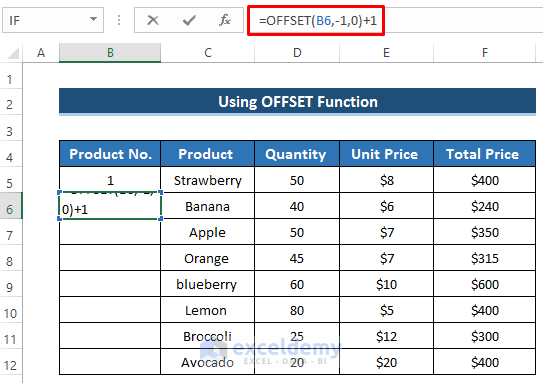
- Press Enter to apply the formula.
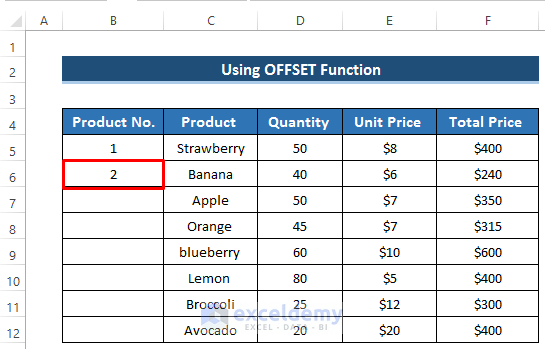
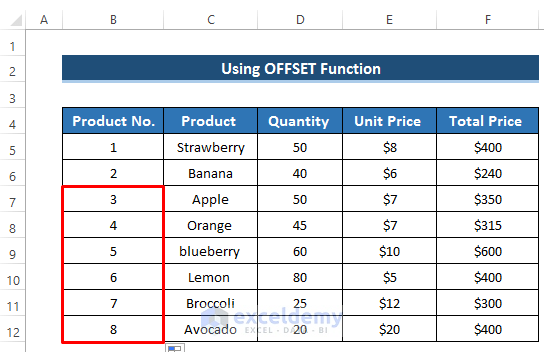
- Drag the Fill Handle icon down the column.
- Select the dataset.
- Go to the Insert tab in the ribbon.
- From the Tables group, select the Table chart.
- The Create Table dialog box will appear.
- Click on OK.
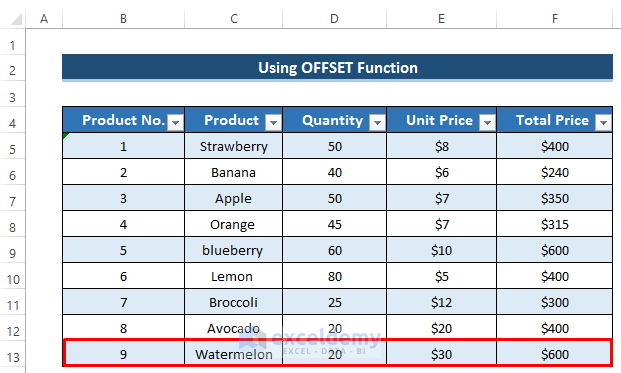
- We will get the table.

- If we insert a new row, Excel will automatically update the auto-numbering sequence.
Download the Practice Workbook
Related Articles
- How to Auto Generate Number Sequence in Excel
- How to Autofill in Excel with Repeated Sequential Numbers
- How to Number Columns in Excel Automatically
- Auto Serial Number in Excel Based on Another Column
- Auto Generate Invoice Number in Excel
- Auto Generate Serial Number in Excel VBA
<< Go Back to Serial Number in Excel | Numbering in Excel | Learn Excel

