This is an overview.
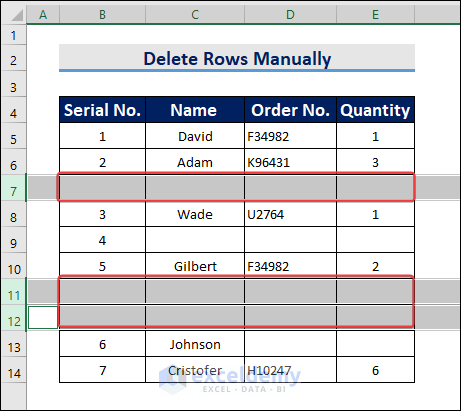
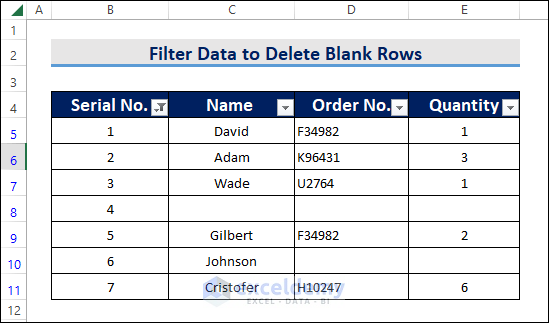
This is the sample dataset.

Method 1 – Deleting Blank Rows Manually to Reduce the Excel File Size
Steps:
- Press and hold Ctrl and choose the rows one by one.
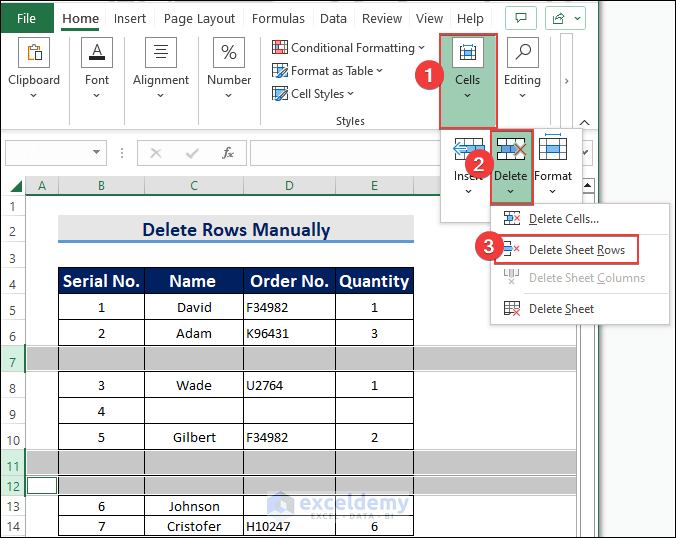
- Select Delete and choose Delete Sheet Rows.
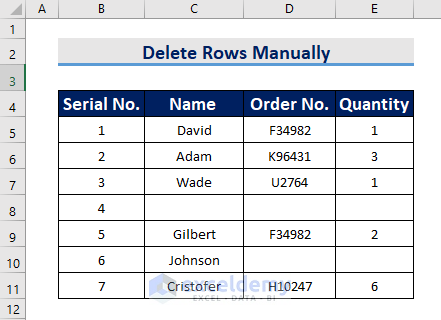
- This is the output.
Read More: How to Reduce Excel File Size Without Deleting Data
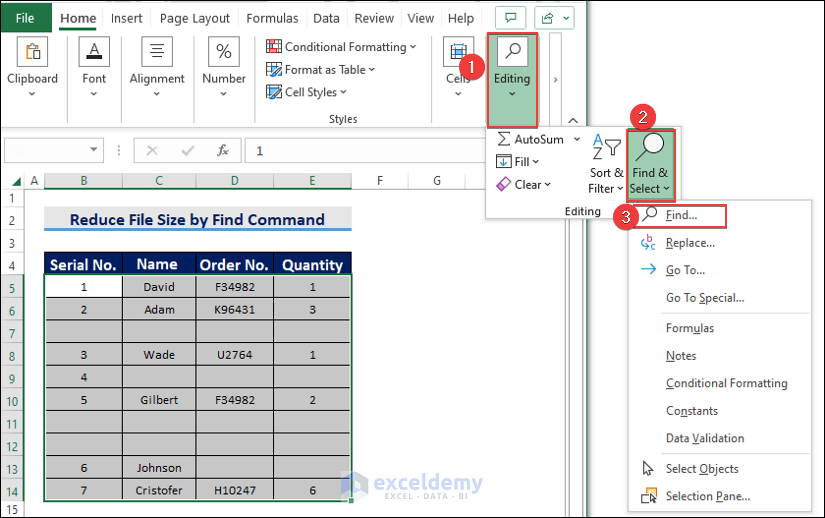
Method 2 – Applying the Find Command to Delete Blank Rows
Steps:
- Select Find & Select in Find.
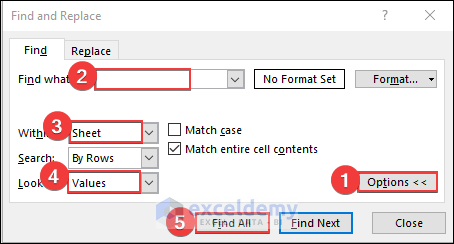
- In the dialog box, select the following options:
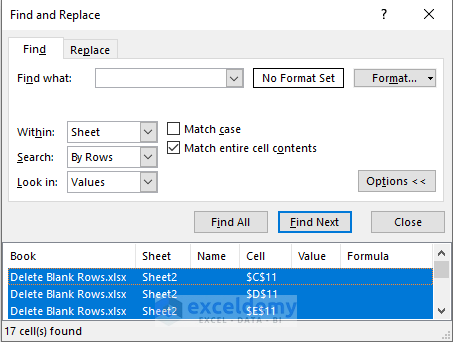
- A new box will be displayed containing all blank cells. Select them all by pressing Ctrl+A.
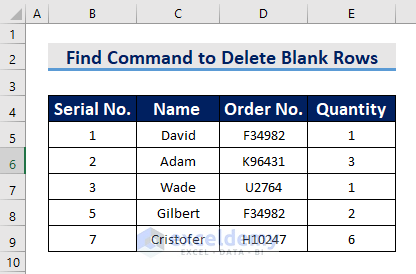
- Close the dialog box and delete all blank cells by selecting Delete and clicking Delete Sheet Rows.
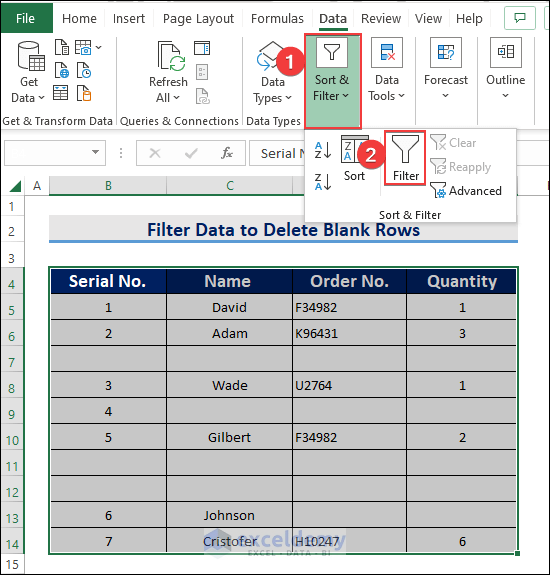
Method 3 – Using the Filter Function to Reduce the Excel File Size
Steps:
- Select the whole dataset pressing Ctrl+A.
- Select Sort & Filter and choose Filter.
- Click the dropdown in Serial No. and select Blanks.
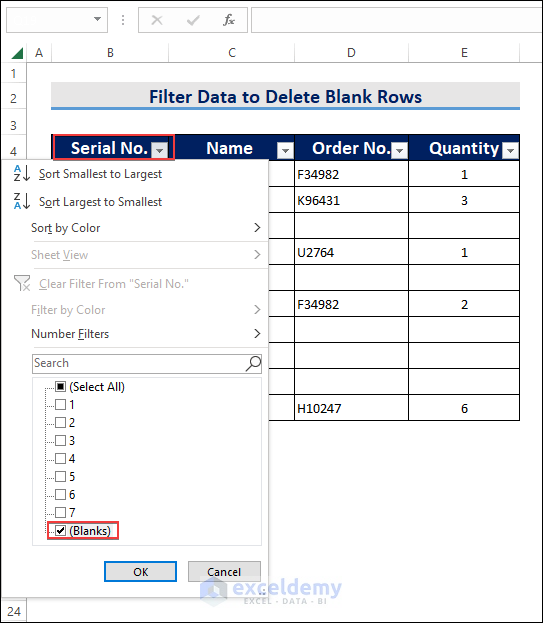
You will see all the blank rows in the dataset.
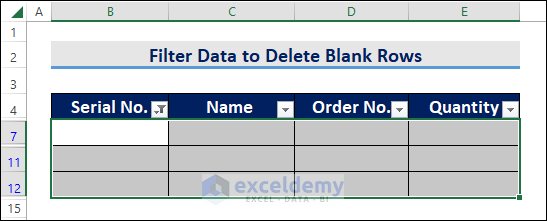
- Delete the blank cells.
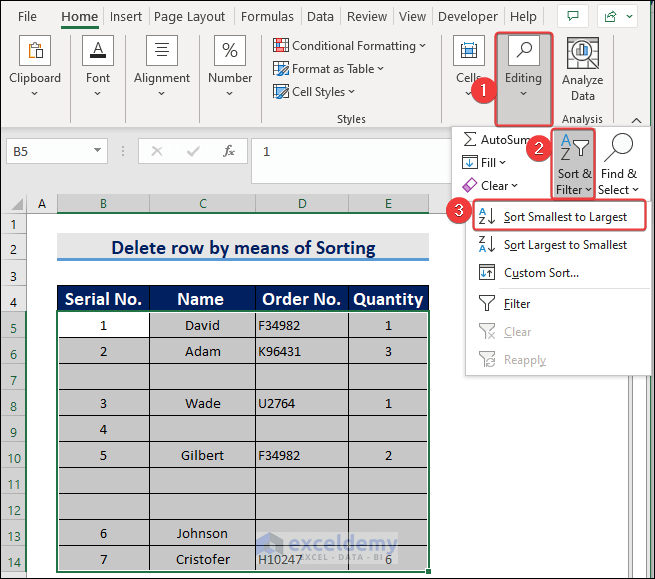
Method 4 – Sorting Data to Delete Blank Rows
Steps:
- Select the whole dataset.
- Choose the options shown below:
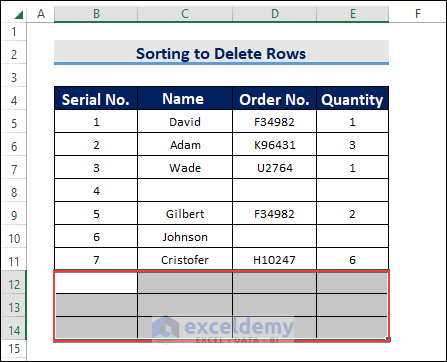
Data is sorted and blank cells are displayed at the bottom of the dataset.
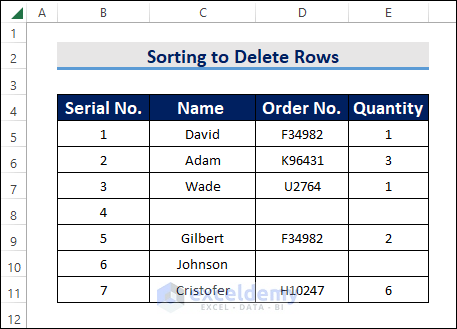
- Delete the blank cells.
Read More: How to Compress Excel File to Smaller Size
Download Practice Workbook
Download the following workbook.
Related Articles
- How to Zip an Excel File
- How to Compress Excel File for Email
- How to Determine What Is Causing Large Excel File Size
- How to Reduce Excel File Size with Pictures
- How to Reduce Excel File Size Without Opening
- How to Reduce Excel File Size with Macro
- [Fixed!] Excel File Too Large for No Reason
- How to Compress Excel File More than 100MB
<< Go Back to Excel Reduce File Size | Excel Files | Learn Excel
Get FREE Advanced Excel Exercises with Solutions!
