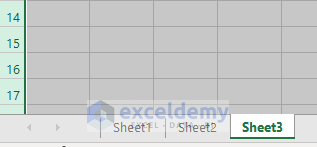
Method 1 – Check for Unnecessary Hidden Worksheet
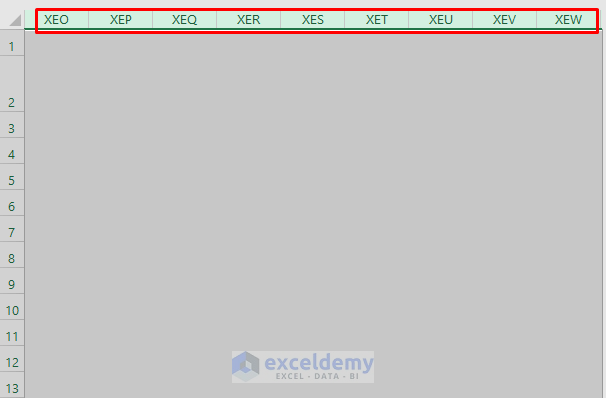
- If you’ve received an Excel file from someone else or downloaded it from the internet, it may contain hidden worksheets.
- To find out the actual number of working sheets:
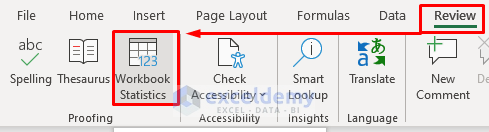
- Go to the Review tab.
- Click on Workbook Statistics.
- A pop-up will appear, showing the total number of sheets.
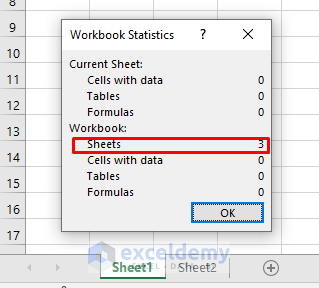
- Let’s say the pop-up indicates there are 3 sheets, but you can only see 2. The missing sheet might be hidden, contributing to the file size.
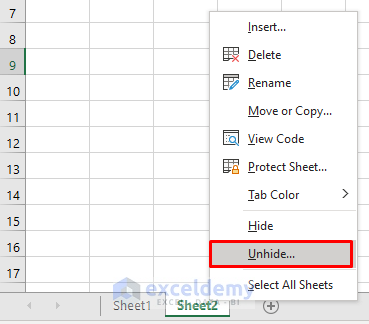
- To unhide a sheet:
- Right-click on the sheet name.
- Select Unhide.
-
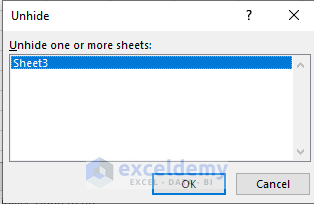
- Choose the sheet you want to reveal and click OK.
- Delete any unnecessary hidden sheets to reduce the file size.
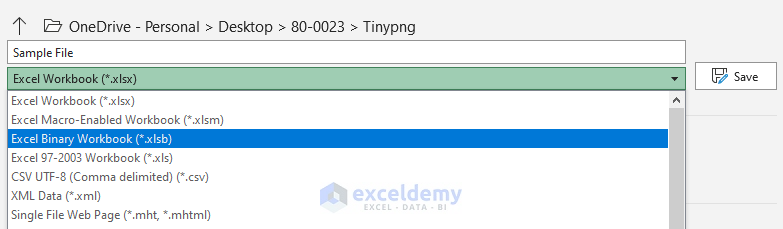
Method 2 – Check Whether Binary Format(.xlsb) Reduces the File Size
- By default, Excel files are saved in the (.xlsx) format.
- However, saving a file in binary format (.xlsb) can automatically reduce its size.
- If you need a smaller Excel file:
- Save a copy of the file in Excel Binary Workbook (*.xlsb) format.
-
- Compare the binary format with the default format.
- You’ll notice that the binary format consumes less memory.

Keep in mind that the default (.xlsx) format can contribute to larger file sizes.
Method 3 – Presence of Unused Worksheet Causing Large File Size
When working with Excel files, the introduction of new worksheets can lead to an increase in file size. Your Excel file might contain unused or unnecessary sheets, contributing to its larger size. To address this issue, follow these steps:
- Identify Unused Sheets:
- Check your file for any sheets that don’t contain formulas or other features but only raw data.
- If you find such sheets, consider whether you need them. If not, proceed to the next step.
- Copy Data and Delete Unused Sheets:
- Copy any necessary data from the unused sheet to another sheet.
- Right-click on the unused sheet’s name and select “Delete” to remove it from the workbook.
- Deleting unnecessary sheets will help reduce the overall file size.
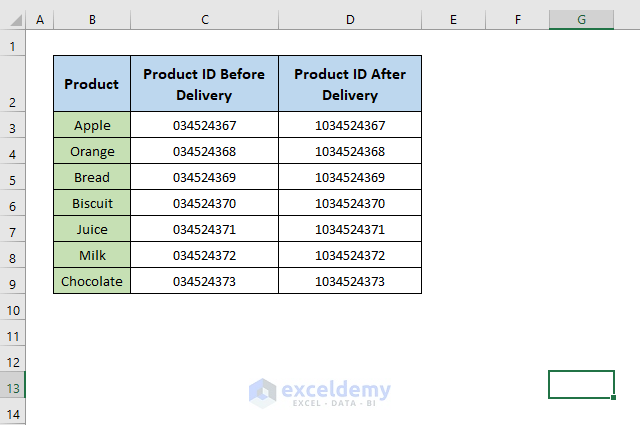
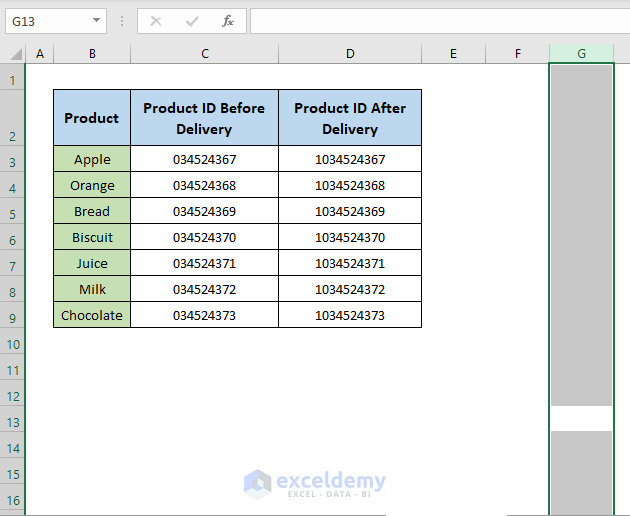
Method 4 – Detecting Blank Space in Excel Files
Blank space within a working sheet is a common reason for increased file size. To check for blank space:
- Navigate to the Last Active Cell:
- Press CTRL + END to move the cursor to the last active cell in the sheet.
-
- If the cursor takes you significantly beyond your actual data (many rows or columns), it indicates the presence of extra cells.
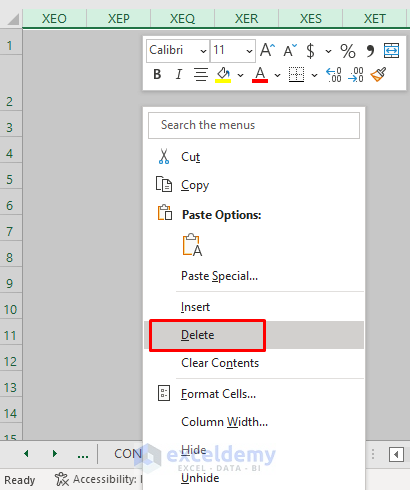
- Removing Extra Cells:
- Select the first empty row or column by pressing SHIFT + SPACE (for rows) or CTRL + SPACE (for columns).
-
- Press CTRL + SHIFT + DOWN arrow (or RIGHT arrow) to select the very bottom or right cell of the worksheet.
-
- Right-click and choose Delete from the Context Menu.
- Avoid using the DELETE button directly, as it won’t yield the same result.
Read More: How to Reduce Excel File Size by Deleting Blank Rows
Method 5 – Unnecessary Formatting Causing Large File Size
While it’s essential to present raw data in a visually appealing and reader-friendly manner, excessive formatting can significantly increase the file size. Here are some recommendations:
- Avoid Over-Formatting:
- Formatting cells in your worksheet, such as applying fonts, colors, and borders, contributes to larger file sizes.
- Reserve formatting for essential purposes (e.g., job requirements or client presentations) rather than purely aesthetic reasons.
- Be cautious about unnecessary formatting that doesn’t add value to the data.
- Clear Formatting:
- If you’ve applied excessive formatting, consider clearing it.
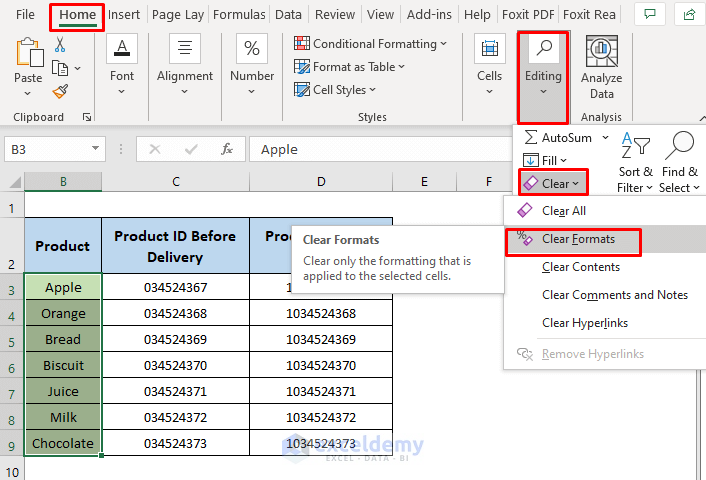
- To clear formatting:
- Select the data.
- Go to the Home tab.
- Click Editing and choose Clear.
- Select Clear Format.
Remember that clearing formatting won’t affect essential features like dollar signs or other critical elements.
Method 6 – Applying Manual Calculations
- By default, Excel’s calculation option is set to Automatic, which speeds up calculations.
- However, this automatic calculation mode also contributes to larger file sizes.
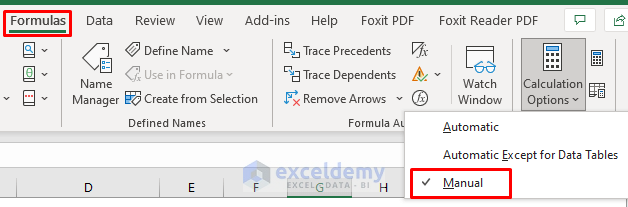
- For large Excel files, consider switching to manual calculation:
- Go to the Formula tab.
- Select Manual from the Calculation Options.
Method 7 – Determining and Reducing Picture Size in Excel
- If your Excel file contains large-scale inserted pictures, they can significantly impact the file size.
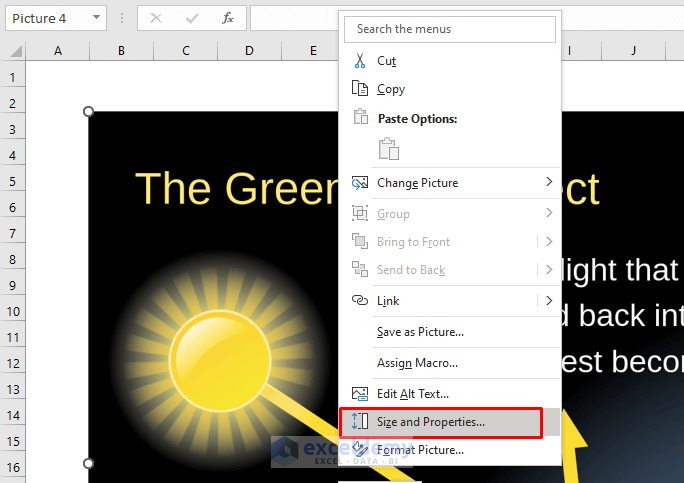
- To reduce picture size:
- Click on the picture.
- Right-click and select Size and Properties.
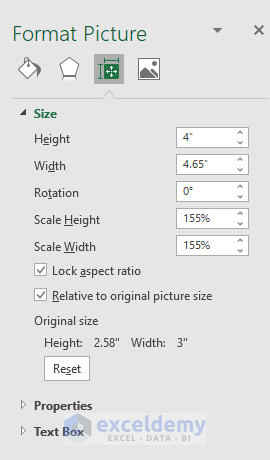
-
- In Format Picture dialogue box, adjust the height and width to decrease the picture’s size.
Read More: How to Reduce Excel File Size with Pictures
Method 8 – Check for Unused Pivot Tables & Charts
One of the primary reasons for larger file sizes in Excel is the presence of pivot tables and charts. Pivot tables are useful for summarizing data quickly, but they significantly increase file size. Follow these steps to manage them:
- Evaluate Pivot Tables:
- Check if any pivot tables are unnecessary or used only temporarily.
- If a pivot table serves a one-time purpose, consider removing it promptly.
- Avoid unnecessary use of pivot tables to keep file sizes manageable.
- Assess Charts:
- Similarly, evaluate any charts in your workbook.
- Remove charts that are no longer needed or serve a temporary purpose.
Method 9 – Check for Hidden Cells
Hidden cells within an Excel file can also contribute to increased file size. To address this:
- Unhide Hidden Cells:
- Identify any hidden cells in your worksheet.
- Unhide them by right-clicking and selecting the appropriate option.
Method 10 – Copy Sheets to a New File
- To determine which sheet occupies significant space, copy the sheets (or a group of sheets) to a new file:
- Right-click on the sheet name.
- Select Move or Copy.

-
- Choose (new book) and mark Create a copy.
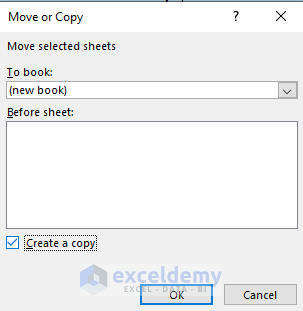
-
- Save the new workbook.
Download Practice Workbook
You can download the practice workbook from here:
Related Articles
- How to Zip an Excel File
- How to Compress Excel File for Email
- How to Compress Excel File to Smaller Size
- How to Compress Excel File More than 100MB
- How to Reduce Excel File Size Without Opening
- [Fixed!] Excel File Too Large for No Reason
- How to Reduce Excel File Size with Macro
- How to Reduce Excel File Size Without Deleting Data
<< Go Back to Excel Reduce File Size | Excel Files | Learn Excel
Get FREE Advanced Excel Exercises with Solutions!
