Name Tags are used very often for practical purposes. This is a useful trick frequently used for efficient data management. In this article, I am going to show you how you can make Name Tags in Excel.
How to Make Name Tags in Excel: Step-by-step Procedures
For Name Tags, we will have to create a dataset in Excel. Then, we will use Microsoft Word to Name tags from the Excel dataset.
1. Develop a Dataset for Name Tags
First, Let’s have a dataset. The dataset contains three columns. The first two columns are the individual’s first and last name. The last column represents their respective Mail ID.
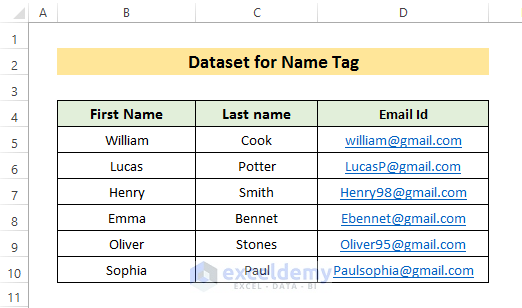
Our dataset has been created, now we can start the next phase of the task.
Read More: How to Add Tags in Excel
2. Preparing Word Document
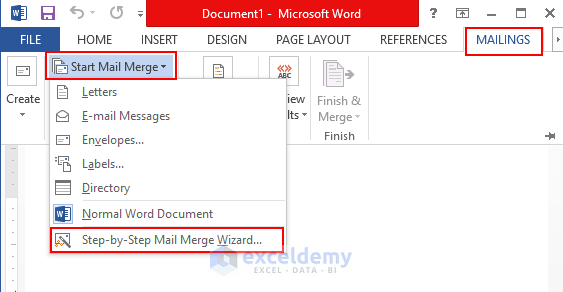
After developing the dataset in Excel, we need to prepare name tags in Word. So, Now open a Microsoft Word Document. And follow the procedures.
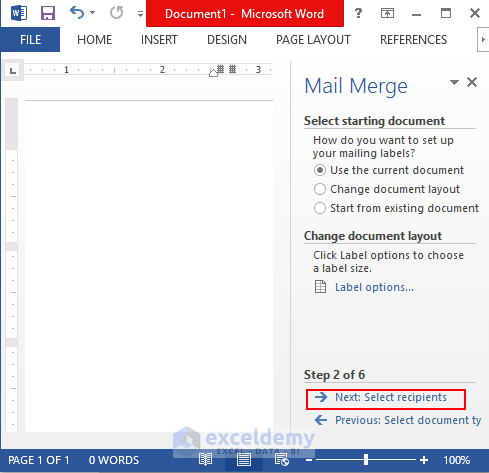
➤ Go to the MAILINGS ribbon and select the Step-by-Step Mail Merge Wizard option from the Start Mail Merge tab.
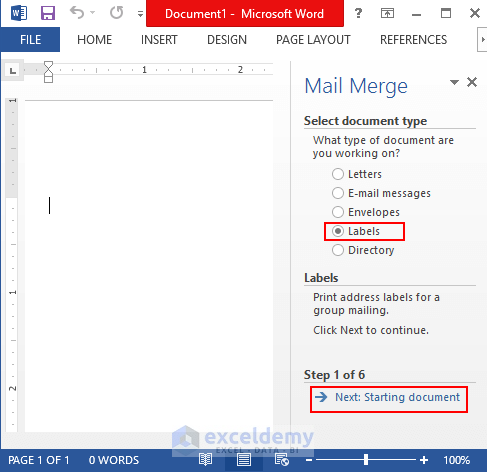
➤ Now, on the right side of the document, select Labels and go to the next step.
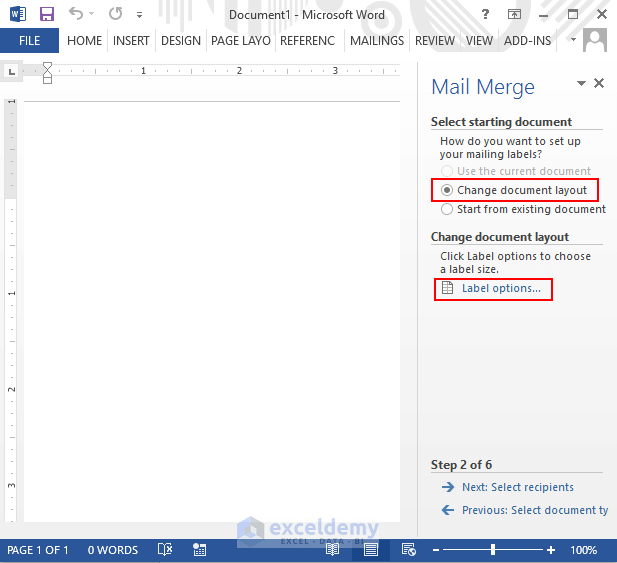
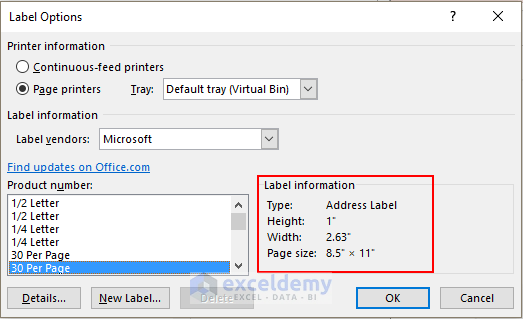
➤ You can set the document layout as you want. Click on Label options.
A window like this will open where you can select your desired layout from the Product number box.
➤ Then, to select the recipient, go to the next step.
Read More: How to Add Tag to Properties in Excel
3. Insert Excel Worksheet in Word Document
Now we need to insert the data from Excel into Word. Let’s start that procedure.
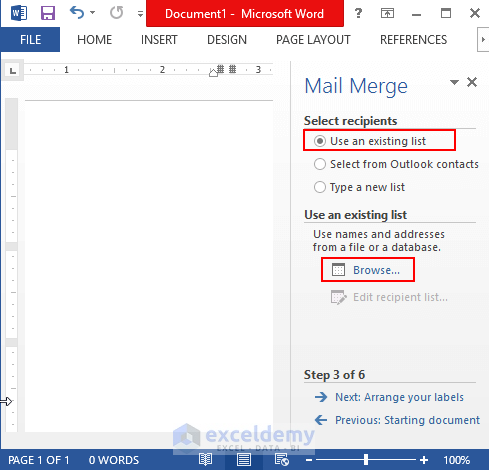
➤ Here, select Use an existing list and browse the excel file that you want to Name Tag from.
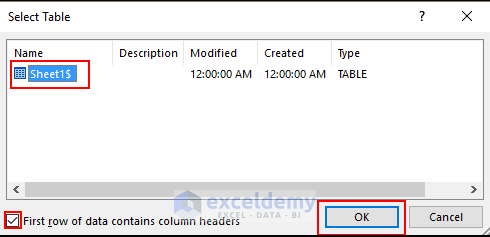
➤ After browsing the Excel file, this window will open. Our Excel file contains one sheet. So we select Sheet 1. Then keep the mark on First row of data contains column headers and press OK.
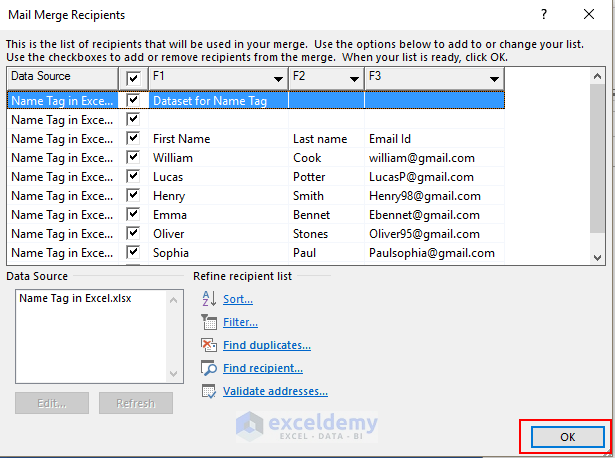
➤ A new window will open. This window contains all the information from Excel Workbook. We want to take all the data so we keep everything marked. And press OK.
4. Arranging Labels for Name Tags
Now, we need to arrange the name tags. For that follow the following procedures.
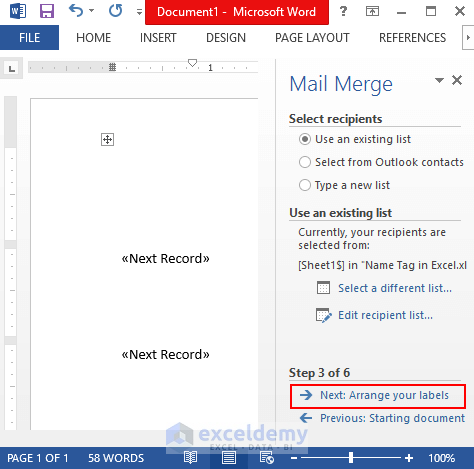
➤ Select Next: Arrange your labels and go to the next step.
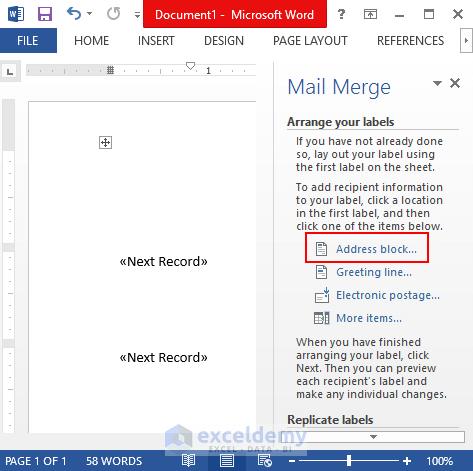
➤ Click on the Address block bar.
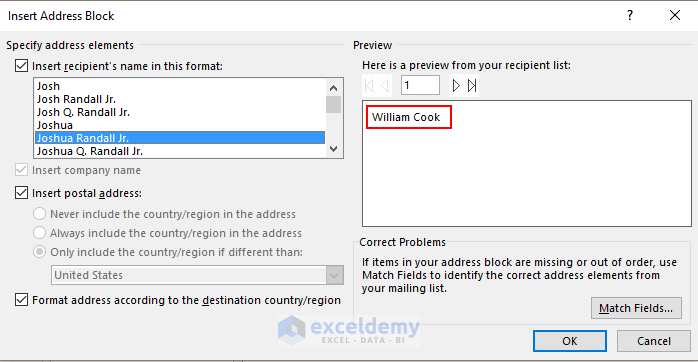
Another window like this will open. We can see the recipient’s Name on the preview box.
➤ Press OK.
Read More: How to Use Multiple Tags in One Cell in Excel
5. Update All Labels and Secure Document
After that, we need to update the labels and secure the document. This will be the last phase of our task.
➤ Select Update all labels and go to the next step.
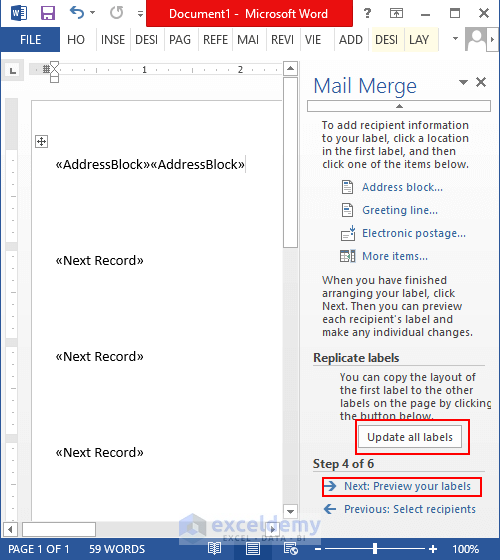
Doing so, we will have Name Tags in the Word document.
➤ To save the document, go to the next step.
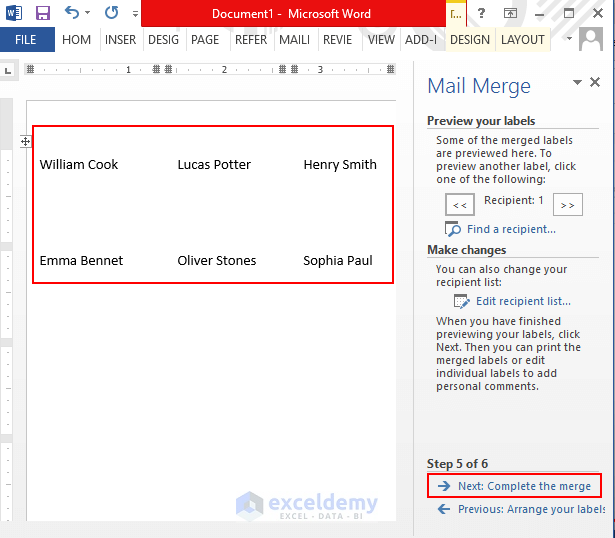
➤ To save this in a different word document, click on Edit individual labels.

Download Practice Workbook
You can download and practice this workbook.
Conclusion
This is how you can make name tags in Excel. Thank you for making it this far. I hope you find this article useful. If there are any queries or suggestions regarding this method, feel free to leave a comment.
Related Articles
- Smart Tags in Excel: Definition & Different Uses
- How to Filter Tags in Excel
- How to Create Price Tags in Excel

