This is a quick overview.
Method 1 – Set a Range by Row and Column Number Using the Cell Address in VBA
To set B4:D13, use Range(“B4:D13”).
To set the range using the VBA Range function with the name Rng (here), use the following code:
Set Rng = Range("B4:D13")
Output:
Add this code.
Rng.Select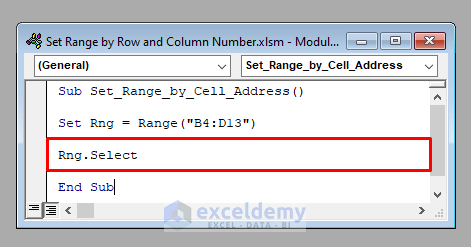
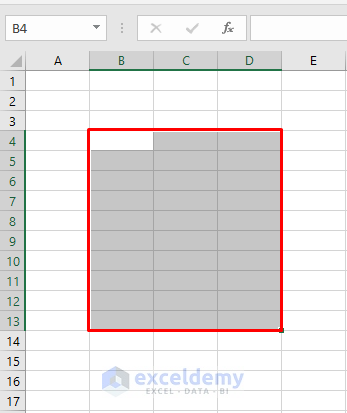
- Run the code. B4:D13 will be selected.
Notes:
If you don’t specify the worksheet name before the range, it sets the range from the active worksheet.
To set a range from a worksheet that’s not active, specify the name of the worksheet before the range.
- To set the range B4:D13 in Sheet1, use:
Set Rng = Worksheets("Sheet1").Range("B4:D13")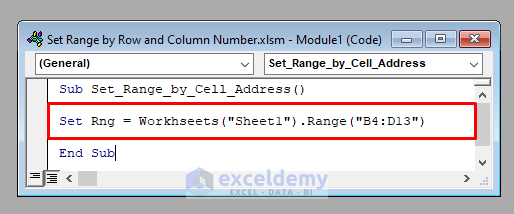
You can also enter the name of the workbook.
Set Rng = Workbooks("Book1").Worksheets("Sheet1").Range("B4:D13")
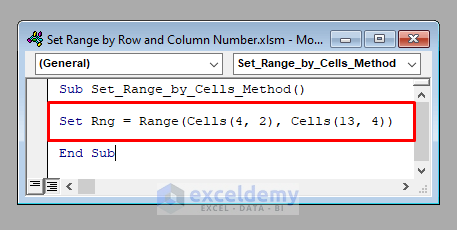
Method 2 – Set a Range by Row and Column Number Using the Cells Property of VBA
- To set B4:D13 (From Row 4, Column 2 to Row 13, Column 4), use Range(Cells(4, 2), Cells(13, 4)).
- To set the range with the name Rng, enter the following code:
Set Rng = Range(Cells(4, 2), Cells(13, 4))
Output:
- Enter this code.
Rng.Select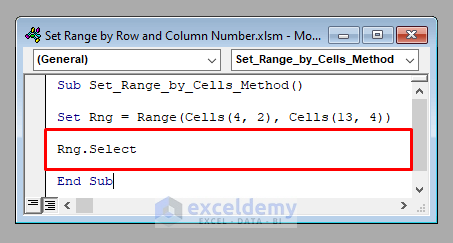
- Run the code. B4:D13 is selected in the active worksheet.

Notes:
Enter the name of the worksheet and the workbook if they are not active.
Read More: VBA Range with Variable Row Number in Excel
Method 3 – Set a Range within Another Range Using the Cells Function of VBA
- To set the range from Row 2, Column 2 to Row 3, Column 3 within B4:D13, use Range(“B4:D13”).Range(Cells(2, 2), Cells(3, 3)).
- To set the range with the name Rng, use the following code:
Set Rng = Range("B4:D13").Range(Cells(2, 2), Cells(3, 3))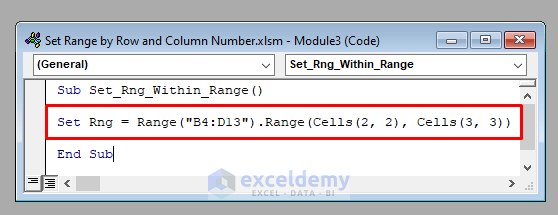
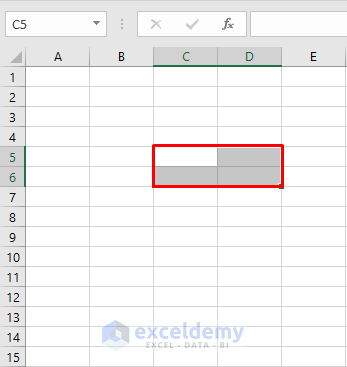
Output:
- Enter the code.
Rng.Select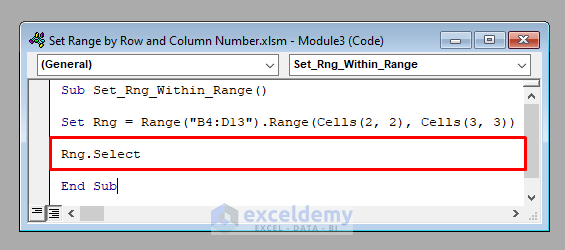
- Run the code. The range from Row 2, Column 2 to Row 3, Column 3 within the range B4:D13 is selected.
Notes:
Enter the name of the worksheet and the workbook.
Read More: VBA to Set Range in Excel
Things to Remember
The UsedRange property covers the whole range in a worksheet. Use:
Set Rng=ActiveSheet.UsedRangeIt sets the used range in the active worksheet.
Or
Set Rng=Worksheets("Sheet1").UsedRangeIt sets the used range in the worksheet Sheet1.
Download Practice Workbook
Download the practice workbook to exercise.
Related Articles
- Excel VBA: Get Range of Cells with Values
- How to Use VBA to Set a Range Variable to Selection in Excel
- How to Use Range with Variable Row and Column with Excel VBA
<< Go Back to Rows and Columns in Excel | Learn Excel
Get FREE Advanced Excel Exercises with Solutions!
