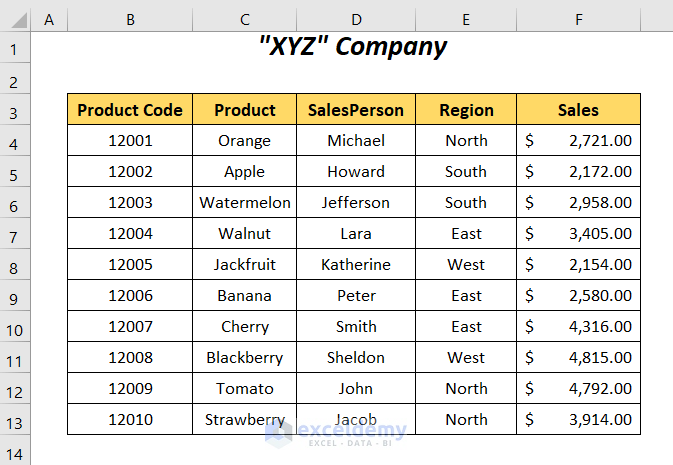
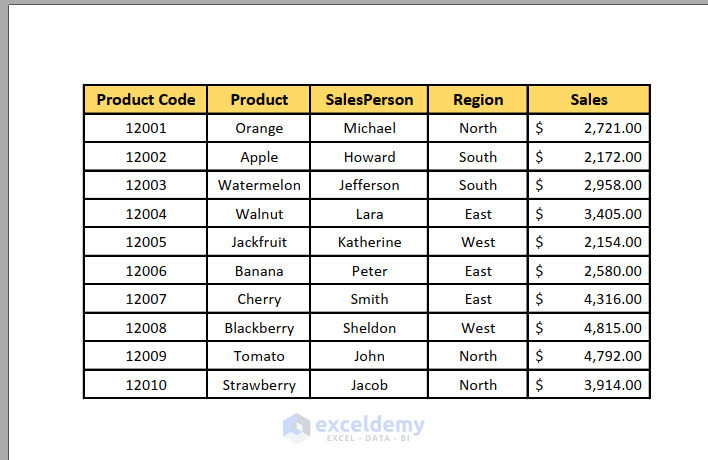
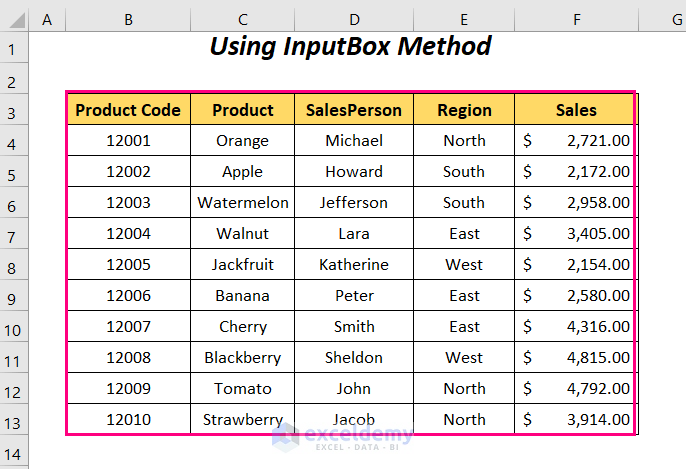
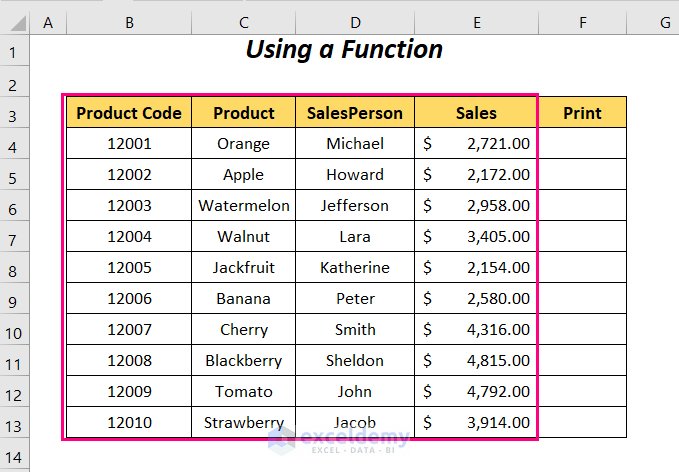
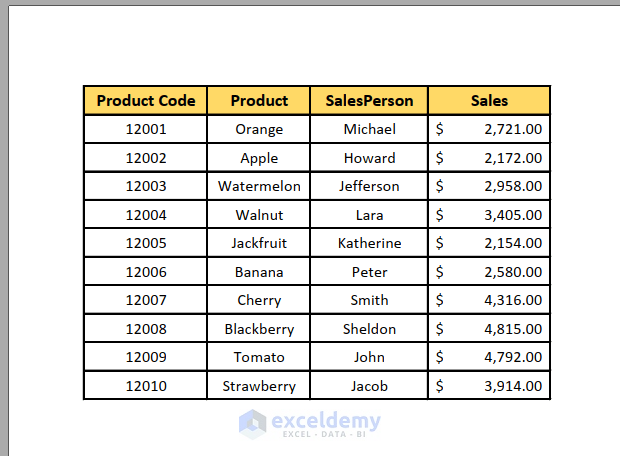
Suppose you have the following dataset.
Method 1 – Define a Range to Print to PDF and use a Cell Value as the PDF Name
Steps:
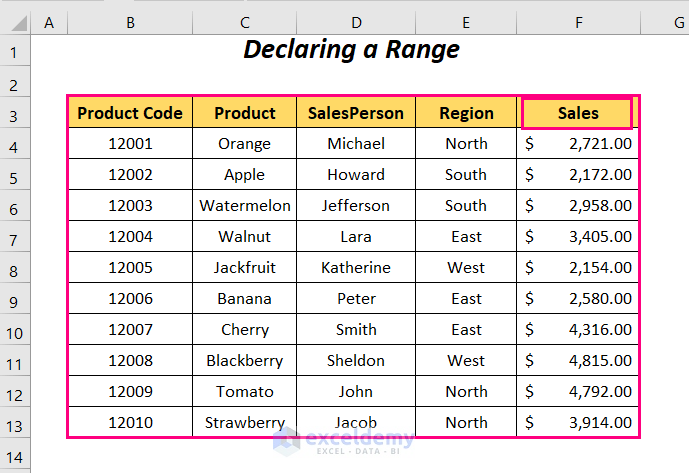
- Decide the cell value to use as the PDF name.
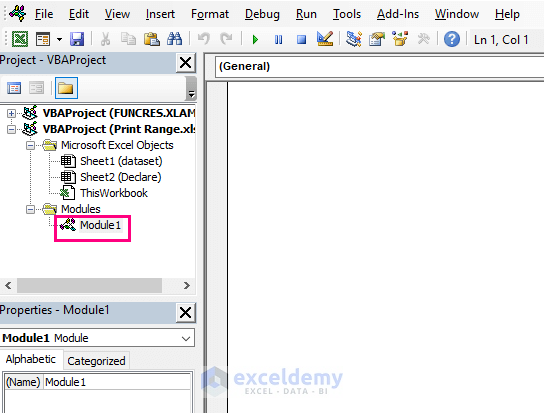
- Go to the Insert Tab and choose the Module Option.
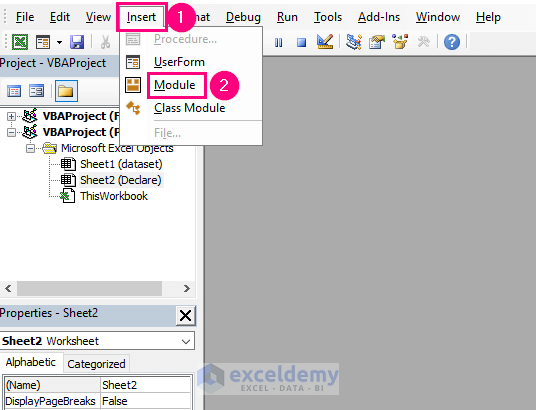
- A Module will be created.
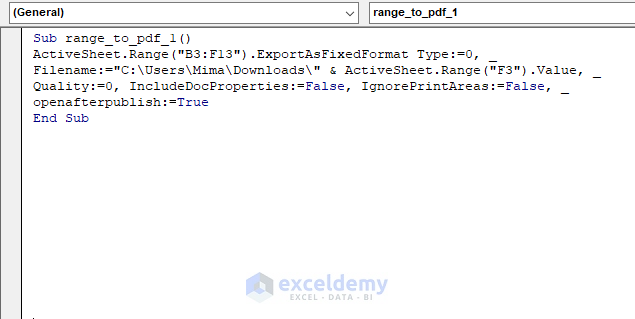
- Type this code in the Module window:
Sub range_to_pdf_1()
ActiveSheet.Range("B3:F13").ExportAsFixedFormat Type:=0, _
Filename:="C:\Users\Mima\Downloads\" & ActiveSheet.Range("F3").Value, _
Quality:=0, IncludeDocProperties:=False, IgnorePrintAreas:=False, _
openafterpublish:=True
End Sub- Set the active sheet range here: ActiveSheet.Range(“”)—(B3:F13 in this example.)
- Enter the full save path here: Filename:=””— (C:\Users\Mima\Downloads\)
- Use the file name cell value here: ActiveSheet.Range(“”)—(F3)
- For this purpose, set: Quality:=0 for standard quality, IncludeDocProperties:=False to ignore document properties, IgnorePrintAreas:=False to use the chosen print areas, and openafterpublish:=True.
- Press F5.
- The PDF is saved at the chosen location with the correct name.
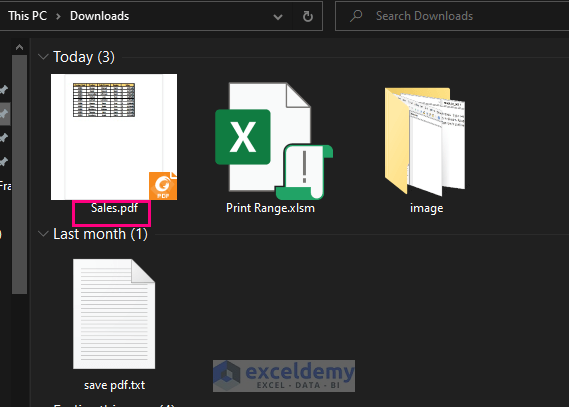
- Check for the correct data in the PDF.
Read More: Excel VBA: ExportAsFixedFormat PDF with Fit to Page
Method 2 – Use the InputBox Method and VBA to Print Selected Content to PDF
- Decide the Print Area.
Steps:
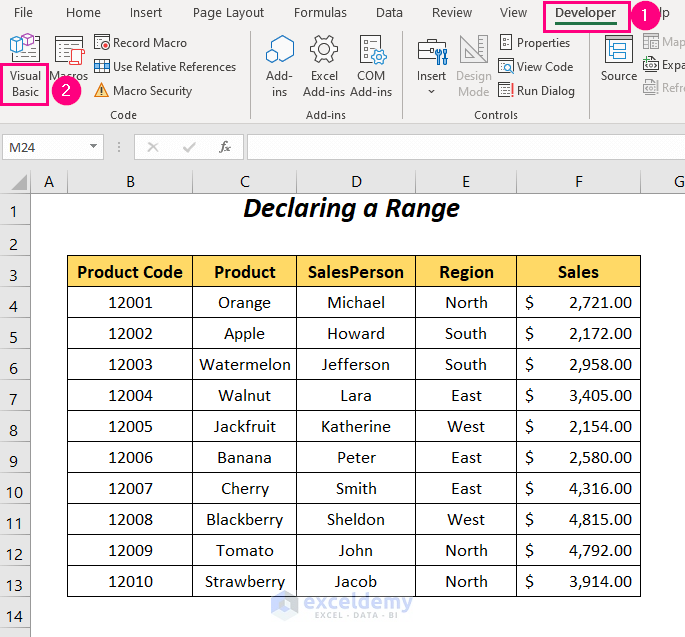
- As in Method 1, go to the Developer tab and select Visual Basic. It will open the Visual Basic window.
- Go to the Insert Tab and choose the Module Option.
- A Module will be created.
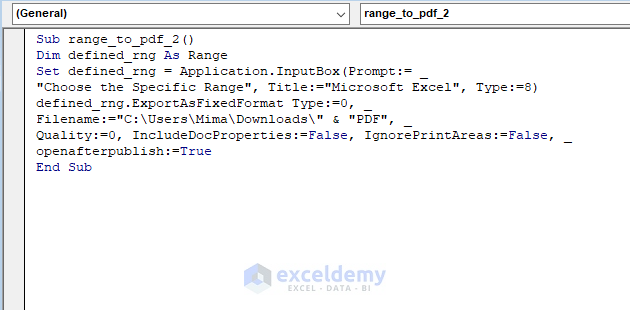
- Type this code in the Module window:
Sub range_to_pdf_2()
Dim defined_rng As Range
Set defined_rng = Application.InputBox(Prompt:= _
"Choose the Specific Range", Title:="Microsoft Excel", Type:=8)
defined_rng.ExportAsFixedFormat Type:=0, _
Filename:="C:\Users\Mima\Downloads\" & "PDF", _
Quality:=0, IncludeDocProperties:=False, IgnorePrintAreas:=False, _
openafterpublish:=True
End Sub- Enter the full save path and filename here: Filename:=””& “”— (C:\Users\Mima\Downloads\ and PDF)
- For this purpose, set: Quality:=0 for standard quality, IncludeDocProperties:=False to ignore document properties, IgnorePrintAreas:=False to use the chosen print areas, and openafterpublish:=True.
- Press F5.
- Select the specific cells to print and press OK on the Input Box.

- The PDF is saved at the chosen location with the correct name.
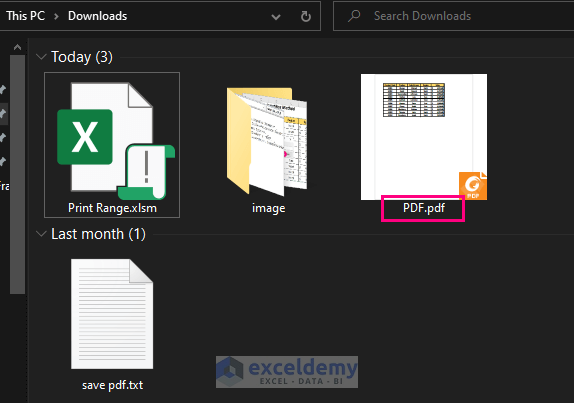
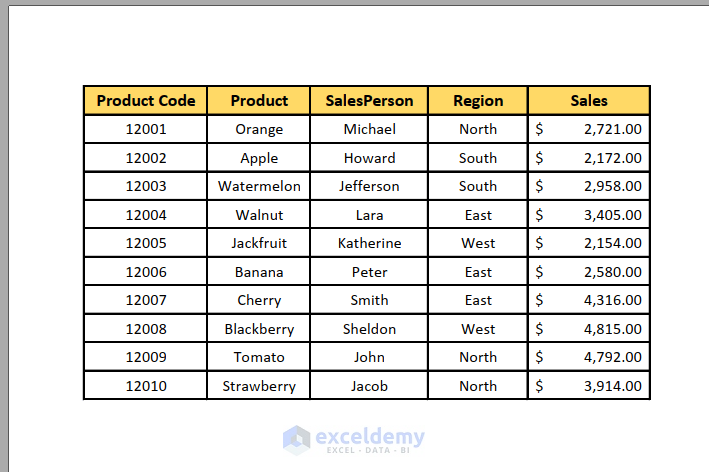
- Check for the correct data in the PDF.
Read More: Excel VBA to Print As PDF and Save with Automatic File Name
Method 3 – Use a Function to Print a Specific Range to PDF
- Decide the Print Area.
Steps:
- As in Method 1, go to the Developer tab and select Visual Basic. It will open the Visual Basic window.
- Go to the Insert Tab and choose the Module Option.
- A Module will be created.
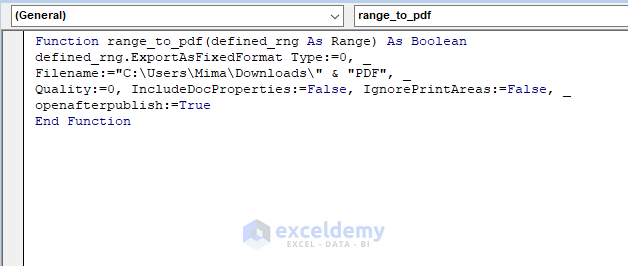
- Type this code in the Module window:
Function range_to_pdf(defined_rng As Range) As Boolean
defined_rng.ExportAsFixedFormat Type:=0, _
Filename:="C:\Users\Mima\Downloads\" & "PDF", _
Quality:=0, IncludeDocProperties:=False, IgnorePrintAreas:=False, _
openafterpublish:=True
End Function- Enter the full save path and filename here: Filename:=””& “”— (C:\Users\Mima\Downloads\ and PDF)
- For this purpose, set: Quality:=0 for standard quality, IncludeDocProperties:=False to ignore document properties, IgnorePrintAreas:=False to use the defined print areas, and openafterpublish:=True.
- Save the code and return to the main sheet.
- Type the following formula in the first cell of the Print column.
=range_to_pdf(B3:E13)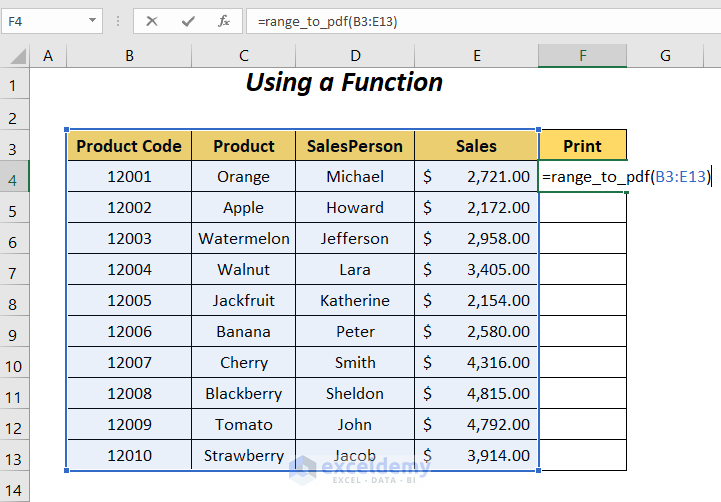
- Press ENTER.

- The PDF is saved at the chosen location with the correct name.
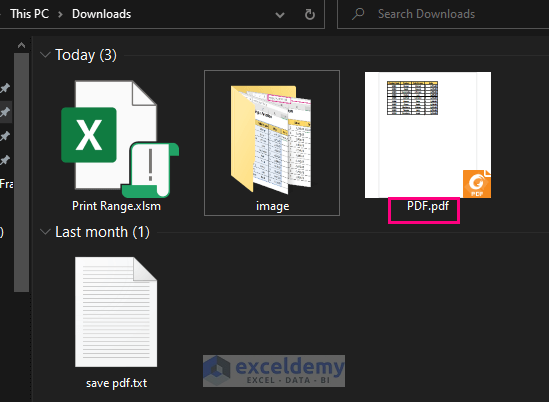
- Check for the correct data in the PDF.
Method 4 – Print Selected Range to PDF and Name with the Current Date and Time
- Define the Print Area.

Steps:
- As in Method 1, go to the Developer tab and select Visual Basic. It will open the Visual Basic window.
- Go to the Insert Tab and choose the Module Option.
- A Module will be created.
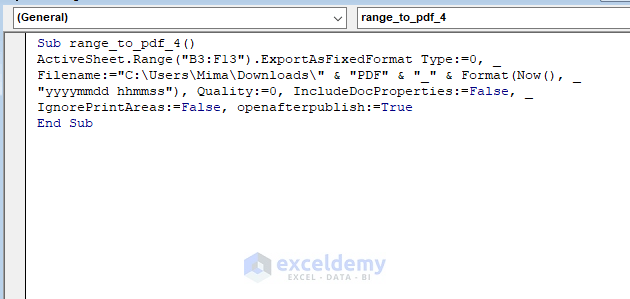
- Type this code in the Module window:
Sub range_to_pdf_4()
ActiveSheet.Range("B3:F13").ExportAsFixedFormat Type:=0, _
Filename:="C:\Users\Mima\Downloads\" & "PDF" & "_" & Format(Now(), _
"yyyymmdd hhmmss"), Quality:=0, IncludeDocProperties:=False, _
IgnorePrintAreas:=False, openafterpublish:=True
End Sub- Set the active sheet range here: ActiveSheet.Range(“”)—(B3:F13 in this example.)
- Enter the full save path and filename here: Filename:=””& “” & “_” & Format(Now(), _— (C:\Users\Mima\Downloads\ and PDF with the Format and Now functions for the date and time.)
- For this purpose, set: Quality:=0 for standard quality, IncludeDocProperties:=False to ignore document properties, IgnorePrintAreas:=False to use the chosen print areas, and openafterpublish:=True.
- Press F5.
- The PDF is saved at the chosen location with the correct name.
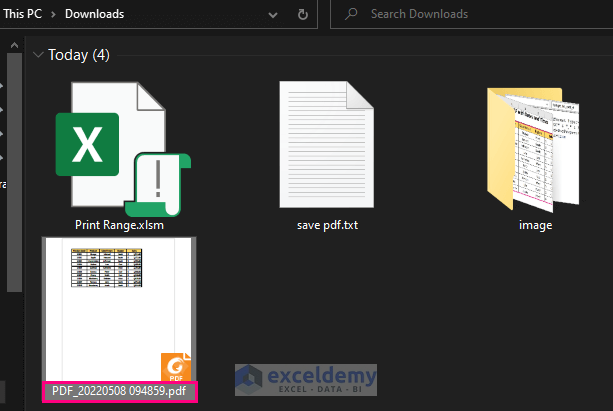
- Check for the correct data in the PDF.
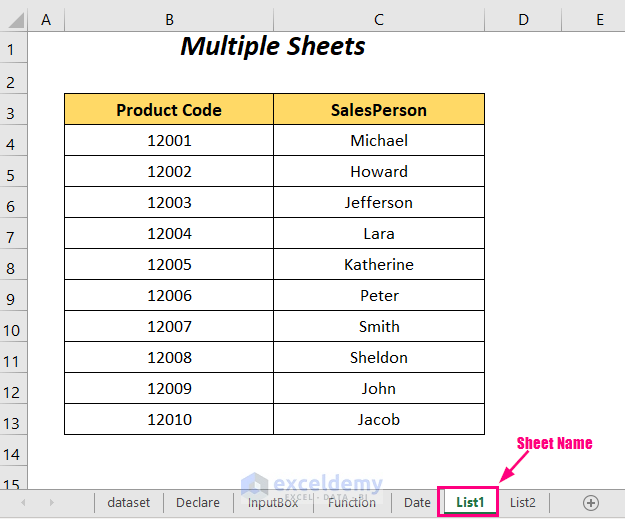
Method 5 – Print Select Ranges from Multiple Sheets to PDF with Excel VBA
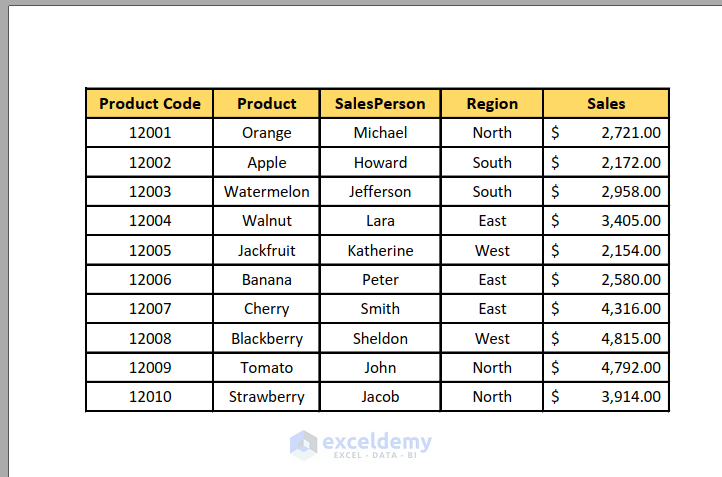
Suppose you have the following datasets on two separate sheets.

Steps:
- As in Method 1, go to the Developer tab and select Visual Basic. It will open the Visual Basic window.
- Go to the Insert Tab and choose the Module Option.
- A Module will be created.
- Type this code in the Module window:
Sub range_to_pdf_5()
Dim sht1, sht2 As Worksheet
Dim combined_sheets
Set sht1 = Worksheets("List1")
Set sht2 = Worksheets("List2")
combined_sheets = Array(sht1, sht2)
For Each sht In combined_sheets
sht.Select
sht.ExportAsFixedFormat Type:=0, _
Filename:="C:\Users\Mima\Downloads\" & sht.Name, Quality:=0, _
IncludeDocProperties:=False, IgnorePrintAreas:=False, openafterpublish:=True
Next sht
End Sub- Define sheet names here: Set sht1 = Worksheets(“”), Set sht2 = Worksheets(“”), and combined_sheets = Array( , )—(List1 and List2 in this example).
- Enter the full save path and filename here: Filename:=””& sht.Name—(C:\Users\Mima\Downloads\ and List1 and List2, respectively.)
- For this purpose, set: Quality:=0 for standard quality, IncludeDocProperties:=False to ignore document properties, IgnorePrintAreas:=False to use the chosen print areas, and openafterpublish:=True.

- Press F5.
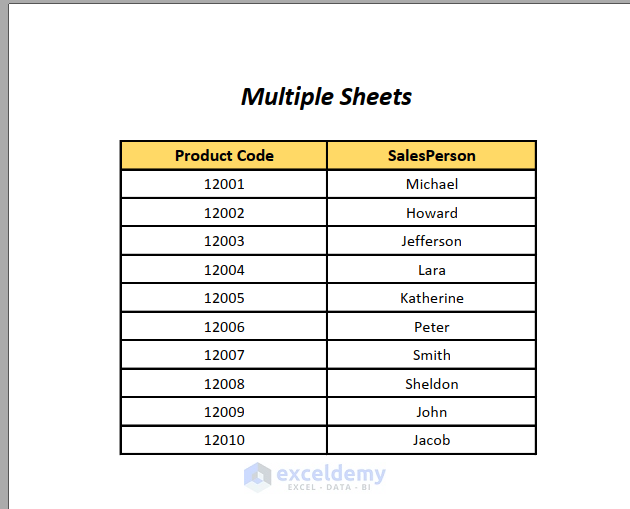
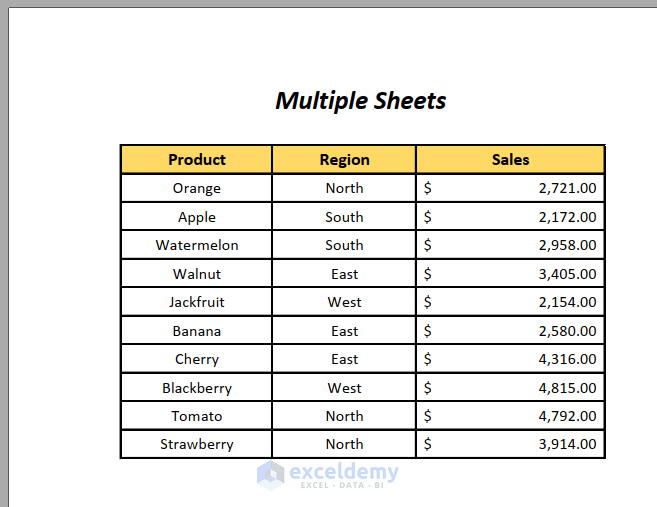
- Two PDFs are saved at the chosen location, each with the correct name.
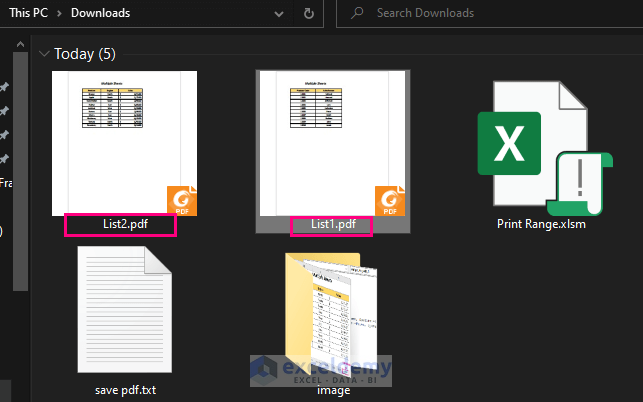
- Check for the correct data in the PDFs.
Read More: Print Multiple Excel Sheets to Single PDF File with VBA
Download Workbook
Related Articles
- Print to PDF Using Macro Button in Excel
- How to Print to PDF in Excel VBA: With Examples and Illustrations


THank you very much for this fine and easy to follow section. It helped me a great deal. God Bless You .
Dear Pirooz Rahimi,
You are most welcome and thanks for your appreciation.
Regards
ExcelDemy
Thank you very much.
I have this problem after running code:
Run-time error ‘1004’:
Document not saved. the document may be open, or an error may have been encountered when saving.
Dear KAZEM
Thank you for taking the time to read this article. I see that you are facing a problem while executing the code. It is the Run-time error ‘1004’. There are several possible reasons for this error. In your case, I believe you are having this issue because the file path you specified is incorrect or unavailable. Please note that you need to modify the file path according to the destination where you want to save the PDF file. You have to change the file path portion in the Filename variable.
For your convenience, I am attaching a photo indicating the exact portion of the code that you need to re-write.
If you have any more questions, please let us know in the comments.
Regards
Md. Abu Sina Ibne Albaruni
Team ExcelDemy
thanks
Hi Kazem,
You are welcome.
Regards
ExcelDemy