Method 1 – Setting Print Area Using a Dynamic Named Range
Step 1:
➤ Go to the Formulas Tab >> Defined Names Group >> Name Manager Option.
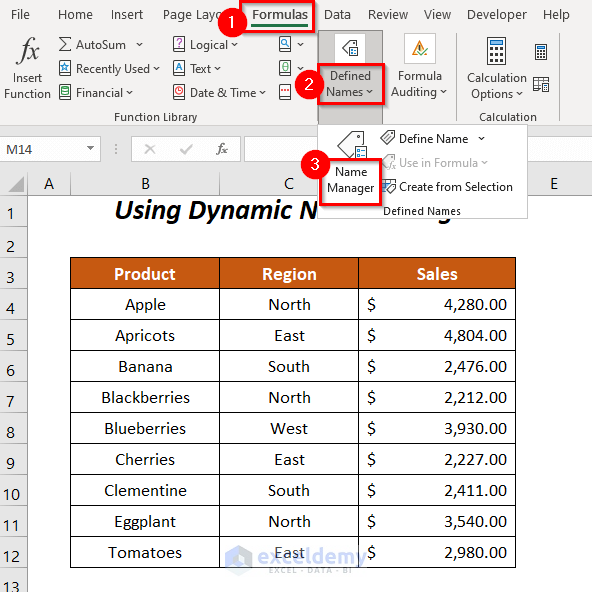
The Name Manager dialog box will open.
➤ Select the New option.
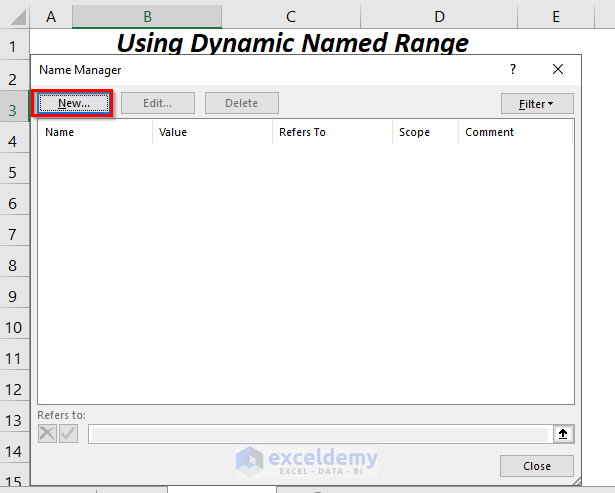
A new wizard New Name will open.
➤ Choose,
Name → Updated_Range
Scope → Workbook
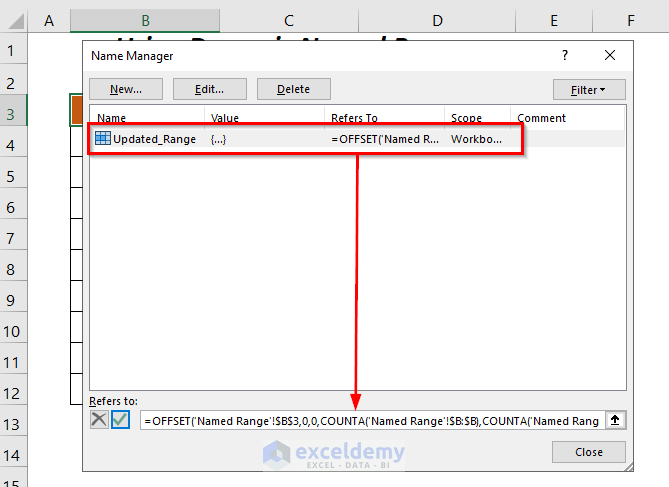
➤Enter the following formula in the Refers to box and press OK.
=OFFSET('Named Range'!$B$3,0,0,COUNTA('Named Range'!$B:$B),COUNTA('Named Range'!$3:$3))Named Range is the sheet name.
- COUNTA(‘Named Range’!$B:$B) → COUNTA will return the total number of non-blank cells in Column B as the Height
Output → 10
- COUNTA(‘Named Range’!$3:$3) → COUNTA will return the total number of non-blank cells in Row 3 as the Width
Output → 3
- OFFSET(‘Named Range’!$B$3,0,0,COUNTA(‘Named Range’!$B:$B),COUNTA(‘Named Range’!$3:$3)) becomes
OFFSET(‘Named Range’!$B$3,0,0,10,3) → OFFSET returns the range starting from cell $B$3 with a height of 10 and width of 3.
Output → $B$3:$D$12

You will be taken to the Name Manager dialog box where you will see the name of your created named range and its corresponding formula.
➤ Press Close.
Step 2:
➤ Go to the Developer Tab >> Visual Basic Option.
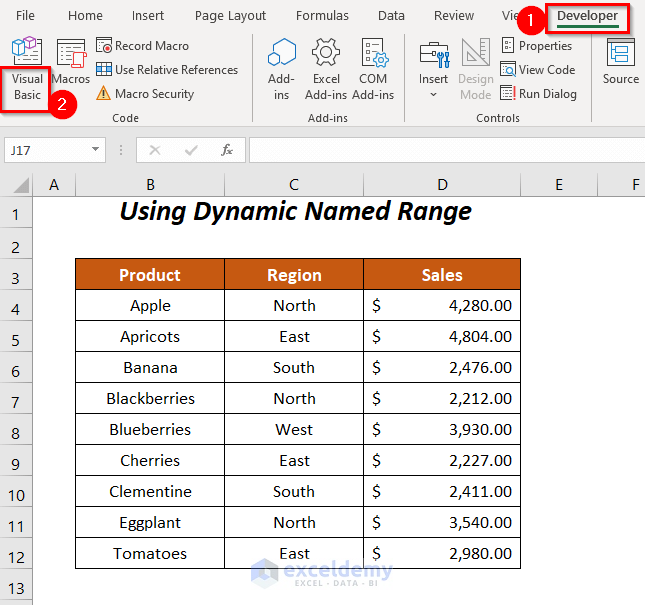
The Visual Basic Editor will open up.
➤ Go to the Insert Tab >> Module Option.
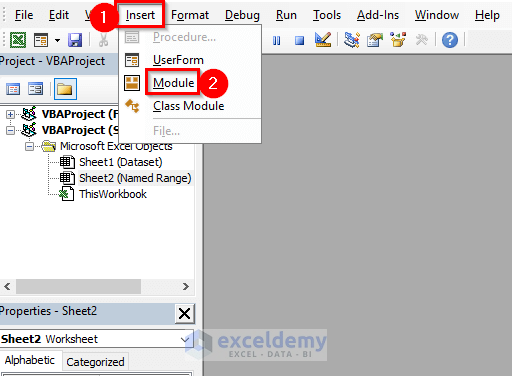
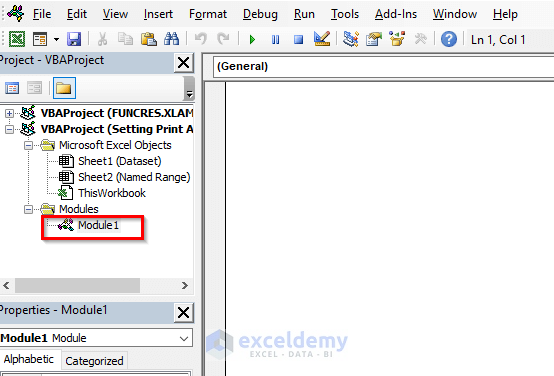
A Module will be created.
Step 3:
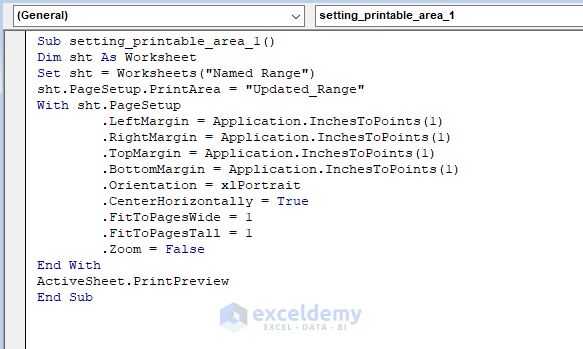
➤ Enter the following code:
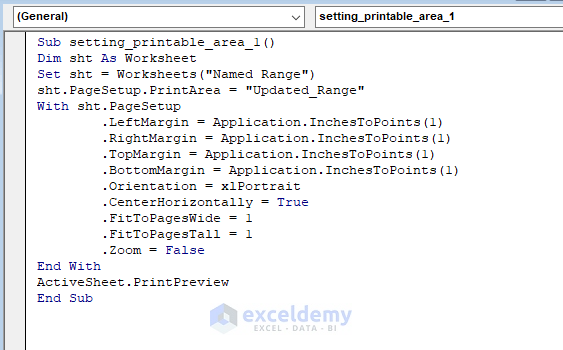
Sub setting_printable_area_1()

Dim sht As Worksheet
Set sht = Worksheets("Named Range")
sht.PageSetup.PrintArea = "Updated_Range"

With sht.PageSetup
        .LeftMargin = Application.InchesToPoints(1)
        .RightMargin = Application.InchesToPoints(1)
        .TopMargin = Application.InchesToPoints(1)
        .BottomMargin = Application.InchesToPoints(1)
        .Orientation = xlPortrait
        .CenterHorizontally = True
        .FitToPagesWide = 1
        .FitToPagesTall = 1
        .Zoom = False
End With
ActiveSheet.PrintPreview

End Sub
We have declared sht as Worksheet and set it to the worksheet Named Range.
The print area is set to the named range Updated_Range and using the WITH statement we have declared different features of the printing area. We have used ActiveSheet.PrintPreview for previewing the print area.
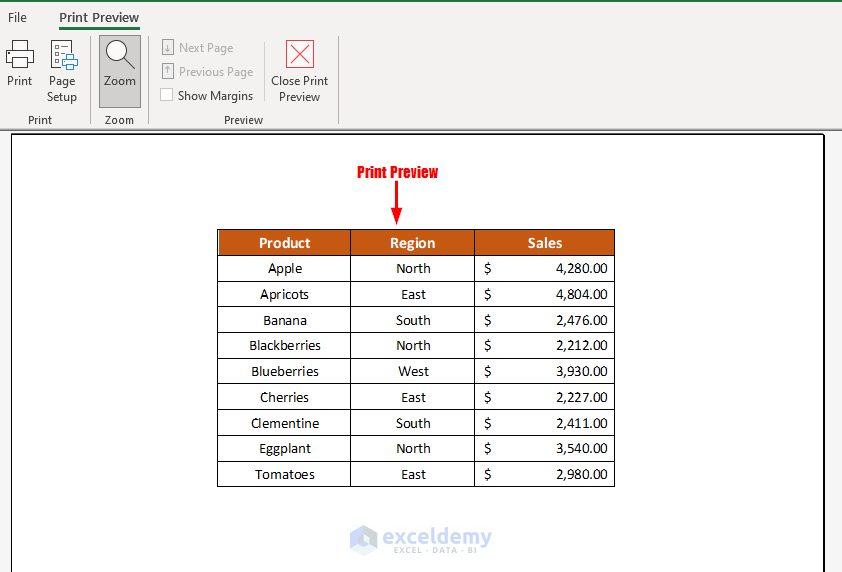
➤ Press F5.
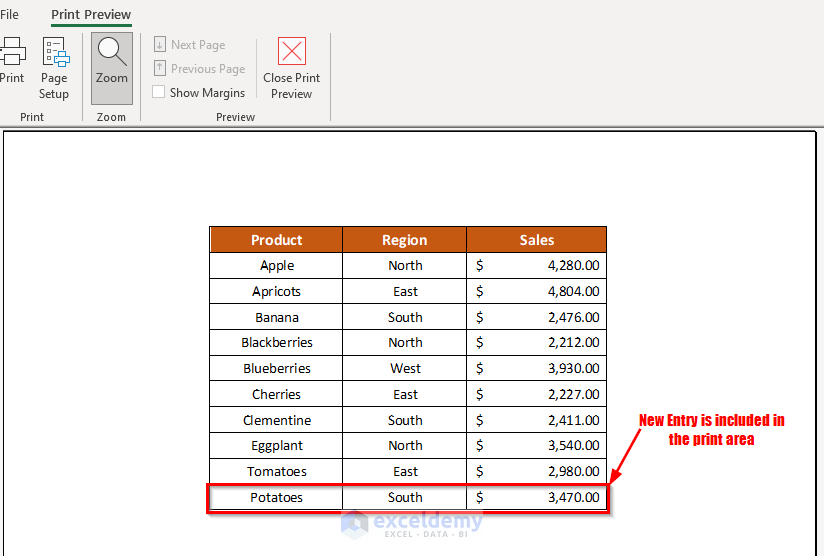
You will get the preview of the defined print area.
If you want to add the sales records for the new product Potatoes in the dataset.
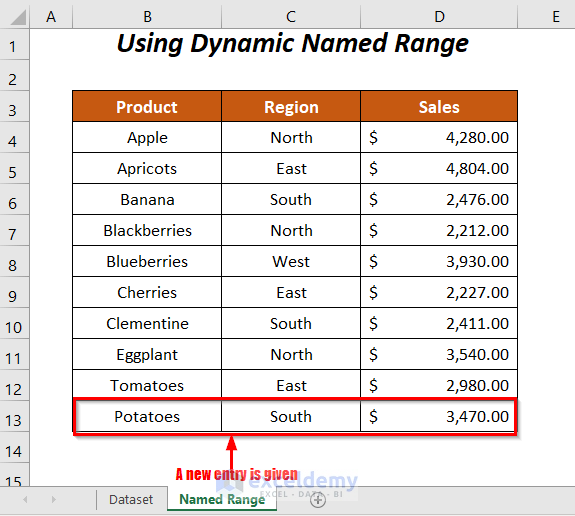
To prove the dynamicity, run the following code again by pressing F5.
In the Print Preview section, you can see the newly added product and its records in this print area.
Read More: Excel VBA: Set Print Area for Multiple Ranges
Method 2 – Setting Print Area Dynamically Using VBA FIND Function
➤ Follow Step-02 of Method 1.
➤ Enter the following code:
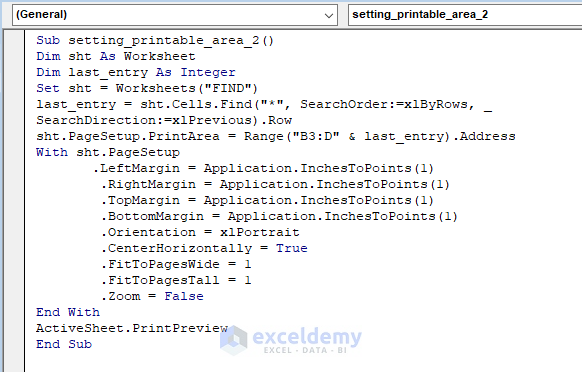
Sub setting_printable_area_2()

Dim sht As Worksheet
Dim last_entry As Integer
Set sht = Worksheets("FIND")
last_entry = sht.Cells.Find("*", SearchOrder:=xlByRows, _
SearchDirection:=xlPrevious).Row
sht.PageSetup.PrintArea = Range("B3:D" & last_entry).Address

With sht.PageSetup
       .LeftMargin = Application.InchesToPoints(1)
        .RightMargin = Application.InchesToPoints(1)
        .TopMargin = Application.InchesToPoints(1)
        .BottomMargin = Application.InchesToPoints(1)
        .Orientation = xlPortrait
        .CenterHorizontally = True
        .FitToPagesWide = 1
        .FitToPagesTall = 1
        .Zoom = False
End With
ActiveSheet.PrintPreview

End Sub
We have declared sht as Worksheet, last_entry as Integer and set it to the worksheet FIND.
last_entry will give the last row number with texts with the help of the FIND function and we have set the print area for the range starting from cell B3 to the last cell of Column D.
Using the WITH statement we defined different features of the printing area and used ActiveSheet.PrintPreview for previewing the print area.
➤ Press F5.
You will get a preview of the defined print area.

Method 3 – Using SpecialCells Property to Set Print Area Dynamically
➤ Follow Step-02 of Method 1.
➤ Enter the following code:
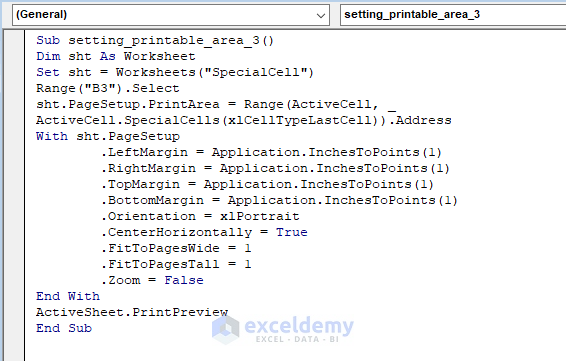
Sub setting_printable_area_3()

Dim sht As Worksheet
Set sht = Worksheets("SpecialCell")
Range("B3").Select
sht.PageSetup.PrintArea = Range(ActiveCell, _
ActiveCell.SpecialCells(xlCellTypeLastCell)).Address

With sht.PageSetup
        .LeftMargin = Application.InchesToPoints(1)
        .RightMargin = Application.InchesToPoints(1)
        .TopMargin = Application.InchesToPoints(1)
        .BottomMargin = Application.InchesToPoints(1)
        .Orientation = xlPortrait
        .CenterHorizontally = True
        .FitToPagesWide = 1
        .FitToPagesTall = 1
        .Zoom = False
End With
ActiveSheet.PrintPreview

End Sub
We have declared sht as Worksheet and set it to the worksheet SpecialCell.Cell B3 will be selected so that it will be the active cell.
Using ActiveCell.SpecialCells(xlCellTypeLastCell) we will define the last cell and so the range starting from B3 to the very last cell will be set as the print area.
Using the WITH statement, we defined different features of the printing area and used ActiveSheet.PrintPreview for previewing the print area.
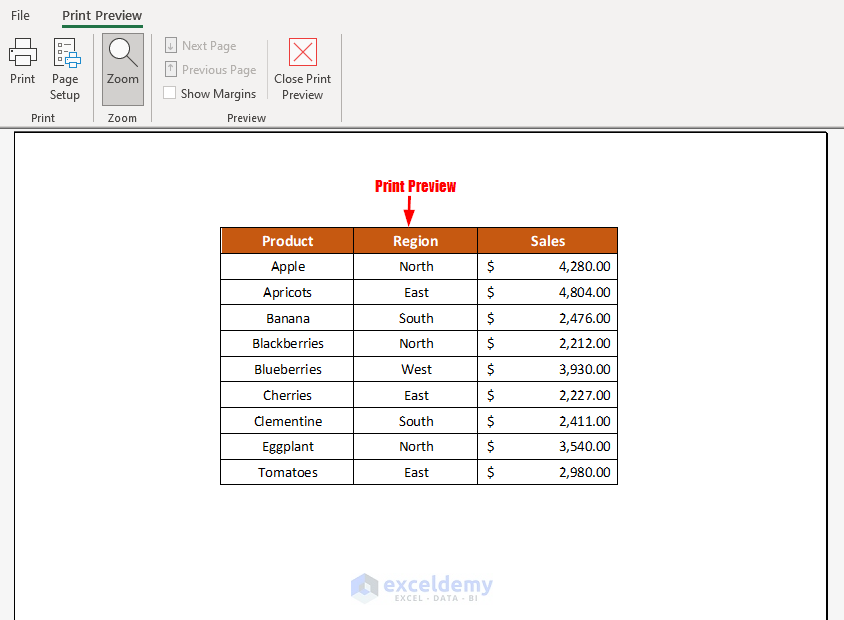
➤ Press F5.
You will get a preview of the defined print area.
Method 4 – Using Selection Property to Set Print Area Dynamically
➤ Follow Step-02 of Method 1.
➤ Enter the following code:
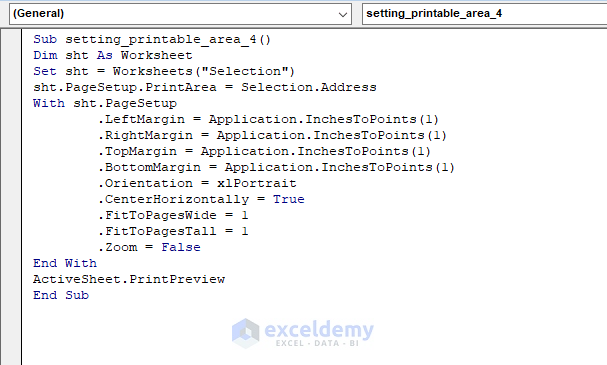
Sub setting_printable_area_4()

Dim sht As Worksheet
Set sht = Worksheets("Selection")
sht.PageSetup.PrintArea = Selection.Address

With sht.PageSetup
        .LeftMargin = Application.InchesToPoints(1)
        .RightMargin = Application.InchesToPoints(1)
        .TopMargin = Application.InchesToPoints(1)
        .BottomMargin = Application.InchesToPoints(1)
        .Orientation = xlPortrait
        .CenterHorizontally = True
        .FitToPagesWide = 1
        .FitToPagesTall = 1
        .Zoom = False
End With
ActiveSheet.PrintPreview

End Sub
We have declared sht as Worksheet and set it to the worksheet Selection. Use Selection. Address to set our selected range as the print area.
Using the WITH statement we defined different features of the printing area and used ActiveSheet.PrintPreview for previewing the print area.
Save the code and return to the main sheet.
➤ Select the range, and go to the Developer Tab >> Macros Option.
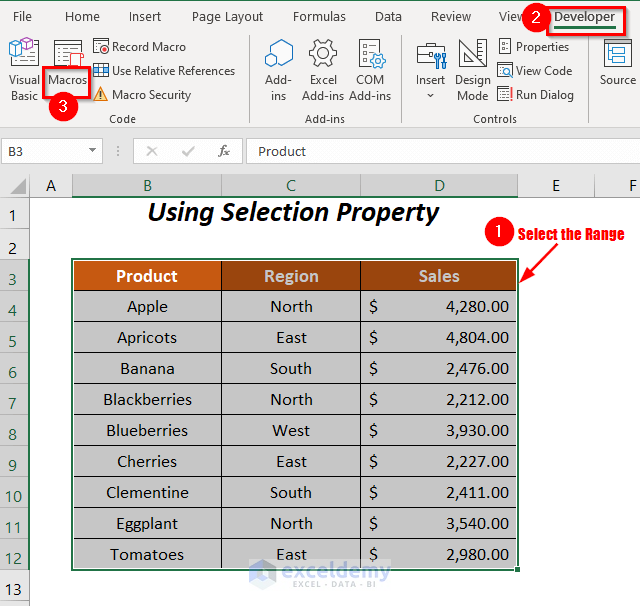
The Macro dialog box will open up.
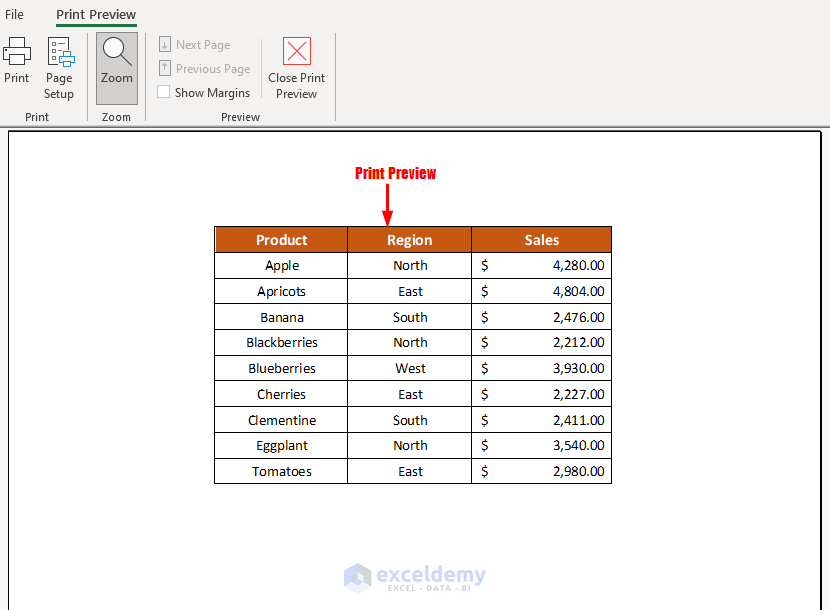
➤ Select the macro setting_printable_area_4 and press the Run option.
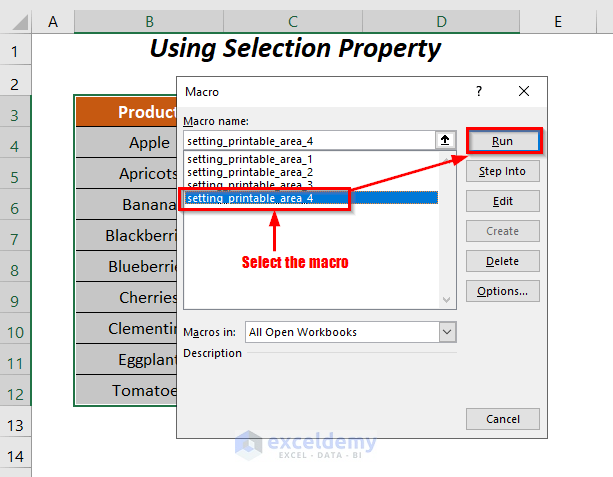
It will show a preview of the print area with our selection.
Read More: How to Set Print Area to Selection Using VBA in Excel
Method 5 – Setting Print Area Dynamically Using VBA UsedRange Property
➤ Follow Step-02 of Method 1.
➤ Enter the following code:
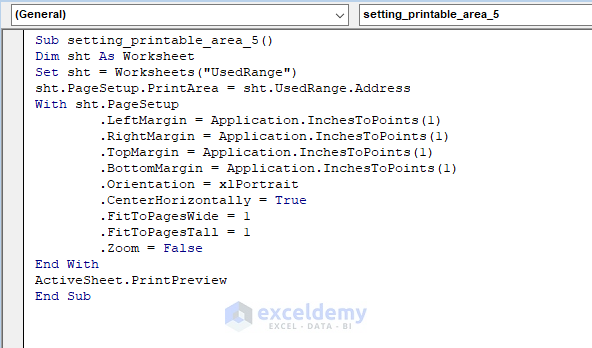
Sub setting_printable_area_5()

Dim sht As Worksheet
Set sht = Worksheets("UsedRange")
sht.PageSetup.PrintArea = sht.UsedRange.Address

With sht.PageSetup
        .LeftMargin = Application.InchesToPoints(1)
        .RightMargin = Application.InchesToPoints(1)
        .TopMargin = Application.InchesToPoints(1)
        .BottomMargin = Application.InchesToPoints(1)
        .Orientation = xlPortrait
        .CenterHorizontally = True
        .FitToPagesWide = 1
        .FitToPagesTall = 1
        .Zoom = False
End With
ActiveSheet.PrintPreview

End Sub
We have declared sht as Worksheet and set it to the worksheet UsedRange. Using sht.UsedRange.Address, we will set the whole range containing any values in this sheet as the print area.
Using the WITH statement we defined different features of the printing area andused ActiveSheet.PrintPreview for previewing the print area.
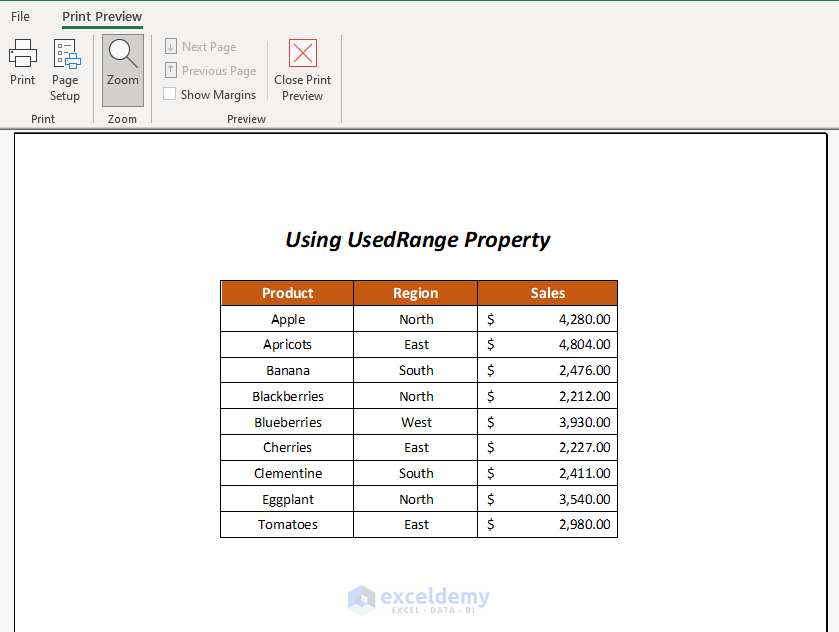
➤ Press F5.
You will get the preview of the defined print area.
Method 6 – Using CurrentRegion Property to Set Print Area Dynamically
➤ Follow Step-02 of Method 1.
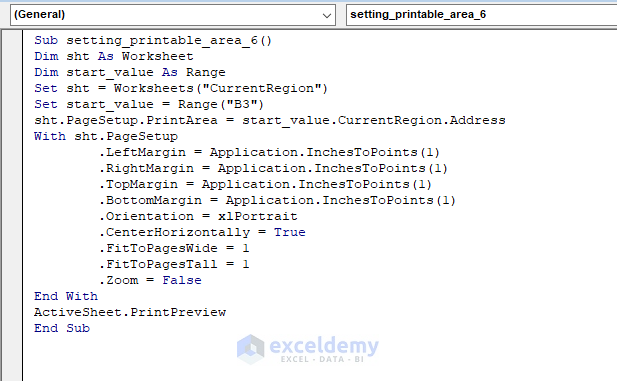
➤ Enter the following code.
Sub setting_printable_area_6()

Dim sht As Worksheet
Dim start_value As Range
Set sht = Worksheets("CurrentRegion")
Set start_value = Range("B3")
sht.PageSetup.PrintArea = start_value.CurrentRegion.Address

With sht.PageSetup
        .LeftMargin = Application.InchesToPoints(1)
        .RightMargin = Application.InchesToPoints(1)
        .TopMargin = Application.InchesToPoints(1)
        .BottomMargin = Application.InchesToPoints(1)
        .Orientation = xlPortrait
        .CenterHorizontally = True
        .FitToPagesWide = 1
        .FitToPagesTall = 1
        .Zoom = False
End With
ActiveSheet.PrintPreview

End Sub
We have declared sht as Worksheet, start_value as Integer and et it to the worksheet CurrentRegion.
start_value is set to the starting cell of the range which is B3 and using start_value.CurrentRegion.Address, we will set the whole range containing any values in this sheet as the print area.
Using the WITH statement, we defined different features of the printing area and used ActiveSheet.PrintPreview for previewing the print area.
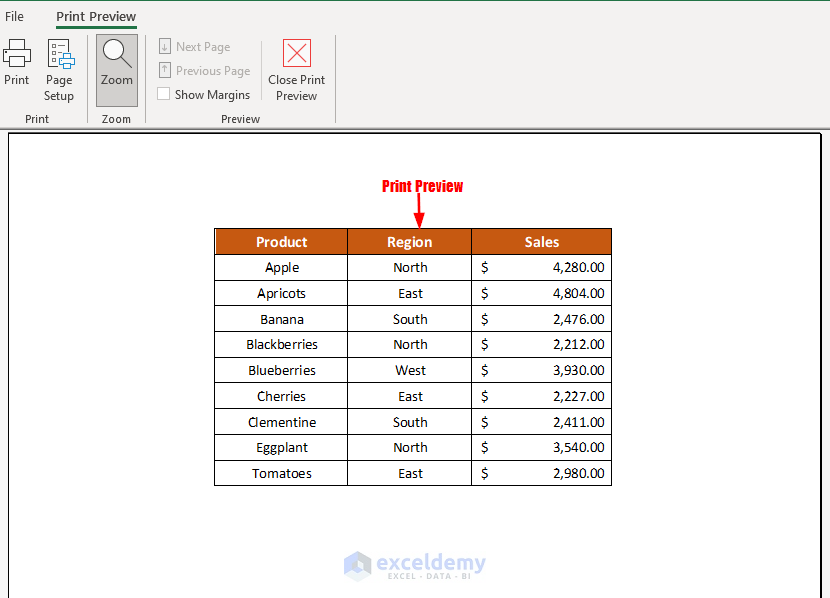
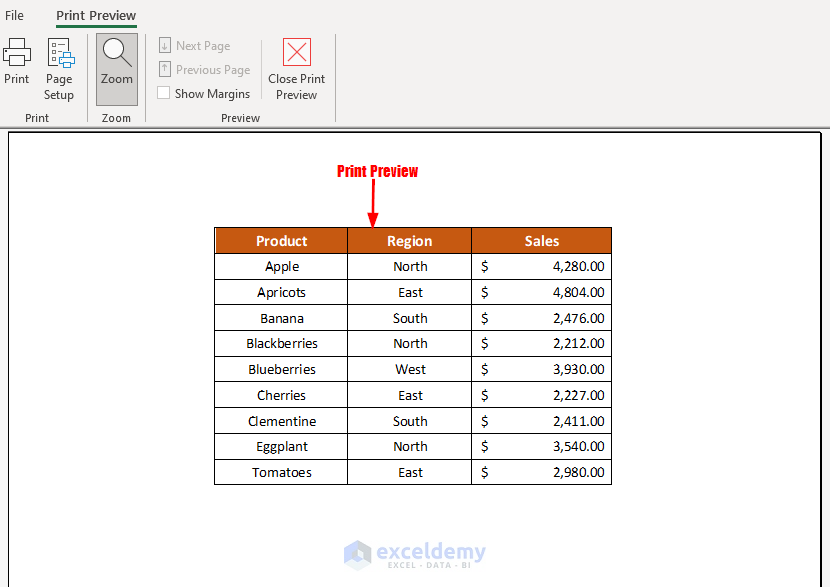
➤ Press F5.
You will get a preview of the defined print area.
Method 7 – Setting Print Area Dynamically Using Rows.Count Property
➤ Follow Step-02 of Method 1.
➤ Enter the following code:
Sub setting_printable_area_7()

Dim sht As Worksheet
Dim last_entry As Integer
Set sht = Worksheets("Rows.Count")
last_entry = sht.Range("B" & Rows.Count).End(xlUp).Row
sht.PageSetup.PrintArea = Range("B3:D" & last_entry).Address

With sht.PageSetup
        .LeftMargin = Application.InchesToPoints(1)
        .RightMargin = Application.InchesToPoints(1)
        .TopMargin = Application.InchesToPoints(1)
        .BottomMargin = Application.InchesToPoints(1)
        .Orientation = xlPortrait
        .CenterHorizontally = True
        .FitToPagesWide = 1
        .FitToPagesTall = 1
        .Zoom = False
End With
ActiveSheet.PrintPreview

End Sub
We have declared sht as Worksheet, last_entry as Integer, and set it to the worksheet Rows.Count.
last_entry will give the last row number with texts with the help of the Rows.Count property and we have set the print area for the range starting from cell B3 to the last cell of Column D. Using the WITH statement, we defined different features of the printing area and used ActiveSheet.PrintPreview for previewing the print area.

➤ Press F5.
You will get a preview of the defined print area.
Download Workbook
Related Articles
- Excel VBA: Print Preview for Selected Range
- How to Display Print Preview with Excel VBA
- VBA Code for Print Button in Excel
- Excel VBA: Print Range of Cells
- How to Print Specific Sheets Using VBA Macro in Excel


Wow. What a good article. Answered a big dilemma I was having. Thank you.
Hello Terry Wayne Sutfin,
Thanks for your appreciation, it means a lot to us.
Regards
ExcelDemy
Hi Tanjima,
this was amazing and really helped me. I am though still getting stuck on how to exclude blank cells that hold a formula? is there a way around that?
Hello James
Thanks for your compliment! We are glad these ideas helped you a lot.
You are facing difficulties in excluding blank cells that hold a formula from the print area. The following code can give you ideas; here, the HasFormula property is used, along with checking whether it is empty or not.
Excel VBA Code:
I hope the ideas will help you exclude blank cells holding a formula. Good luck.
Regards
Lutfor Rahman Shimanto
Excel & VBA Developer
ExcelDemy