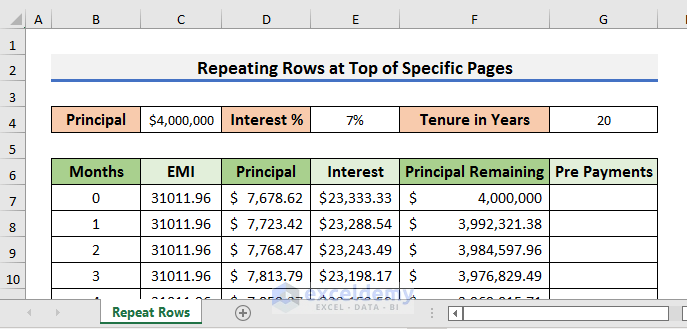
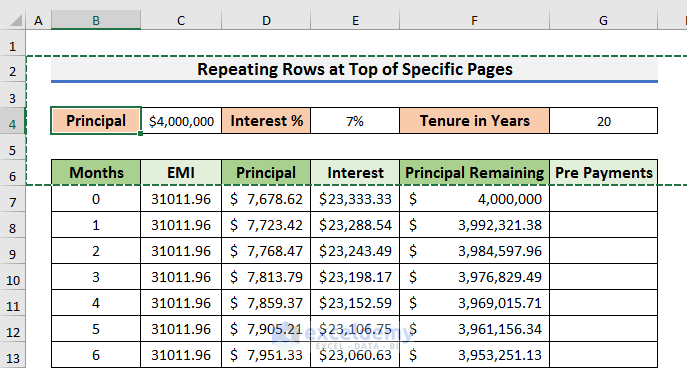
Suppose you have the following dataset and want rows 2 through 6 to always show at the top of the page when printed.
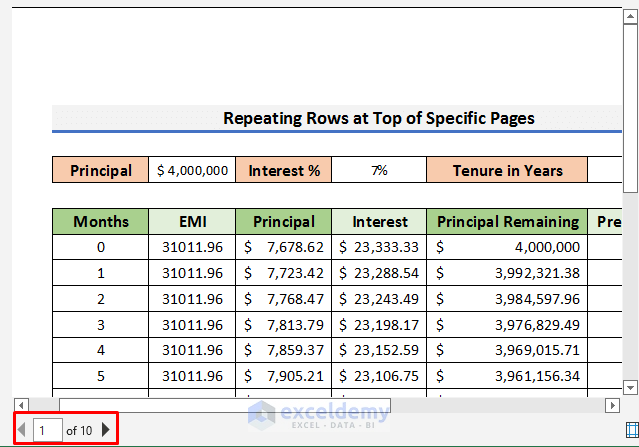
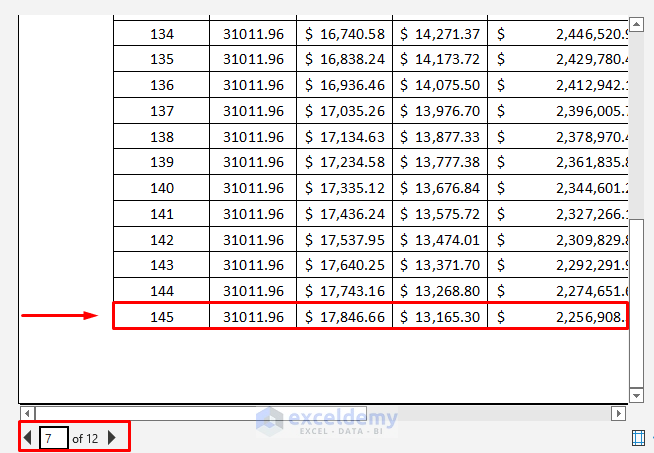
If you press Ctrl + P to see the print preview, you will see the rows on the first page.
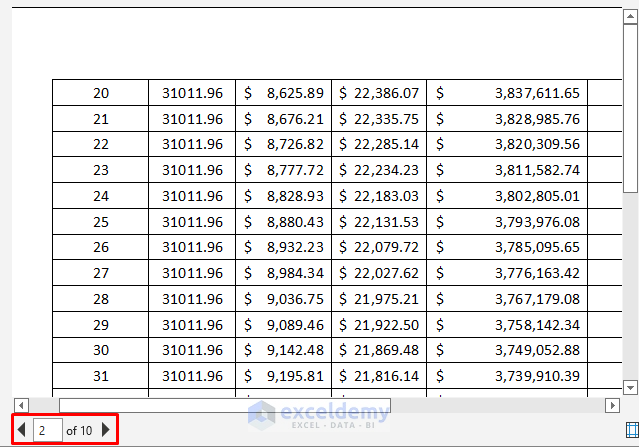
But they don’t show on any of the other pages.
Step 1: Select Rows to Repeat at the Top of Pages
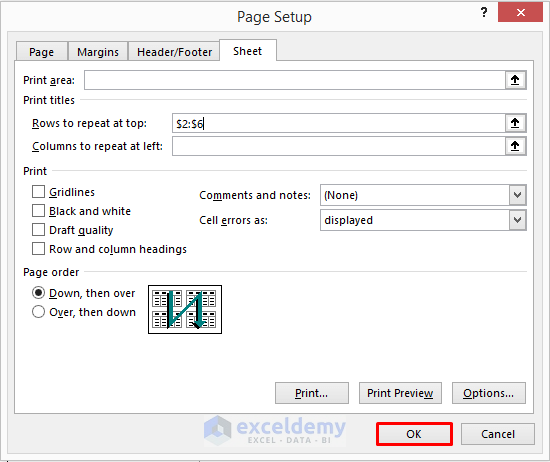
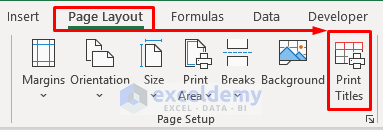
- Go to the Page Layout tab and select the Print Titles option. It will open the Page Setup dialog box.

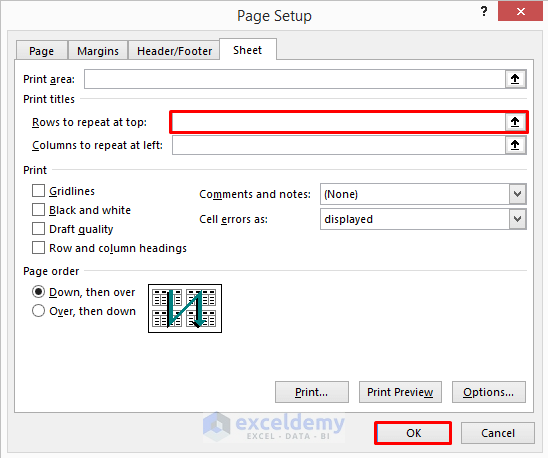
- In the Page Setup dialog box, select Sheet and click on the arrow sign of the ‘Rows to repeat at top’ field.
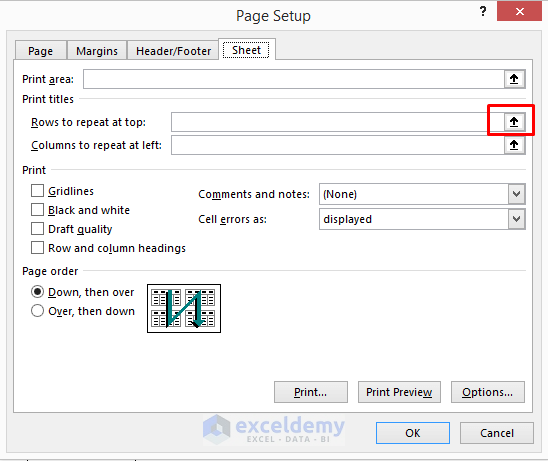
- A small box will open.

- Select the rows you want to repeat.
Step 2: Repeat Rows at the Top of Every Page
- After selecting the rows, click on the drop-down arrow of the small box.

- The original Page Setup box will appear.
- Click OK.
Read More: How to Repeat Rows at Top in Excel
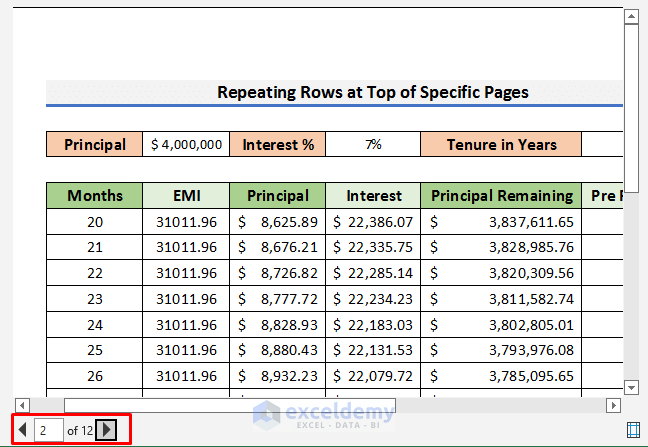
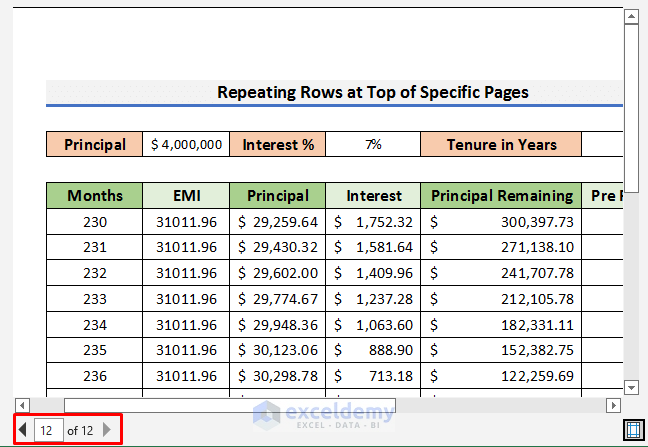
Step 3: Check the Print Preview of All Pages
- Press Ctrl + P to see the print preview (or click the Home tab and select Print)
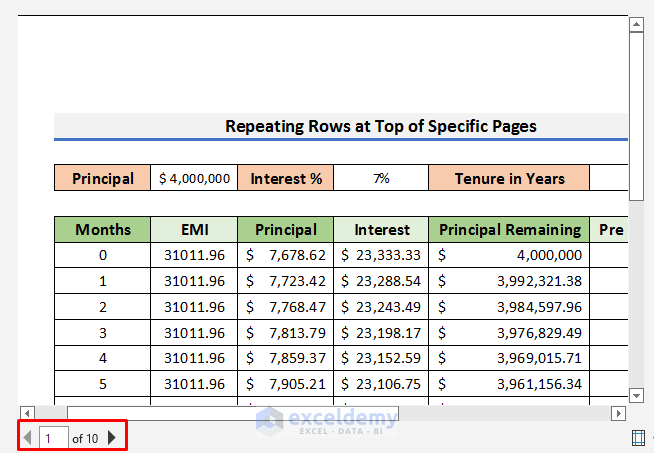
- You may notice the number of pages has increased.

- The desired rows will now appear on the top of all pages when printed.
Print Only Specific Pages with Repeated Rows
At times, repeated rows aren’t necessary for all pages. Printing the whole data range in this instance takes a few more steps to align everything correctly.
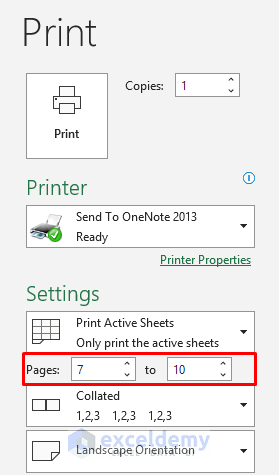
Step 1 – Print Specific Pages with the Repeated Rows
- In the Print dialog box, enter the page numbers in the Pages field and click on the Print option. They will have the repeated rows printed on the top.

Read More: How to Repeat Rows in Excel When Printing
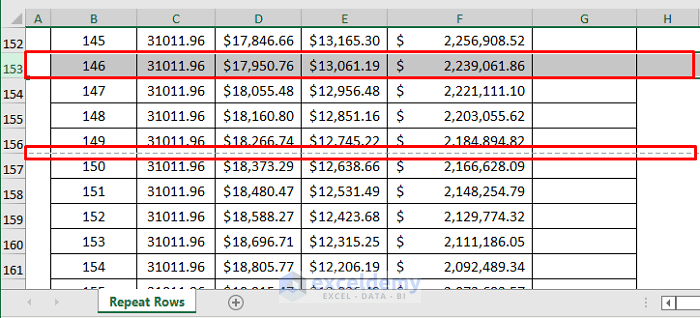
Step 2 – Note The Last Line of Data
It is necessary to reset print settings when printing a mix of data with repeated rows and data without. This can change where lines of data are on pages. To avoid duplicated or missing information:
- Find the last line of printed data (the pages with the repeated rows) and make a note of it. The next line will need to be the first printed on the next page.
Step 3 – Change Settings after Printing Specific Pages
- After printing the desired pages with repeated rows, go to the Page Layout tab and select Print Titles.
- Remove the numbers from the ‘Rows to repeat at top’ field.
- Click OK.
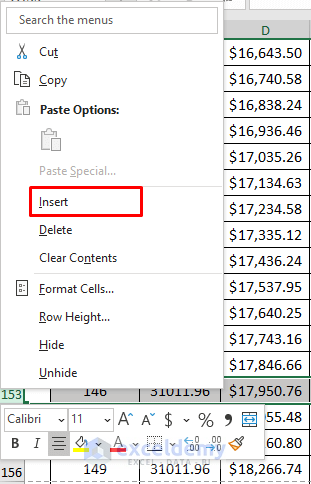
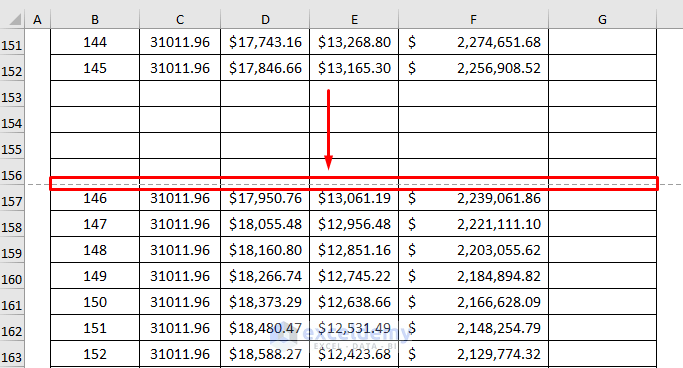
Step 4 – Adjust Page Breaks to Print Other Pages Correctly
- Press Ctrl + P to open the print preview.
The lines of data have moved and there are now lines that were not previously on the last printed page.

- To adjust the data, find the row that should be the first line of the next printed page.
- Find the next page break in the preview.
- Right–click and select Insert to add blank rows until the correct line is under the page break.
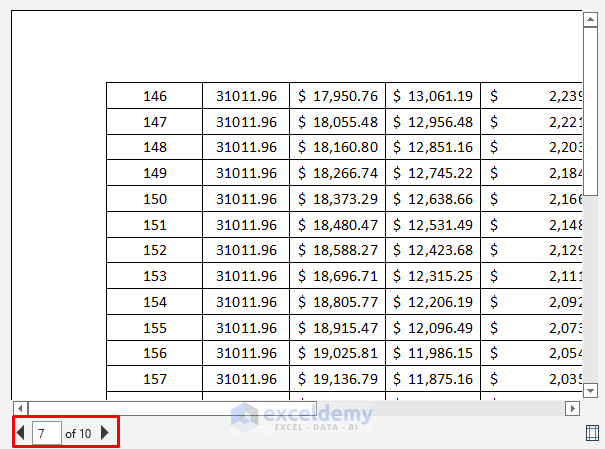
Step 5 – Check the Print Preview
- Make sure the first page to be printed with no repeated rows starts with the correct line.
Step 6 – Print Remaining Pages Without Repeated Rows
- Open the Print dialog box and choose the correct page range to print in the Pages field and click Print. They will have no repeated rows at the top.
Download Practice Book
You can download the practice book from here.
Related Articles
- How to Repeat Rows for a Specified Number of Times in Excel
- How to Repeat Rows in Excel at Bottom
- How to Make a Pattern Repeat in Excel
- Repeat Text in Excel Automatically
- [Fixed] Repeat Last Action Not Working in Excel
<< Go Back to Repeat in Excel | Excel Cell Format | Learn Excel
Get FREE Advanced Excel Exercises with Solutions!
