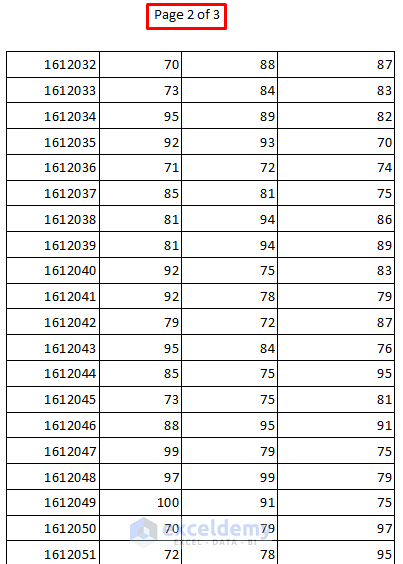
Consider a dataset of 100 students’ marks in 3 subjects. To print it and display the header row on each page:
Method 1 – Using the Print Titles Command to Repeat Rows while Printing
Steps:
- Go to the Page Layout tab >> Print Titles.
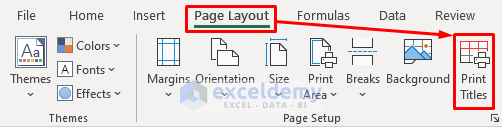
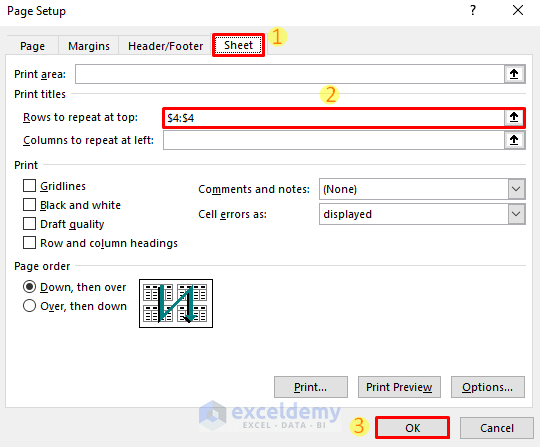
- In the Page Setup dialog box, go to the Sheet tab.
- Enter $4:$4 in Rows to repeat at top:.
- Click OK.
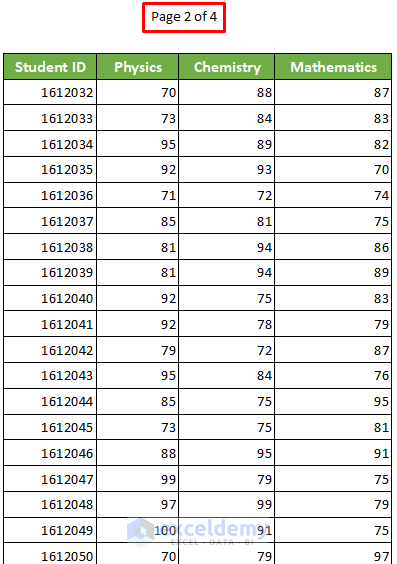
The header row is repeated on every page:
Read More: How to Repeat Rows at Top in Excel
Method 2 – Rename the Rows using Print_Titles in the Name Box
Steps:
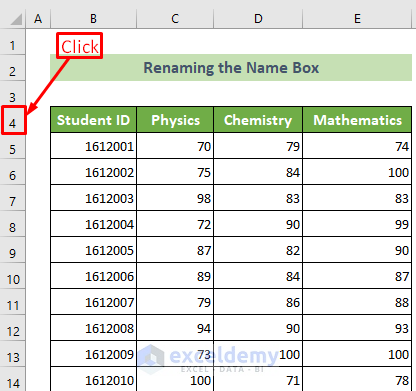
- Click the row header number (4, here) that you want to repeat on every page. If you have multiple rows, select them all.
- Click the Name Box and enter Print_Titles.
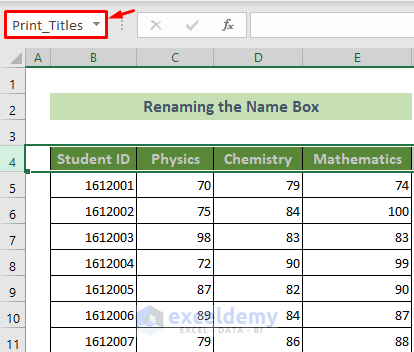
This is the output.
Read More: How to Repeat Rows at Top of Specific Pages in Excel
Method 3 – Applying a VBA Code to Repeat Rows While Printing in Excel
Steps:
- Go to the Developer tab >> Visual Basic.

- In the Microsoft Visual Basic for Applications window, in VBAProject, choose Sheet 4.
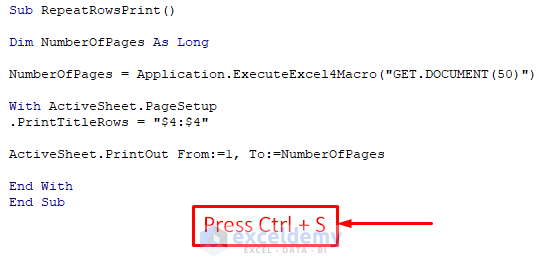
- Enter the following code in the code window of Sheet4.
Sub RepeatRowsPrint()
Dim NumberOfPages As Long
NumberOfPages = Application.ExecuteExcel4Macro("GET.DOCUMENT(50)")
With ActiveSheet.PageSetup
.PrintTitleRows = "$4:$4"
ActiveSheet.PrintOut From:=1, To:=NumberOfPages
End With
End Sub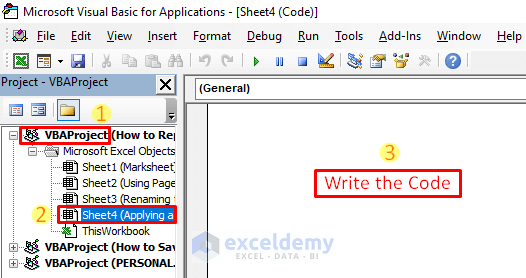
- Press Ctrl + S.
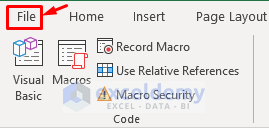
- Close the VBA window and go to the File tab.
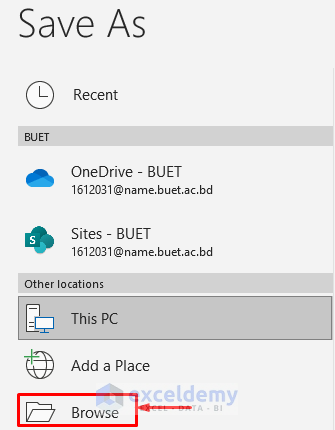
- Choose Save As.

- Click Browse.
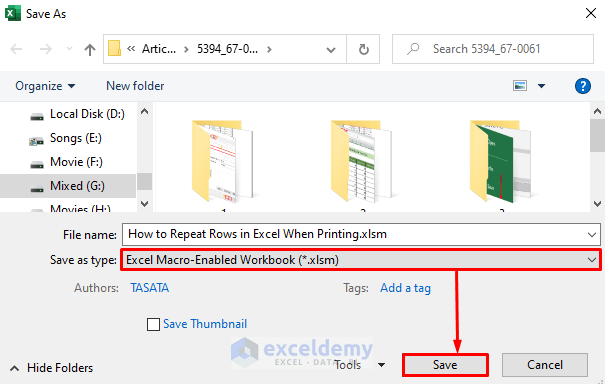
- Choose .xlsm in Save as type:.
- Click Save.
- Go to the Developer tab >> Visual Basic.


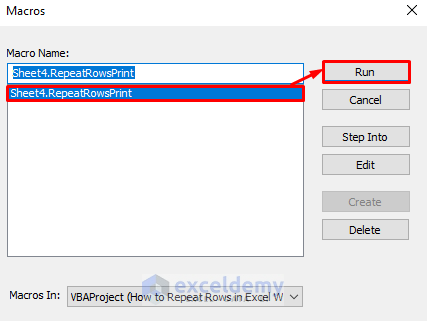
- In the Macros window, choose the macro and click Run.
This is the output.
Read More: How to Make a Pattern Repeat in Excel
Download Practice Workbook
Download the practice workbook.
Related Articles
- How to Repeat Rows for a Specified Number of Times in Excel
- How to Repeat Rows in Excel at Bottom
- Repeat Text in Excel Automatically
- [Fixed] Repeat Last Action Not Working in Excel
<< Go Back to Repeat in Excel | Excel Cell Format | Learn Excel
Get FREE Advanced Excel Exercises with Solutions!
