In this article, we will learn how to remove floating cells in Excel. Floating cells mean their contents float over adjacent cells. Floating cells are extremely helpful for mentioning special something on the worksheet. After the use, we have to remove the floating cells. We can easily do this task in Excel. So, without any delay, let’s start the discussion.
What Are Floating Cells in Excel?
Microsoft Excel allows us to add a floating box, floating chart, and floating image to the workbook. We can easily change the contents of these cells and also the boundaries of the cells. These cells normally float over adjacent cells. These types of cells are called floating cells.
How to Create Floating Cells in Excel
In this section, we will use the Copy-Paste option to create floating cells in Excel. Let’s follow the steps to create floating cells in Excel.
STEPS:
- Firstly, select the cells you want to show as floating cells.
- So, we have selected B5 to C6 cells.
- Then, copy the cells by pressing Ctrl + C.
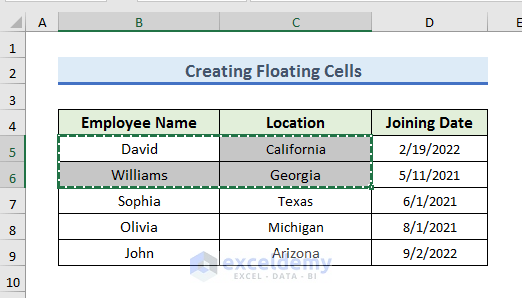
- After that, select the space where you want to show the floating cells.
- We want to keep our floating cells just below the main data set.
- Therefore, click on the B11 cells.

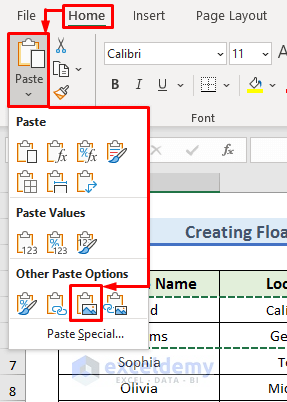
- In the following step, we need to paste the cells in the picture format.
- So, go to the Paste option from the Home tab.
- After that, select the following Picture icon in Other Paste Options.
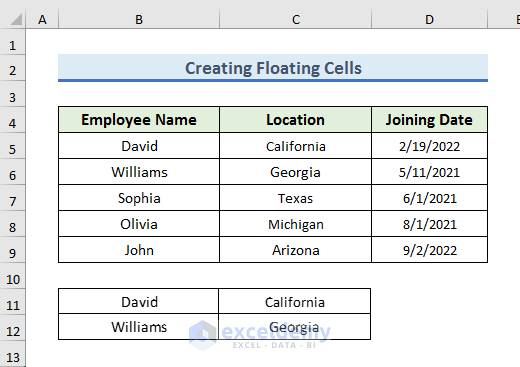
- Finally, we can observe a floating cell below the main dataset.
How to Remove Floating Cells in Excel: 3 Easy Ways
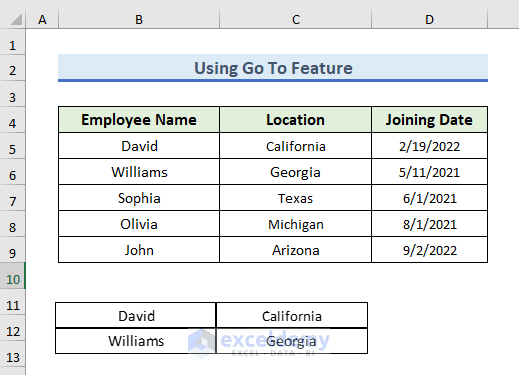
We will use a dataset of employees’ information about a company. Column A demonstrates the employee’s Name, Column B shows the Location of the employee, and Column C shows the Joining Date of that employee. There are also floating cells added to the dataset. We will show you 3 suitable ways of removing floating cells in Excel.
1. Use Go To Feature to Delete Floating Cells in Excel
Using Go To Feature we can easily select the floating cells automatically and delete them. There is a floating figure below the cells of the dataset.
Let’s follow the steps to delete the floating cell in Excel.
STEPS:
- Firstly, click F5 to display the Go To dialog.
- Alternatively, you can display the Go To dialog by pressing Ctrl + G.
- In the following step, click on the Special option of the Go To window.

- After that, the Go To Special window will open up.
- Then, select Objects to select all floating cells.
- Now, press OK.

- After that, in the dataset, we can see that the floating image is selected.

- Finally, simply press the Delete key on the keyboard.
- Now, you can observe that the floating figure is deleted.

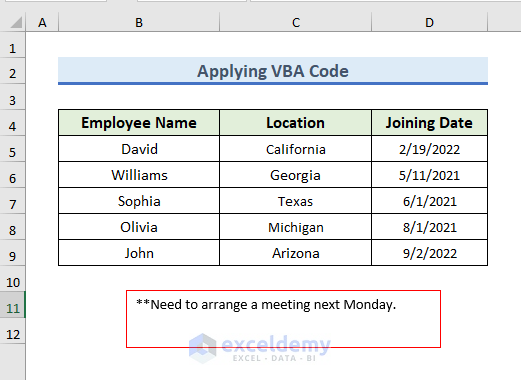
2. Apply Excel VBA Code to Remove Floating Text Boxes
Using VBA Code we can simply delete the floating cells automatically. There is a floating text box below the cells of the dataset.
Let’s follow the steps to remove floating text boxes in Excel.
STEPS:
- Firstly, select Visual Basic from the Developer tab.

- After that, Microsoft Visual Basic for Applications window will show up.
- Now, select Module from the Insert tab to write the VBA code.

- Now, a module will open up and we need to write the code here.
- So, write the following code in the module:
Sub DeleteAllTextBoxes()
ActiveSheet.TextBoxes.Delete
End Sub
- In the following step, we need to save and run the code.
- So, click F5 to save and run the code.
- Alternatively, you can click on the following icon to run the code.

- Finally, you can observe that the floating text box is deleted.

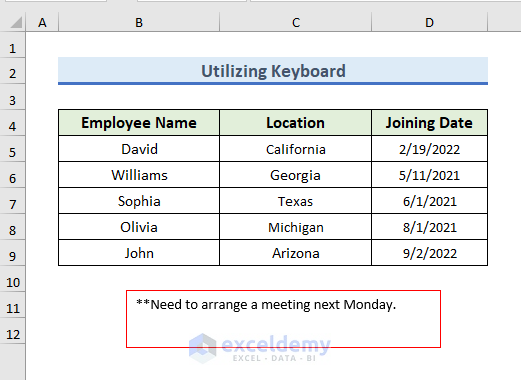
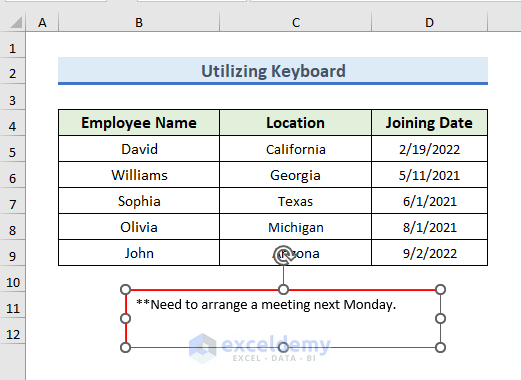
3. Utilize Keyboard to Eliminate Floating Cells
Utilizing Keyboard we can easily select the floating cells manually and delete them. There is a floating textbox below the cells of the dataset. Instead of floating textboxes, you can also work with any kind of floating cell.
Let’s follow the steps to delete the floating cell in Excel.
STEPS:
- Firstly, click on the outer edge of the floating cell to select the cell.
- You can see small circles in the corner of the cell.
- Finally, simply press the Delete key on the keyboard.
- Now, you can observe that the floating cell is deleted.

Read More: How to Create Excel Floating Total Row
Download Practice Workbook
To practice by yourself, download the following workbook.
Conclusion
In this article, we have demonstrated the way to remove floating cells in Excel. There is a practice workbook at the beginning of the article. Go ahead and give it a try.
<< Go Back to Excel Floating Cells | Data Visualisation in Excel | Learn Excel
Get FREE Advanced Excel Exercises with Solutions!
