If you want to Delete Blank Cells and Shift Data Left in Excel, this article will be very helpful for you. Here, we will walk you through 3 effective methods that will help you delete blank cells and shift data left.
How to Delete Blank Cells and Shift Data Left in Excel: 3 Methods
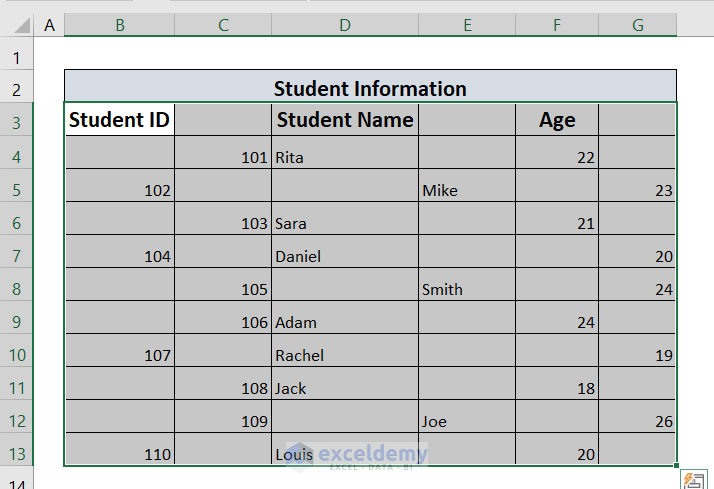
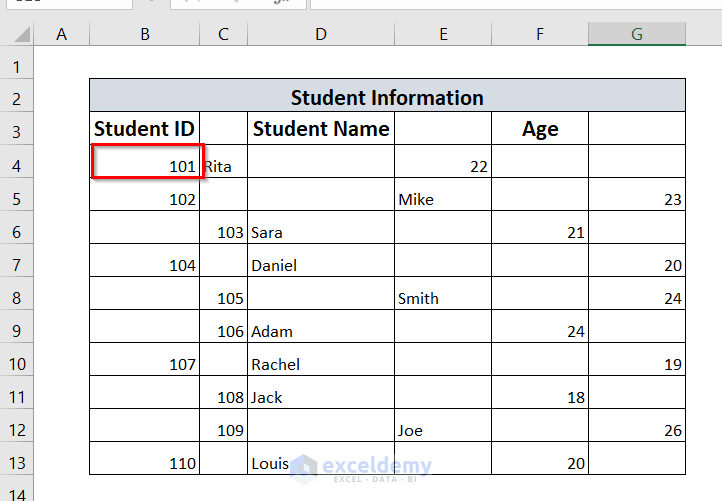
Here, the following Student Information table has several blank cells. We will use 3 different methods. Here, we used Excel 365. You can use any available Excel version.
![]()
Method-1: Using Go To Special Feature to Delete Blank Cells and Shift Data Left
In this method, we will use the Excel Go To Special feature to remove blank cells and shift the data toward the left.
➤ First of all, we will select the entire dataset.
➤ Here, we select the dataset from B3 to G13. You can select cell B3 and use the keyboard shortcut CTRL+SHIFT+END to select the entire dataset.
➤ Now, we will type CTRL+G. A Go-To window will appear.
➤ From that window, we will select Special.
![]()
After that, a Go To Special window will appear.
➤ We will select Blanks, and click on OK.
![]()
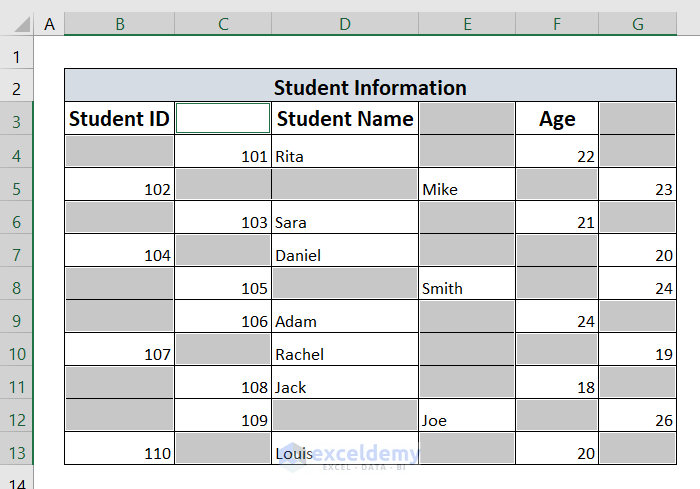
Now, we can see the highlighted blank cells in our table.
➤ Now, we will right-click on any of these blank cells, and we will select the Delete option.
![]()
➤ Now, we will select Shift cells left.
➤ Then, click on OK.
![]()
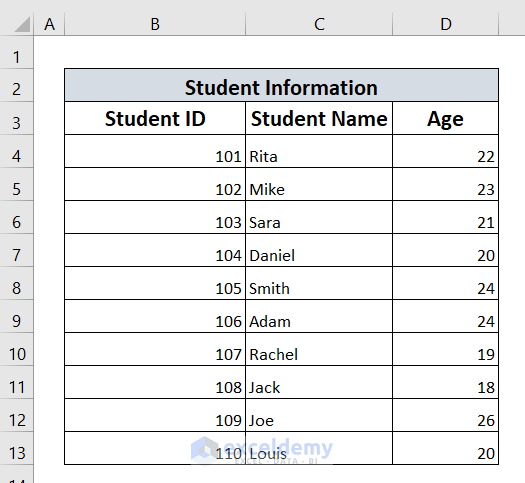
Finally, we can see that all the blank cells have been deleted, and the cells are shifted left.
Read More: How to Delete Blank Cells and Shift Data Up in Excel
Method 2: Using Find and Select Option
In this method, we will use the EXCEL Find & Select option to delete blank cells and shift data left.
➤ First of all, we will select the dataset from cell B3 to cell G13.

➤ After that, we will go to the Home tab in the ribbon, and we will select the Editing option.
➤ Then, we will select the Find & Select option.
![]()
➤ Then, we will select Go To Special option.
![]()
➤ We will select Blanks, and then, click on OK.
![]()
We can now see the highlighted blank cells.
![]()
➤ Now, we will right-click on any of these blank cells, and we will select the Delete option.
![]()
➤ Now, we will select Shift cells left.
➤ Then, click on OK.
![]()
Finally, we can see that all the blank cells have been deleted, and the cells are shifted left.
Method-3: Delete Blank Cells along the Rows or Columns Manually
In this method, we can manually delete each blank cell and shift the data left.
➤ To do so, first of all, we have to right-click on a blank cell.
➤ Here, we right click on cell B4, and after that, we click on Delete.
![]()
➤ After that, we will select the Shift cells left option, and click on OK.
![]()
Finally, we can see that the data which was on the right side of cell B4 has been shifted left to cell B4.
In the same way, we can manually delete all the blank cells and shift the data left.
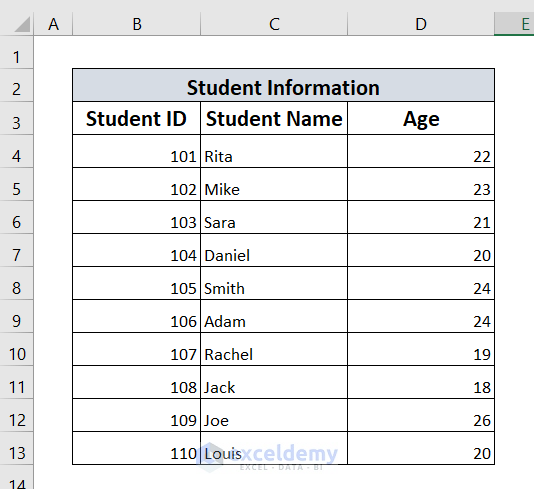
We can see from the following picture that there are no blank cells in the Student Information table.

Read More: How to Remove Blank Lines in Excel
Download Workbook
Conclusion
Here, we tried to show you some simple, easy, and effective methods that will help you Delete Blank Cells in Excel and Shift the Data Left. We hope you will find this article helpful. If you have any queries or suggestions, please feel free to contact us in the comment section.
Related Articles
- How to Leave Cell Blank If There Is No Data in Excel
- How to Remove Unused Cells in Excel
- How to Remove Blank Cells from a Range in Excel
- How to Ignore Blank Cells in Range in Excel
<< Go Back to Remove Blank Cells | Blank Cells | Excel Cells | Learn Excel
Get FREE Advanced Excel Exercises with Solutions!
