Method 1 – Using Arithmetic Formula to Calculate Date Range in Excel
- Enter the formula in Cell D5 and press Enter.
=C5+7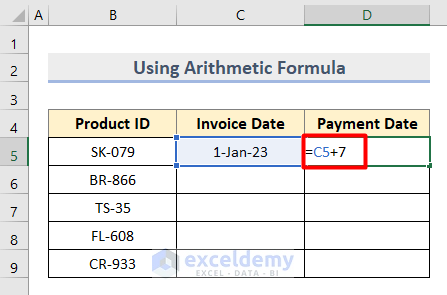
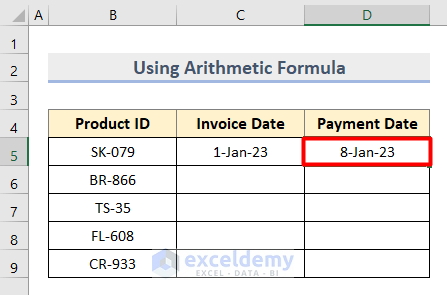
- The formula will give the following output.
- Enter the following formula in Cell C6.
=D5+1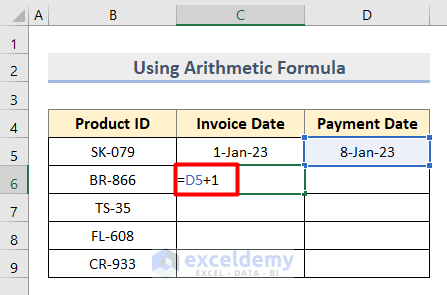
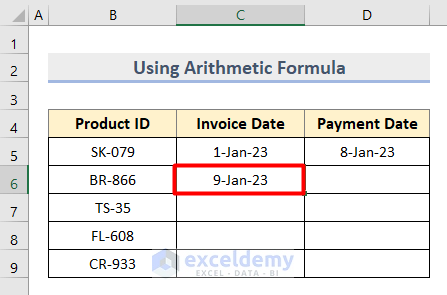
- Press Enter to get the result.
- Copy Cell D5 to Cell D6.
- Select both ranges and drag them down using the Fill Handle tool.
- You will get the following result.

Note: If your start is the present day then use the TODAY function and it will generate this formula.
=TODAY()
Read More: How to Filter Date Range in Excel
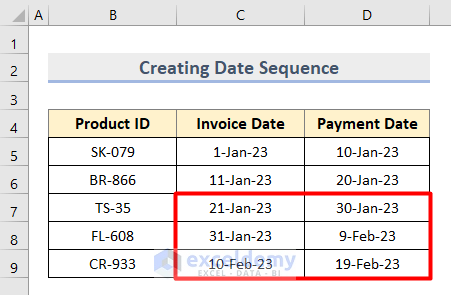
Method 2 – Creating Date Sequence with Date Range in Excel
- Enter the Invoice and Payment Dates of the first 2 products in the Cell range C5:D6.
- Select both ranges and drag them down.

- You will get the sequential date ranges.
Read More: How to Use Formula for Past Due Date in Excel
Method 3 – Inserting Excel TEXT Function to Calculate Date Range
- Enter the 1st product’s Invoice and Payment Dates in Cell C5 and Cell D5.
- Enter the following formula in Cell D5.
=TEXT(C6,"d mmm yy") & "-" & TEXT(D6,"d mmm yy")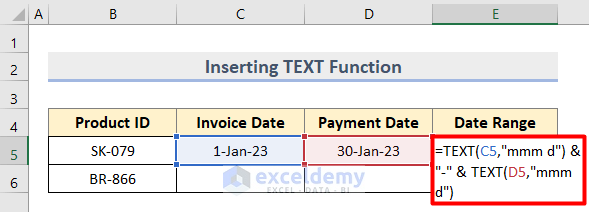
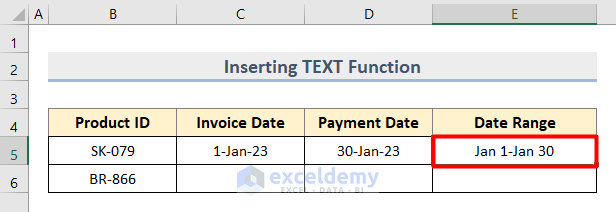
The TEXT function converts values of Cells C5 and D5 to text in a specific number format. The Ampersand (&) operator is used to get the date range value in the custom format (“mmm d”) in a single cell.
- Press Enter to get the following result.
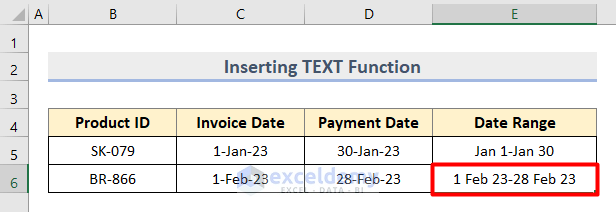
- Change the format of the concatenated date range by using the following formula in Cell D6.
=TEXT(C6,"d mmm yy") & "-" & TEXT(D6,"d mmm yy")
- The final output is as follows.
Method 4 – Combining TEXT & IF Functions to Create a Date Range in Excel
- The Payment Date of the range is missing.
- Enter the following formula.
=TEXT(C5,"mmm d")&IF(D5<>""," - "&TEXT(D5,"mmm d"),"")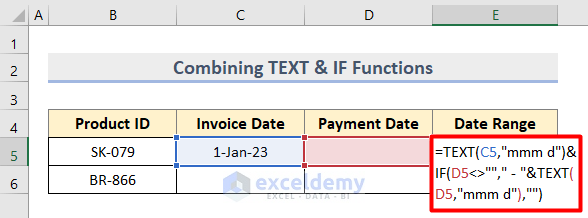
The TEXT function returns the value in a number format. The formula checks whether a condition is met and returns one value if TRUE and another value if FALSE.
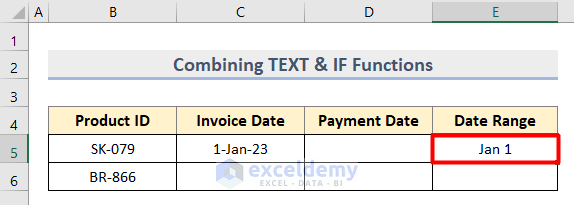
- The output result will be as shown below.
- Both the start and end dates of the range are missing.
- Enter the following formula.
=IF(C6<>"",TEXT(C6,"mmmm d")&IF(D6<>""," - "&TEXT(D6,"mmm d"),""),"")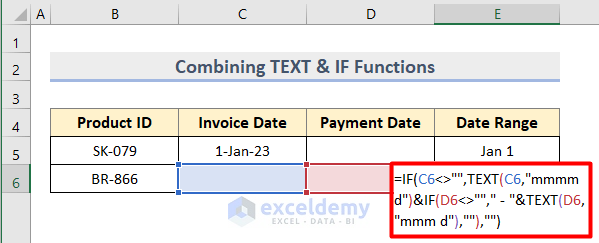
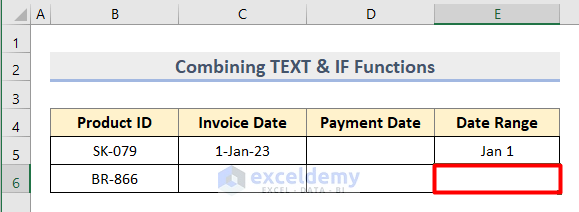
- You’ll get the output as Blank (“ “).
Read More: How to Use IF Formula for Date Range in Excel
How to Calculate Interval of Days within a Date Range in Excel
Method 1 – Using Mathematical Operation to Calculate Interval within Date Range
- Calculate the difference between the dates in Cell C5 and Cell D5 with the formula shown in the image below.
=D5-C5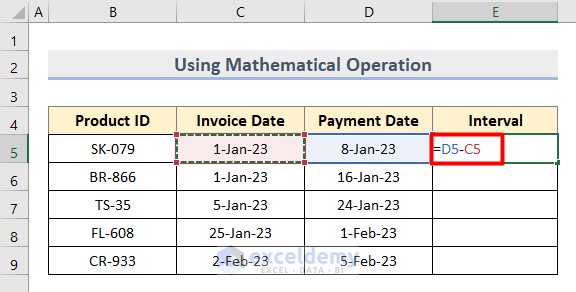
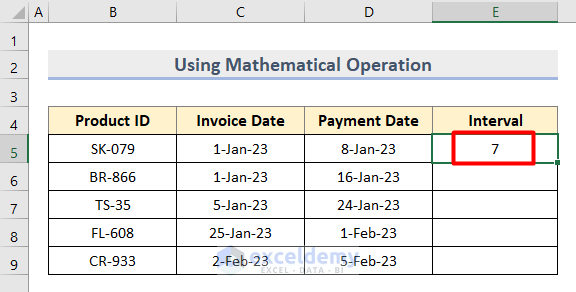
- It will give the output as a number for the dates in the specified date range.
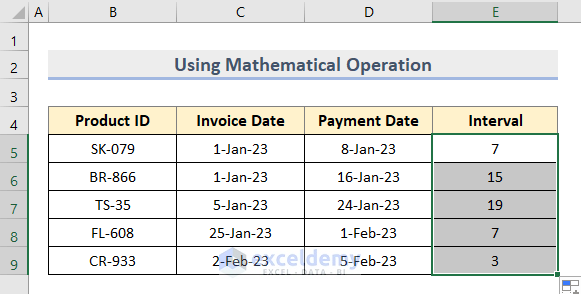
- Use the Autofill tool to get all the intervals.
Note: You can also apply the DAYS function to subtract the dates and get intervals. For this, use the following formula based on the above dataset.
=DAYS(D5, C5)
Read More: How to Calculate Average If within Date Range in Excel
Method 2 – Calculating Date Range Interval with DATEDIF Function in Excel
- Calculate the date range difference in Year with the formula shown in the following image.
=DATEDIF(C5,D5,"Y")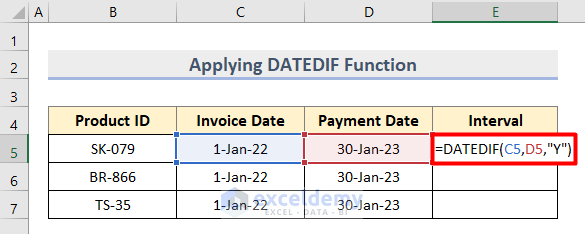
- Press Enter to get the output.
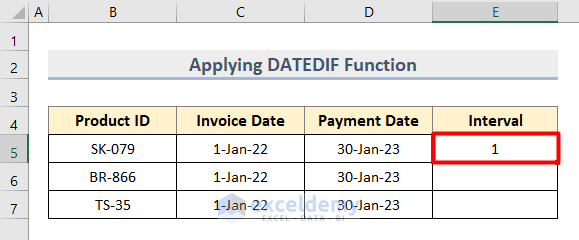
The DATEDIF function helps to calculate the number of years from Cells C5 and D5.
- Calculate the date difference in a Month. Enter the following formula.
=DATEDIF(C6,D6,"M")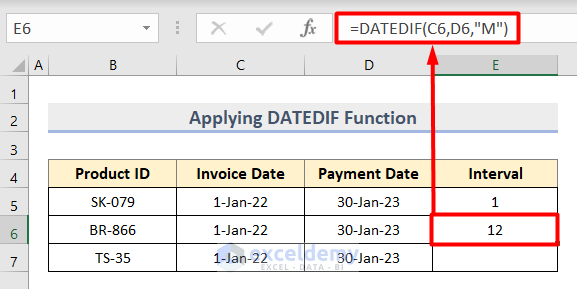
- Calculate the difference in Days with the formula shown in the following image.
=DATEDIF(C7,D7,"d")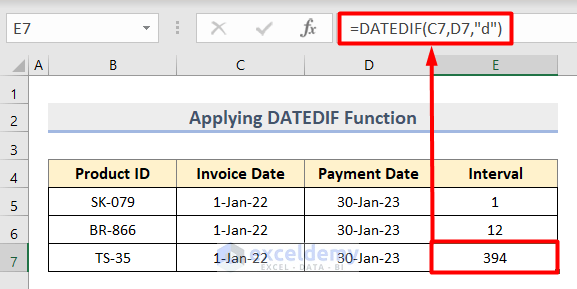
Read More: Excel Formula to Add Date Range
Download Practice Workbook
Related Articles
- How to Use SUMIFS to SUM Values in Date Range in Excel
- Use SUMIFS with Date Range and Multiple Criteria
- How to Calculate Average True Range in Excel
- Calculate Moving Range in Excel
- How to Use SUMIFS to SUM Values in Date Range in Excel
- Calculate Interquartile Range in Excel
- How to Calculate Percentage Range in Excel


Using DATE-DIF. where doec the result go? Has “interval” got some functionality so that results are plcd in the first blnkcell on function row? Thanks. Mike
Hello Mike Casey,
Great question. When using the DATEDIF function in Excel, the result appears in the cell where you enter the formula. For example, if you type =DATEDIF(A1, B1, “d”) into cell C1, the number of days between the two dates will be shown in C1.
The “interval” argument (like “d”, “m”, “y”) just tells Excel what to calculate—days, months, or years—but it doesn’t control where the result goes. Excel doesn’t automatically place the result in the first blank cell of the row—you need to choose the output cell yourself.
Regards
ExcelDemy