This article illustrates how to unprotect an Excel sheet with a password. You may need to protect your worksheet to prevent any change in data or as required. But you must unprotect the sheet to be able to edit it again. You can unprotect the sheet by providing the password used to protect the sheet. But what if you forget the password? Are all of your data lost? Don’t worry. This article also highlights a way around that case. The following picture highlights the purpose of this article. Have a quick look to be able to do that.
How to Unprotect Excel Sheet with Password: 2 Quick Ways
1. Unprotect Worksheet by Entering Password
It’s pretty easy to unprotect the worksheet if you remember the password.
📌 Steps
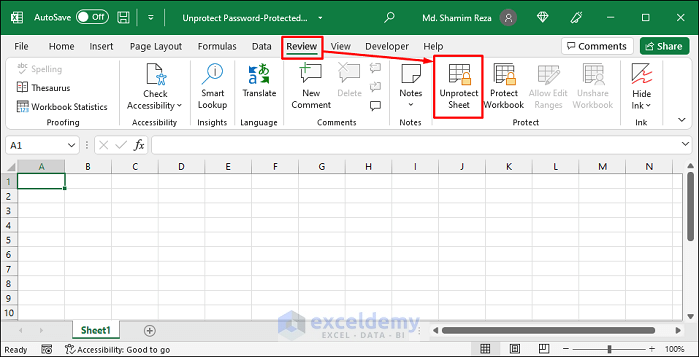
- First, select Unprotect Sheet from the Review tab, as shown in the picture below.
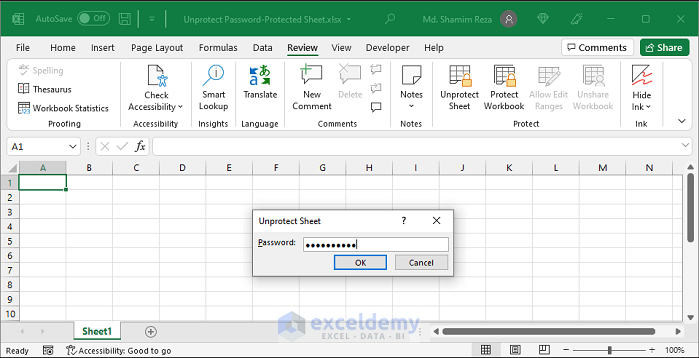
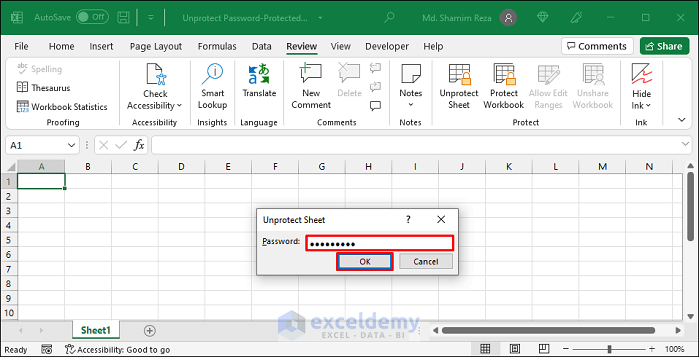
- Now, enter the password in the password field. Then press OK. After that, the worksheet will become unprotected.
2. Unprotect Excel Sheet by Deleting the Password
Now, in case you have forgotten the password follow the steps below.
📌 Steps
- First, make a copy of your workbook. This way, you will be able to avoid any data loss if that happens.

- Now, notice the file name extension (.xlsx) visible at the end of the file name of your workbook. If it is not visible, check File name extensions from the View tab in your File Manager.

- Then, right-click on the file and select Rename. Next, change the extension to .zip, as shown in the following picture.

- Then press Enter. After that, you will see the following warning. Now, select Yes.

- Then, this will convert the workbook to a zip file. Now, right-click on the zip file and extract the contents using your zip file viewer.

- Then, open the folder named xl, as shown in the picture below.

- Next, open the folder named worksheets.

- After that, you will see the list of all worksheets as .xml. Now, open the protected worksheet with your Text Editor (Notepad).

- Now, keep the cursor at the beginning of the code. Then, press CTRL+F and find the word Protection.

- Then, you will see the following result. After that, select Cancel on the Find window.

- Next, select the code starting from <sheetProtection to the next > sign as shown below.

- Now, delete that part of the code and save it.

- Now select all the extracted files and add them to a zip file again.

- Assume you have created the following zip file.

- Now, change the file name and the .zip extension to the .xlsx

- Then, press Enter. Next, you will see the following warning. After that, select Yes.

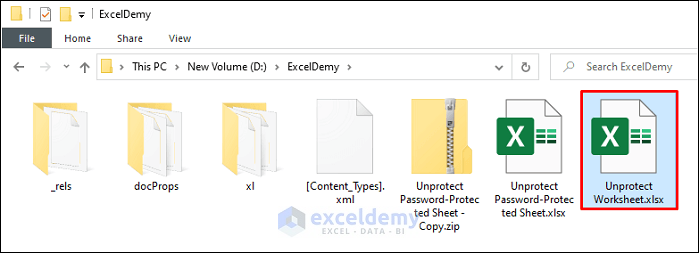
- Finally, you will get a copy of your workbook with the unprotected worksheet.
Things to Remember
- You need to unprotect each sheet one at a time if multiple sheets of your workbook are protected.
- You need to delete the code from all .xml files for protected worksheets.
Download Practice Workbook
You can download the practice workbook from the download button below.
Conclusion
Now you know how to unprotect an Excel sheet with a password. Please let us know if this article has helped you to solve your problem. You can also use the comment section below for further queries or suggestions. Stay with us and keep learning.
Related Articles
- How to Unprotect Excel Sheet Without Password
- How to Unprotect Excel Sheet If Forgot Password
- How to Unlock Excel Sheet for Editing
- How to Unlock Grayed out Menus in Excel
<< Go Back to Unprotect excel sheet | How to Unprotect in Excel | Learn Excel
Get FREE Advanced Excel Exercises with Solutions!
