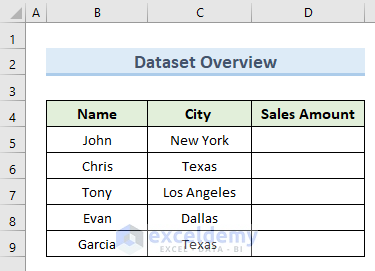
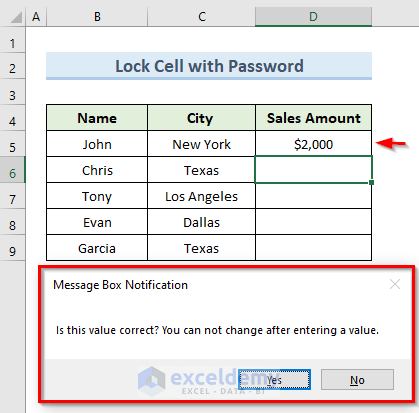
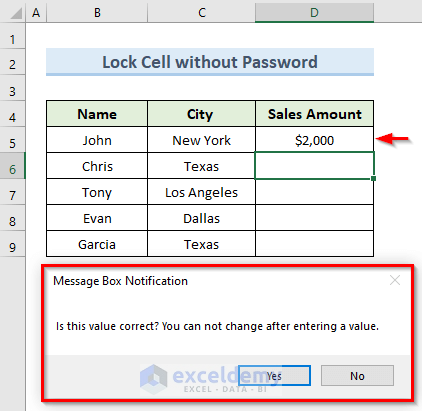
In this article, we will use 2 methods to lock a cell after data entry using Excel VBA. To illustrate these methods we will use the dataset below. Users will input the values of the Sales Amounts, but they can enter a value in a particular cell just once. If a user tries to change the value, a message box notification will appear.
Method 1 – Locking a Cell With or Without a Password
1.1 – With a Password
After locking the cells, any attempt to change data after entry will cause a message box notification to be displayed.
Steps:
- Select the data range (B4:D9).
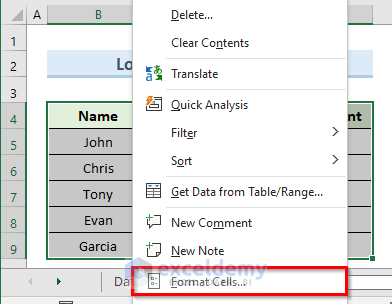
- Right-click on the selected area.
- Click on Format Cells from the context menu.

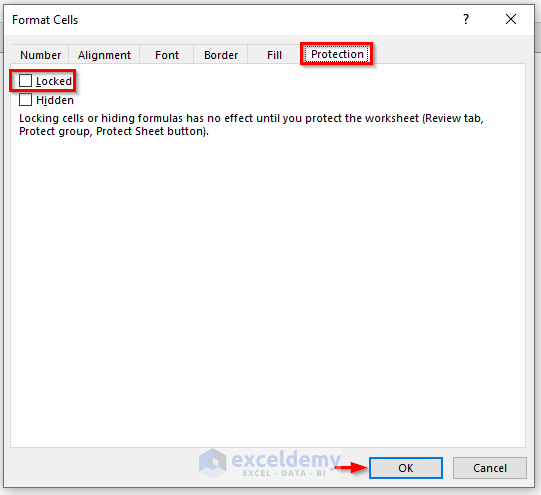
- In the Format Cells dialog box, go to the Protection tab.
- Uncheck the option Locked.
- Click on OK.

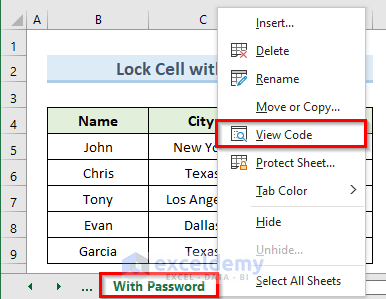
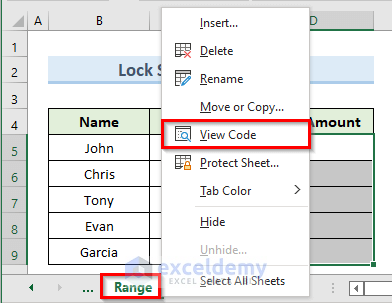
- Right-click on the sheet tab ‘With Password’.
- Select the option View Code from the context menu.
A blank VBA code window will open.
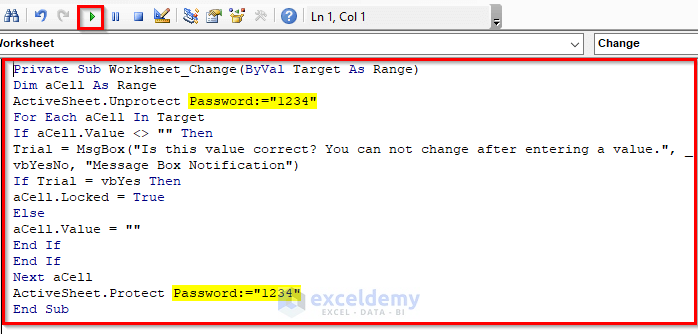
- Enter the following code in that code window:
Private Sub Worksheet_Change(ByVal Target As Range)
Dim aCell As Range
ActiveSheet.Unprotect Password:="1234"
For Each aCell In Target
If aCell.Value <> "" Then
Trial = MsgBox("Is this value correct? You can not change after entering a value.", _
vbYesNo, "Message Box Notifation")
If Trial = vbYes Then
aCell.Locked = True
Else
well.Value = ""
End If
End If
Next aCell
ActiveSheet.Protect Password:="1234"
End Sub- Click on the Run button or press the F5 key to run the code.
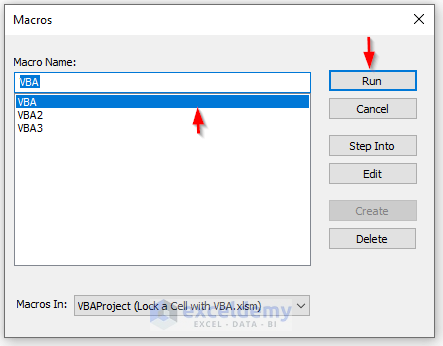
- Create a macro named VBA.
- Select VBA and click on Run.
- Enter a value in cell D5.
A message box appears, asking whether the value is correct, because the value cannot be modified later.
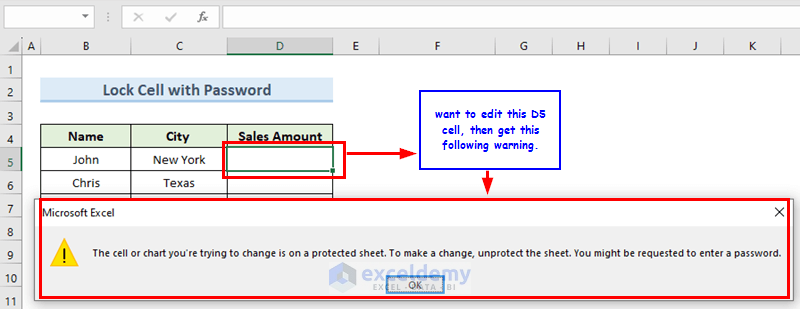
- Try to edit cell D5.
We receive a warning message like the following image.

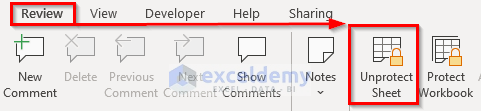
To edit the value again, we’ll have to unprotect the sheet.
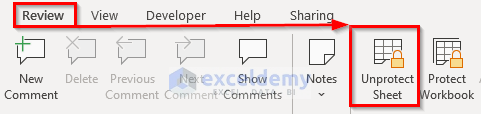
- Go to Review > Unprotect Sheet.
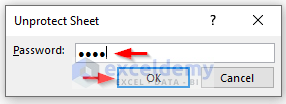
- Enter the password used in the VBA (here, 1234).
- Click on OK.
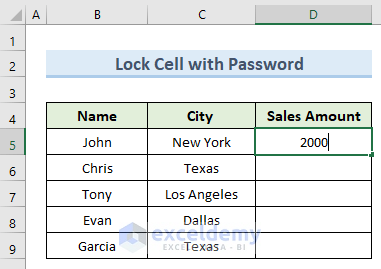
- Click on cell D5.
Cell D5 is unlocked now, so we can change the value.
1.2 – Without a Password
This method is mostly identical to the previous method. We will also lock a cell after data entry using Excel VBA, but this time we will not use a password in our VBA code. However, a message box notification will still appear.
Steps:
- Choose a data range (B4:D9).
- Right-click on the area you want to edit.
- Select the Format Cells option from the context menu.
- Go to the Protection tab in the Format cells dialog box.
- Uncheck the Locked option.
- Click on OK.
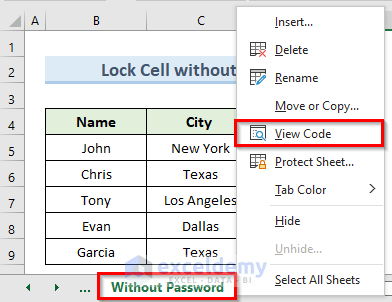
- Right-click on the ‘Without Password‘ sheet tab.
- Select View Code.
A blank VBA code window will open.
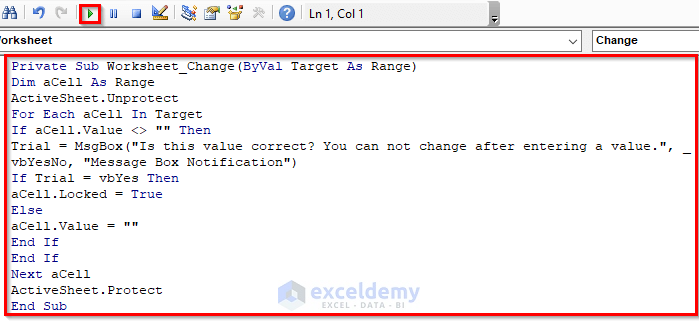
- Insert the following code in that code window:
Private Sub Worksheet_Change(ByVal Target As Range)
Dim aCell As Range
ActiveSheet.Unprotect
For Each aCell In Target
If aCell.Value <> "" Then
Trial = MsgBox("Is this value correct? You can not change after entering a value.", _
vbYesNo, "Message Box Notifation")
If Trial = vbYes Then
aCell.Locked = True
Else
aCell.Value = ""
End If
End If
Next aCell
ActiveSheet.Protect
End Sub- To run the code, press the F5 key or click the Run button.
- Create a macro named VBA2.
- Choose VBA2 and click the Run button.

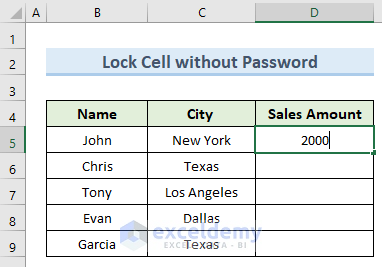
- Input a value in cell D5.
- A message box appears, enquiring whether the value is appropriate or not, because we can’t edit the value once we’ve entered it in that cell.
- Try editing cell D5 once more.
We receive a message box similar to the image below.

To re-edit the value, we must first unprotect the sheet.
- Go to Review > Unprotect Sheet.
This time we do not require any password to unprotect the sheet.
- Click on cell D5 once more.
Cell D5 is now unlocked, so it can be edited.
Read More: Excel VBA to Lock Cells without Protecting Sheet
Method 2 – Locking a Specific Cell Range
Now we will apply Excel VBA to lock a specific cell range. Any attempt to modify any cell in the range after entering data in it will cause a notification in a message box to be shown. Cells outside the range will remain unlocked and editable.
Steps:
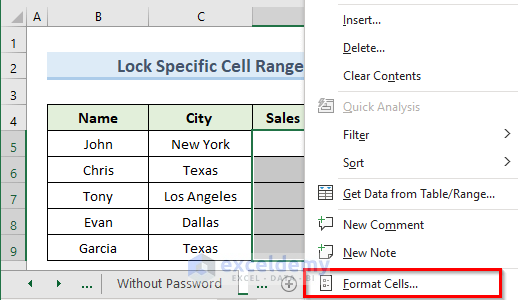
- Select the cell range (D5:D9).
- Right-click on the selected range.
- Select the Format Cells option from the context menu.
- In the Format Cells dialog box that opens, go to the Protection tab.
- Make sure that the Locked box is unchecked.
- Click the OK button.

- Right-click on the sheet named Range.
- Select the option View Code.
A VBA code window opens.
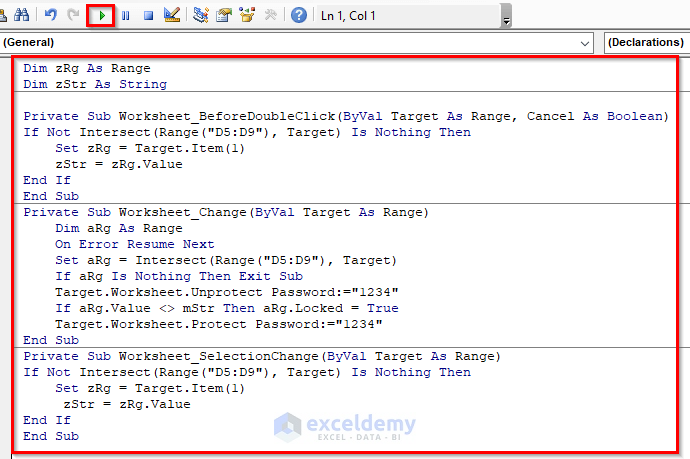
- Enter the following code in that blank code window:
Dim zRg As Range
Dim zStr As String
Private Sub Worksheet_BeforeDoubleClick(ByVal Target As Range, Cancel As Boolean)
If Not Intersect(Range("D5:D9"), Target) Is Nothing Then
Set zRg = Target.Item(1)
zStr = zRg.Value
End If
End Sub
Private Sub Worksheet_Change(ByVal Target As Range)
Dim aRg As Range
On Error Resume Next
Set aRg = Intersect(Range("D5:D9"), Target)
If aRg Is Nothing Then Exit Sub
Target.Worksheet.Unprotect Password:="1234"
If aRg.Value <> mStr Then aRg.Locked = True
Target.Worksheet.Protect Password:="1234"
End Sub
Private Sub Worksheet_SelectionChange(ByVal Target As Range)
If Not Intersect(Range("D5:D9"), Target) Is Nothing Then
Set zRg = Target.Item(1)
zStr = zRg.Value
End If
End Sub- Click on the Run button or press the F5 key to run the code.
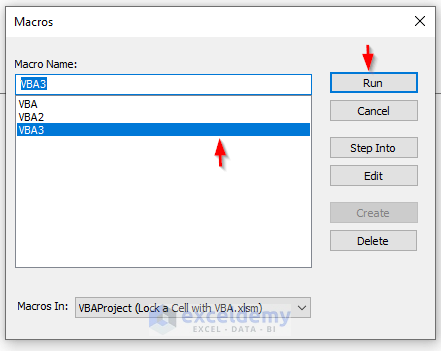
- Furthermore, create a macro named VBA3.
- Select that macro and click on the Run button.
- Enter a value in cell D5.
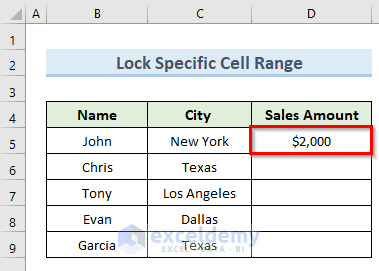
- Try to edit the value of cell D5.
A message box like the following image will appear. We will still be able to edit the values outside the cell range (D5:D9).

Read More: Excel VBA to Protect Range of Cells
Download Practice Workbook
Related Articles
- How to Lock and Unlock Cells in Excel Using VBA
- How to Protect Specific Columns Using VBA in Excel
- How to Hide Formula in Excel Using VBA


Hi Mukesh
Nice article.
My query is – I don’t want to password-protect the sheet right after entry. But after 1 hr or after the sheet has been closed. Is there a possible way to do that?
Thanks
Hello, ADITYA AGARWAL!
Try This code. This will automatically protect your spreadsheet after the sheet has been closed.
Private Sub Workbook_BeforeClose(Cancel As Boolean)
Dim WrkSht As Worksheet
Const Password As String = “pass1234”
For Each WrkSht In ThisWorkbook.Worksheets
WrkSht.Protect Password:=Password
Next WrkSht
End Sub
Hope this will help you!
Hello,
Nice article.
How to block cells from entering data, can’t type anything there or edit?
Thanks
Thank you, EAC for your comment. The possible solution is given below.
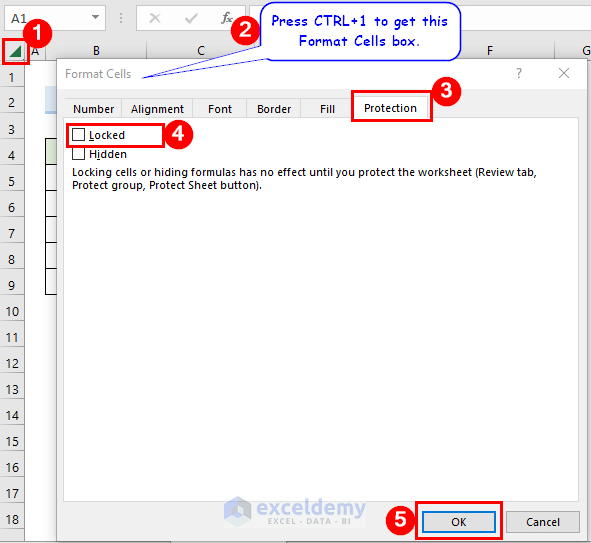
• Select all the cells by clicking the triangle where row and column headers coincide.
• Next, open the Format Cells by pressing Ctrl+1 >> Select the Protection option >> Uncheck the Locked option to unlock cells >> Click on OK.
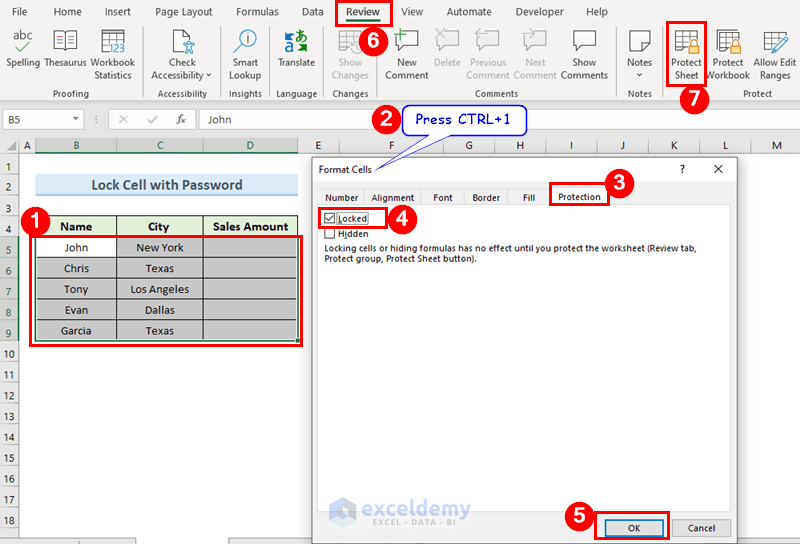
• Select the data range which you want to lock.
• Again, press Ctrl+1 >> The Format Cells dialog box will pop up >> Select Protection >> Next check on the Locked option >> Click on OK.
• Go to the Review tab in the ribbon >> Select Protect Sheet from the Protect group.
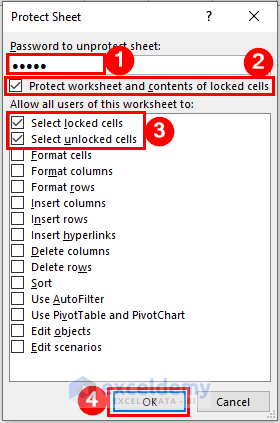
• A Protect Sheet dialog box will appear >> Set any password in the password box >> Check on the Protect worksheet and contents of locked cells>> Check both Select locked cells, Select unlocked cells.
• A Confirm Password dialog box will appear >> Rewrite your given password >> Click on OK.
Now, try to edit the cells. Then you will get a warning from Microsoft Excel that you can’t change anything. To edit or enter any value, you have unprotected the Excel sheet with that password first.
Furthermore, you can see this article for more details How to Protect Excel Cells from Being Edited.
Hello,
I wrote a program that locks and unlocks a given range, however, when trying for all sheets it does not work, how to correct this code? Because each sheet is the same and want to have the same range locked.
Sub protect()
Columns(“D:F”).Select
Selection.Locked = False
Range(“D8:F12”).Select
Selection.Locked = True
Range(“a1”).Select
End Sub
Sub block()
Dim hz As String
Dim hz1 As String
hz = InputBox(“enter your password”)
hz1 = InputBox(“repeat password”)
If hz hz1 Then
MsgBox “The repeated password is not identical!”, vbExclamation
hz = “”
hz1 = “”
Else
Columns(“D:F”).Select
Selection.Locked = False
Range(“D8:F12”).Select
Selection.Locked = True
Range(“a1”).Select
ActiveSheet.protect hz
End If
End Sub
Sub unblock()
Dim ho As String
On Error GoTo err
ho = InputBox(“Enter password to unlock”)
ActiveSheet.Unprotect ho
Columns(“D:F”).Select
Selection.Locked = False
Range(“D8:F12”).Select
Selection.Locked = False
Range(“a1”).Select
Exit Sub
err:
MsgBox “The password you entered is incorrect”, vbExclamation
End Sub
Hello EAC,
Thanks for your question. Most likely, you need to put a not equal sign (<>) inside the If…Then statement of your second code. So, the corrected second code will be as follows-
However, your used three codes are quite messy. I would like to suggest that you can use the following code to lock a specific cell range in all worksheets of your Excel file.
Again, try this code to unlock the specific cell range in all worksheets.
I hope these will work! Moreover, you can follow lock and unlock cells using VBA to explore more efficient methods.