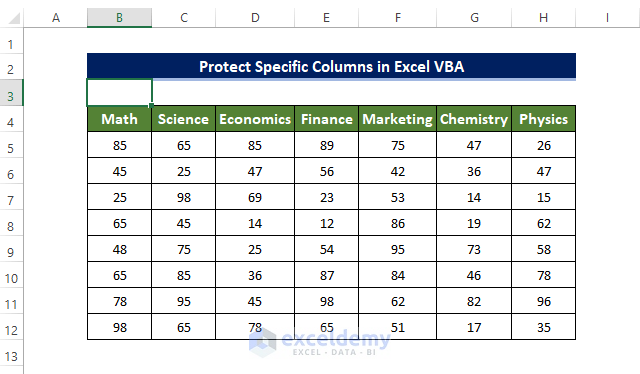
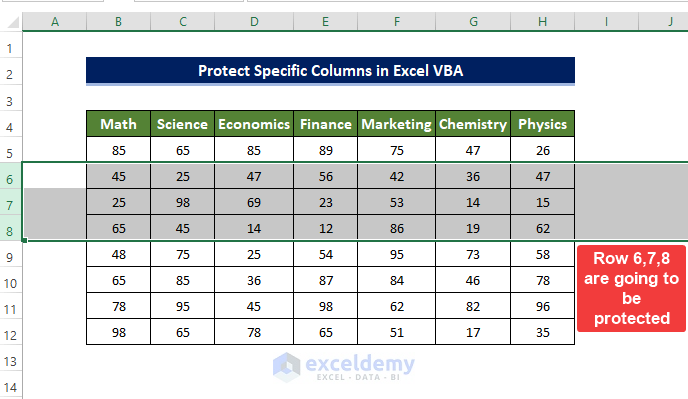
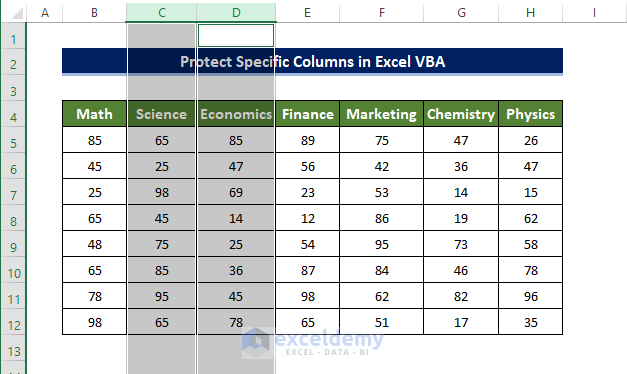
The dataset showcases students’ marks in different subjects.
Steps:
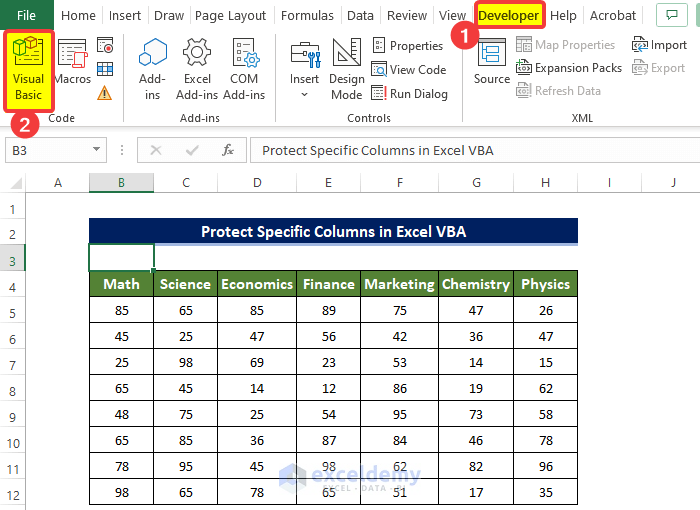
- Go to the Developer tab and click Visual Basic.
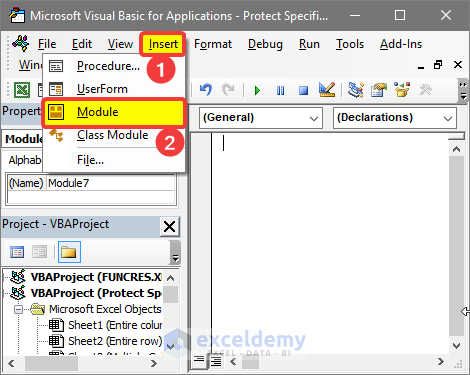
- Click Insert > Module.
- To protect column C, enter the following code in the Module window.
Sub protect_specific_column()
    Range("C5").EntireColumn.Select
    Selection.Locked = True
    Selection.FormulaHidden = True

    ActiveSheet.Protect DrawingObjects:=False, _
    Contents:=True, Scenarios:=False, _
    AllowFormattingCells:=True, _
    AllowFormattingColumns:=True, _
    AllowFormattingRows:=True, _
    AllowInsertingColumns:=True, _
    AllowInsertingRows:=True, _
    AllowInsertingHyperlinks:=True, _
    AllowDeletingColumns:=True, _
    AllowDeletingRows:=True, _
    AllowSorting:=True, AllowFiltering:=True, _
    AllowUsingPivotTables:=True

End Sub
- Close the window.
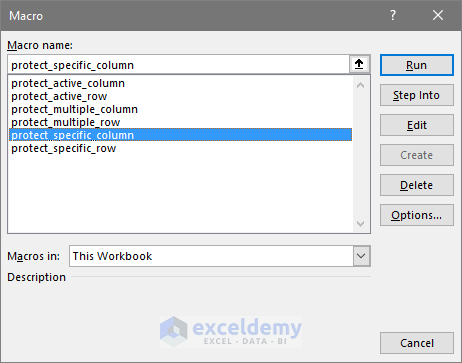
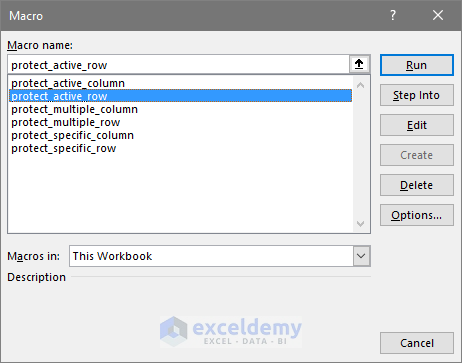
- Go to the View tab > Macros > View Macros.

- Select the protect_specific_column macro and click Run.
- After clicking Run columns are no longer available to edit. If you try to edit them, a warning message will be displayed.

To unprotect the cells, use the Unprotect Sheet feature (in the Home tab).
Code Breakdown
- Sub protect_specific_column(): names the Subroutine.
- Range(“C5”).EntireColumn.Select: selects the entire column in which C5 is located.
- Selection.Locked = True: locks the selected part of the worksheet.
- Selection.FormulaHidden = True: determines that the formula will be hidden when the worksheet is protected.
- ActiveSheet.Protect DrawingObjects:=False: protects shapes for a True value The default value is False.
- Contents:=True: protects the entire chart or cells that are locked in a worksheet. True is set as default.
- Scenarios:=False: is only applicable to worksheets. True is set as the default.
- AllowFormattingCells:=True: True enables users to format any cell in an encrypted spreadsheet. False is the default setting.
- AllowFormattingColumns:=True: True enables users to format any column in an encrypted spreadsheet. False is the default setting.
- AllowFormattingRows:=True: True enables users to format rows in an encrypted spreadsheet. False is the default setting.
- AllowInsertingColumns:=True: True enables users to insert columns in an encrypted spreadsheet. False is the default setting.
- AllowInsertingRows:=True: True enables users to insert rows in an encrypted spreadsheet. False is the default setting.
- AllowInsertingHyperlinks:=True: True enables users to insert hyperlinks in an encrypted spreadsheet. False is the default setting.
- AllowDeletingColumns:=True: True enables users to delete columns in an encrypted spreadsheet. False is the default setting.
- AllowDeletingRows:=True: True enables users to delete rows in an encrypted spreadsheet. False is the default setting.
- AllowSorting:=True: True enables users to sort in an encrypted spreadsheet. False is the default setting.
- AllowFiltering:=True: True enables users to apply filters in an encrypted spreadsheet. False is the default setting.
- AllowUsingPivotTables:=True: True enables users to use pivot table reports in an encrypted spreadsheet. False is the default setting.
Protect Active Rows and Columns with Excel VBA
1. Protect Active Row in Excel
Steps:
- Go to the Developer tab and click Visual Basic.
- Click Insert > Module.
- In the Module window, enter the following code.
Sub protect_active_row()
    ActiveCell.EntireRow.Select
    Selection.Locked = True
    Selection.FormulaHidden = True
    ActiveSheet.Protect DrawingObjects:=False, _
    Contents:=True, Scenarios:=False, _
    AllowFormattingCells:=True, _
    AllowFormattingColumns:=True, _
    AllowFormattingRows:=True, _
    AllowInsertingColumns:=True, _
    AllowInsertingRows:=True, _
    AllowInsertingHyperlinks:=True, _
    AllowDeletingColumns:=True, _
    AllowDeletingRows:=True, AllowSorting:=True, _
    AllowFiltering:=True, AllowUsingPivotTables:=True
End Sub
- Close the window.
- Go to the View tab > Macros > View Macros.
- Select the macro: protect_active_row and click Run.
- The column is no longer available to edit. If you try to edit cells, a warning message will be displayed.
Code Breakdown
- Sub protect_active_row(): names the Subroutine.
- ActiveCell.EntireRow.Select: selects the entire row in which the selected cell is located
- Selection.Locked = True:locks the selected part of the worksheet.
- Selection.FormulaHidden = True: determines that the formula will be hidden when the worksheet is protected.
- ActiveSheet.Protect DrawingObjects:=False: protects shapes for a True value The default value is False.
- Contents:=True: protects the entire chart or cells that are locked in a worksheet. True is set as default.
- Scenarios:=False: True preserves scenarios: is only applicable to worksheets. True is set as default.
- AllowFormattingCells:=True: True enables users to format any cell in an encrypted spreadsheet. False is the default setting.
- AllowFormattingColumns:=True: True enables users to format any column in an encrypted spreadsheet. False is the default setting.
- AllowFormattingRows:=True: True enables users to format rows in an encrypted spreadsheet. False is the default setting.
- AllowInsertingColumns:=True: True enables users to insert columns in an encrypted spreadsheet. False is the default setting.
- AllowInsertingRows:=True: True enables users to insert rows in an encrypted spreadsheet. False is the default setting.
- AllowInsertingHyperlinks:=True: True enables users to insert hyperlinks in an encrypted spreadsheet. False is the default setting.
- AllowDeletingColumns:=True: True enables users to delete columns in an encrypted spreadsheet. False is the default setting..
- AllowDeletingRows:=True: True enables users to delete rows in an encrypted spreadsheet. False is the default setting.
- AllowSorting:=True: True enables users to sort in an encrypted spreadsheet. False is the default setting.
- AllowFiltering:=True: True enables users to apply filters in an encrypted spreadsheet. False is the default setting.
- AllowUsingPivotTables:=True: True enables users to use pivot table reports in an encrypted spreadsheet. False is the default setting.
2. Protect an Active Column in Excel
Steps:
- Go to the Developer tab and click Visual Basic.
- Select Insert > Module.
- In the Module window, enter the following code.
Sub protect_active_column()
    ActiveCell.EntireColumn.Select
    Selection.Locked = True
    Selection.FormulaHidden = True
    ActiveSheet.Protect DrawingObjects:=False, _
    Contents:=True, Scenarios:=False, _
    AllowFormattingCells:=True, _
    AllowFormattingColumns:=True, _
    AllowFormattingRows:=True, AllowInsertingColumns:=True, _
    AllowInsertingRows:=True, AllowInsertingHyperlinks:=True, _
    AllowDeletingColumns:=True, AllowDeletingRows:=True, _
    AllowSorting:=True, AllowFiltering:=True, _
    AllowUsingPivotTables:=True
End Sub
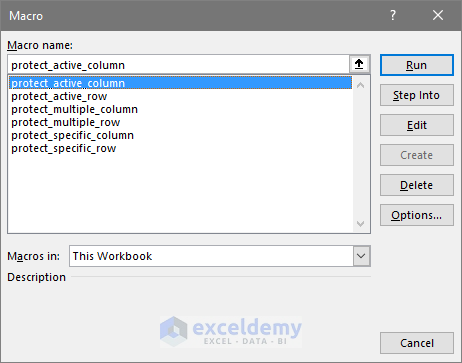
- Close the window and go to the View tab > Macros > View Macros.
- Select protect_active_column macro and click Run.
- The column is no longer available to edit. If you try to edit cells, a warning message will be displayed.
Code Breakdown
- Sub protect_active_row(): names the Subroutine.
- ActiveCell.EntireRow.Select: selects the entire row in which the selected cell is located
- Selection.Locked = True: locks the selected part of the worksheet.
- Selection.FormulaHidden = True: determines that the formula will be hidden when the worksheet is protected.
- ActiveSheet.Protect DrawingObjects:=False: protects shapes for a True value The default value is False.
- Contents:=True: protects the entire chart or cells that are locked in a worksheet. True is set as default.
- Scenarios:=False: True preserves scenarios: is only applicable to worksheets. True is set as default.
- AllowFormattingCells:=True: True enables users to format any cell in an encrypted spreadsheet. False is the default setting.
- AllowFormattingColumns:=True: True enables users to format any column in an encrypted spreadsheet. False is the default setting.
- AllowFormattingRows:=True: True enables users to format rows in an encrypted spreadsheet. False is the default setting.
- AllowInsertingColumns:=True: True enables users to insert columns in an encrypted spreadsheet. False is the default setting.
- AllowInsertingRows:=True: True enables users to insert rows in an encrypted spreadsheet. False is the default setting.
- AllowInsertingHyperlinks:=True: True enables users to insert hyperlinks in an encrypted spreadsheet. False is the default setting.
- AllowDeletingColumns:=True: True enables users to delete columns in an encrypted spreadsheet. False is the default setting..
- AllowDeletingRows:=True: True enables users to delete rows in an encrypted spreadsheet. False is the default setting.
- AllowSorting:=True: True enables users to sort in an encrypted spreadsheet. False is the default setting.
- AllowFiltering:=True: True enables users to apply filters in an encrypted spreadsheet. False is the default setting.
- AllowUsingPivotTables:=True: True enables users to use pivot table reports in an encrypted spreadsheet. False is the default setting.
Protect Multiple Rows and Columns with Excel VBA
1. Protect Multiple Rows
Steps:
To protect rows 6,7,8:
- Go to the Developer tab and click Visual Basic.
- Click Insert > Module.
- In the Module window, enter the following code.
Sub protect_multiple_row()
    Rows("6:8").Select
    Selection.Locked = True
    Selection.FormulaHidden = True
    ActiveSheet.Protect DrawingObjects:=False, _
    Contents:=True, Scenarios:=False, _
    AllowFormattingCells:=True, _
    AllowFormattingColumns:=True, _
    AllowFormattingRows:=True, _
    AllowInsertingColumns:=True, _
    AllowInsertingRows:=True, _
    AllowInsertingHyperlinks:=True, _
    AllowDeletingColumns:=True, _
    AllowDeletingRows:=True, AllowSorting:=True, _
    AllowFiltering:=True, AllowUsingPivotTables:=True
End Sub
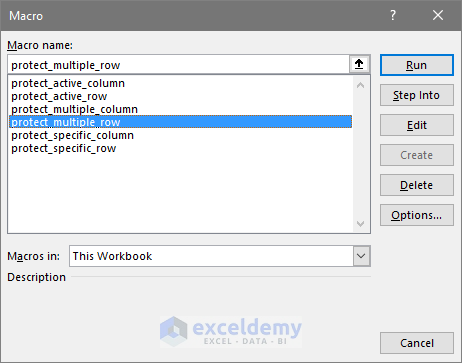
- Close the window go to the View tab > Macros > View Macros.
- Select protect_multiple_row and run the macro.
- The row is no longer available to edit. If you try to edit cells, a warning message will be displayed.
Code Breakdown
- Sub protect_multiple_row():names the Subroutine.
- Rows(“6:8”).Select: selects the entire rows from 6 to 8.
- ActiveCell.EntireColumn.Select: selects the entire column in which the cell is selected.
- Selection.Locked = True: locks the selected part of the worksheet.
- Selection.FormulaHidden = True: determines that the formula will be hidden when the worksheet is protected.
- ActiveSheet.Protect DrawingObjects:=False: protects shapes for a True value The default value is False.
- Contents:=True: protects the entire chart or cells that are locked in a worksheet. True is set as default.
- Scenarios:=False: True preserves scenarios: is only applicable to worksheets. True is set as default.
- AllowFormattingCells:=True: True enables users to format any cell in an encrypted spreadsheet. False is the default setting.
- AllowFormattingColumns:=True: True enables users to format any column in an encrypted spreadsheet. False is the default setting.
- AllowFormattingRows:=True: True enables users to format rows in an encrypted spreadsheet. False is the default setting.
- AllowInsertingColumns:=True: True enables users to insert columns in an encrypted spreadsheet. False is the default setting.
- AllowInsertingRows:=True: True enables users to insert rows in an encrypted spreadsheet. False is the default setting.
- AllowInsertingHyperlinks:=True: True enables users to insert hyperlinks in an encrypted spreadsheet. False is the default setting.
- AllowDeletingColumns:=True: True enables users to delete columns in an encrypted spreadsheet. False is the default setting..
- AllowDeletingRows:=True: True enables users to delete rows in an encrypted spreadsheet. False is the default setting.
- AllowSorting:=True: True enables users to sort in an encrypted spreadsheet. False is the default setting.
- AllowFiltering:=True: True enables users to apply filters in an encrypted spreadsheet. False is the default setting.
- AllowUsingPivotTables:=True: True enables users to use pivot table reports in an encrypted spreadsheet. False is the default setting.
2. Protect Multiple Columns
Steps:
To protect columns C and D:
- Go to the Developer tab and click Visual Basic.
- Click Insert > Module.
- In the Module window, enter the following code.
Sub protect_multiple_column()
    Columns("C:D").Select
    Selection.Locked = True
    Selection.FormulaHidden = True
    ActiveSheet.Protect DrawingObjects:=False, _
    Contents:=True, Scenarios:=False, _
    AllowFormattingCells:=True, _
    AllowFormattingColumns:=True, _
    AllowFormattingRows:=True, _
    AllowInsertingColumns:=True, _
    AllowInsertingRows:=True, _
    AllowInsertingHyperlinks:=True, _
    AllowDeletingColumns:=True, _
    AllowDeletingRows:=True, AllowSorting:=True, _
    AllowFiltering:=True, AllowUsingPivotTables:=True
End Sub
- Close the window.
- Go to the View tab > Macros > View Macros.
- Run protect_multiple_column in the Macro window.
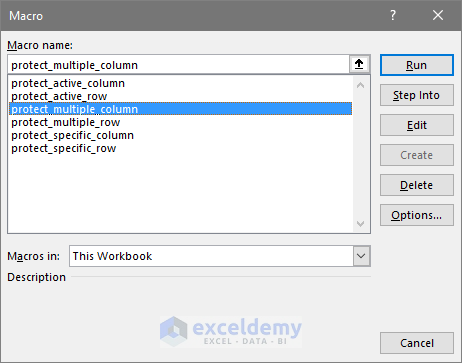
- The row is no longer available to edit. If you try to edit cells, a warning message will be displayed.
Code Breakdown
- Sub protect_multiple_column(): names the Subroutine.
- Columns(“C:D”).Select: selects columns C and D only.
- ActiveCell.EntireColumn.Select: selects the entire column in which the cell is selected.
- Selection.FormulaHidden = True: determines that the formula will be hidden when the worksheet is protected.
- ActiveSheet.Protect DrawingObjects:=False: protects shapes for a True value The default value is False.
- Contents:=True: protects the entire chart or cells that are locked in a worksheet. True is set as default.
- Scenarios:=False: True preserves scenarios: is only applicable to worksheets. True is set as default.
- AllowFormattingCells:=True: True enables users to format any cell in an encrypted spreadsheet. False is the default setting.
- AllowFormattingColumns:=True: True enables users to format any column in an encrypted spreadsheet. False is the default setting.
- AllowFormattingRows:=True: True enables users to format rows in an encrypted spreadsheet. False is the default setting.
- AllowInsertingColumns:=True: True enables users to insert columns in an encrypted spreadsheet. False is the default setting.
- AllowInsertingRows:=True: True enables users to insert rows in an encrypted spreadsheet. False is the default setting.
- AllowInsertingHyperlinks:=True: True enables users to insert hyperlinks in an encrypted spreadsheet. False is the default setting.
- AllowDeletingColumns:=True: True enables users to delete columns in an encrypted spreadsheet. False is the default setting..
- AllowDeletingRows:=True: True enables users to delete rows in an encrypted spreadsheet. False is the default setting.
- AllowSorting:=True: True enables users to sort in an encrypted spreadsheet. False is the default setting.
- AllowFiltering:=True: True enables users to apply filters in an encrypted spreadsheet. False is the default setting.
- AllowUsingPivotTables:=True: True enables users to use pivot table reports in an encrypted spreadsheet. False is the default setting.
Download Practice Workbook
Download the practice workbook.
Further Readings
- How to Lock and Unlock Cells in Excel Using VBA
- Excel VBA to Protect Range of Cells
- Excel VBA to Lock Cells without Protecting Sheet
- Lock a Cell after Data Entry Using Excel VBA with Message Box Notification Before Locking
- How to Hide Formula in Excel Using VBA

