Method 1 – Using INT Function
Background
- The INT function treats date/timestamp data as integers and decimals (date as integer & time as decimal/fractions).
- It rounds down decimal values to the nearest integer fraction and returns an integer value.
Steps
- In cell D5, insert the formula:
=B5-INT(B5)- Press Enter.
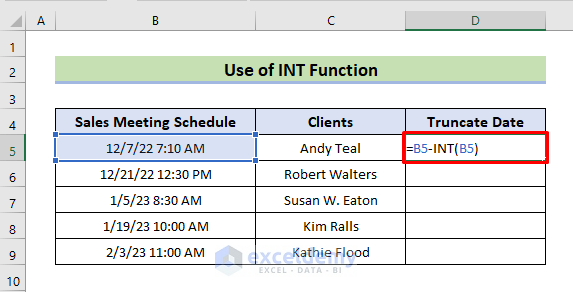
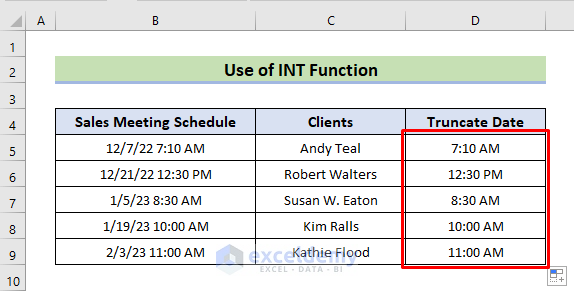
- This truncates the date, leaving only the time value in cell D5.
- Autofill the formula down to D9.
How does the formula work?
- Here, INT(B5) takes the date values as integers and time as fractions and returns only the date as integers.
- It subtracts it from B5 and get only the decimal portion which shows the time value only.
Read More: How to Truncate Text from Left in Excel
Method 2 – Custom Formatting to Exclude Date
Background
- The dataset in column B is in the format dd:mm:yy hh:mm.
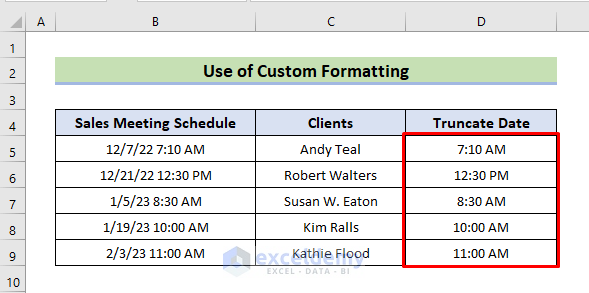
- We’ll customize it to hh:mm AM/PM format to remove the dates.
Steps
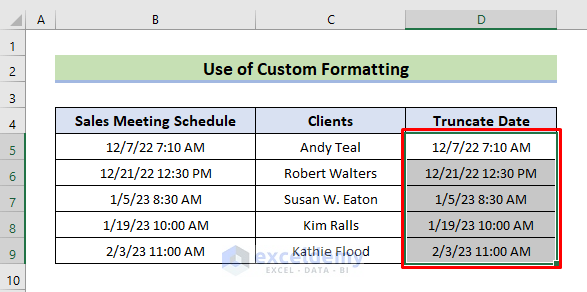
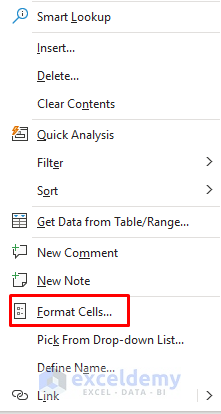
- Select the range D5:D9 containing date-time data.
- Right-click and choose Format Cells.
- In the Format Cells dialog, go to Number, click on Time and select a desired time format.
- Click OK.
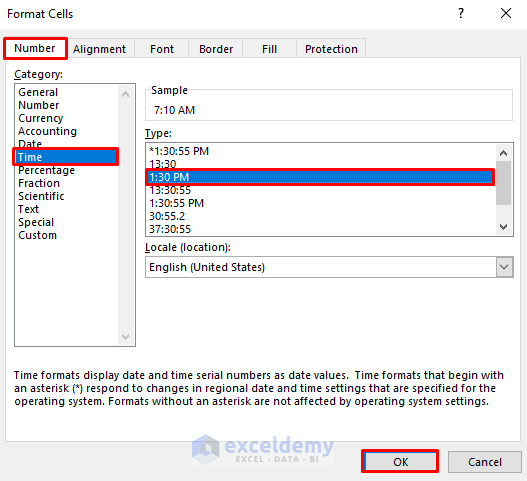
- The dates are now truncated.
Read More: How to Truncate Text in Excel
Method 3 – Excel TRUNC Function
Background
-
- The TRUNC function truncates the decimal portion of a number, returning an integer value.
- We’ll use it to remove the date from the date-time value.
Steps
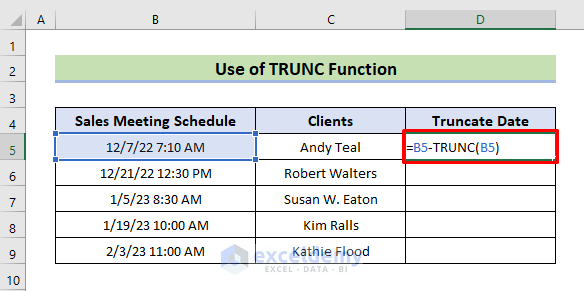
- In cell D5, enter the formula:
=B5-TRUNC(B5)- Press Enter.
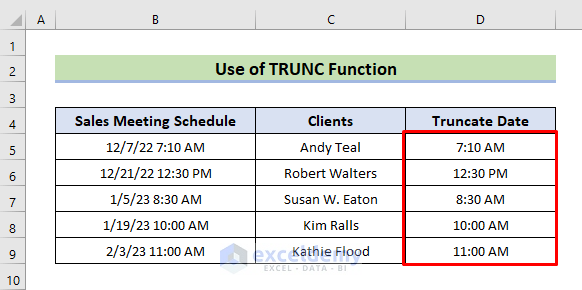
- Autofill the formula down the column.
- This gives us the truncated time values.
How does the formula work?
- In this formula, TRUNC(B5) sees the date-time as integer and decimal values. It breaks them down and truncates the decimal and returns only integer values.
- It subtracts it from B5 and get only the decimal portion which shows the time value only.
Read More: How to Truncate Text from Right in Excel
Method 4 – Truncate Date Using Excel VBA
Background
- We’ll use a simple VBA code to remove dates from our dataset.
Steps
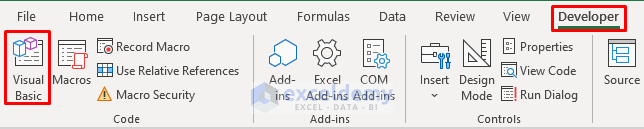
- Go to the Developer tab and open the Visual Basic window.
- Click Insert and select Module to create a module.
- In the module, insert the following code:
Sub Truncate_Date()
With Range("D5")
    .Value = TimeValue(.Value)
    .NumberFormat = "hh:mm:ss AM/PM"
End With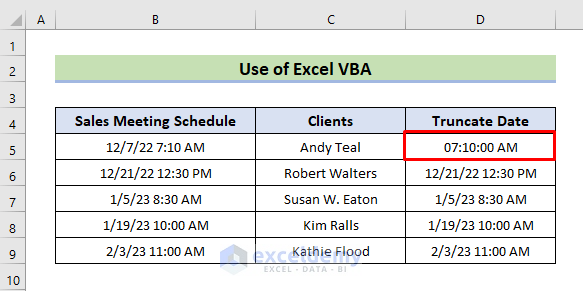
End Sub- Press Run to execute the code.

- The date is removed, and we get the desired time format in cell D5.
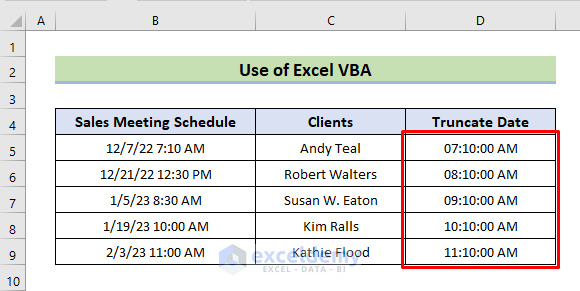
- Autofill the remaining cells.
Download Practice Workbook
You can download the practice workbook from here:
Related Articles
- How to Truncate Numbers in Excel
- How to Stop Excel from Truncating Text
- How to Use Truncate in Excel VBA
<< Go Back to Excel TRUNC Function | Excel Functions | Learn Excel
Get FREE Advanced Excel Exercises with Solutions!
