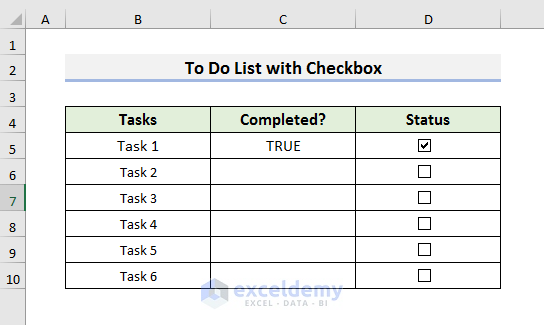
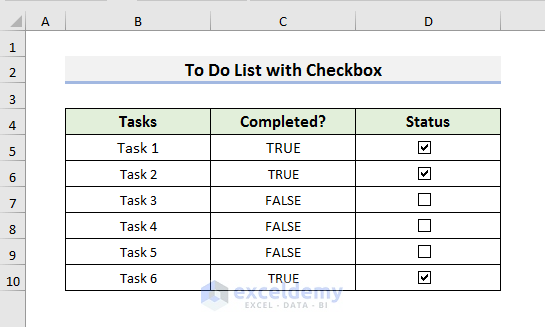
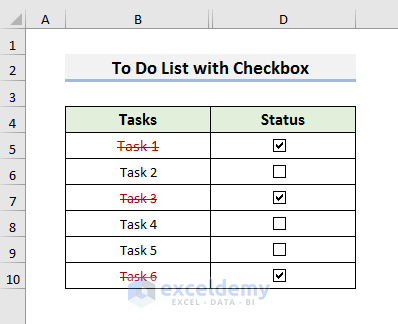
In this article, we will make a To Do list with checkboxes in Excel. We’ll will use the dataset below containing some tasks, and add checkboxes in the Status column. For your own To-Do List, add dates, times, and remarks to this dataset as desired.

STEP 1 – Adding Developer Tab to Excel Ribbon
Generally, we add a checkbox from the Developer tab. Sometimes, the Developer tab is not visible in the ribbon. To make the Developer tab visible:
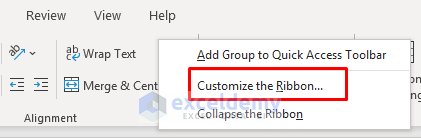
- Go to an empty space in the ribbon and right-click on the mouse.
- In the menu that opens, select Customize the Ribbon.
The Excel Options window opens.
- Select Main Tabs in the Customize the Ribbon section and check Developer.
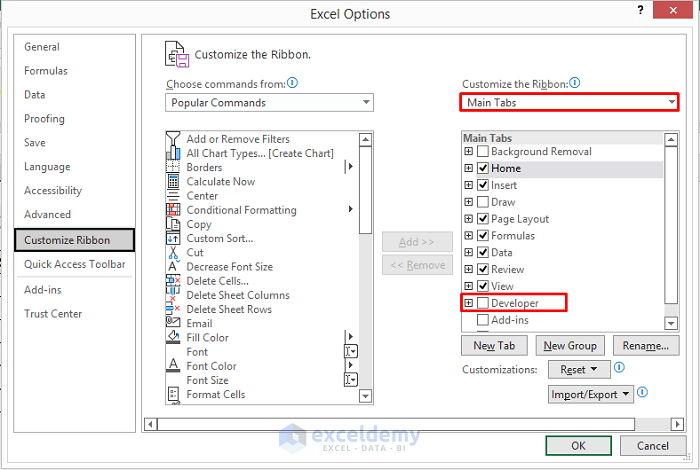
- Click OK,
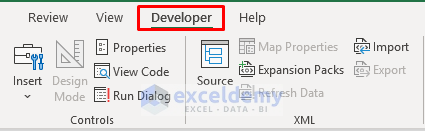
The Developer tab is now in the ribbon.
STEP 2 – Inserting a Checkbox
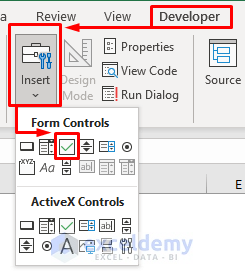
- Go to the Developer tab and select Insert.
- From the drop-down menu, select the Checkbox icon from the Form Controls field.
- Place the cursor in the cell where you want to insert the checkbox.
The cursor will change into a plus (+) sign.
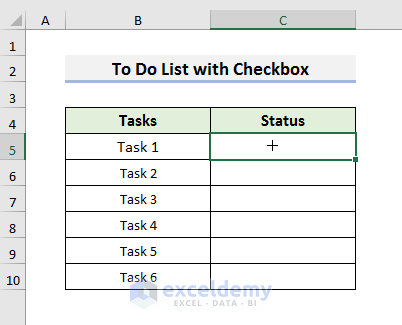
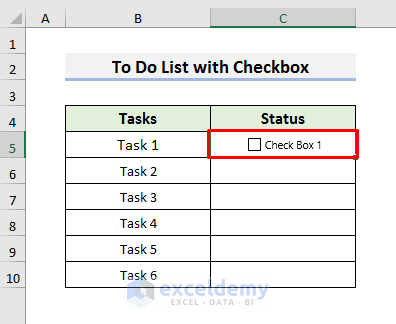
- Click on the cell and the checkbox will appear.
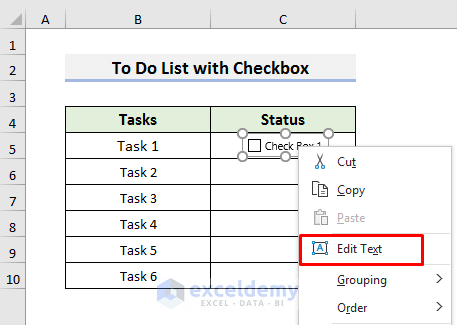
STEP 3 – Removing Text from Checkbox
- Press Ctrl and select the checkbox.
- Right-click on the mouse to open the Context Menu.
- Select Edit Text.
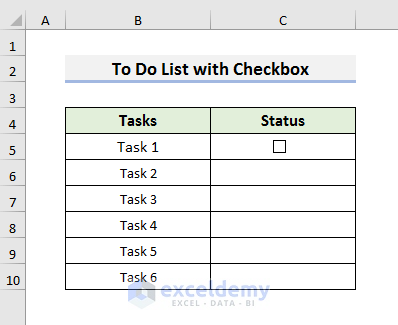
- Select the text with the mouse and press the Backspace key on the keyboard.
STEP 4 – Copying Checkbox to More Cells
- To copy a checkbox, select the cell that contains the checkbox and press Ctrl + C on the keyboard.
- Select the cells where you want to paste the checkbox, here cells C6 to C10.
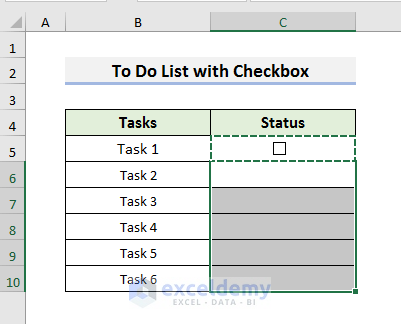
- Press Ctrl + V to paste the checkboxes.
STEP 5 – Linking Checkboxes to Cells
Now we link the checkboxes to the cells where we will store their status, namely checked or unchecked.
- Press Ctrl and select the first checkbox.
- Go to the Formula Bar and type =.
- Select cell C5.
- Press Enter to link the first checkbox to cell C5.
- Repeat the procedures for other checkboxes. Or use the macro described in the next step to link all checkboxes at the same time.
STEP 6 – Using VBA Macro to Link Multiple Checkboxes
Rather than linking checkboxes to cells manually one-at-a-time, we can link all checkboxes within a few seconds with a macro.
Steps:
- Press Alt + F11 to open the Visual Basic window. Or on the ribbon select Developer >> Visual Basic.
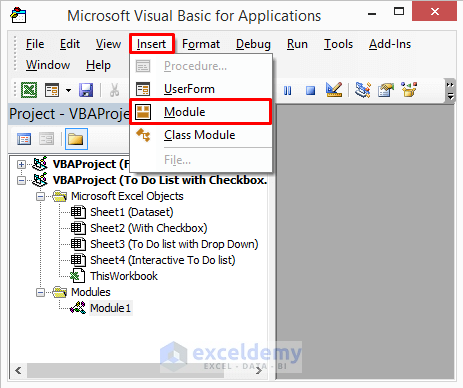
- In the Visual Basic window, select Insert and then Module to open the Module window.
- Enter the following code in the Module window:
Sub Link_Check_Boxes_to_Cells()
Dim icheck As CheckBox
Dim xcol As Long
xcol = -1
For Each icheck In ActiveSheet.CheckBoxes
  With icheck
    .LinkedCell = _
    .TopLeftCell.Offset(0, xcol).Address
  End With
Next icheck
End Sub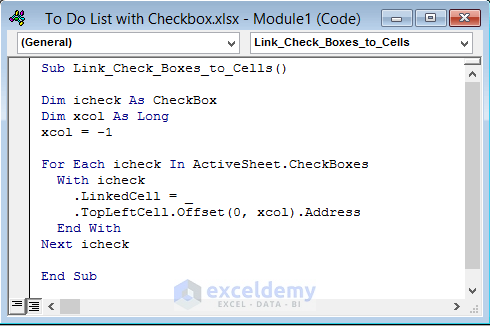
Here, xcol = -1 indicates one column to the left of the checkboxes. To add one column to the right, type xcol = 1. To add two columns to the right, type xcol = 2. Etc.
- Press the Ctrl + S key to save the code.
- Press the F5 key to run the code.
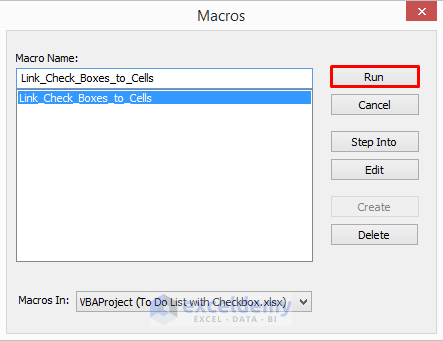
The Macros dialog box opens.
- Select the macro.
- Click Run.
All checkboxes are linked.
STEP 7 – Applying a Rule to Delete Tasks from To Do List
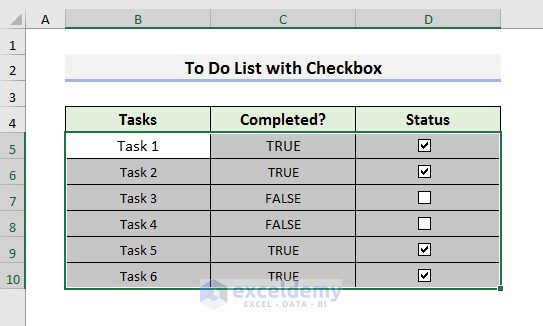
In the final step, we will add Conditional Formatting to make the To-Do List more understandable.
- Select all the cells.
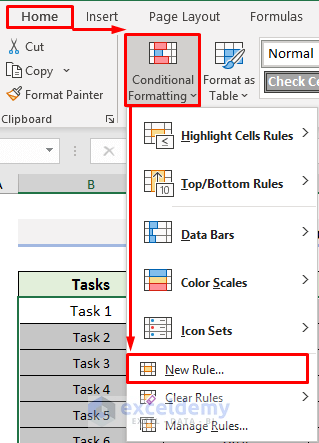
- Go to the Home tab and select Conditional Formatting.
- From the drop-down menu, select New Rule.
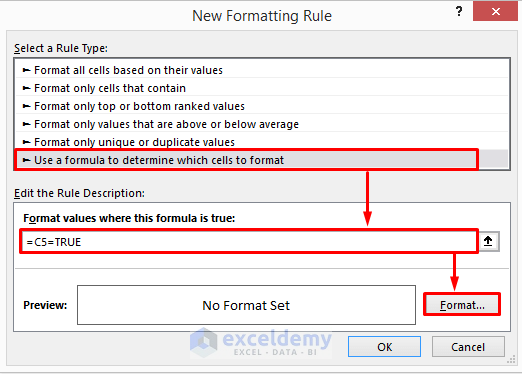
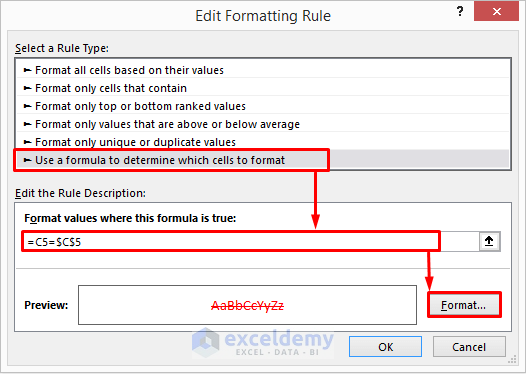
- Select the last rule type ‘Use a formula to determine which cells to format‘ in the New Formatting Rule window.
- Enter the following formula:
=C5=TRUE- Click Format.
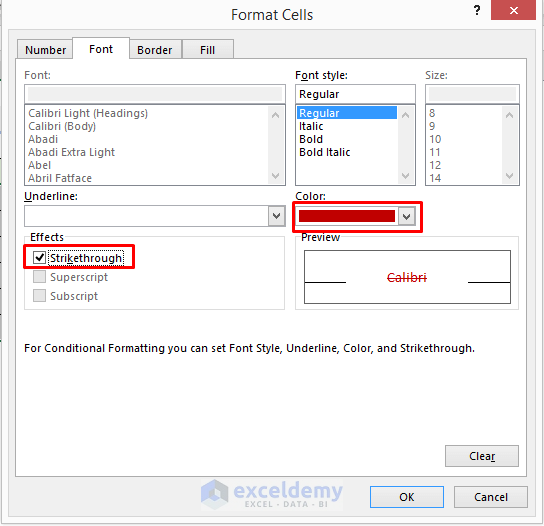
- In the Format Cells window, select Strikethrough and change the color.
- Click OK.

- Hide Column C.
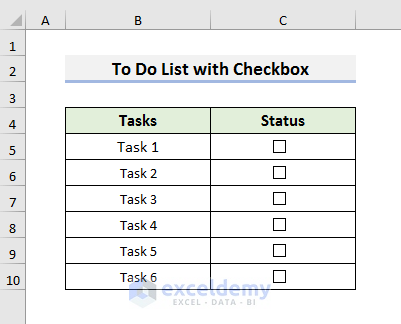
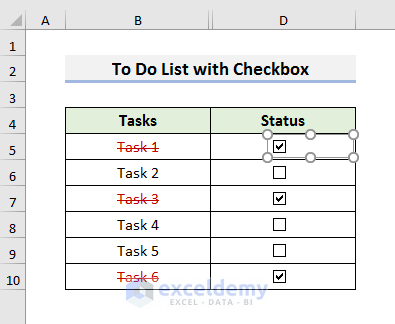
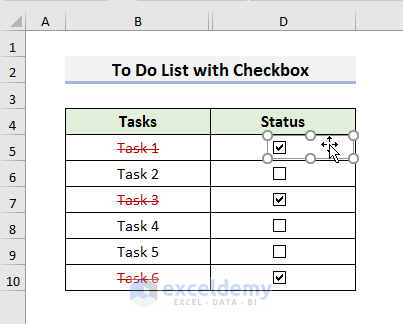
Our To-Do List now looks like this:
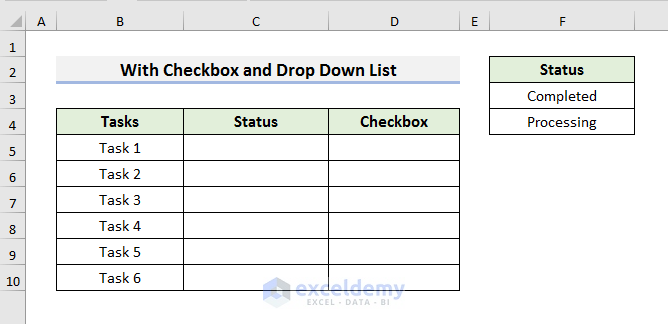
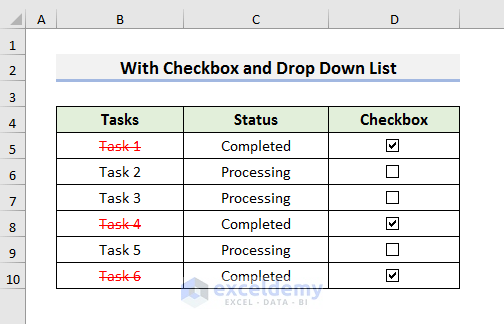
How to Make To Do List with Checkbox and Drop Down List in Excel
Now let’s make a To Do list with checkboxes and drop-down lists. We’ve added a Status section to our dataset to populate the list.
Steps:
- Select cells C5 to C10.
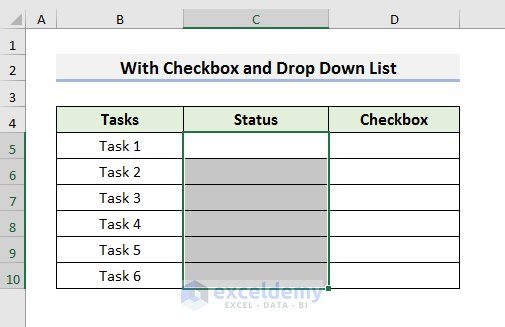
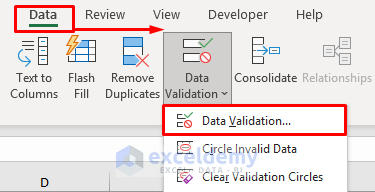
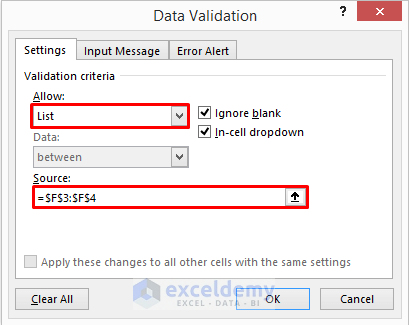
- Go to the Data tab and select Data Validation.
- In the Data Validation dialog box, select List in the Allow field.
- Put the cursor inside the Source field.
- Select the cells that contain the status of the tasks (F3 and F4) and click OK.
After clicking OK, Status can be added from the drop-down list.
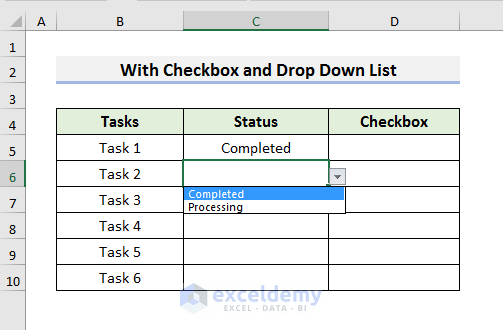
- Add a Status to all tasks.
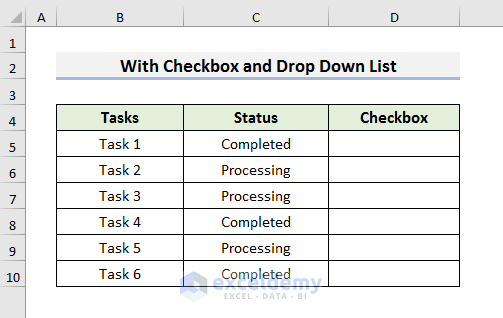
- Go to the Developer tab, select Insert, and select the Checkbox icon.

- Add checkboxes in all cells.
Now let’s apply a rule.
- Go to the Home tab and select Conditional Formatting.
- From the drop-down menu, select New Rule.

- Select the last rule type ‘Use a formula to determine which cells to format‘ in the New Formatting Rule window.
- Enter the following formula:
=C5=$C$5- Select Format.
- In the Format Cells window, select Strikethrough, change the color, and click OK.
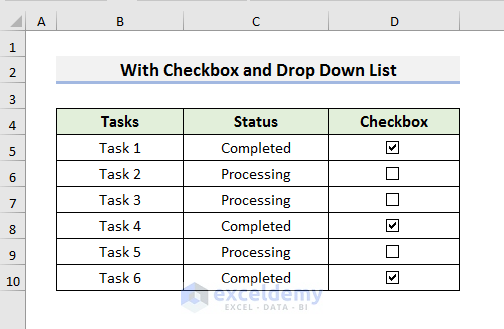
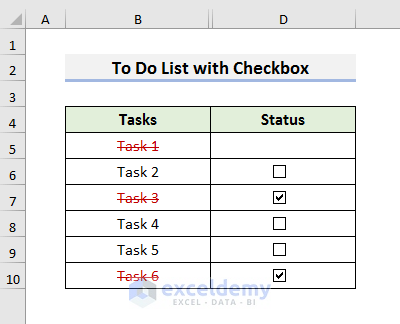
Our To Do list looks like the screenshot below.
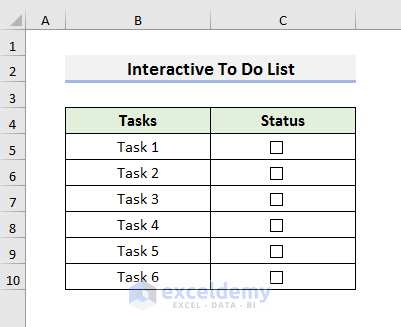
How to Create Interactive To Do List with Checkbox in Excel
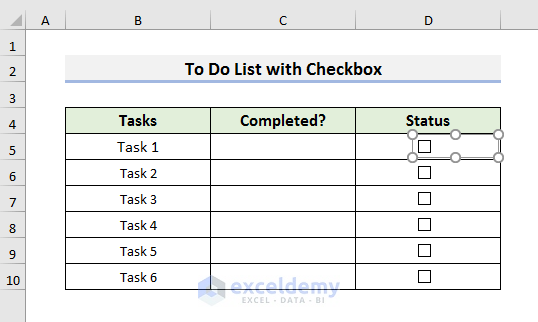
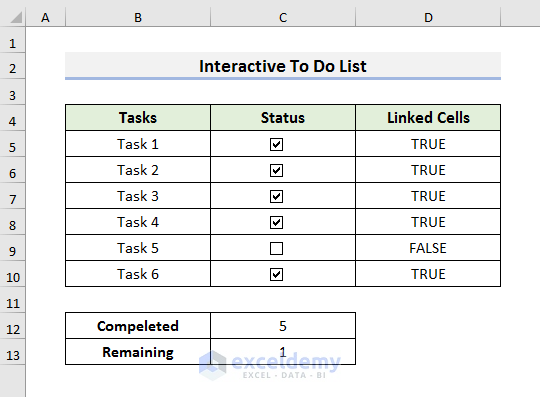
In this example, the list will show the number of completed tasks and the remaining tasks. We have already added checkboxes to the To Do list.
Steps:
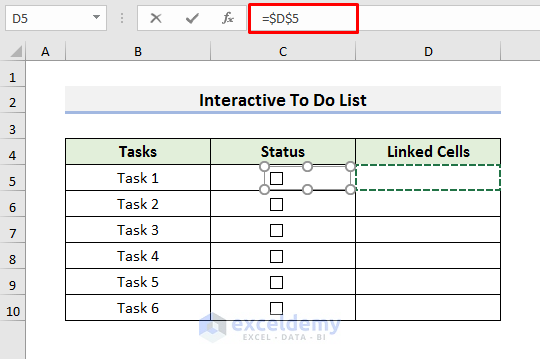
- Insert a column to link the checkboxes.
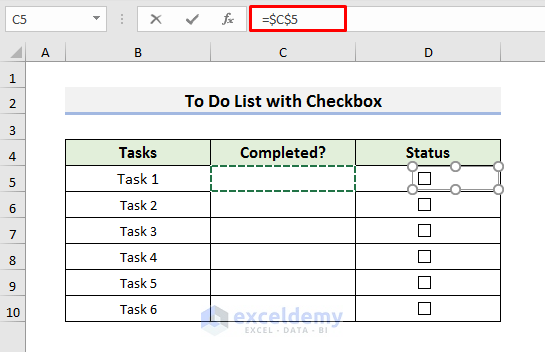
- Press the Ctrl key and select the first checkbox.
- Type = in the Formula Bar.
- Select cell D5.
- Press Enter to link the cell to the first checkbox.
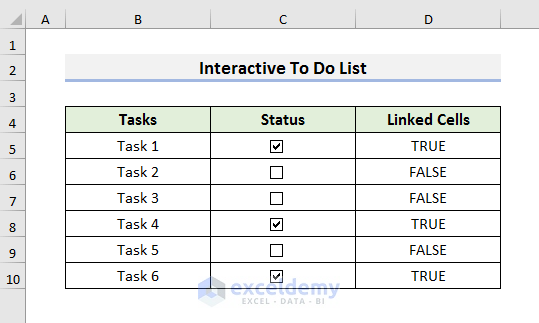
- Repeat the process or use the macro described above to link all the checkboxes.
- Enter the following formula in cell C12:
=COUNTIF(D5:D10,TRUE)- Press Enter to see the result.
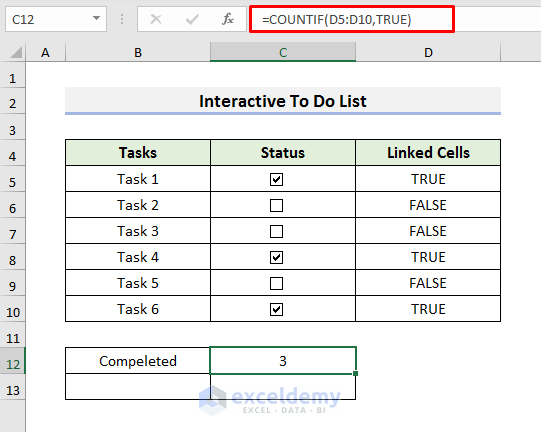
Here, the COUNTIF function counts the number of completed tasks and displays the result.
- Enter the following formula in cell C13:
=6-C12- Press Enter.
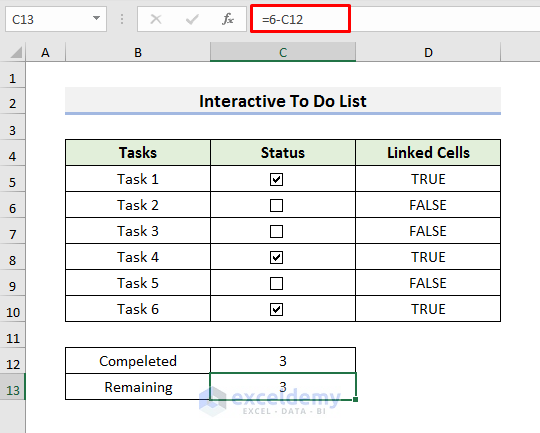
Here, 6 represents the number of tasks. Change this number as required.
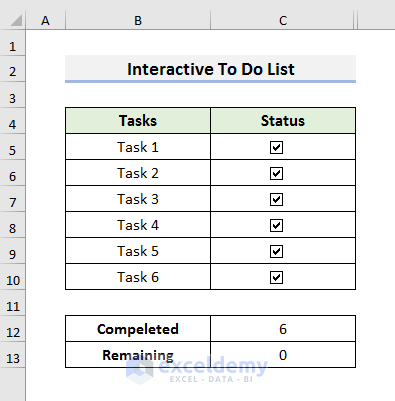
As more tasks are completed, the results will automatically update.
- Hide Column D to make the To Do list easily readable.
How to Delete a Checkbox in Excel
- Press Ctrl and select the checkbox.
- Just press Delete on the keyboard.
To delete multiple checkboxes:
- Press Ctrl, select multiple checkboxes, and press Delete on the keyboard.
How to Fix Position of a Checkbox in Excel
It is essential to fix the position of a checkbox in your Excel dataset. Otherwise, it may look bizarre.
Steps:
- Press Ctrl and select the checkbox.
- Put the cursor inside the rectangular box.
The cursor will show a four-directional arrow sign.
- Move the cursor to the position you want to place the checkbox.
Download Practice Book
Related Articles
<< Go Back to To-Do List in Excel | Tracker in Excel | Excel Templates
Get FREE Advanced Excel Exercises with Solutions!
