Download Practice Workbook
Method 1 – Use Excel Page Break Preview to Show Only Working Area
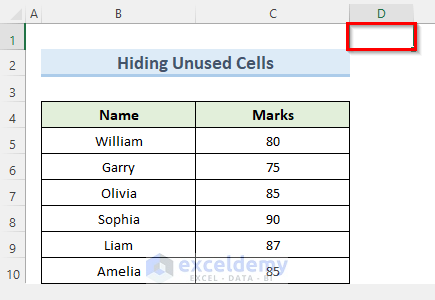
In the sample dataset, the working area only extends up to cell C10. We will change the view style of the excel workbook using Page Break Preview to remove unused cells from the screen and show only the dataset.
Steps:
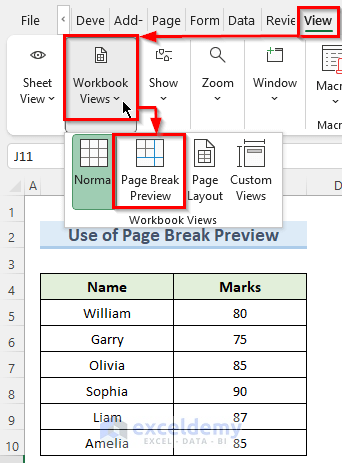
- Go to the View tab and go to the Workbook Views section.
- Under this section, select the option Page Break Preview.
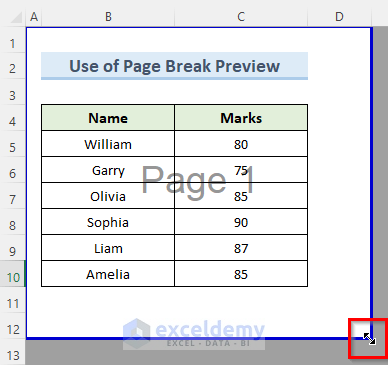
- As a result, excel will reduce the worksheet to your working area or the dataset.
- Move the mouse pointer to the corner of the window.
- You will see a Double-Head Arrow. Using this arrow, you can now adjust the working area of the worksheet.
Method 2 – Hide Cells Outside Working Area in Excel
Steps:
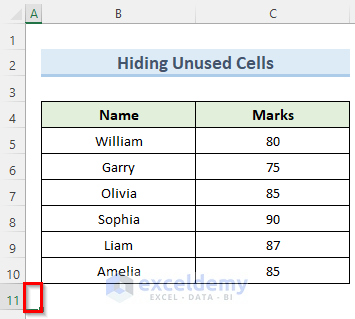
- Select the cell that is immediately below your dataset. In this case, it is cell A11.
- Press Ctrl+Shift+Right Arrow and then Ctrl+Shift+Down Arrow.
- All the rows below cell A11 will be selected.
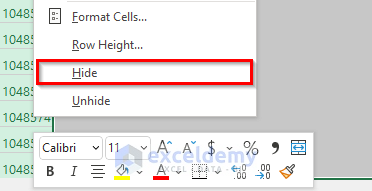
- The last available row in Excel 365 is 1048576.

- Right-click on any of the row headers and select Hide.
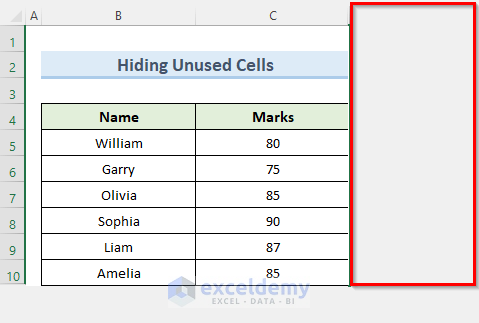
- Excel will hide all the rows below the dataset that we have selected.

- Select the cell immediately to the right of your dataset which is cell D1 in this case.
- Press Ctrl+Shift+Down Arrow and Ctrl+Shift+Right Arrow.
- This operation will select all the columns up to the last available column which is XFD.
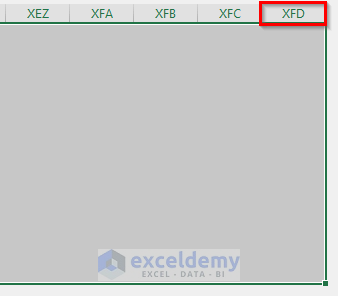
- Right-click on any of the column headers and select Hide.

- Excel will hide all the cells outside of your working area.
Read More: Remove Unused Cells in Excel (8 Easy Ways)
Method 3 – Fill Cells with Grey Colors That Are Beyond Working Area
Steps:
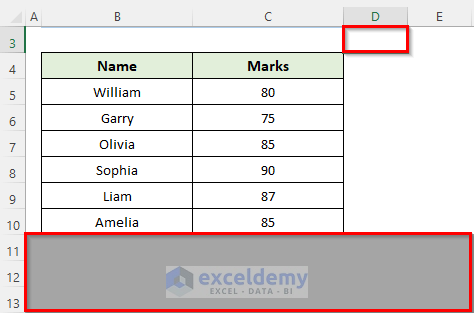
- Select cell A11.
- Select all the rows below the dataset using the Ctrl+Shift+Right Arrow/Down Arrow.
- Navigate to the Home tab and select a Fill Color from the available options.
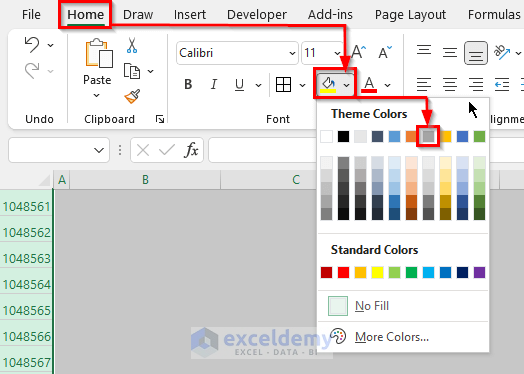
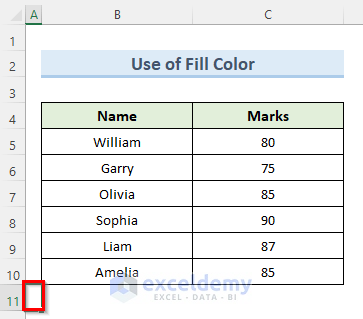
- All the selected rows will have the fill color.
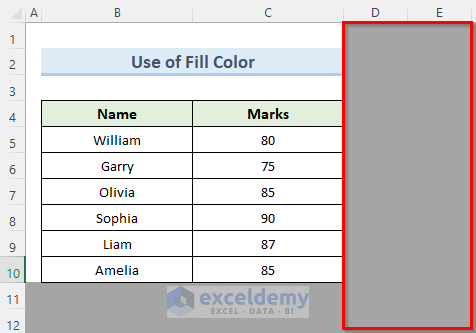
- Click on cell D1 and using the previous methods, select all the columns outside of the dataset.
- Apply Fill Color to all the selected columns.
- All the cells outside your working area will appear grey colored.
Read More: How to Grey Out Unused Cells in Excel (3 Quick Methods)
Restrict Scrolling to Working Area in Excel Using VBA Window
Steps:
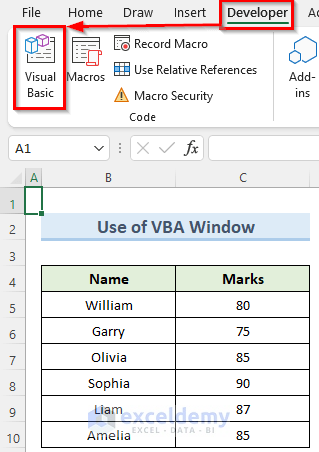
- Go to the Developer tab and select Visual Basic.
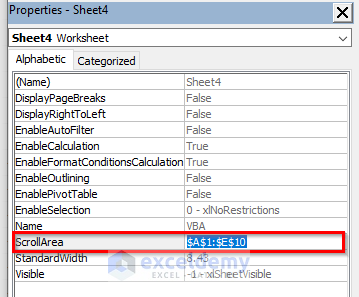
- Click on the sheet that you want to work with and go to the Properties window.
- Note that, you can bring the Properties window by pressing the key F4.
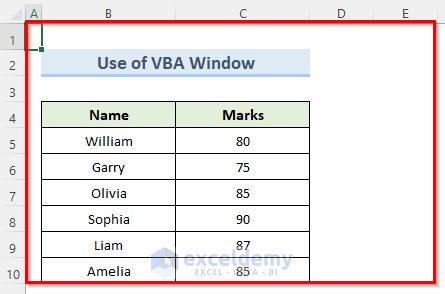
- Inside the ScrollArea option, enter the range of cells that you want to keep in the working area.
- Close the Visual Basic window and excel will now restrict the worksheet only to the range that you specified.
Related Articles
- How to Use Sheet View in Excel (with Simple Steps)
- What Is Normal View in Excel? (Detailed Explanation)
- How to Show Only One Page in Excel Page Layout View (4 Ways)


Very helpful! With these steps I was able to do this. Also answered the question I had and added an extra helpful setting.
Thanks for your comment, Madison!