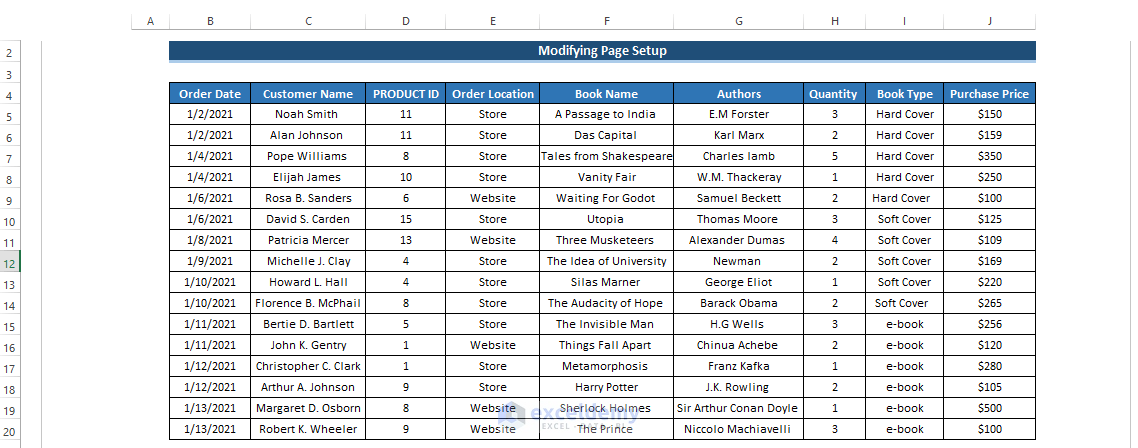
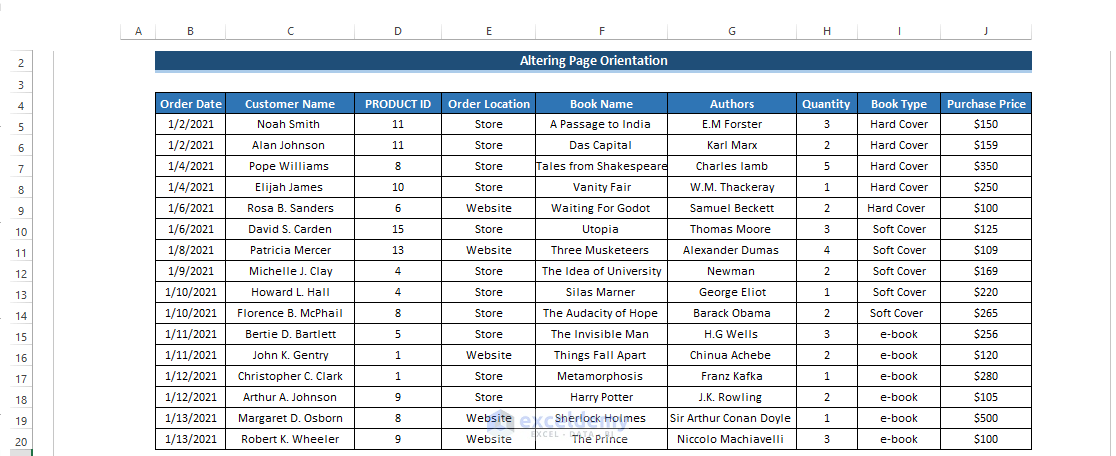
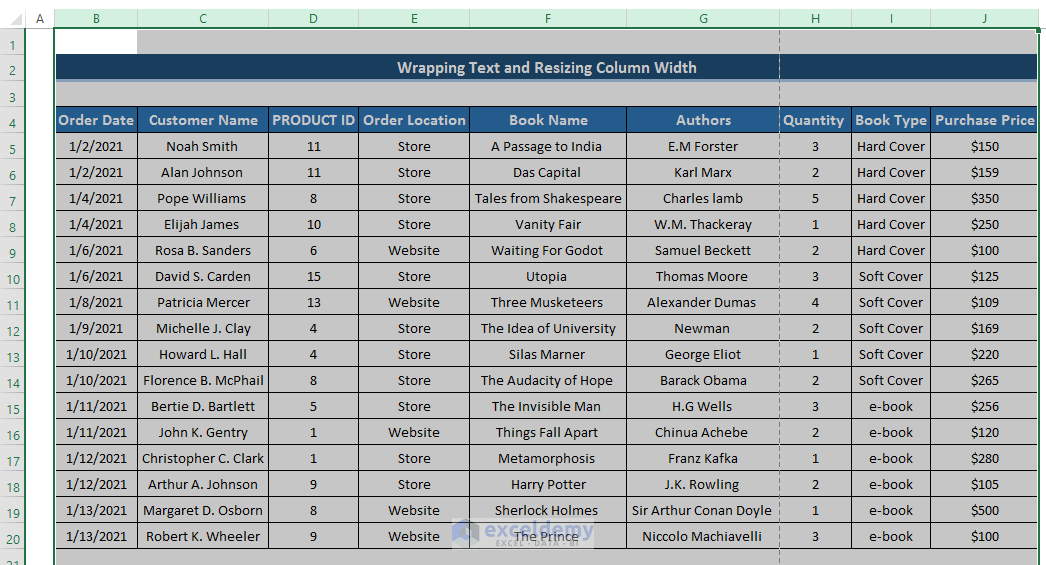
To demonstrate how to display the page layout view on one page in Excel, we’ll use the following large dataset that includes the order date, customer name, product id, order location, book name, authors, book type, and purchase price.
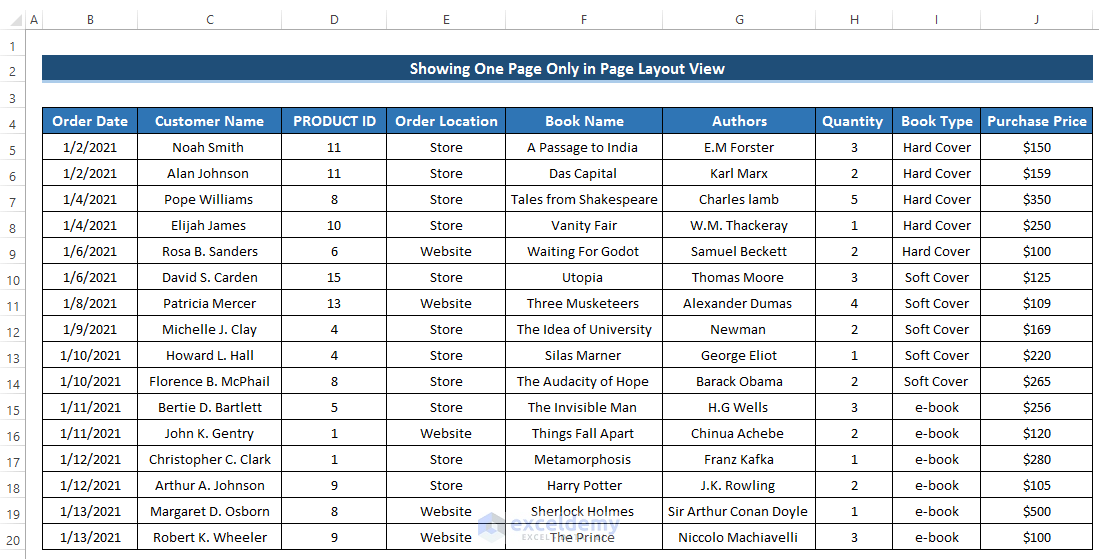
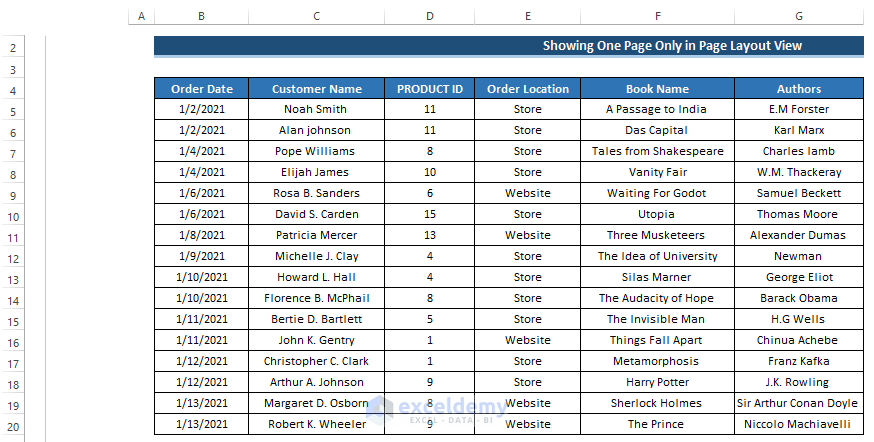
If you look at the page layout view, you will find the page is divided into two. On the first page, you have six columns.
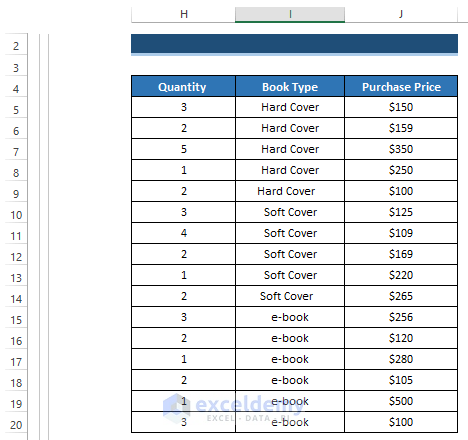
On the next page, you have the other three columns.
Let’s apply some methods to show all the columns on one page only in the page layout view.
Method 1 – Modifying Page Setup
Steps:
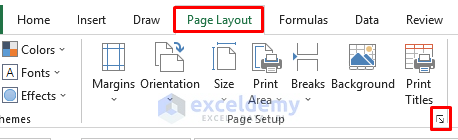
- Go to the Page Layout tab in the ribbon.
- Click on the Dialog Box Launcher in the bottom right corner.
This will open up the Page Setup dialog box.
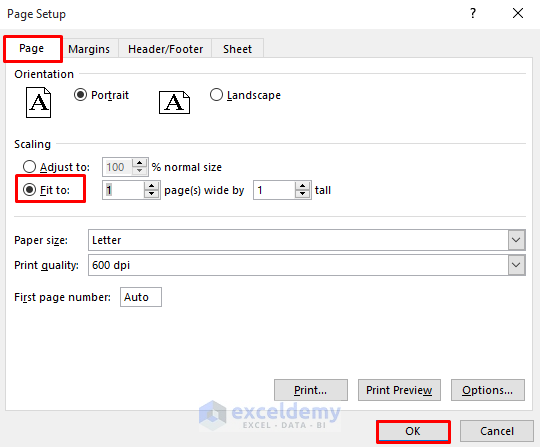
- Select the Page tab in the Page Setup dialog box.
- From the Scaling section, select the Fit to option instead of Adjust to.
- Click on OK to apply the changes.
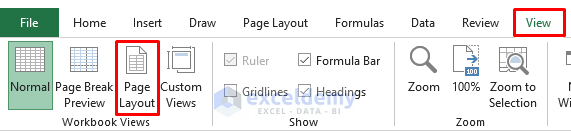
- Go to the View tab in the ribbon.
- From the Workbook Views group, select Page Layout.
As a result, you will see the dataset on one page only.
Method 2 – Altering Page Orientation
By default, Excel will display your dataset in portrait mode, but by changing the orientation from portrait to landscape, everything might fit onto one page in the page layout view.
Steps:
- Go to the Page Layout tab in the ribbon.
- Click on the Dialog Box Launcher in the bottom right corner.
This will open up the Page Setup dialog box.
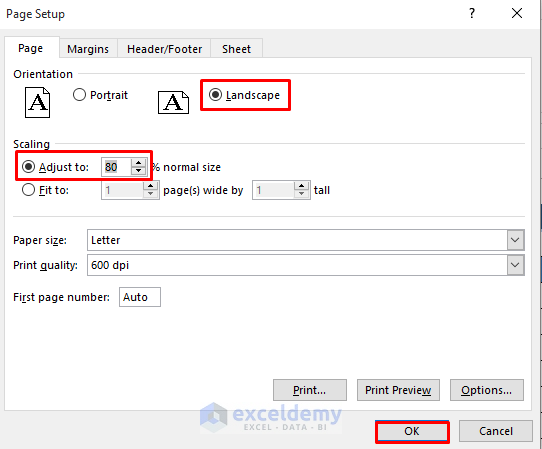
- Select the Page tab in the Page Setup dialog box.
- From the Orientation section, change the orientation from Portrait to Landscape.
- From the Scaling section, change from Adjust to 100% normal size to Adjust to 80% normal size.
- Click on OK.
- Go to the View tab in the ribbon.
- From the Workbook Views group, select Page Layout.
As a result, you will see the dataset on one page only.
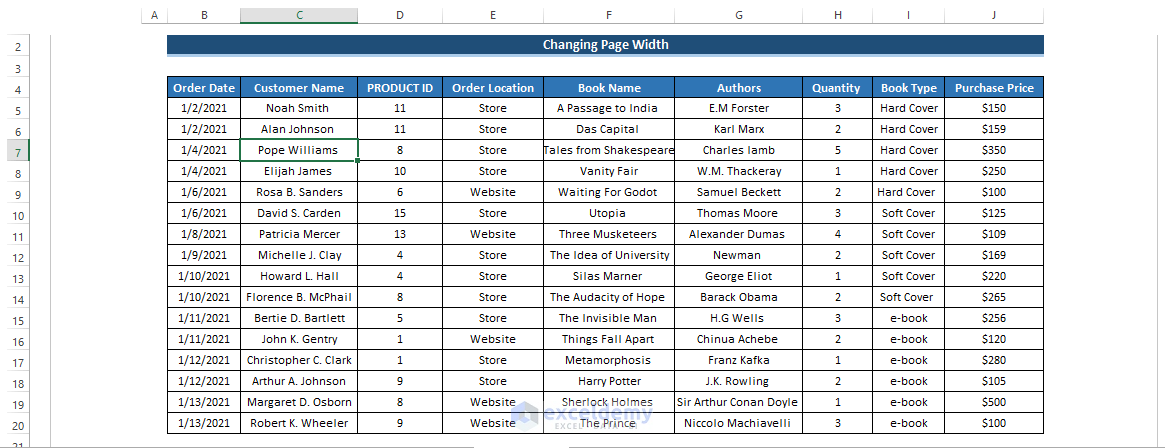
Method 3 – Changing Page Width
We can set the page width to one page only, forcing the contents to fit on one page.
Steps:
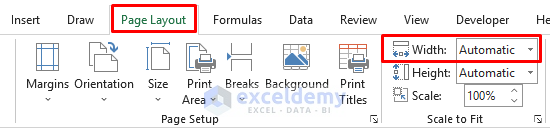
- Go to the Page Layout tab in the ribbon.
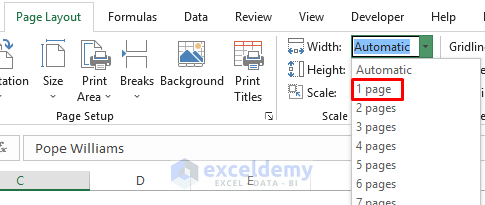
- From the Scale to Fit group, select the Width drop-down option.
- Change the Width from Automatic to 1 page.
- Go to the View tab in the ribbon.
- From the Workbook Views group, select Page Layout.
As a result, you will see the dataset on one page only.
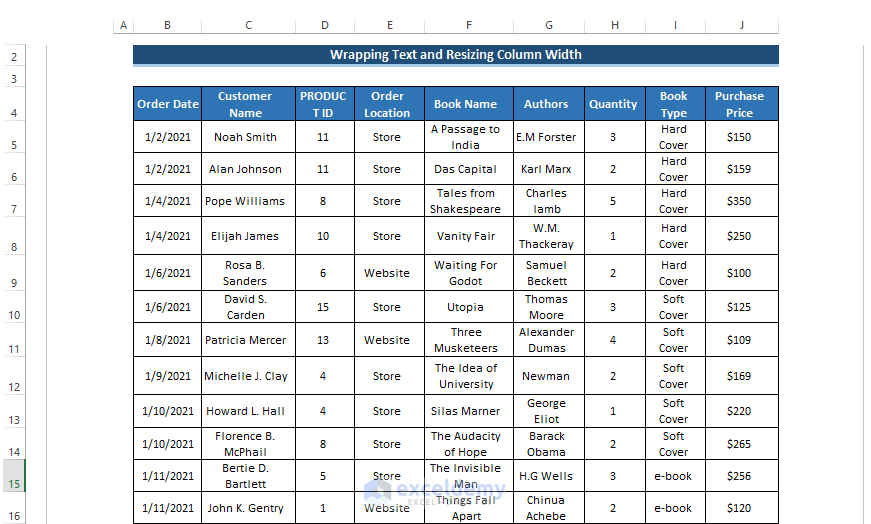
Method 4 – Wrapping Text and Resizing Column Width
Several columns in our dataset are quite wide. By using the Wrap Text option and adjusting column width, we can adjust several lines and make the dataset fit on one page.
Steps:
- Select the range of columns C to J.
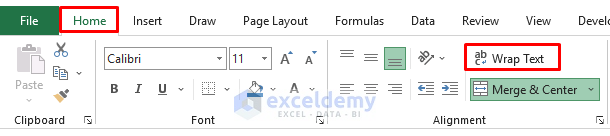
- Go to the Home tab in the ribbon.
- From the Alignment group, select the Wrap Text option.
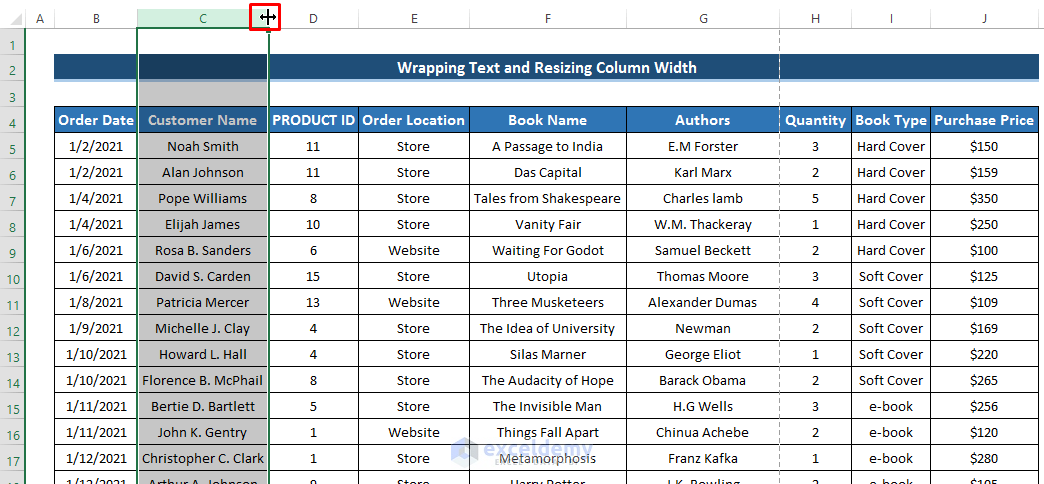
- Move the mouse cursor to the boundary line between two columns, and it will convert into the resize icon.
- Resize the columns appropriately until they all fit on one page.
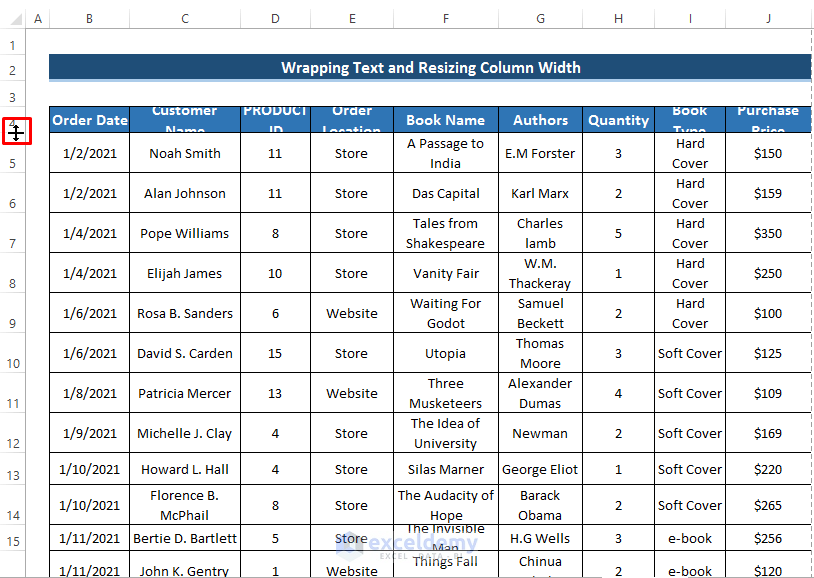
- If while resizing the columns some rows become congested, you can resize row height in the same way.
- The resize icon will appear when you place the mouse cursor between two rows.
- Go to the View tab in the ribbon.
- From the Workbook Views group, select Page Layout.
As a result, you will see the dataset on one page only.
Things to Remember
- In the case of the page setup method, we can adjust our dataset on one page for both portrait and landscape orientations.
- If you resize the column width and row height properly, wrapping text can be a perfect solution to show the page layout view on one page.
Download Practice Workbook
Related Article
<< Go Back to Workbook in Excel | Learn Excel
Get FREE Advanced Excel Exercises with Solutions!

None of these work
Thanks, SOME, for sharing your problem with us. If you have already tried every method described above, you can try to change the margin of the page or you can decrease the font size to see if it works for you. If your problem still persists, then I recommend posting your issue and sharing your file on our Exceldemy Forum. This way, we can examine your problem and work towards resolving it.
Regards
Aniruddah
None of it works
Hello BRYAN
Thanks for visiting our blog. All the methods described in the article are working perfectly on our end. It is important to remember the intended effect you want to see when you have printed the sheet.
OUTPUT OVERVIEW:
So, I recommend you reread the article; good luck.
Regards
Lutfor Rahman Shimanto
ExcelDemy