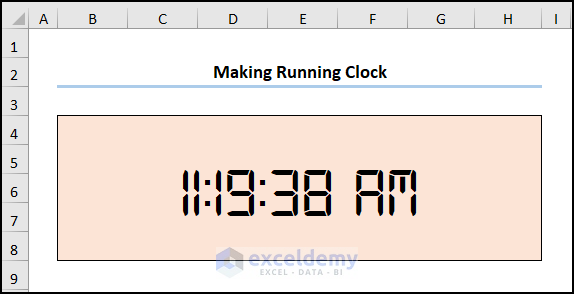
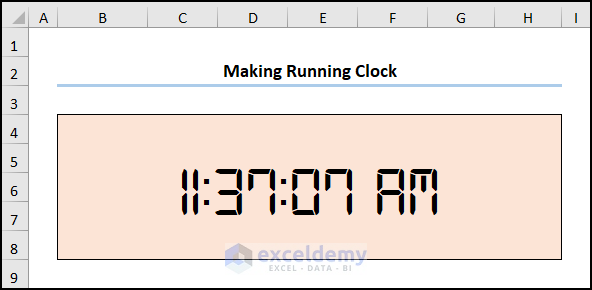
The screenshot below represents a digital running clock in Excel. In the following sections, we’ll explore the process of preparing this and another type of clock you can put in your sheets.
Method 1 – Making a Digital Running Clock
Steps:
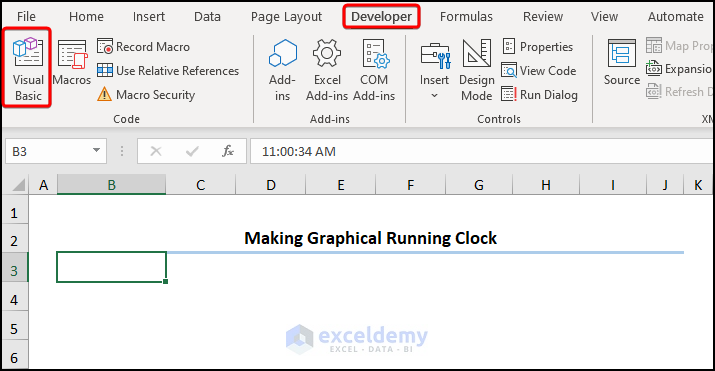
- Navigate to the Developer tab and click on the Visual Basic option.
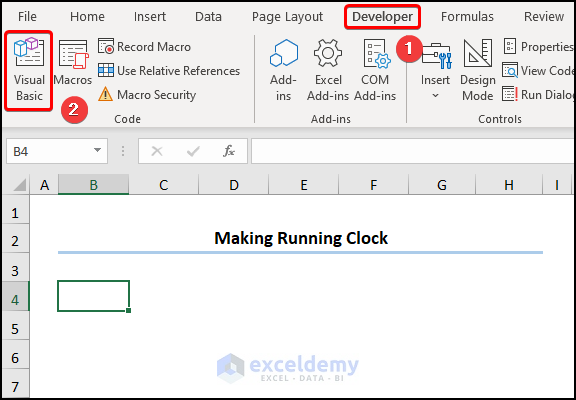
- This opens the Visual Basic Editor in a new window.
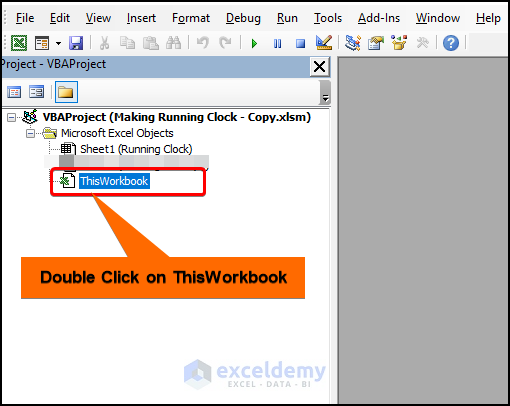
- Double-click on ThisWorkbook.
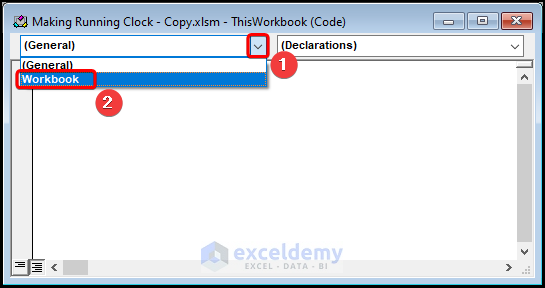
- In the drop-down, choose the Workbook option.
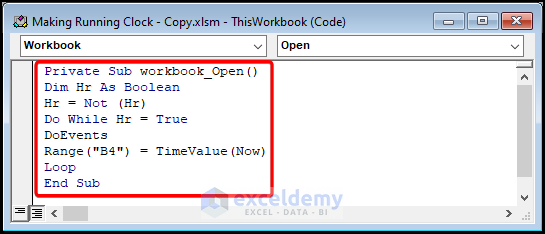
- Copy the following code and paste it into the window.
Private Sub workbook_Open()
Dim Hr As Boolean
Hr = Not (Hr)
Do While Hr = True
DoEvents
Range("B4") = TimeValue(Now)
Loop
End Sub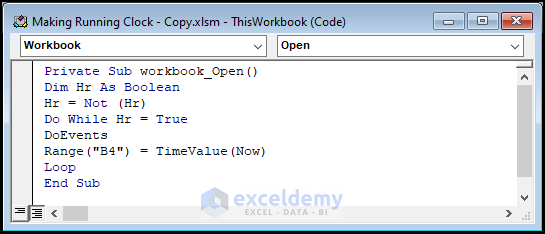
⚡ Code Breakdown
- We defined the variables Hr and assign the Boolean data type.
- The Not operator and the Do While loop return the time using the VBA TimeValue function in the B4 cell.
- You can choose any cell reference instead of the B4 cell.
- Click the Run button or the F5 key to execute the code.
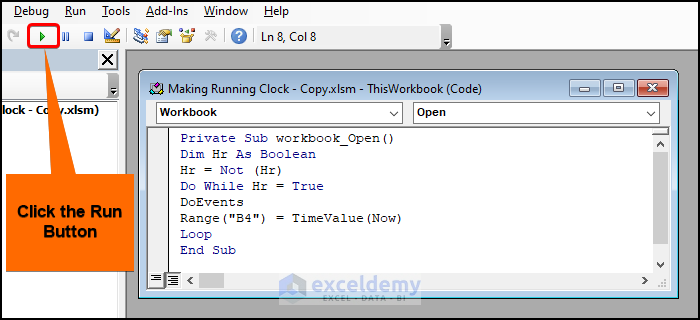
- Close the VBA window.
- Select the B4 cell.
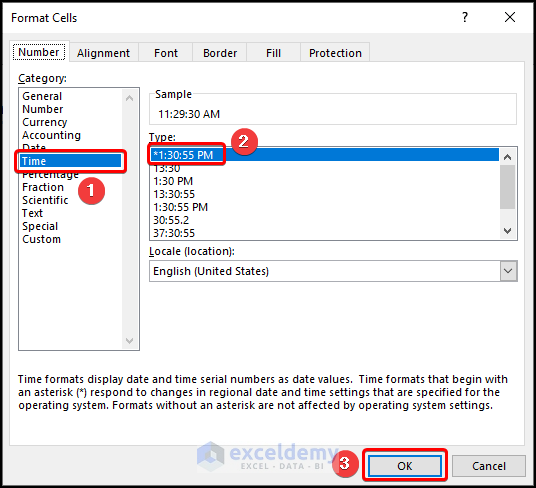
- Hit Ctrl + 1 to go to Format Cells.
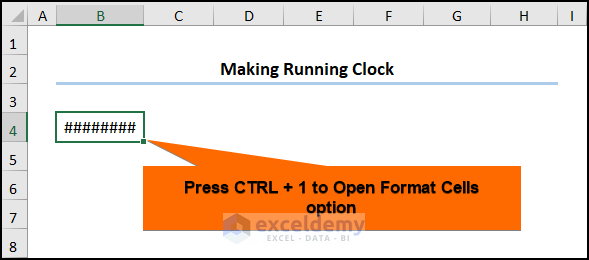
- Move to the Time category (in the Number tab) and select a full Time Format.
- Select the B4:H8 cells and press Merge & Center.

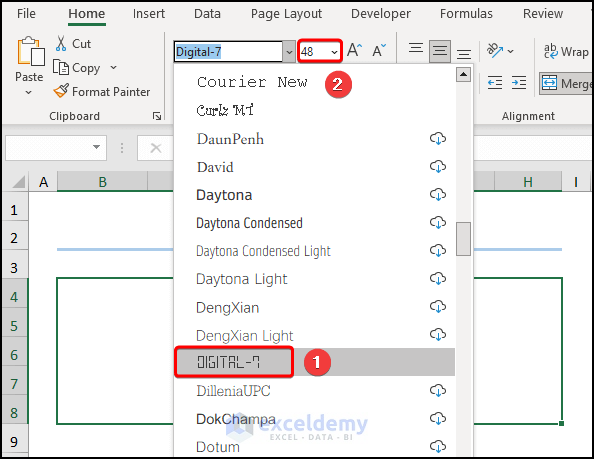
- Change the font to Digital 7 and increase the font size to 48.
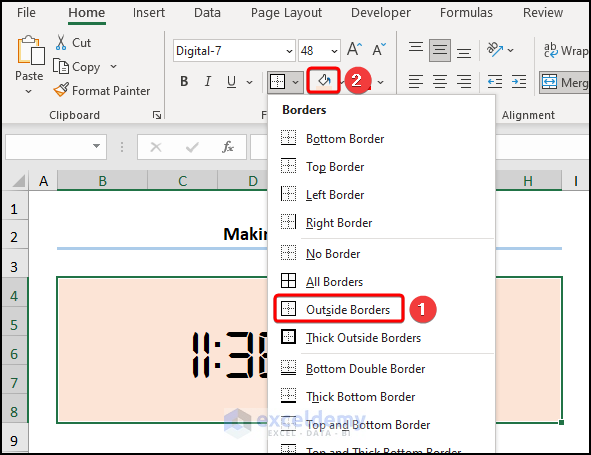
- Add and Outside Border and choose a Fill Color. We’ve chosen a light orange.
- The results should look like the image shown below.
Read More: How to Use VBA Code for Creating Digital Clock in Excel
Method 2 – Creating a Graphical Running Clock
Steps:
- In the Developer tab, click on Visual Basic.
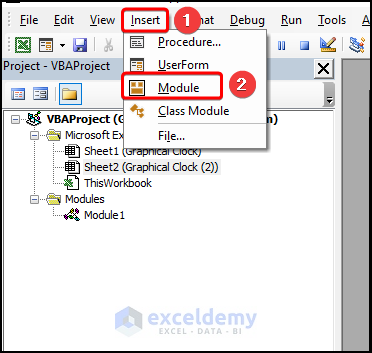
- Insert a Module from the Insert drop-down.
- Copy and paste this code into the Module window:
Dim Refresh_Calc As Date

Sub Refresh()

With Sheet1.Range("B3")
.Value = Format(Time, "hh:mm:ss AM/PM")
End With
Call Start_Timer

End Sub

Sub Start_Timer()

Refresh_Calc = Now + TimeValue("00:00:01")
Application.OnTime Refresh_Calc, "Refresh"

End Sub

Sub End_Timer()

On Error Resume Next
Application.OnTime EarliestTime:=Refresh_Calc, Procedure:="Refresh", Schedule:=False

End Sub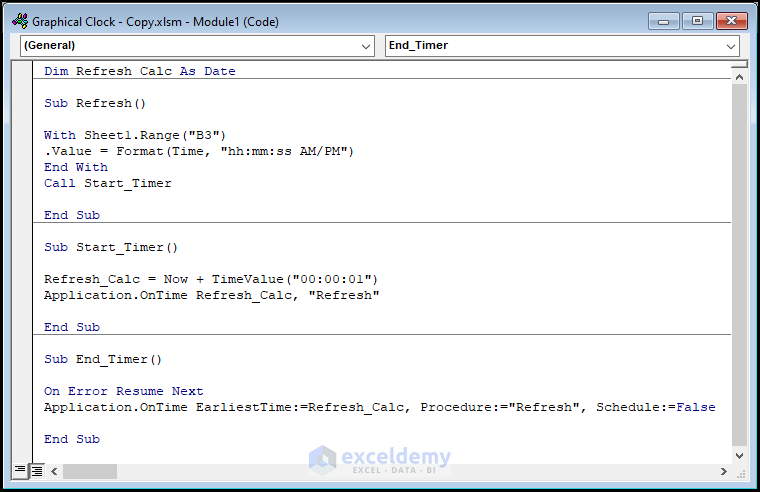
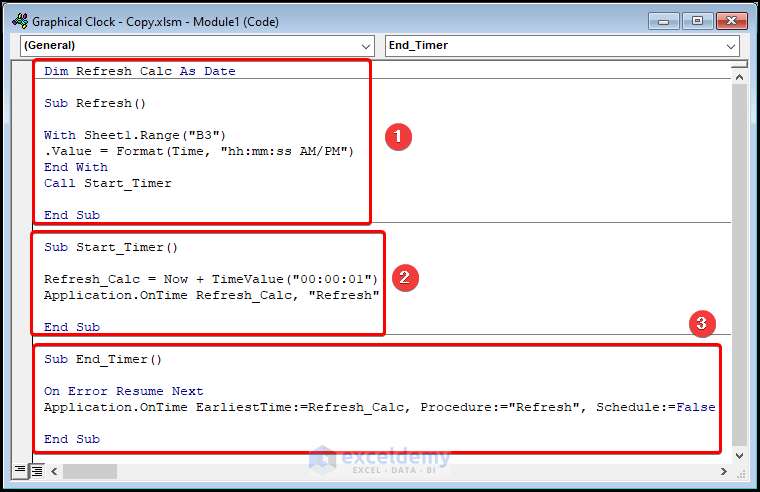
⚡ Code Breakdown
- The With statement to inserts time in the specified format and calls the Start_Timer macro.
- The second segment constructs the Start_Timer sub-routine.
- The third segment assigns the Refresh_Calc variable and add the time values.
- In the last segment, we made the End_Timer sub-routine to stop the running clock.
- Close the VBA window.
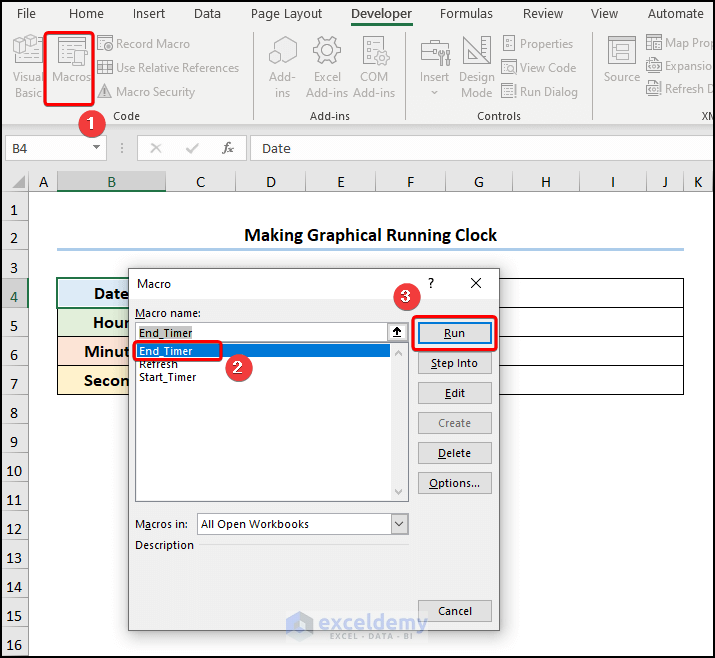
- Click Macros in the Developer tab.
- Run the Start_Timer macro.
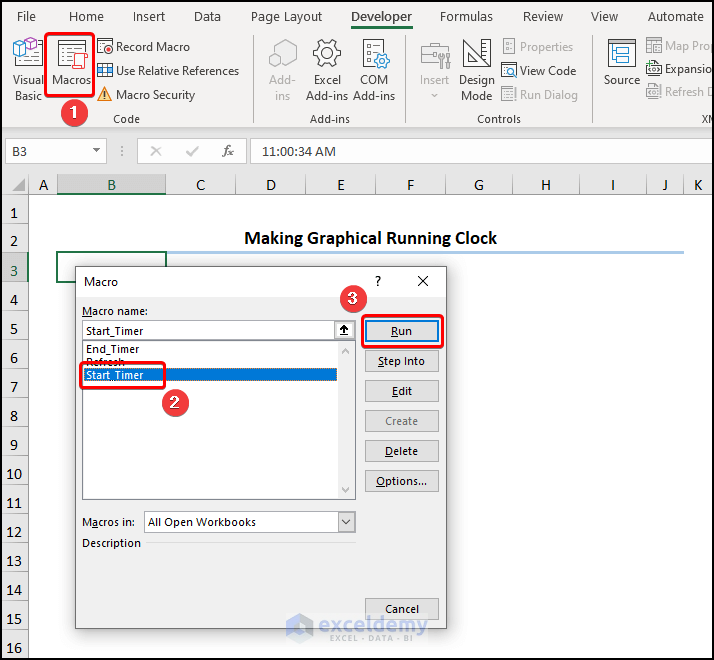
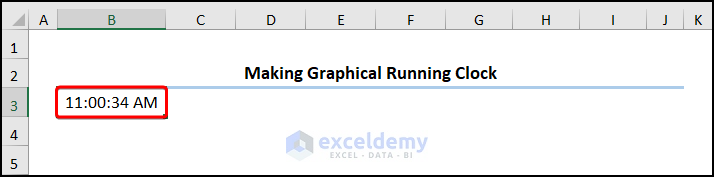
- This inserts the time in the B3 cell.
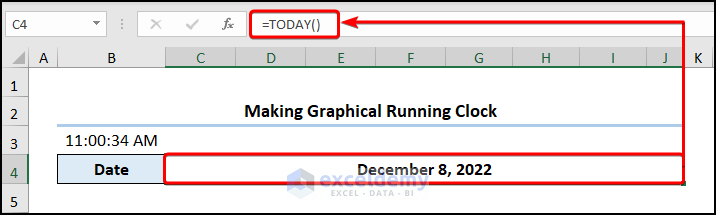
- Go to the C4 cell and insert the TODAY function to get the present date.
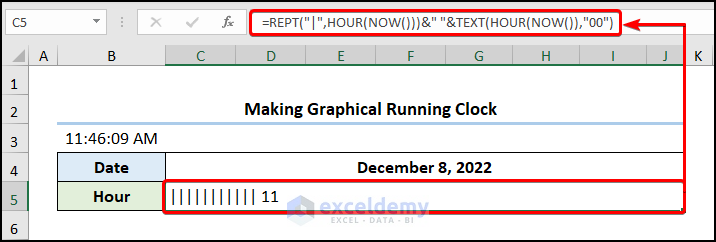
- Move to the C5 cell and insert the following expression:
=REPT("|",HOUR(NOW()))&" "&TEXT(HOUR(NOW()),"00")
⚡ Formula Breakdown
- TEXT(HOUR(NOW()),”00″) → converts a value to text in a specific number format. In this formula, HOUR(NOW()) is the value argument that uses the NOW and HOUR functions to return the current hour, whereas “00” is the format_text argument that returns only the first digits of the hour.
- Output → 11
- REPT(“|”,HOUR(NOW())) → repeats text a given number of times. Here, the “|” is the text argument that refers to the Pipe symbol, while the HOUR(NOW()) is the number_times argument that instructs the function to insert the Pipe symbol equal to the hour.
- Output → “|||||||||||”
- REPT(“|”,HOUR(NOW()))&” “&TEXT(HOUR(NOW()),”00”) → combines the two outputs with the Ampersand operator.
- Output → ||||||||||| 11
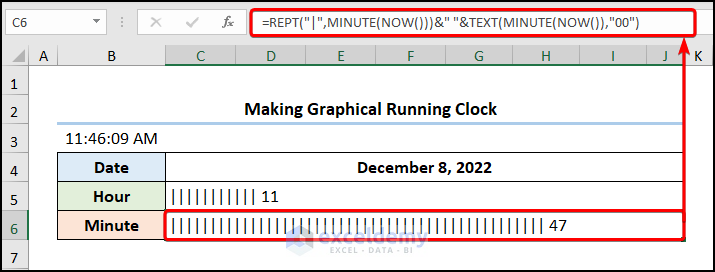
- Insert the formula below into the C6 cell to get the minutes.
=REPT("|",MINUTE(NOW()))&" "&TEXT(MINUTE(NOW()),"00")
Here, we’ve used the MINUTE and NOW functions to return the current minutes.
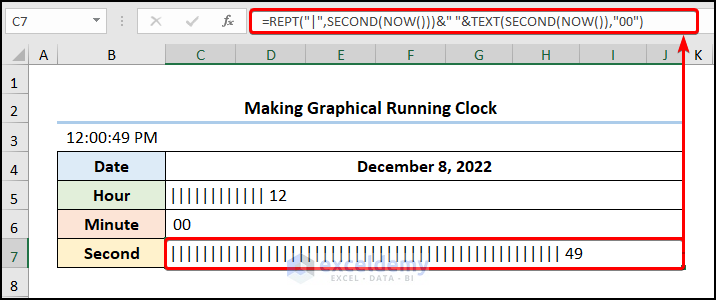
- Enter the following formula into C7:
=REPT("|",SECOND(NOW()))&" "&TEXT(SECOND(NOW()),"00")
The SECOND and NOW functions yield the present second.
- Hide the time value in the B3 cell by changing the text color to white.
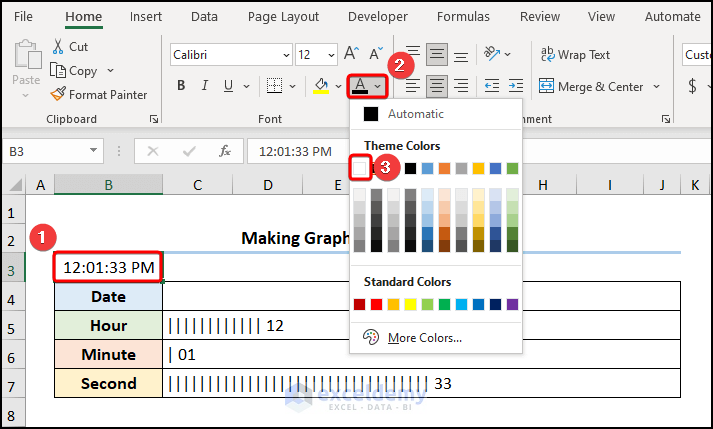
- The final output should appear like the animated GIF shown below.
Things to Remember
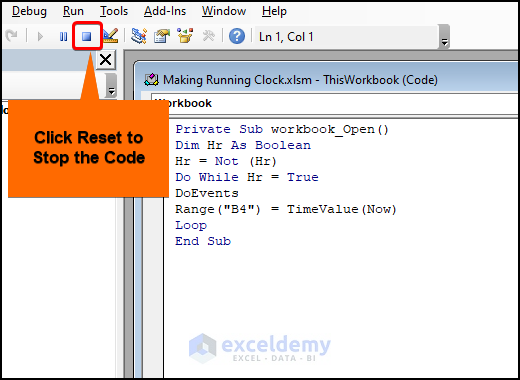
- To stop the code in the “Making Digital Running Clock.xlsm” workbook, click the Reset button in the VBA Editor.
- In the “Graphical Running Clock.xlsm” workbook, we can use the End_Timer and Refresh macros to stop the clock or refresh the timer.
Practice Section
We have provided a Practice section on the right side of each sheet so you can practice.
Download Practice Workbook
Related Articles
- How to Make a Clock Chart in Excel
- How to Create Analog Clock in Excel
- Excel VBA Digital Clock on UserForm: A Comprehensive Guide

