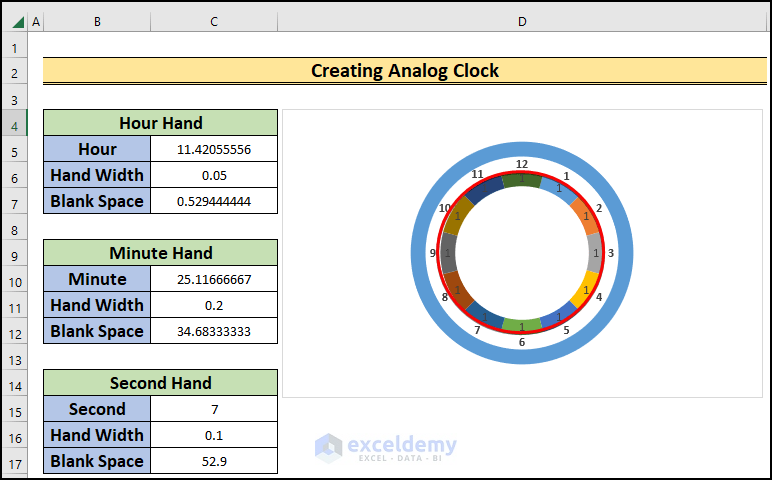
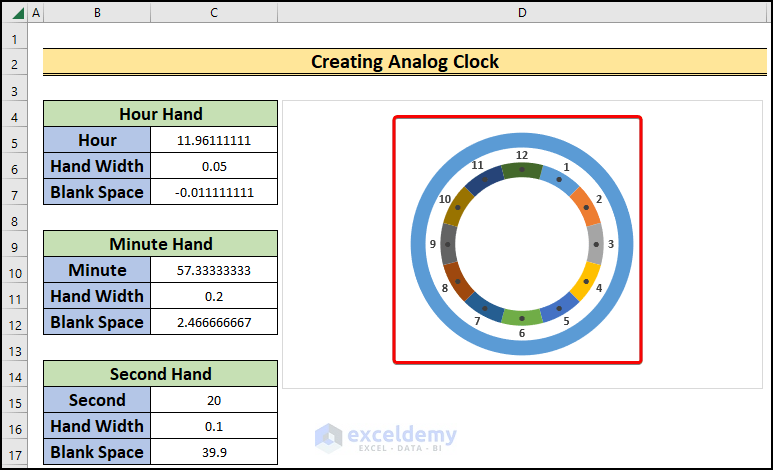
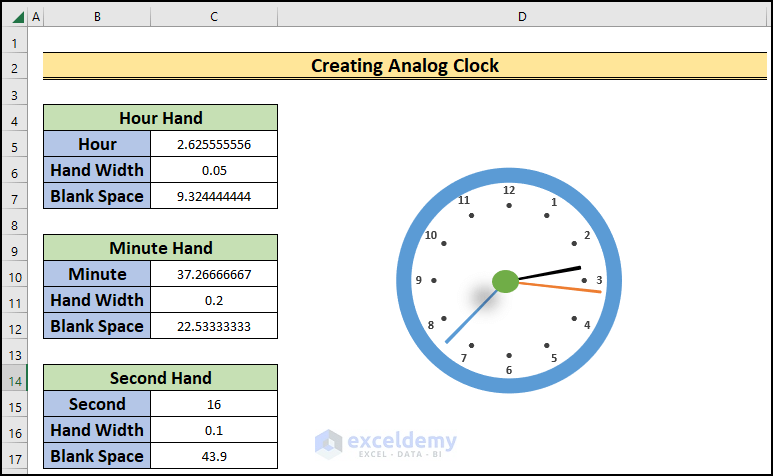
Step 1: Setting up Hours, Minutes, and Seconds
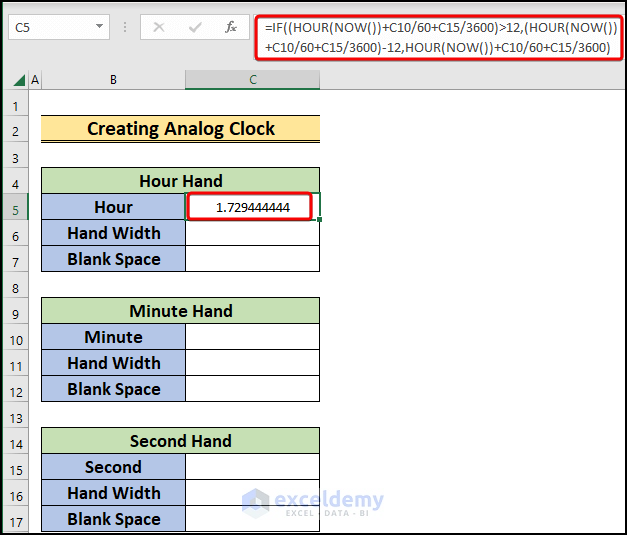
- Click on cell C5 and enter the following formula:
=IF((HOUR(NOW())+C10/60+C15/3600)>12,(HOUR(NOW())+C10/60+C15/3600)-12,HOUR(NOW())+C10/60+C15/3600)
- Press Enter.
- As a result, we will get the value that will control the hours on the clock.
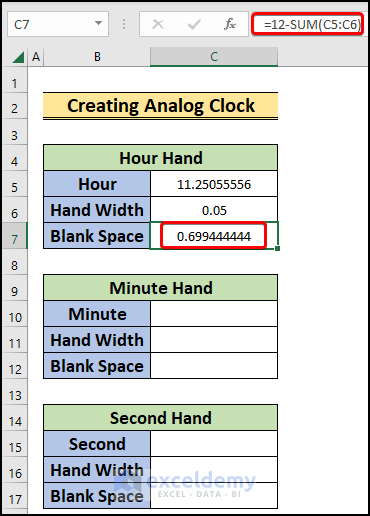
- Enter the Hour Hand Width in cell C6.
- Choose the C7 cell and enter:
=12-SUM(C5:C6)- We will get the blank space for hours.
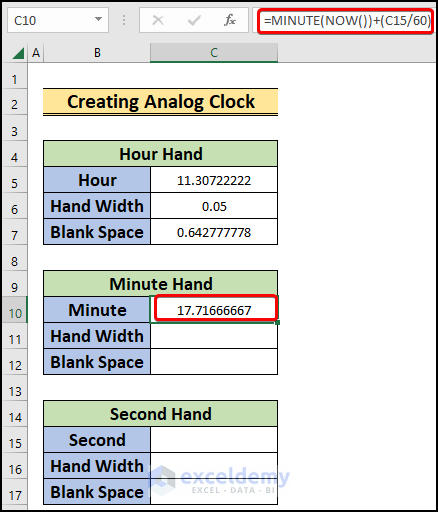
- Select cell C10 and enter:
=MINUTE(NOW())+(C15/60)- Press Enter.
- We will have the value for the minutes in the clock.
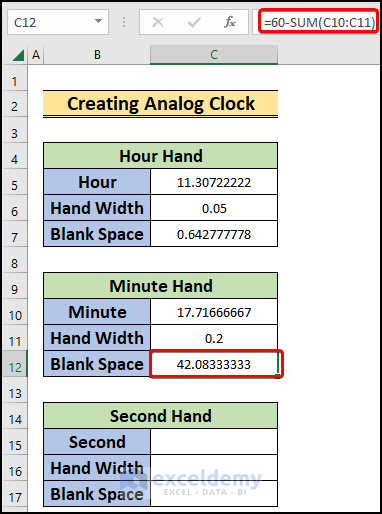
- Enter the Minute Hand Width in cell C11.
- Choose cell C12 and enter:
=60-SUM(C10:C11)- As a result, we will get blank space for minutes.
- Select cell C15 and enter:
=SECOND(NOW())- Press the Enter button.
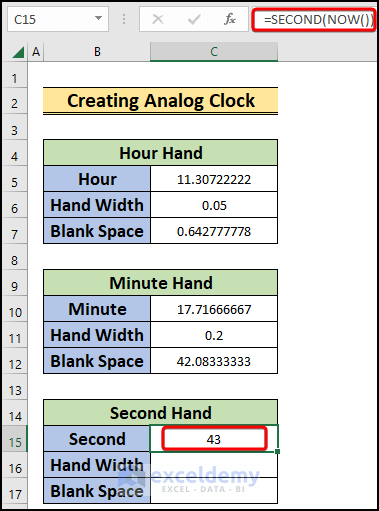
- We will have the value to control the seconds.
- Set the Second Hand Width in cell C16.
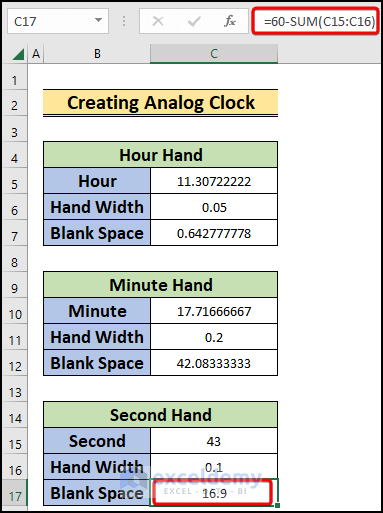
- Choose cell C17 and enter:
=60-SUM(C15:C16)- We will get the value that will control the seconds in the clock.
Read More: How to Create Digital Clock in Excel
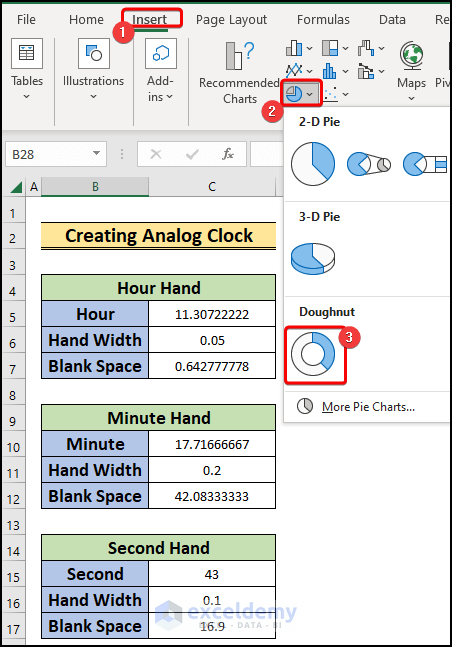
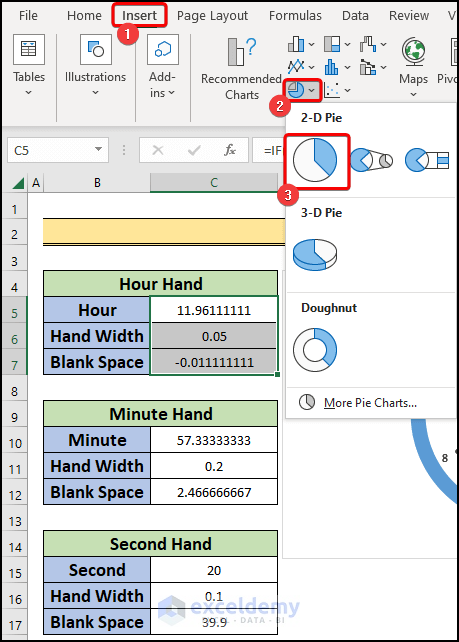
Step 2: Creating the Clock Frame
- Go to the Insert tab.
- Choose the Doughnut Chart from the Insert Pie or Doughnut Chart option.
- We will have a blank box on the screen.
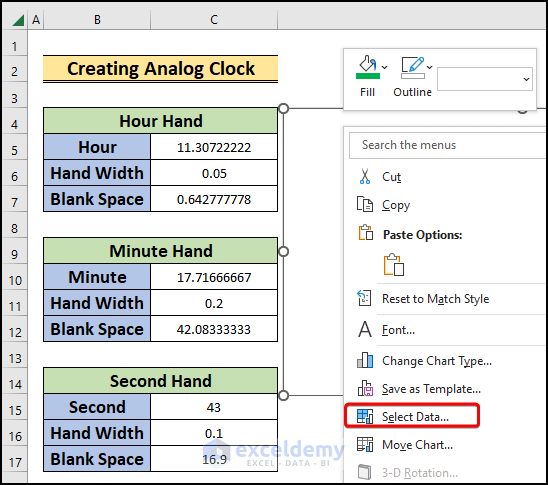
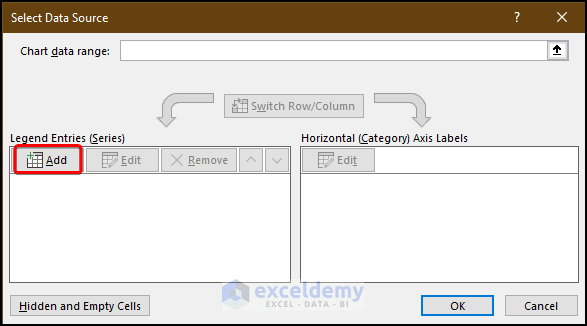
- Right-click on the box and select Select Data from the available options.
- A prompt will open on the screen.
- Click on Add in the prompt.
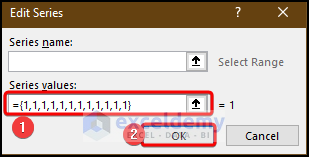
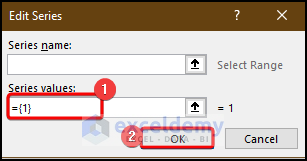
- In the Edit Series prompt, enter the following as the Series values:
={1,1,1,1,1,1,1,1,1,1,1,1}- Choose OK.
- As a result, a data series will be added to the chart, setting the position of the hour.
- Click on Add.
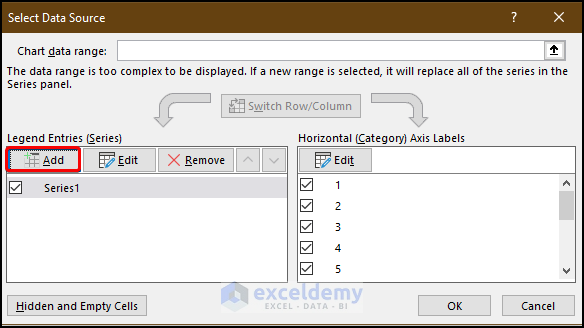
- Enter the same value as the previous one in the Series values. We are doing this for the minute hand.
- Click OK.
- This, too, will add another data series to the existing chart.

- Click on Add.
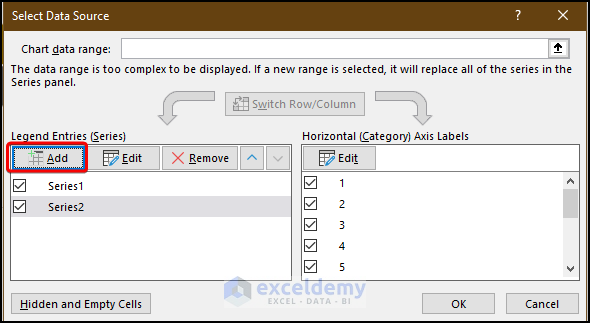
- Enter {1} as the Series value to give shape to the second hand.
- Choose OK.
- Click OK to exit the Select Data Source prompt.
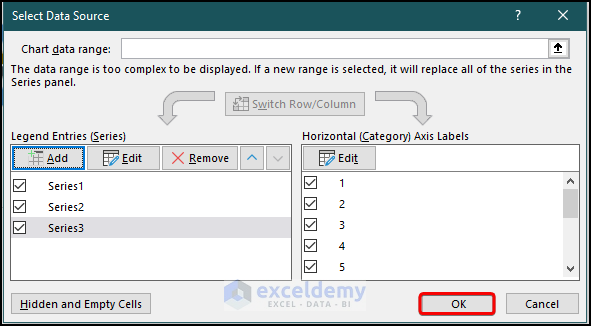
- A Doughnut chart will be on the screen.
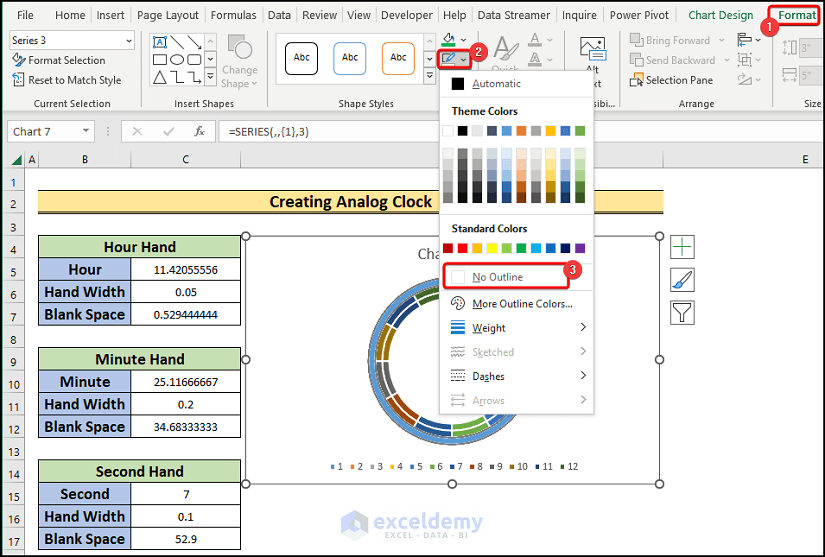
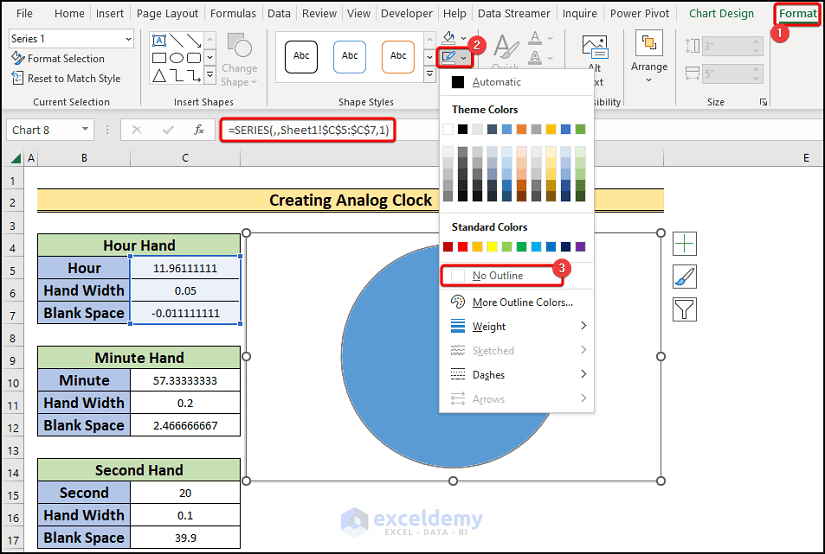
- Click on the chart.
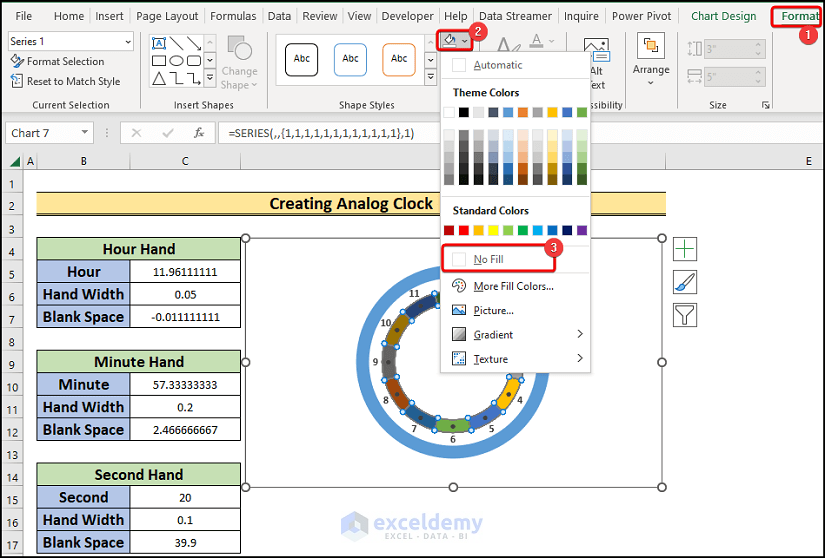
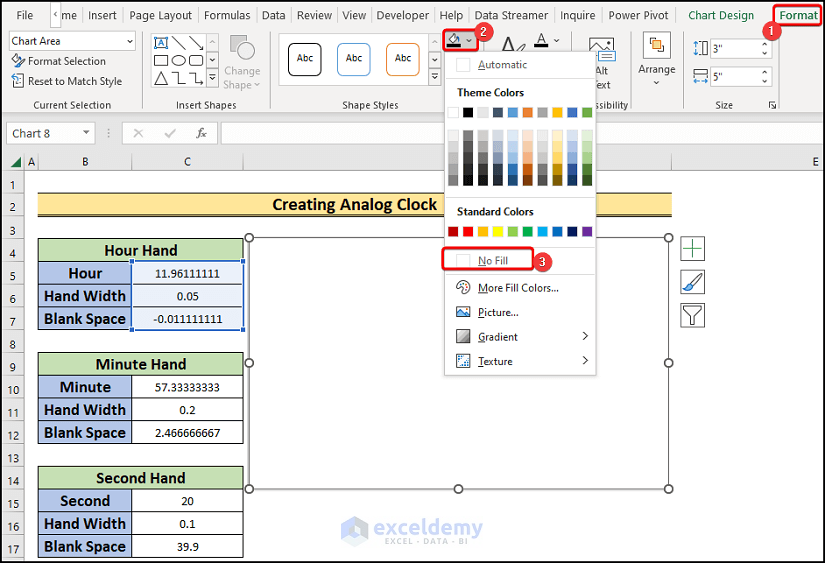
- Go to the Format.
- Set No Outline from the Shape Outline option.
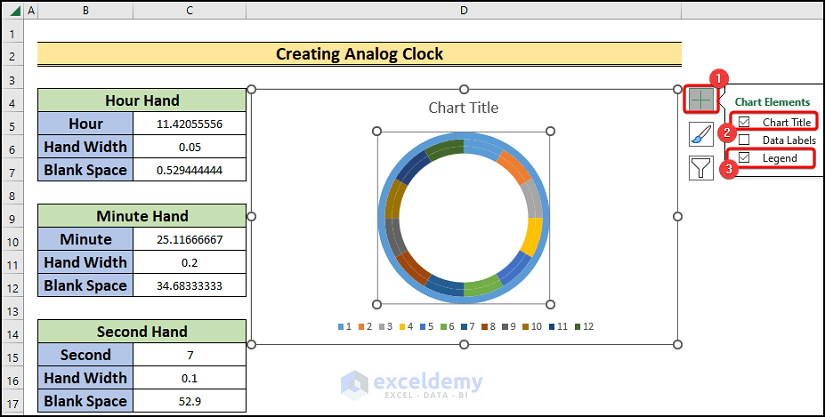
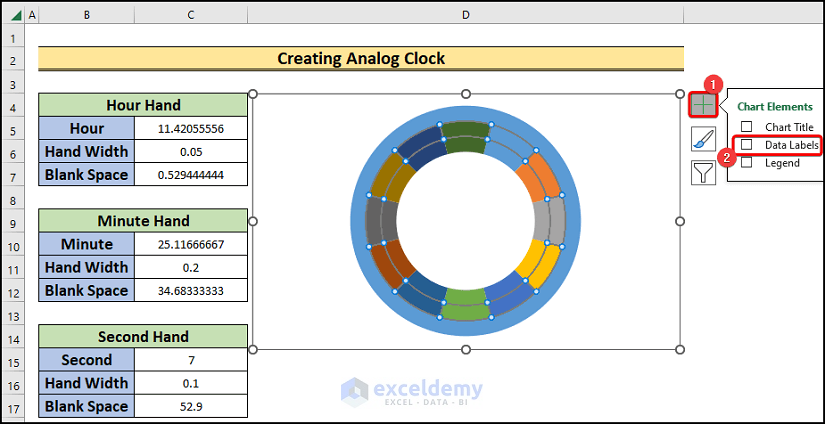
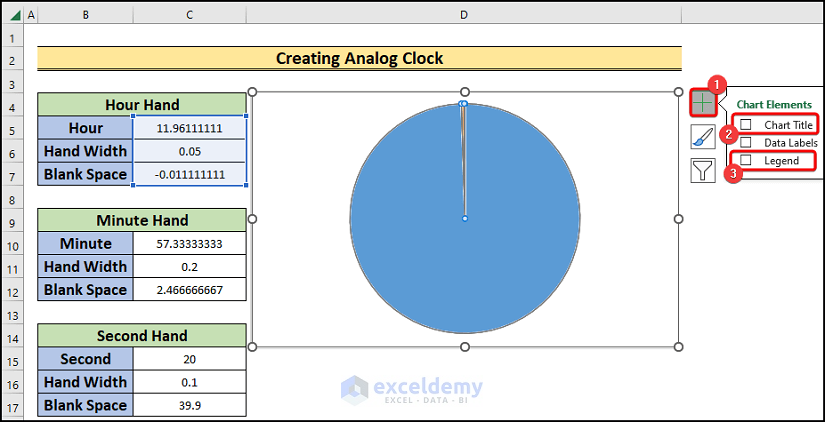
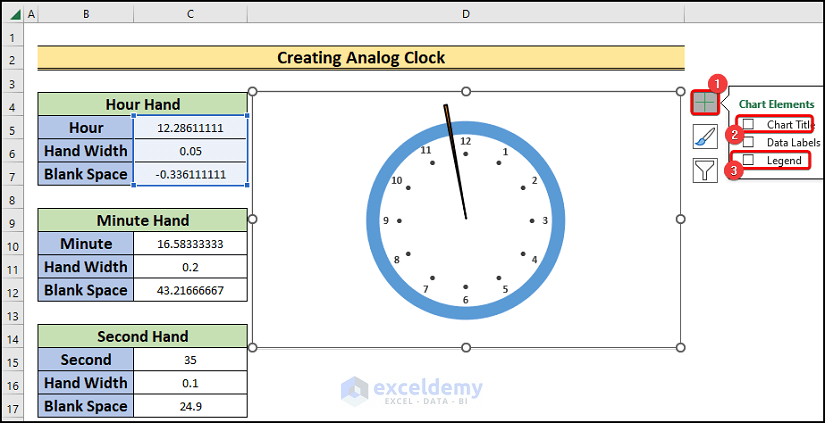
- Turn off the Chart Title and Legend of the chart after clicking on the plus sign at the top-right corner of the chart.
- Choose any of the data series and right-click.
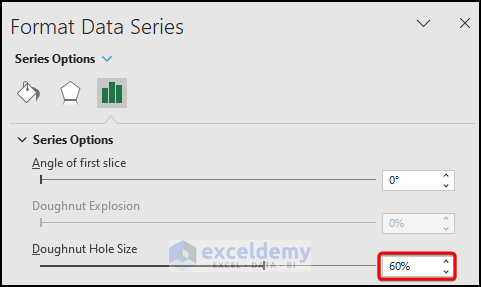
- From the available options, choose Format Data Series.
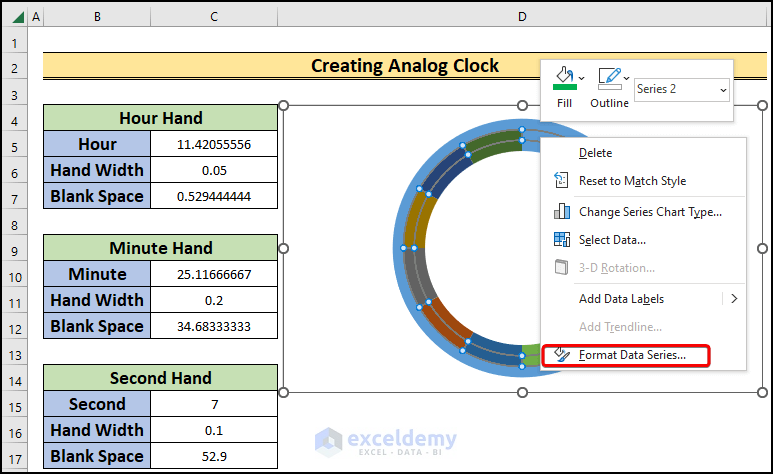
- Change the Doughnut Hole Size to 60% from the Format Data Series tab on the right.
- Right-click on the data series 2 from the chart.
- Select Format Data Series.
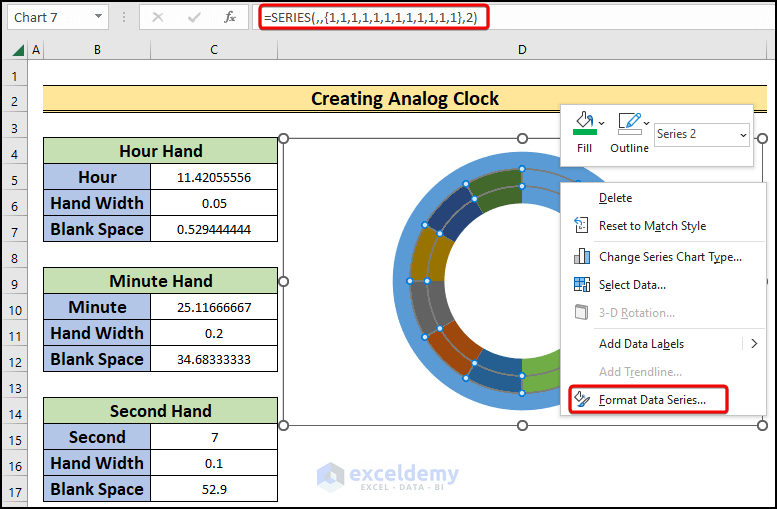
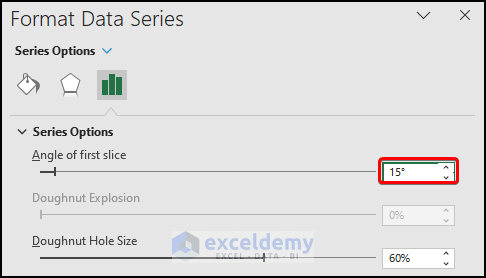
- Set the Angle of the first slice to 15%.
- Turn on the Data Labels for the data series 2.
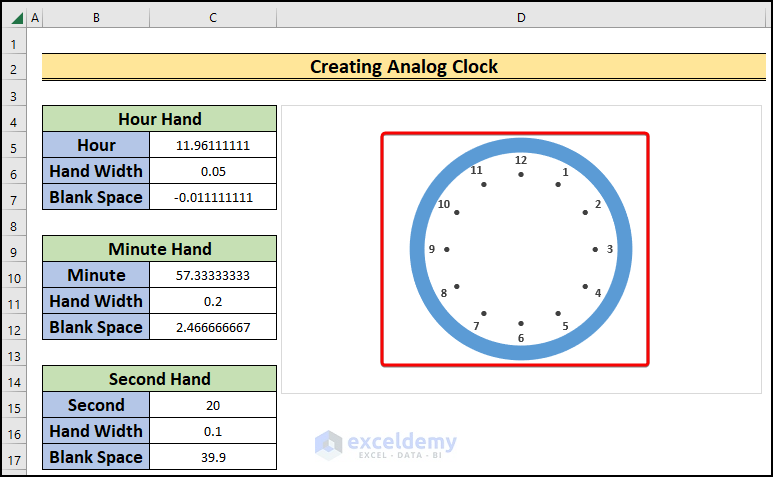
- Enter 12 in the data label that is at the top middle position.
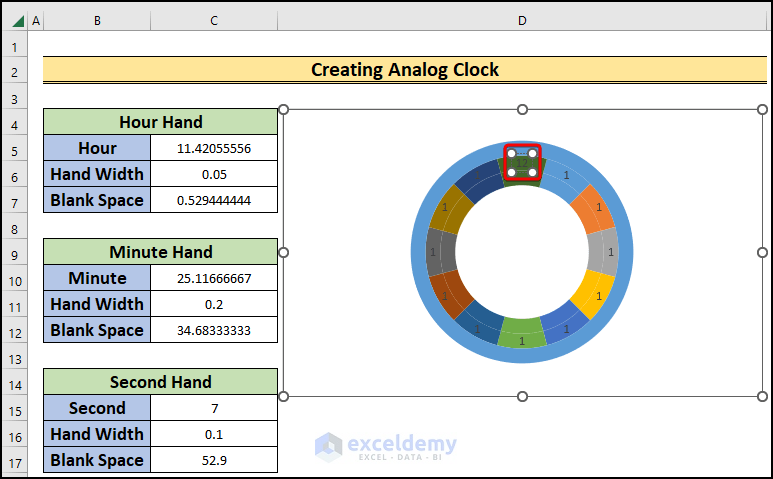
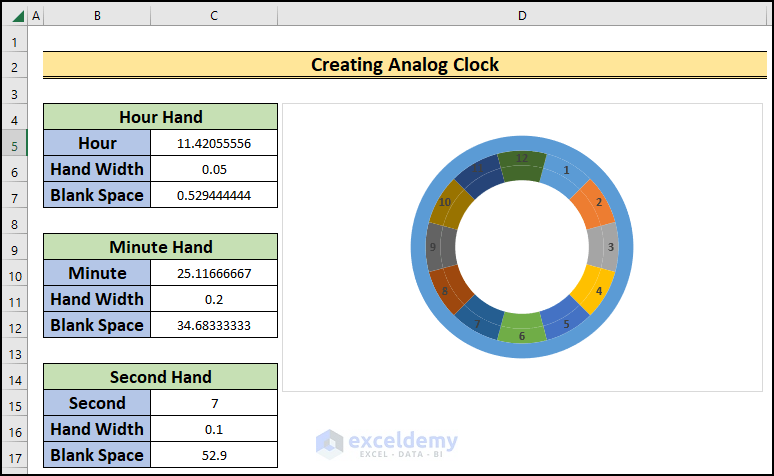
- Enter the rest of the chart labels as the sequence of an Analog Clock.
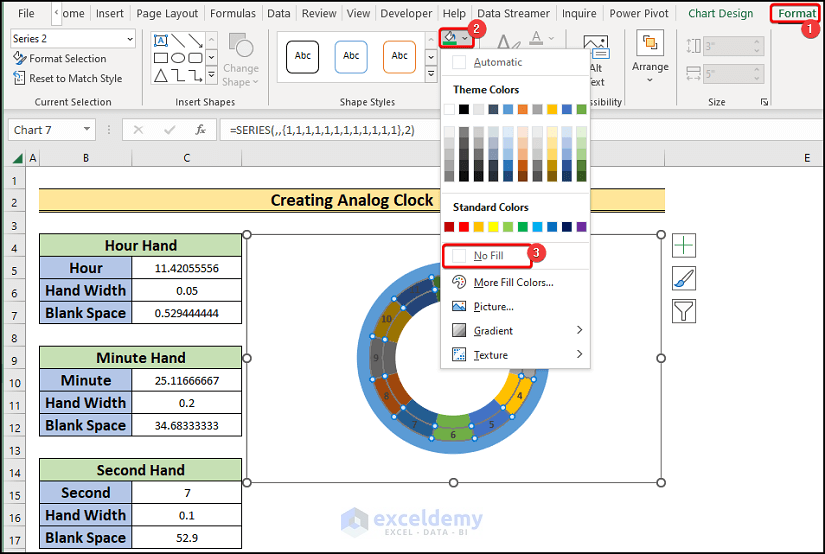
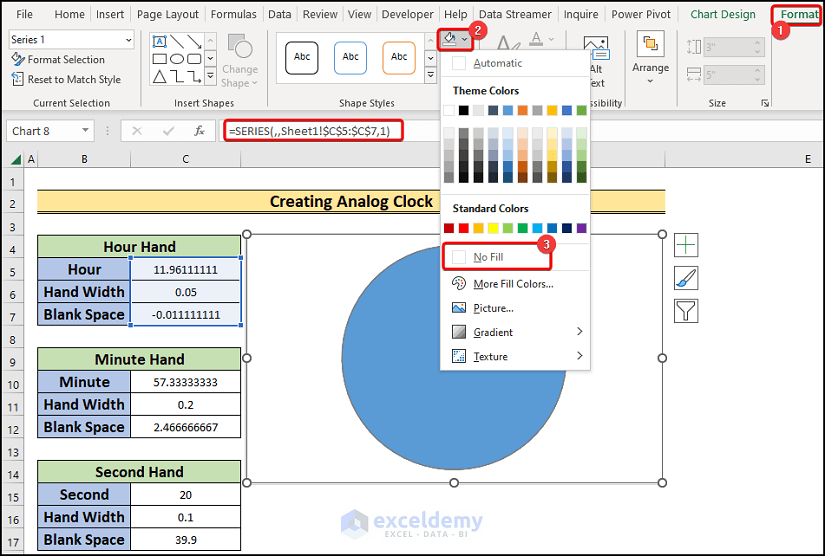
- Remove the fill color of the data series 2 by going to the Format tab and clicking No Fill from the Shape Fill option.
- Turn on the data label of the data series 1.
- Choose cell D16.
- Go to the Insert tab.
- Select Symbol from the Symbols option.

- In the Symbol prompt, enter 25CF as the Character code.
- Press Insert.
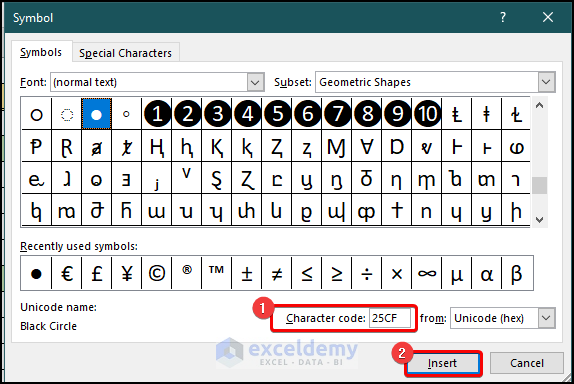
- As a result, the character will be inserted in the sheet.
- Copy the character by pressing Ctrl+C.
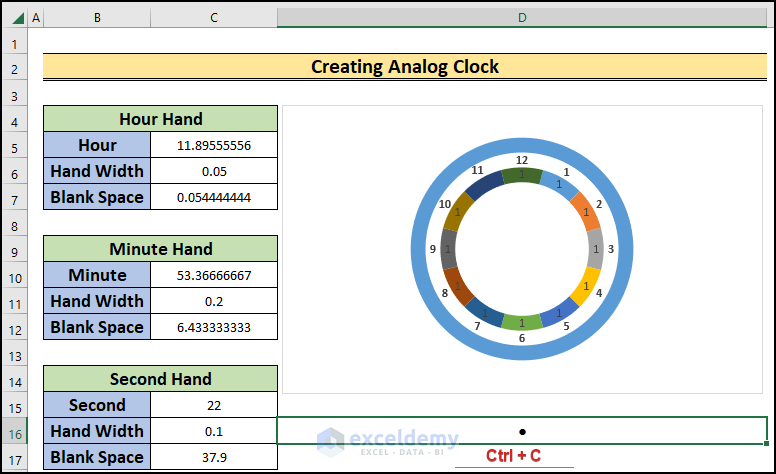
- Paste the character in the data label of the data series 1 by using Ctrl+V.
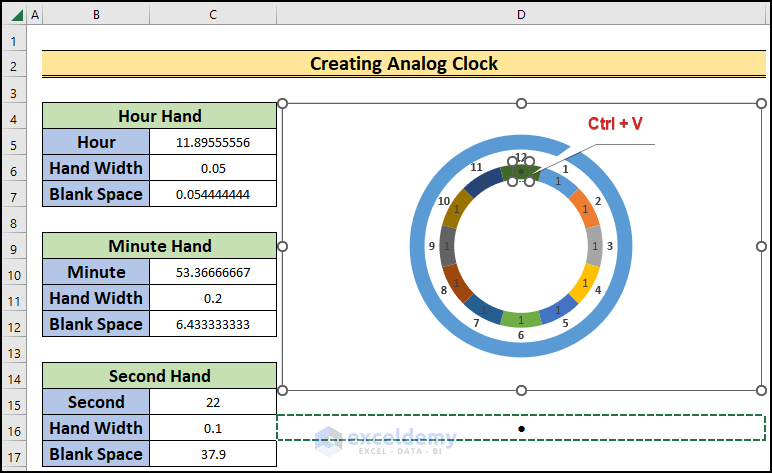
- Do the same for the rest of the data labels.
- Turn off the fill color of the data series 1.
- We will have the frame of our Analog Clock.
Read More: How to Make a Clock Chart in Excel
Step 3: Inserting Time Hands
- Choose the C5:C7 cell range.
- Go to the Insert tab.
- Choose the Pie Chart from the Insert Pie or Doughnut Chart option.
- We will have a Pie Chart box on the screen.
- Turn the Chart Title and Legend off for the chart.
- Change the outline of the data series one to No Outline.
- Set the fill color to No Fill.
- Do the same for the data series 1.
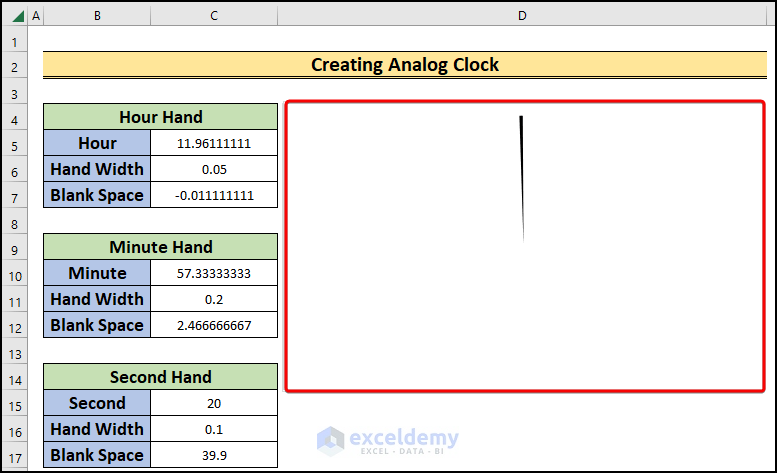
- We will have the portion of the Hour Hand Width.
Read More: How to Make a Running Clock in Excel
Step 4: Aligning the Time Hand
- Set the fill color of the background of the entire Pie Chart to No Fill.
- Fit the Hour Hand inside the clock by adjusting the size of the Pie Chart.
- Turn off the Chart Title and Legend of the Doughnut Chart.
- Insert a Pie Chart for the Minute Hand and Second-Hand datasets.
- Set the color of the hands different from each other.
- Set the size of the hands so they are different from each other.
- Adjust them inside the clock.
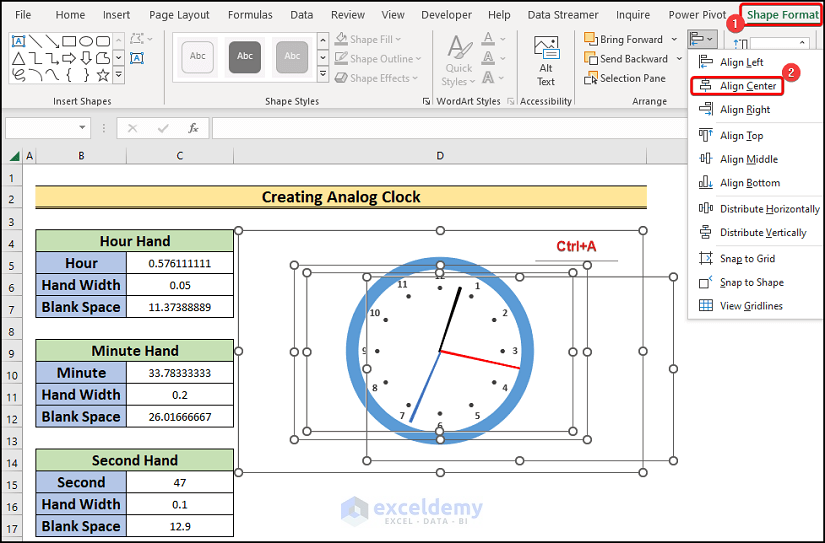
- Click on any of the charts and press Ctrl+A.
- Go to the Shape Format.
- Choose Align Center from the Align option.
- Go to the Shapes option from the Insert tab.
- Select an oval shape from the available options.
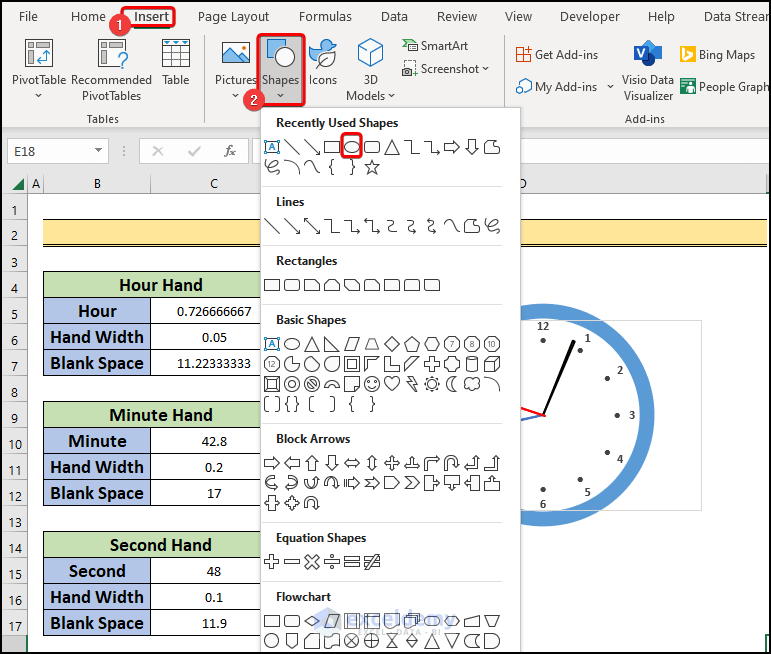
- Set it at the center of the clock.
Read More: How to Use VBA Code for Creating Digital Clock in Excel
Step 5: Applying VBA Code for Starting and Stopping the Clock
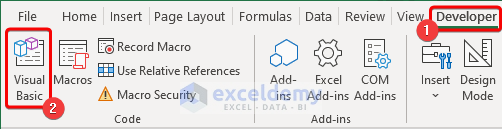
- Go to the Developer tab.
- Choose Visual Basic.
- A new window will be opened.
- In the Visual Basic window, choose ThisWorkbook under the VBAProject option.
- A coding module will appear.
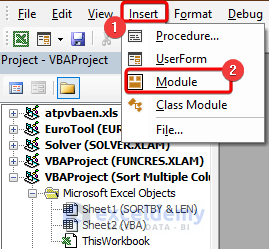
- In the module, enter the following code and save it:
Sub StartClock()
Dim am_ws As Worksheet
Set am_ws = ActiveSheet
am_ws.Range("H5").Value = "Start"
x:
VBA.DoEvents
If am_ws.Range("H5").Value = "Stop" Then Exit Sub
Application.Calculate
GoTo x
End Sub
Sub StopClock()
Dim am_ws As Worksheet
Set am_ws = ActiveSheet
am_ws.Range("H5").Value = "Stop"
End Sub
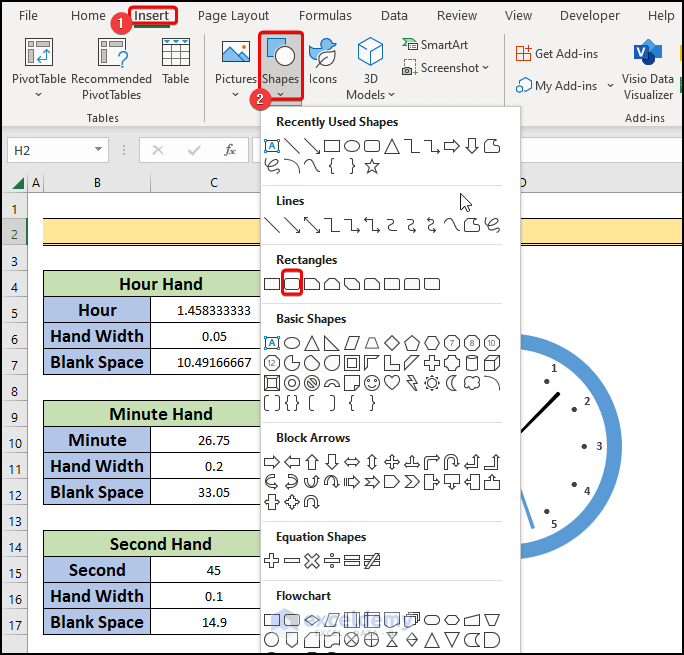
- Go to the Insert tab.
- Select a rectangle shape from the Shapes option.
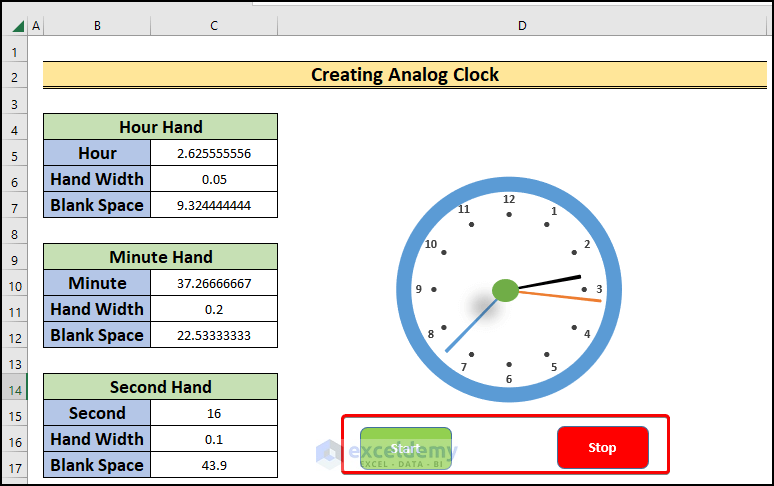
- Enter the shape below the clock and name it Start.
- Repeat the same process to insert a Stop box.
- Right-click on the Start button.
- From the available options, select Assign Macro.
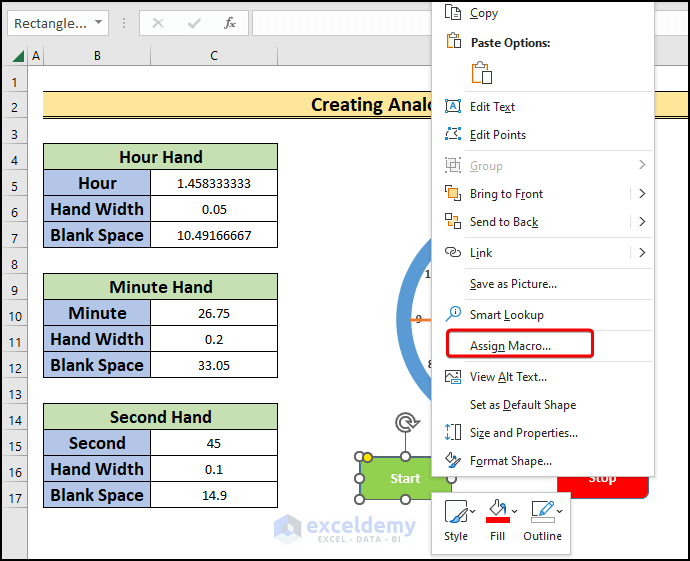
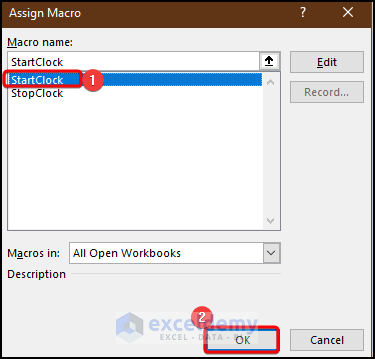
- Assign the StartClock macro to the button.
- Finally, click OK.
- Again, right-click on the Stop button.
- From the prevailing options, select Assign Macro.
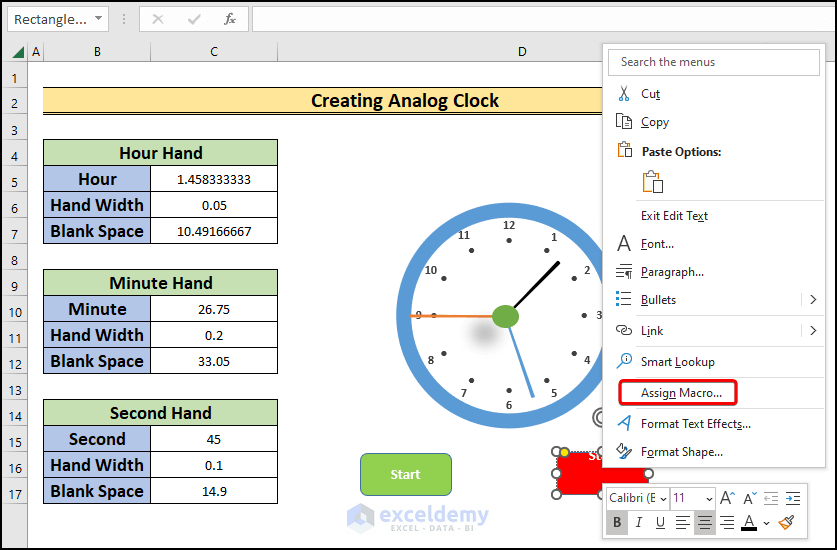
- Assign the StopClock macro to that button.

- Click the Start button to start the clock and the Stop button to stop the code.
Download the Practice Workbook
You can download the practice workbook here.


Hello Adnan,
How do I write the code for an automatic “start” without a button?
Is it also possible to insert an image (gif) into the clock?
Thank you and have a nice day, Ingo.
Hello Ingo Fischer,
For the automatic “start” without a button, you can place the VBA code inside the Workbook_Open event. This way, the clock will start running automatically when the Excel file is opened.
For an automatic start (no button), place this in ThisWorkbook so the clock begins as soon as the file opens and stops cleanly on close:
You can use the following code for safer timer version (put in a standard Module, e.g., Module1). It uses Application.OnTime instead of an infinite GoTo loop:
About GIFs: Excel lets you insert a GIF as a picture, but it won’t animate inside the sheet. If you want movement (e.g., an analog clock face), the workaround is to simulate animation with VBA by rotating shapes (hour/minute/second hands). If you’d like, I can share a compact “moving hands” snippet you can drop onto your clock sheet.
Have a nice day!
Regards
ExcelDemy