Using Excel VBA, we can create a Digital Clock on a UserForm. This can be used as a visual reference for the current time, and to track the duration of the current task. In this article, we will create a UserForm and use the relevant VBA code to create a digital clock.
The following overview video shows the process.
Step 1 – Create the UserForm
- Go to the Developer tab and click on Visual Basic.
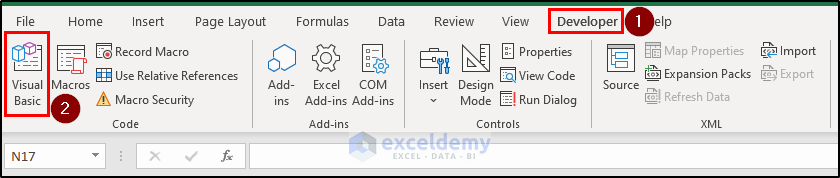
The Microsoft Visual Basic for Applications window will open.
- Click on the UserForm option from the Insert tab.
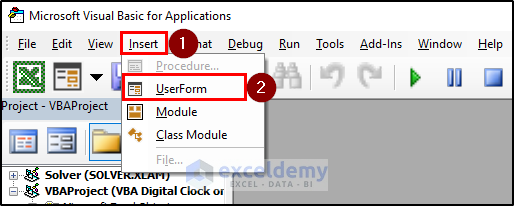
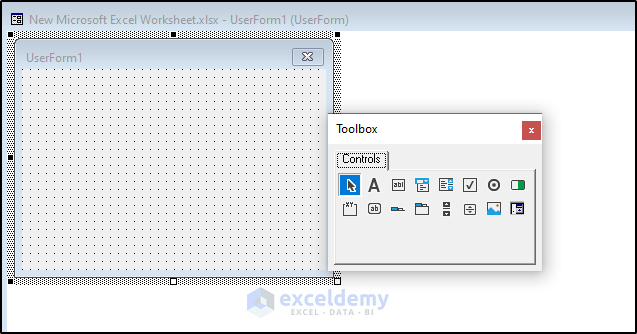
UserForm1 is created. There is also a Toolbox which we will use to modify it.
Step 2 – Modify the UserForm
We want to insert two labels in the UserForm using the Toolbox.
The following video explains how to insert labels. The first label is to show “Date”, “Weekday”, “Year” etc. The second is to show the “Time”.
We also need to modify the properties of each label and the UserForm.
- Click on the Label1 area in the UserForm and press F4.
The Properties window of Label1 will open up. There are many properties that can be modified.
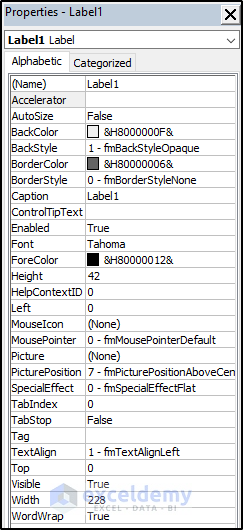
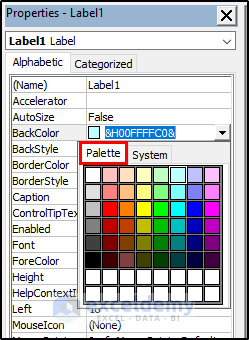
- Change the BackColor from the Palette.
- Change the Font. Select a suitable font combination.

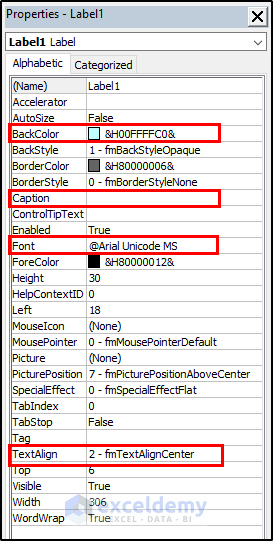
The properties of our Label1 are shown in the image below.
- Delete the Caption and set TextAlign to center.
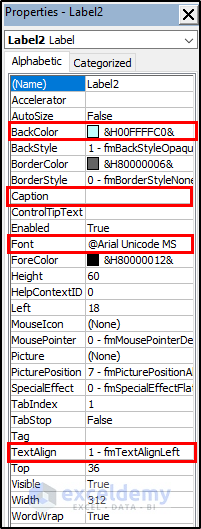
The properties of our Label2 are set.
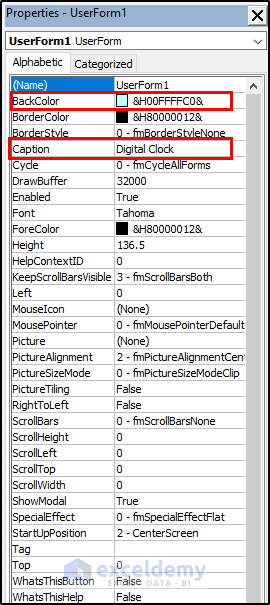
The properties of UserForm are shown in the following image.
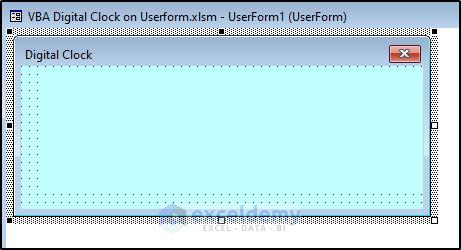
- Change the Caption to Digital Clock.
Our UserForm now looks like this.
Step 3 – Write VBA Codes in UserForm and Module
Now we can create the Digital Clock.
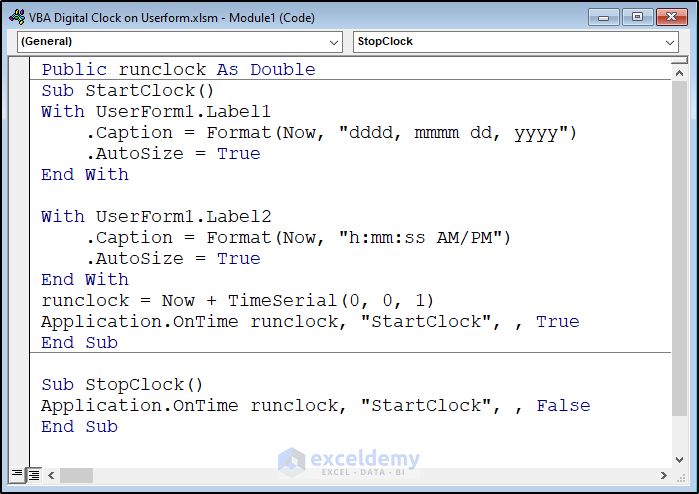
- Copy the following code and paste into a new Module window:
Public runclock As Double
Sub StartClock()
With UserForm1.Label1
.Caption = Format(Now, "dddd, mmmm dd, yyyy")
.AutoSize = True
End With

With UserForm1.Label2
.Caption = Format(Now, "h:mm:ss AM/PM")
.AutoSize = True
End With
runclock = Now + TimeSerial(0, 0, 1)
Application.OnTime runclock, "StartClock", , True
End Sub
Sub StopClock()
Application.OnTime runclock, "StartClock", , False
End SubVBA Code Breakdown
- This code has two subroutines. The StartClock subroutine does the main work creating the Digital Clock.
- With Label1, it sets the current day, month, and year as captions.
- With Label2, it sets the current hour:minute:seconds and AM/PM as captions.
- It creates a runclock to show the time, utilizing VBA Now and TimeSerial properties. The runclock will add 1 second and will keep showing time on the UserForm.
- The StopClock subroutine stops the clock when the Excel file is terminated.
Now we assign two Private Subs in the UserForm.
- Double click on any part of the UserForm (Label1, Label2, UserForm area).
The window for your code will open up. The VBA suggests a click Event code.
- Instead, copy the following two codes and paste them in that window:
Private Sub UserForm_Initialize()
Call StartClock
End Sub
Private Sub UserForm_Terminate()
Call StopClock
End Sub
The first sub calls subroutine StartClock when the UserForm is initialized / run.
The second sub calls StopClock when the UserForm is terminated.
Step 4 – Run the UserForm to Get the Digital Clock
- Click anywhere on the UserForm to make it active.
- Click the Run button.
We have a Digital Clock running on the UserForm.
We can also modify this Excel file such that when we open the file, only the Digital Clock will run.
- Click on ThisWorkbook.

A window will open.
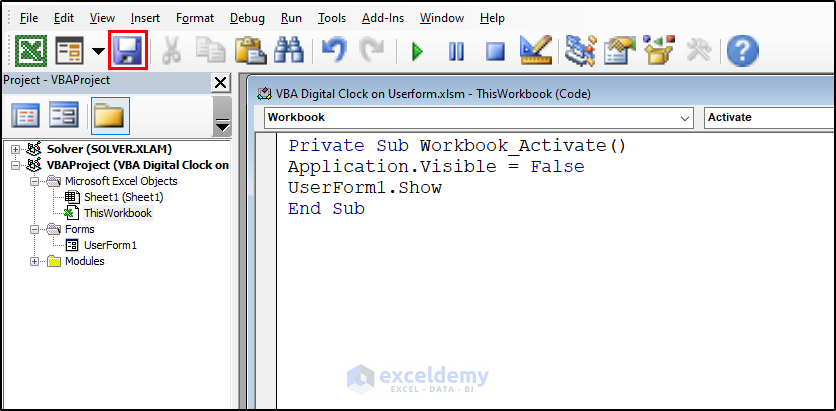
- Copy the following code and paste it in this window:
Private Sub Workbook_Activate()
Application.Visible = False
UserForm1.Show
End Sub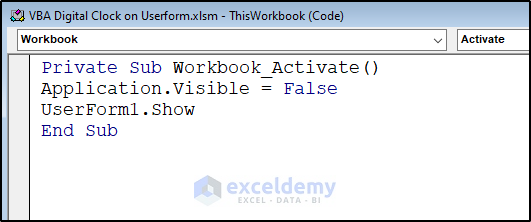
- Save the file properly, then close it.
- Go to the file location and double-click to open the Excel file.

The Excel file will open, and then a Digital Clock will continue to run. This time, you can only see the Digital Clock in UserForm, and you can not access the original Excel file.
To access the Excel file:
- Close the Digital Clock and open the Excel file again.
Frequently Asked Questions
- How can we change the Font size of the Digital Clock?
Modify the Font property of the label control in the Properties window. Select the label control on the UserForm and then go to the Properties window. In the Font section, you can change the font name, size, style, and color.
- How can we customize the appearance of the label control in the Digital Clock?
Modify its properties in the Properties window. For example, you can change the font, size, color, and alignment of the label text. To access the Properties window, right-click on the label control in the UserForm and select Properties from the context menu.
- How can we center the digital clock on the UserForm?
Use the properties of the label control. Select the label control on the UserForm and then go to the Properties window. In the Alignment section, change the TextAlign property to “center“. Adjust the position of the label control by dragging it to the desired location.
Things to Remember
- The UserForm will contain the clock area. So, it is important to modify the UserForm with proper Caption and Font.
- Save the UserForm and Excel workbook after making any changes.
- Use proper code or the program could run into an infinite loop.
Download Practice Workbook
Related Articles
- How to Make a Clock Chart in Excel
- How to Make a Running Clock in Excel
- How to Use VBA Code for Creating Digital Clock in Excel
- How to Create Analog Clock in Excel

