Method 1 – Build Digital Clock Through Excel VBA and TEXT Function
Steps:
- Go to Insert > Illustrations > Shapes.
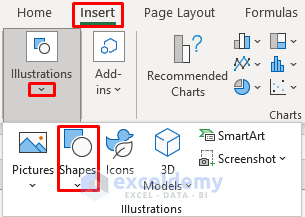
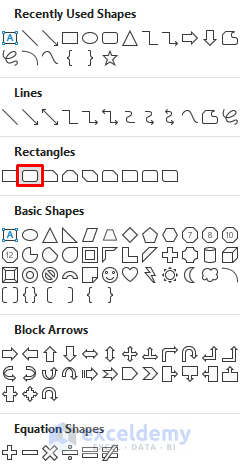
- The Shapes menu options box will pop up.
- Select the Rounded Rectangular option.
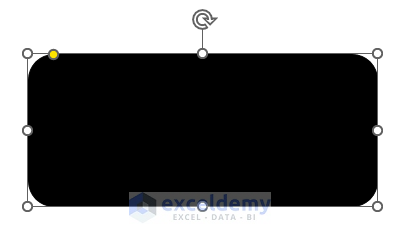
- A rounded rectangular shape will be inserted in the workbook.
- Go to the Developer tab and click Visual Basic.

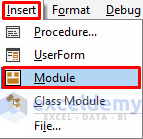
- In the Visual Basic window, go to the Insert tab and click the Module option to create a module box.
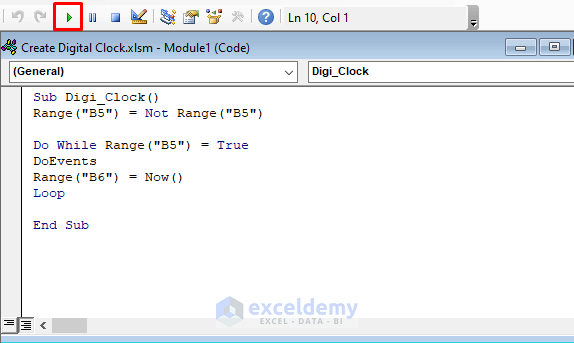
- In the module box, enter the following VBA code.
Sub Digi_Clock()
Range("B5") = Not Range("B5")
Do While Range("B5") = True
DoEvents
Range("B6") = Now()
Loop
End Sub- Press the green Run button.
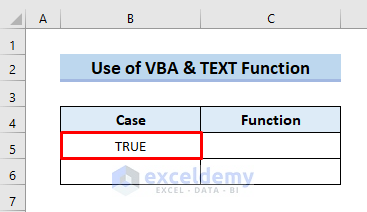
- In cell B4, enter TRUE and press Enter or Tab.
- Right-click on the rounded rectangle.
- In the context menu, select the Assign Macro option to include the code in the rectangle.
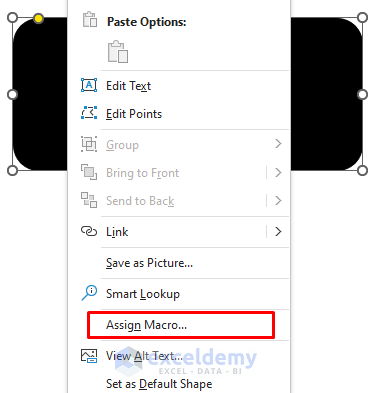
- We inserted VBA into the rectangle shape.
- This will later display the time.

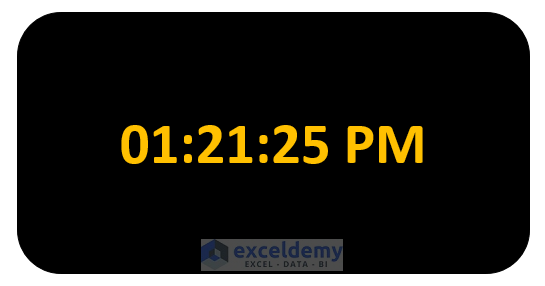
- In cell C6, enter the following TEXT formula,
=TEXT(B6,"hh:mm:ss AM/PM")- This converts the time in cell B6 and returns a time format in hh:mm:ss format.
- Press Enter.
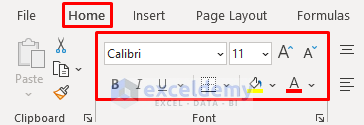
- Go to the Home tab then the Font group.
- Customize the font color, size and style.
- The time will be displayed in digital format.
Read More: How to Make a Running Clock in Excel
Method 2 – Use Shapes Tool & Excel VBA to Design Digital Clock
Step 1: Design Clock
- Go to Insert > Illustrations > Shapes tabs.

- In the Shapes option box, locate the Block Arrows group and select the Pentagon Arrow
- As a result, a pentagon arrow will be inserted in the workbook.

- Insert another arrow shape using the copy-paste commands.
- Select the newly inserted arrow and go to Shape Format > Rotate tabs.
- Select the Flip Horizontal option.
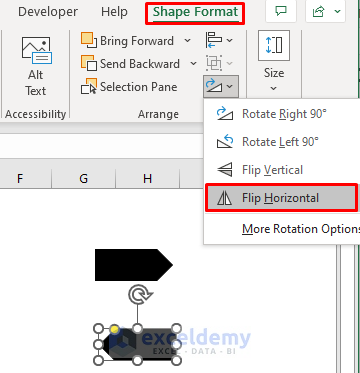
- Copy each arrow and put them together to make a round shape.
- Use the Rotate options as necessary.
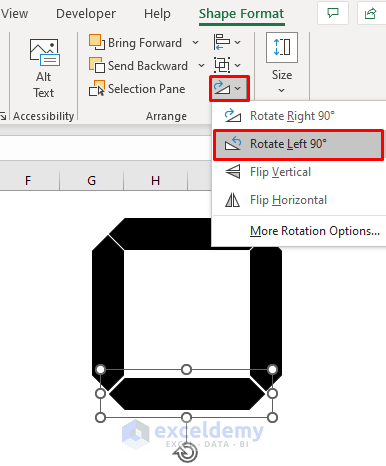
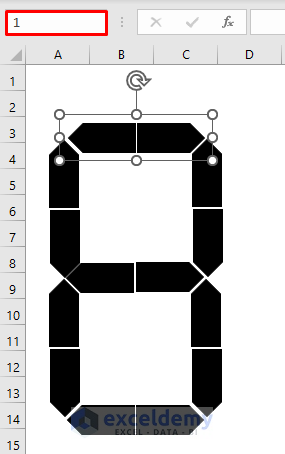
- Rearrange all the arrows into an eight (8) shape.
- Customize the first digit, right-click each arrow group and name them sequentially from 1.
- Copy-paste the whole group to give them hh:mm:ss formats as shown below.
- Name them from 1 to 42.
- Add 4 Oval shapes and name them Point.
- Add 3 Rounded Rectangle to insert 3 command options: Start, Stop and Reset.
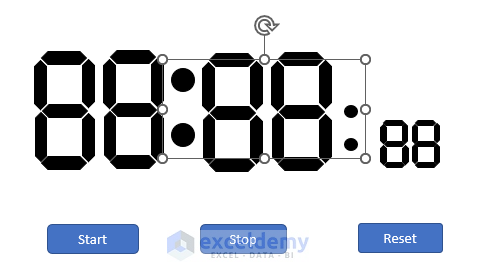
- We have build our display format for our clock.
- We will now include VBA codes in the format.
Step 2: Insert Excel VBA Code
- Press ALT+ F11 to open the Basic Visual window.
- Add the following VBA code.
Sub Digital_Clock_Autoshapes(FS As Integer, Digi As Integer)
Dim n As Integer
Dim Spe As Shape
Dim Shw As Worksheet
Set Shw = ActiveSheet
Dim i As Integer
For i = FS To FS + 6
Set Spe = Shw.Shapes(VBA.Format(i, "0"))
Spe.Visible = msoCTrue
Next i
If Digi = 0 Then
For i = FS To FS + 6
Set Spe = Shw.Shapes(VBA.Format(i, "0"))
If i = FS + 2 Then
Spe.Visible = msoFalse
End If
Next i
End If
If Digi = 1 Then
For i = FS To FS + 6
Set Spe = Shw.Shapes(VBA.Format(i, "0"))
If i <> FS + 1 And i <> FS + 5 Then
Spe.Visible = msoFalse
End If
Next i
End If
If Digi = 2 Then
For i = FS To FS + 6
Set Spe = Shw.Shapes(VBA.Format(i, "0"))
If i = FS + 3 Or i = FS + 5 Then
Spe.Visible = msoFalse
End If
Next i
End If
If Digi = 3 Then
For i = FS To FS + 6
Set Spe = Shw.Shapes(VBA.Format(i, "0"))
If i = FS + 3 Or i = FS + 4 Then
Spe.Visible = msoFalse
End If
Next i
End If
If Digi = 4 Then
For i = FS To FS + 6
Set Spe = Shw.Shapes(VBA.Format(i, "0"))
If i = FS Or i = FS + 4 Or i = FS + 6 Then
Spe.Visible = msoFalse
End If
Next i
End If
If Digi = 5 Then
For i = FS To FS + 6
Set Spe = Shw.Shapes(VBA.Format(i, "0"))
If i = FS + 1 Or i = FS + 4 Then
Spe.Visible = msoFalse
End If
Next i
End If
If Digi = 6 Then
For i = FS To FS + 6
Set Spe = Shw.Shapes(VBA.Format(i, "0"))
If i = FS + 1 Then
Spe.Visible = msoFalse
End If
Next i
End If
If Digi = 7 Then
For i = FS To FS + 6
Set Spe = Shw.Shapes(VBA.Format(i, "0"))
If i = FS + 3 Or i = FS + 2 Or i = FS + 4 Or i = FS + 6 Then
Spe.Visible = msoFalse
End If
Next i
End If
If Digi = 9 Then
For i = FS To FS + 6
Set Spe = Shw.Shapes(VBA.Format(i, "0"))
If i = FS + 4 Then
Spe.Visible = msoFalse
End If
Next i
End If
End Sub
- Close the window and go to your active workbook.

- Add 3 other VBA codes as follows.
- For the Start command, enter:
Sub Start_Clock()
Dim Shw As Worksheet
Set Shw = ActiveSheet
Shw.Range("B5").Value = ""
x:
If Shw.Range("B5").Value = "Stop" Then Exit Sub
VBA.DoEvents
Call Digital_Clock_Autoshapes(1, VBA.CInt(VBA.Left(VBA.Format(Time, "HH"), 1)))
Call Digital_Clock_Autoshapes(8, VBA.CInt(VBA.Right(VBA.Format(Time, "HH"), 1)))
Call Digital_Clock_Autoshapes(15, VBA.CInt(VBA.Mid(VBA.Format(Time, "HHMM"), 3, 1)))
Call Digital_Clock_Autoshapes(22, VBA.CInt(VBA.Right(VBA.Format(Time, "HHMM"), 1)))
Call Digital_Clock_Autoshapes(29, VBA.CInt(VBA.Left(VBA.Format(Time, "SS"), 1)))
Call Digital_Clock_Autoshapes(36, VBA.CInt(VBA.Right(VBA.Format(Time, "SS"), 1)))
Dim Spe As Shape
Set Spe = Shw.Shapes("Point")
If Application.WorksheetFunction.IsEven(VBA.Second(VBA.Now)) Then
Spe.Visible = msoCTrue
Else
Spe.Visible = msoFalse
End If
GoTo x
End Sub
- Add the code for the Stop command.
Sub Stop_Clock()
Dim Shw As Worksheet
Set Shw = ActiveSheet
Shw.Range("B5").Value = "Stop"
End Sub- Add the VBA code for the Reset command:
Sub Reset_Clock()
Dim n As Integer
Dim Spe As Shape
Dim Shw As Worksheet
Set Shw = ActiveSheet
Dim i As Integer
For i = 1 To 42
    Set Spe = Shw.Shapes(VBA.Format(i, "0"))
    Spe.Visible = msoCTrue
Next i
Set Spe = Shw.Shapes("Point")
Spe.Visible = msoCTrue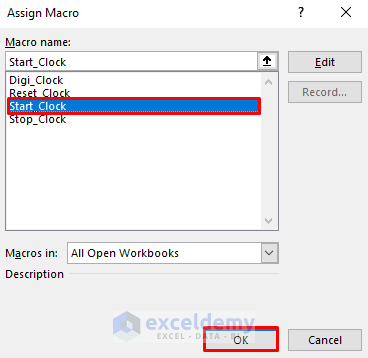
End Sub- Right-click on the Start command and tap Assign Macro.
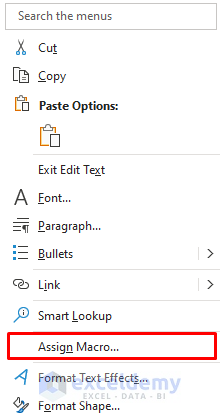
- Assign the Start_Clock macro for the Start command.
- Assign Reset_Clock and Stop_Clock for command options Reset and Stop respectively.
- Press OK.
- The digital clock with command options will appear.

Read More: How to Create Analog Clock in Excel
Download Practice Workbook

