In this tutorial, we will cover how to print landscape in Excel. When we print something from an Excel worksheet by default, Microsoft Excel prints that worksheet in portrait mode. But sometimes we need to print in landscape orientation instead of portrait orientation. We can do this by changing some simple things from the available features of Excel.
How to Print Landscape in Excel: 3 Easy Methods
In this article, we will demonstrate to you three easy methods to print landscape in Excel. We will use a demo dataset which we will print in landscape orientation in methods 1 & 2. In method 3, we will create a template to print any document in the landscape method by default.
1. Print Landscape in Excel by Changing Page Orientation
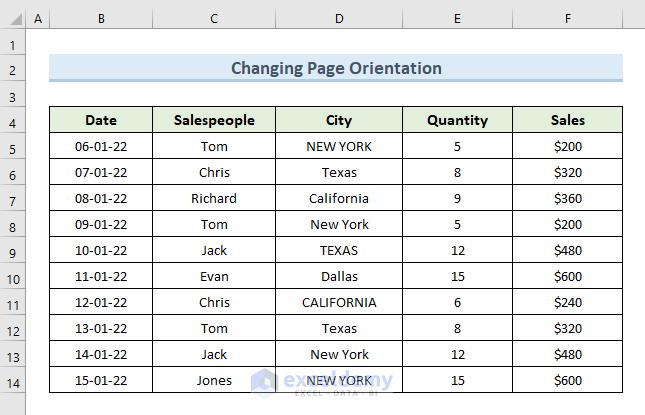
One easy and simple way to print a worksheet in landscape mode is to change the page orientation of that worksheet. To illustrate that method we have a worksheet containing information about sales. We can see the dataset in the image below. We will print this worksheet in landscape mode by changing page orientation.
So, to describe this method we will add the “Print Preview and Print” option in the “Quick Access Toolbar”. If you have this option activated in your Excel then you can skip this step. To make this option visible-
- Go to the drop-down menu in the “Quick Access Toolbar”.
- From the drop-down menu select the option “Print Preview and Print”.
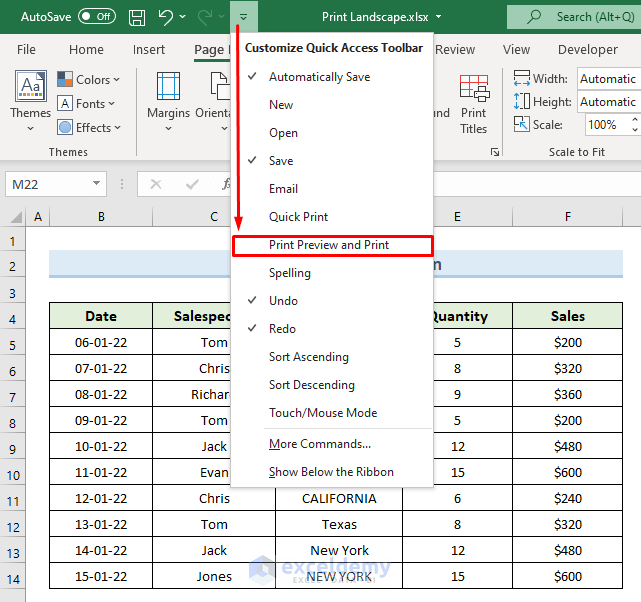
So, we can see the “Print Preview and Print” option in the “Quick Access Toolbar”.

Now, let’s see the steps to print landscape in Excel by changing page orientation.
STEPS:
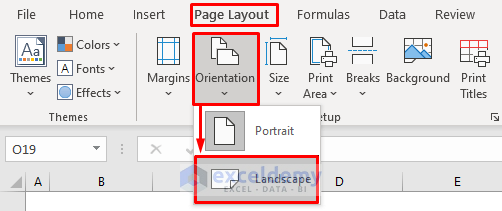
- Firstly, go to the Page Layout tab.
- Secondly, select the option “Orientation”.
- Thirdly, from the drop-down select the option “Landscape”.
- After that, click on the newly added “Print Preview and Print” option from the “Quick Access Toolbar”.
- Lastly, the above action gives us the landscape orientation of our Excel page. We can the landscape orientation in the image below.

Related Content: How to Print Horizontally in Excel
2. Change Printer Orientation to Print Landscape in Excel
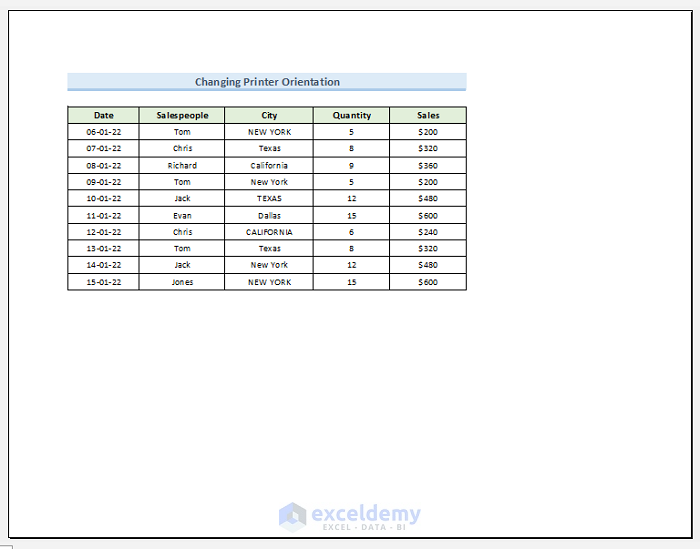
Another approach to print landscape in Excel is to change the orientation of the printer. In this method, we will print the same worksheet in landscape mode that we used in the previous example. We can have a look at the data range from the below image. Now, just go through the following steps to print landscape using printer orientation.

STEPS:
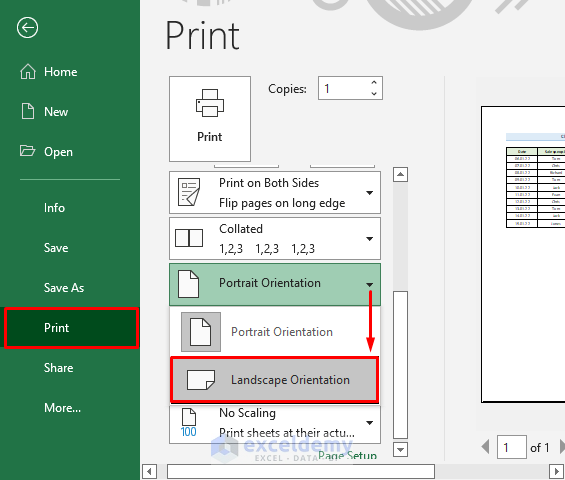
- First, go to the File tab.

- Next, select the Print option.
- After that, scroll down to find the orientation drop-down. From the drop-down select the option “Landscape Orientation”.
- Finally, we will see the landscape orientation of our worksheet.
Read More: How to Adjust Print Settings in Excel
3. Create a Template That Defaults to Landscape Mode
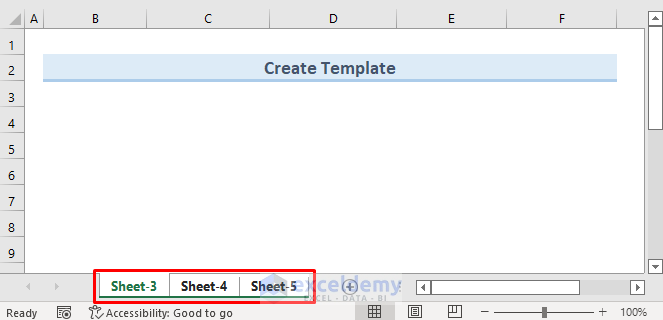
We can develop a template to set the printing choice to landscape orientation by default. If we insert any data range on the template after it is created and print from it, it will print in landscape orientation by default. In this method, we will create a template for “Sheet-3”, “Sheet-4”, and “Sheet-5”. Let’s see the steps to perform this action.
STEPS:
- In the beginning, select 3 sheets at a time. To select multiple sheets press the Shift key and click on the first sheet and last sheet by holding the Shift key. This action will select all the sheets in between two selected sheets.
- Next, go to the Page Layout tab and select the option “Orientation”.
- Now, from the drop-down select the option “Landscape”.

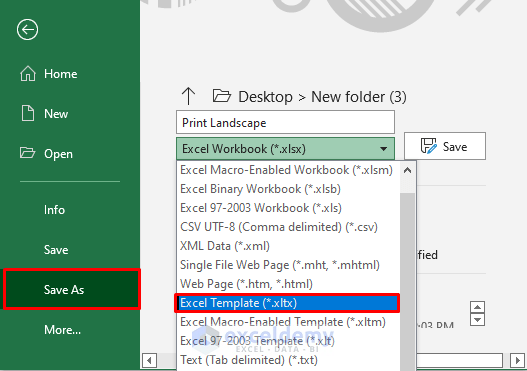
- Then go to the File tab.
- Select the option Save as. Choose the file format as “Excel Template(*.xltx)” from the available file formats.
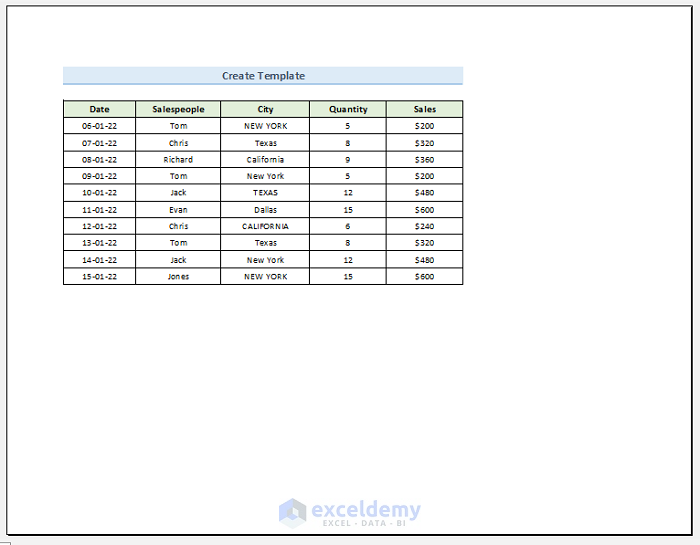
- After that, open the saved file in the previous step.

- Now, click on the “Print Preview and Print” option in the “Quick Access Toolbar”.

- Finally, we can see the worksheet print in landscape orientation by default.
Read More: How to Print Excel Sheet with Table
Download Practice Workbook
You can download the practice workbook from here.
Conclusion
At last, this post overviews the methods to print landscapes in Excel. Download and practice with our practice workbook, which is attached to this article, for the best result. Please leave a comment below if you have any queries. We will do everything we can to reply as soon as possible.
Related Articles
- How to Not Print Empty Cells in Excel
- Print Worksheet with Comments in Excel
- How to Print Comments in Excel
- How to Print Graph in Excel
<< Go Back to Print Excel Sheet | Print in Excel | Learn Excel
Get FREE Advanced Excel Exercises with Solutions!
