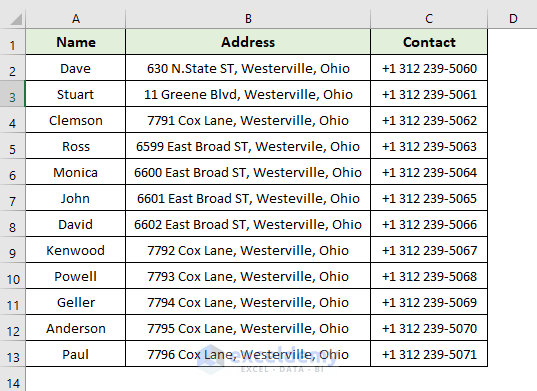
Step 1 – Prepare Dataset
- Enter the Name, Address, and Column in the following dataset.
- In the Name column, enter each person’s name.
- In the Address column, input each person’s address containing city and state.
- In the Contact column, put each person’s contact number.
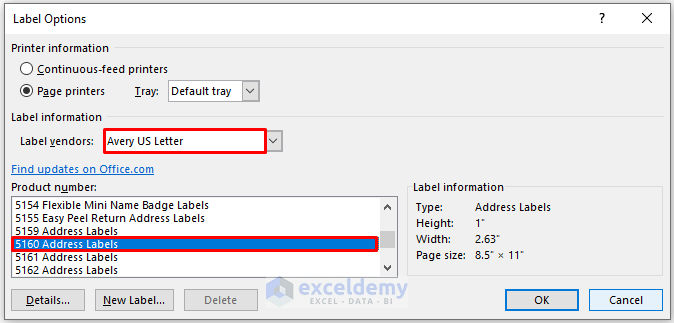
Step 2 – Select Avery 5160 Labels in MS Word
- Open an MS Word document file, then go to the Mailings tab.
- Select Start Mail Merge and choose the Labels option.

- The Label Options window will appear. Select your desired option in Page printers or leave this as the Default tray as shown below.
- Select Avery US letter in the Label vendors box.
- Select 5160 Address Labels in the Product Number option.
- Click on OK.
Read More: How to Print Avery 8160 Labels from Excel
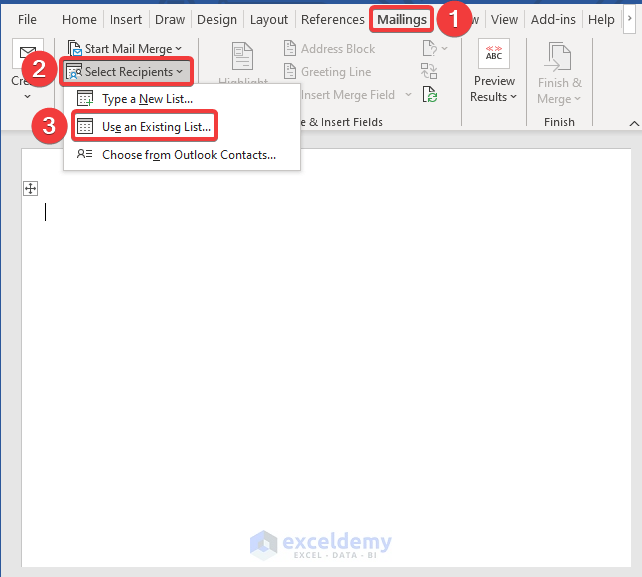
Step 3 – Insert Mail Merge Fields
- Go to the Mailings tab and click on Select Recipients.
- From the drop-down menu, select the Use an Existing List option.
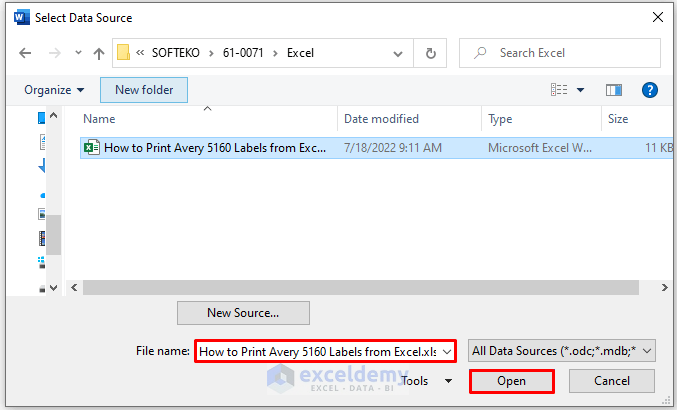
- The Select Data Source window will appear. In the File name box, insert the Excel file containing the dataset.
- Click on Open.
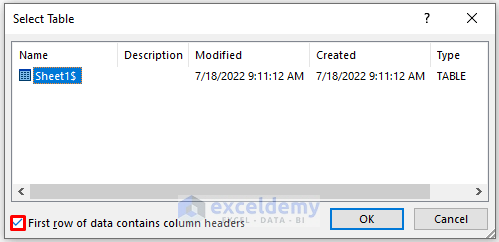
- The Select Table window will appear.
- Check the First row of data contains column headers.
- Click on OK.
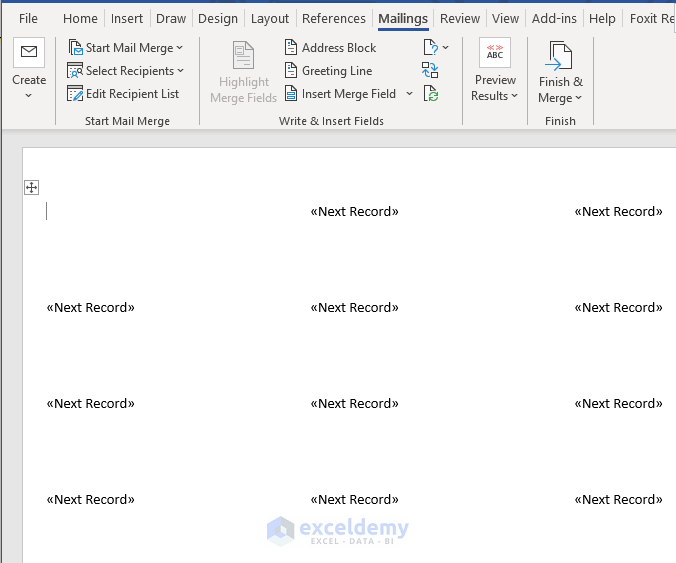
- You will get the following Avery 5160 format data where you have to input your preference data.
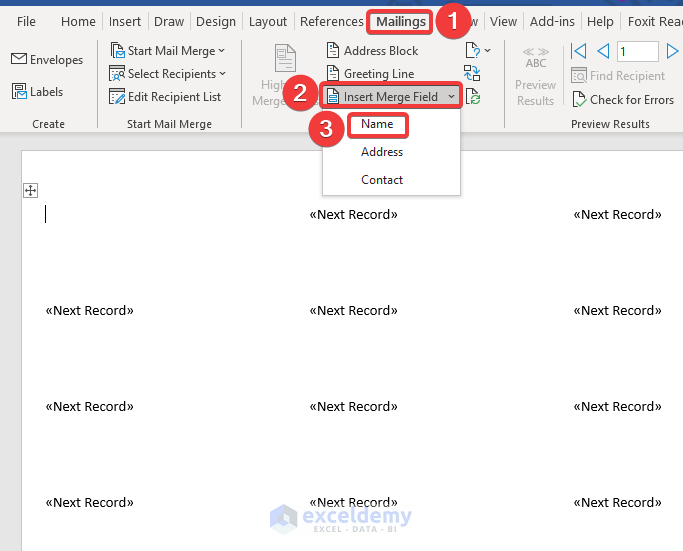
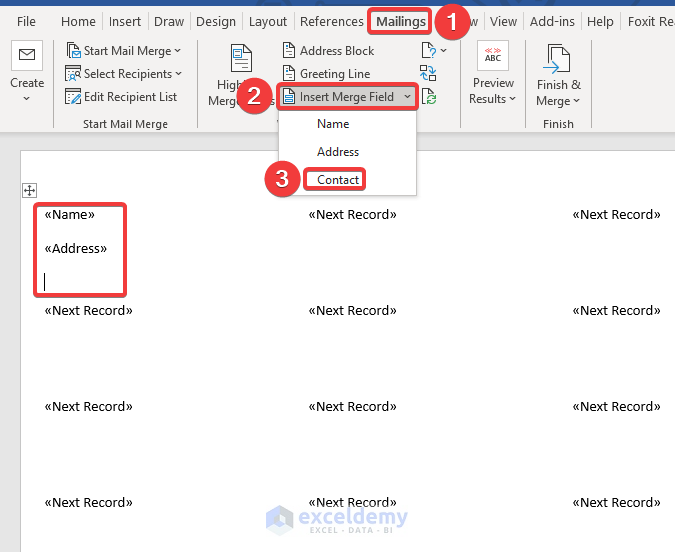
- Go to the Mailings tab and select Insert Merge Field.
- From the drop-down menu, select the Name option.
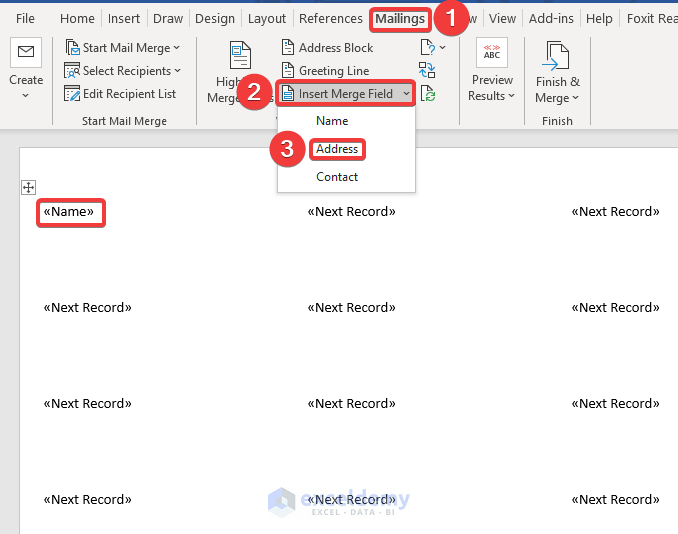
- You will see that the Name field has been inserted.
- Press Enter to go to the next row.
- Go to the Mailings tab and select Insert Merge Field.
- Select the Address option.
- You will see that the address field has been inserted.
- Press Enter to go to the next row.
- Go to the Mailings tab, and select Insert Merge Field.
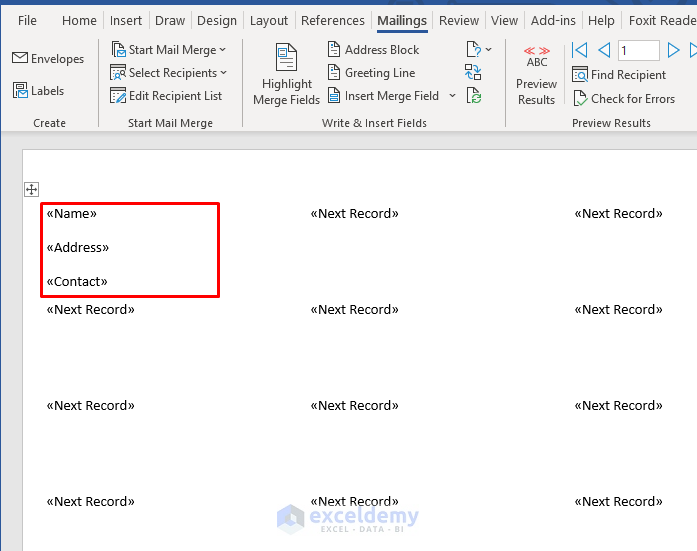
- Select the Contact option.
- You will get the following address label.
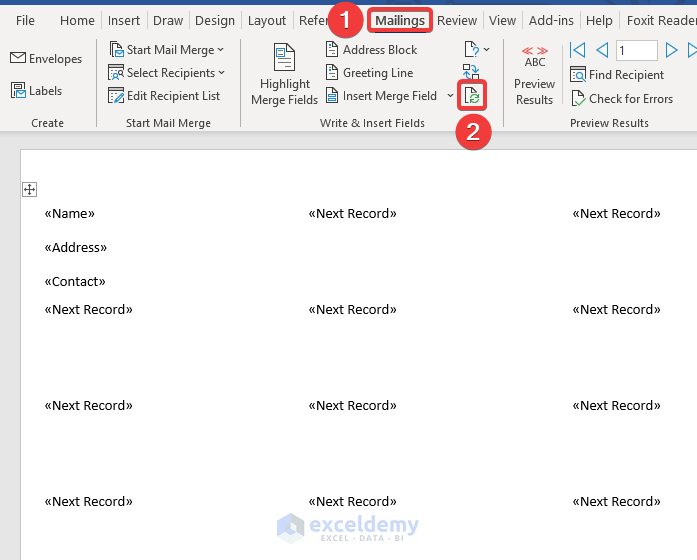
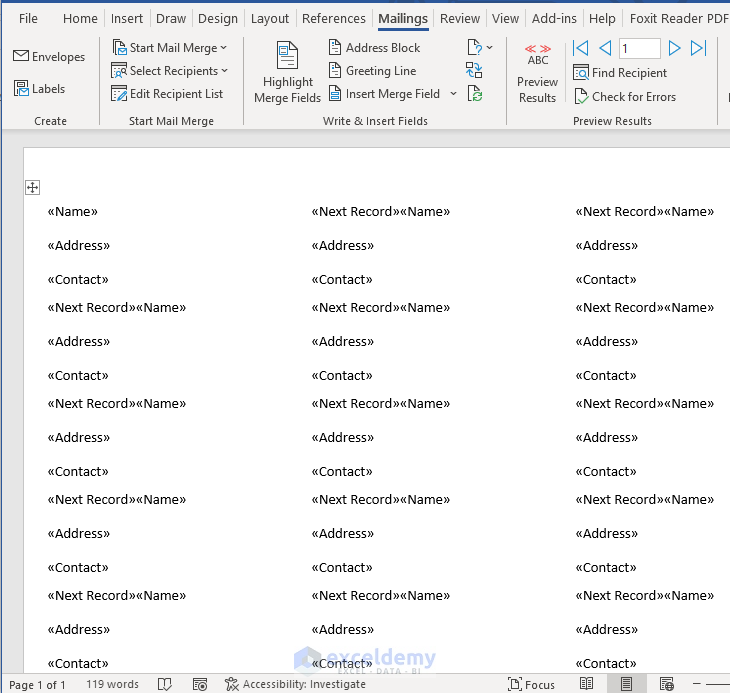
- Go to the Mailings tab and select Update Labels. This feature will automatically update other labels.
- You will get the following address labels.
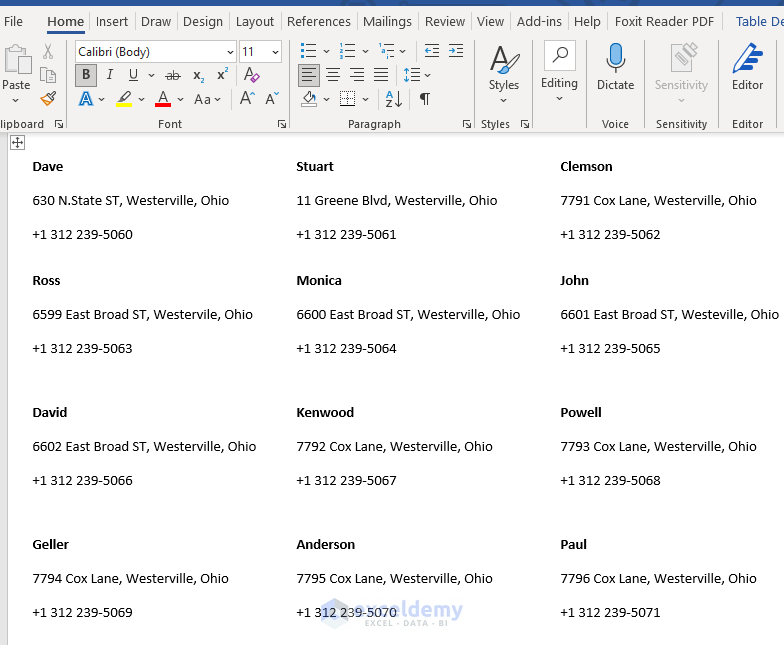
- Go to the Mailings tab and select ABC Preview Results.
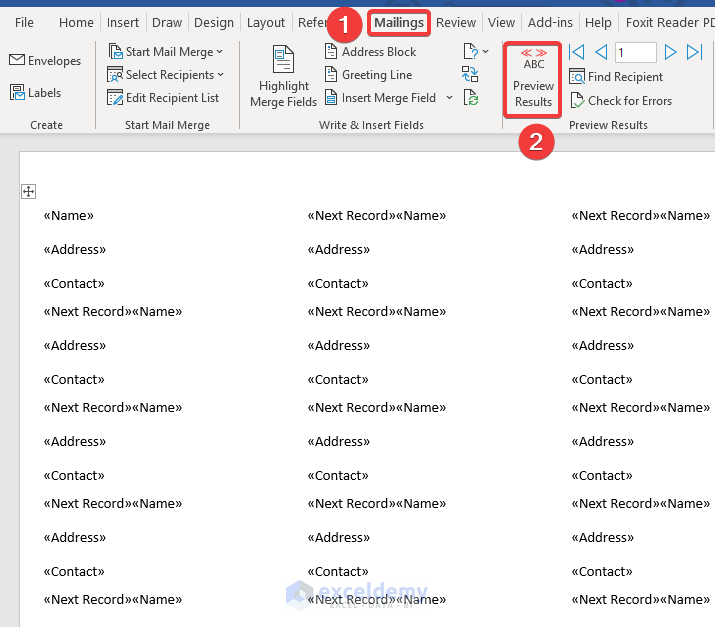
- You will get the following Avery 5160 labels.
Read More: How to Print Labels in Excel Without Word
Step 4 – Print Avery 5160 Labels
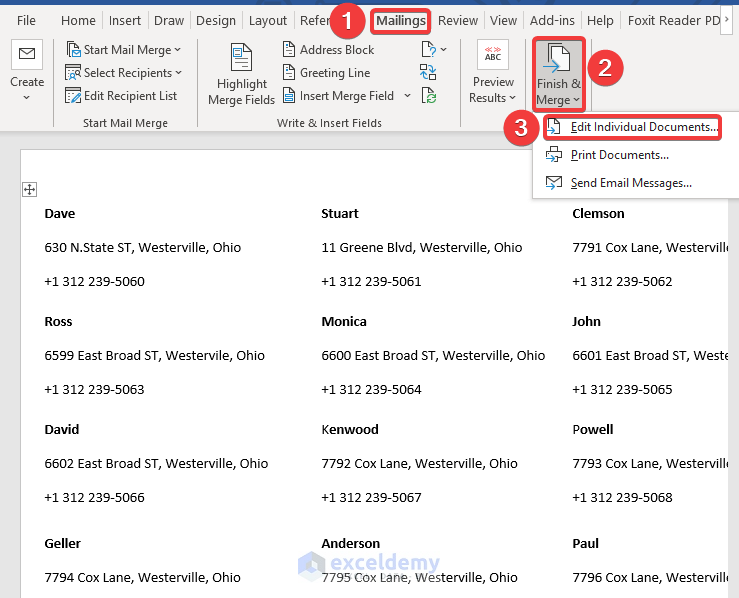
- Go to the Mailings tab and select Finish & Merge.
- Select Edit Individual Documents.
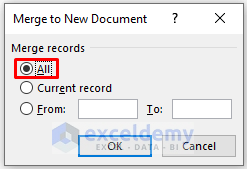
- The Merge to New Document dialog will appear. Select the All option in Merge records.
- Click on OK.
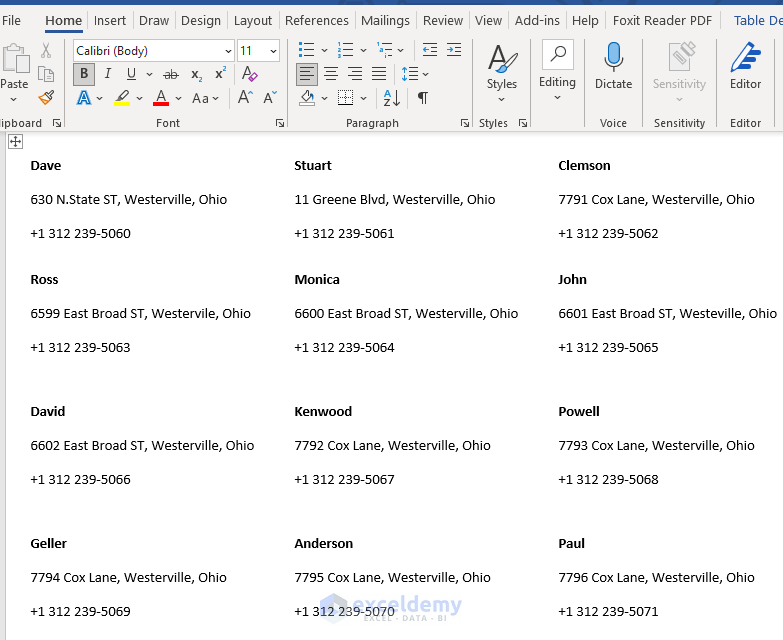
- You will get the following Avery 5160 labels.
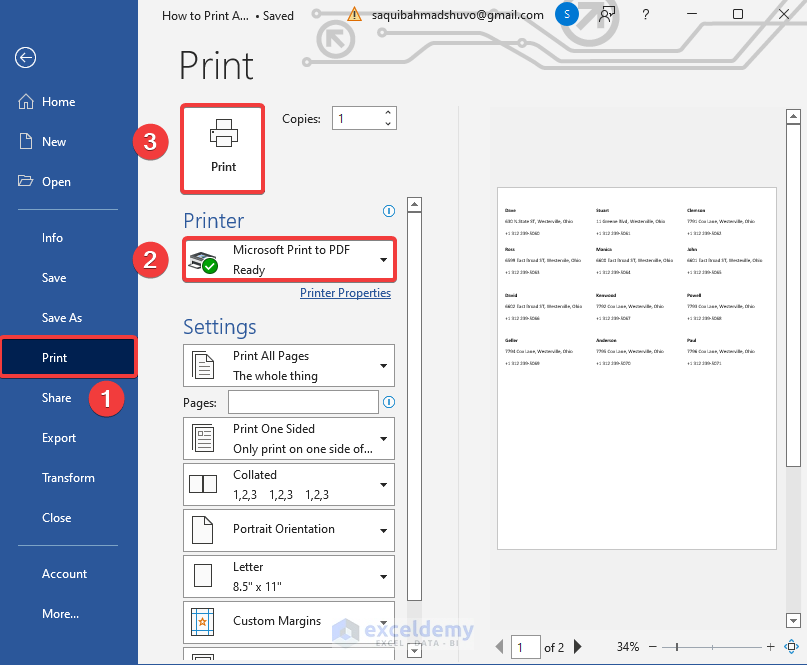
- Click on File and select Print.
- Select your preferred Printer.
- Click on Print.
Download the Practice Workbooks
Related Articles
<< Go Back To Print Labels in Excel | Mailing Labels in Excel | Mail Merge Excel | Learn Excel
Get FREE Advanced Excel Exercises with Solutions!

I got all the way to finish and merge new document. Hit ok then nothing more happened. Just the blue icon spinning for eternity. Any idea?
Hello DAMON,
The process should work perfectly. It would be very helpful for me if you could just send me the file to give it a try.
THANK YOU FOR THE STEP BY STEP, THESE INSTRUCTIONS WERE SO HELPFUL !!
Hello, Leslie!
Hope you are doing well. Thanks for your appreciation. Stay in touch with ExcelDemy.
Regards
ExcelDemy
Bless you.
Hello Peter,
So kind of you.
Regards
ExcelDemy