Method 1 – Print Avery Labels Using Word from Excel
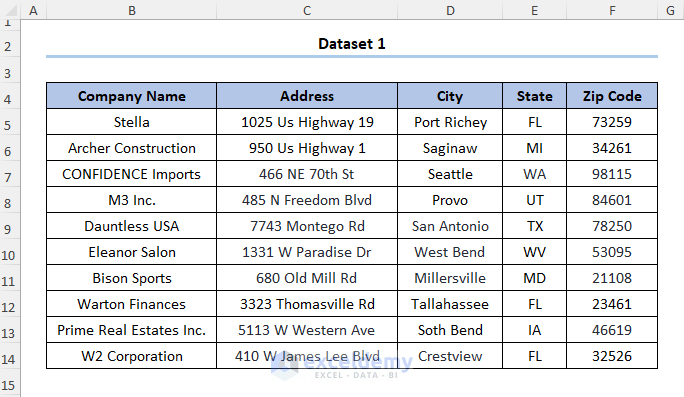
Let’s consider the following dataset shown in B4:F14 cells, with Company Name, Address, City, State, and Zip Code of each of the companies.
Step 1 – Define Table of Recipients
- Select the B4:F14 cells and go to Formulas and select Define Name.
- A dialog box appears where you need to provide a name. We used Company_Name.
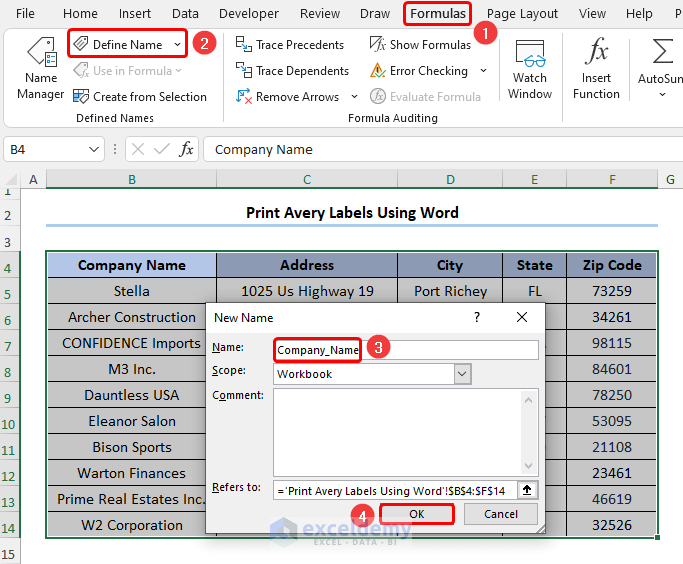
Note: Make sure there are no blank spaces between the words. Rather, you may use an underscore to separate each word.
Step 2 – Make Avery Labels in Word
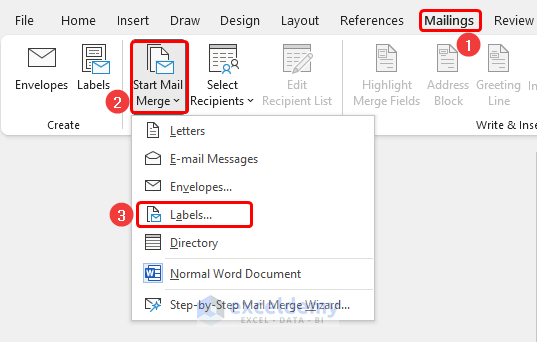
- Open a blank document in Microsoft Word. and go to the tab.
- Navigate to Mailings > Start Mail Merge > Labels.
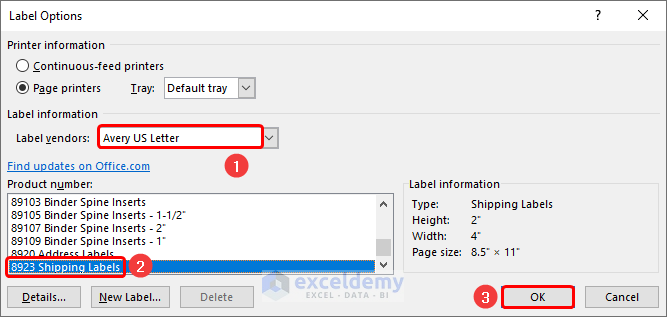
- Choose the options as shown in the image below and click OK to close the dialog box.
- Select Design > Page Borders.
- A Wizard box appears. Choose Borders tab and select Grid.
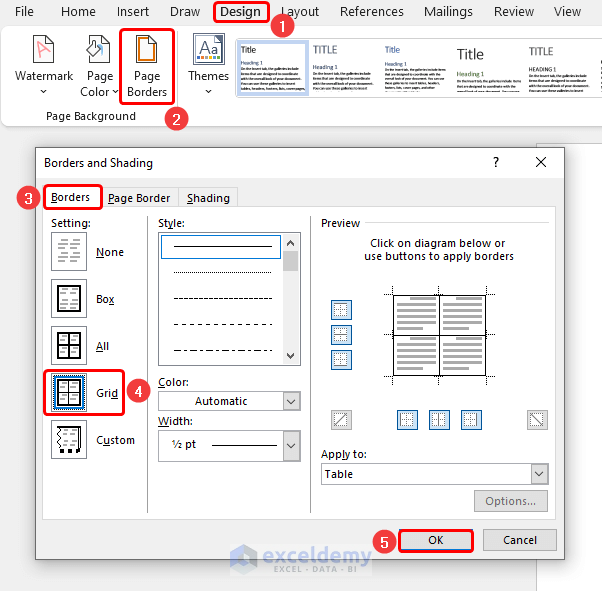
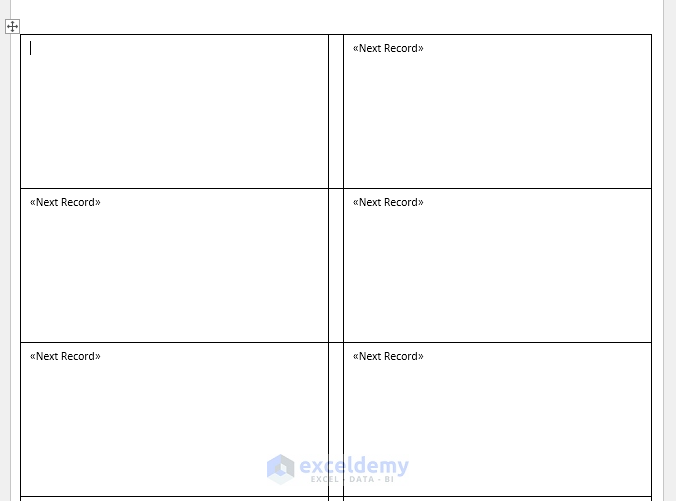
This generates the grid in the blank document.

Step 3 – Import Recipient List From Excel into Word
- Navigate to Mailings.
- Choose Select Recipients and select Use an Existing List.
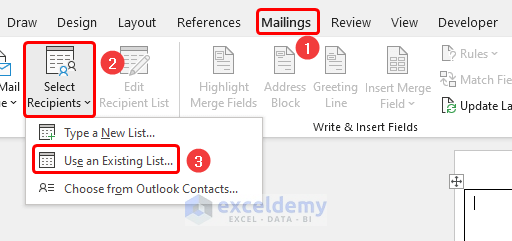
- Import the source data into Word by selecting the Excel file, in this case, Print Avery Labels.
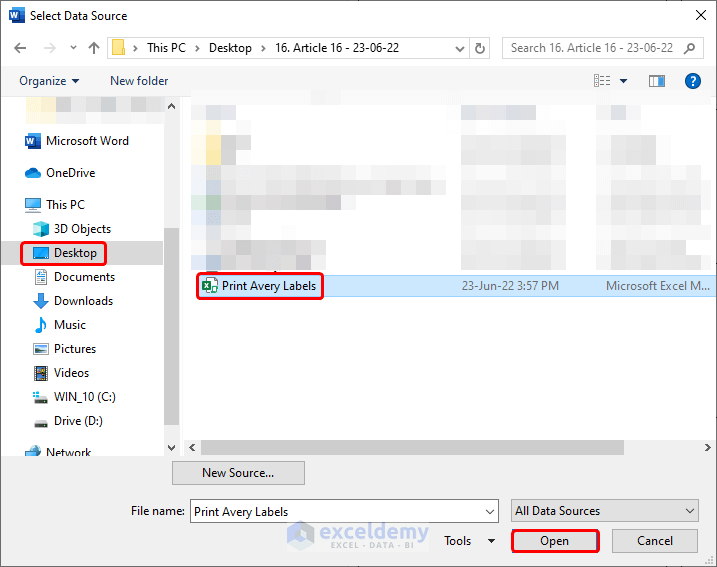
- We choose the table name Company_Name from the list.

This establishes a connection between the Excel worksheet and the Word document.
Step 4 – Insert Fields in Word
- Go to Mailings and select Address Block.
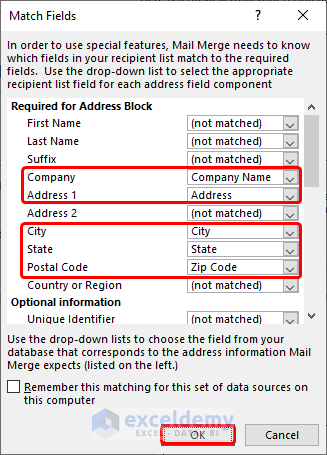
- Choose the Match Fields options from the dialog box.
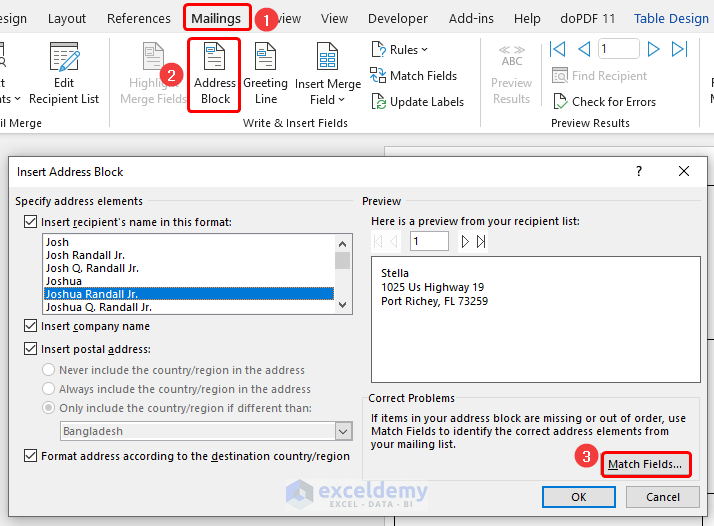
- The column headers from the worksheet automatically match their respective fields.
- Click OK to close the dialog box.
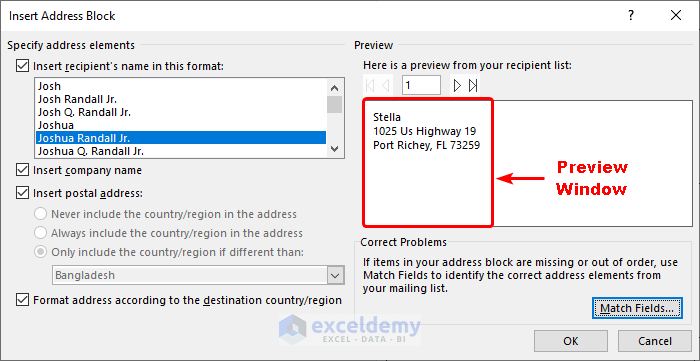
We see a preview of the labels to correct any flaws before proceeding further.
- Click on Update Labels located in the Mailings tab.
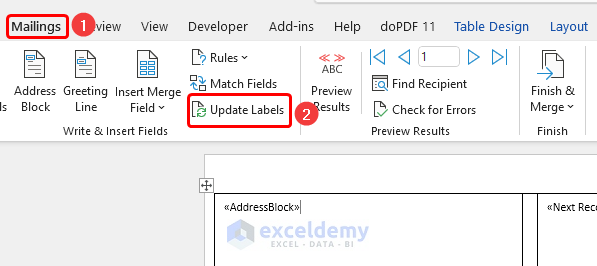
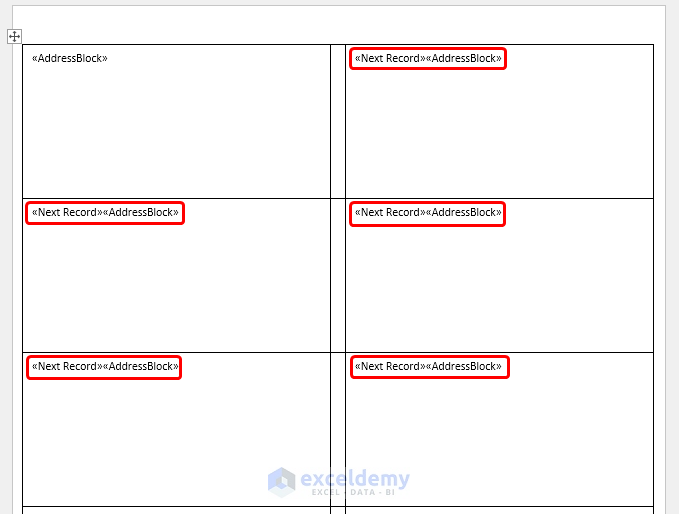
- All the labels change to AddressBlock.
Step 5 – Complete the Merging Process
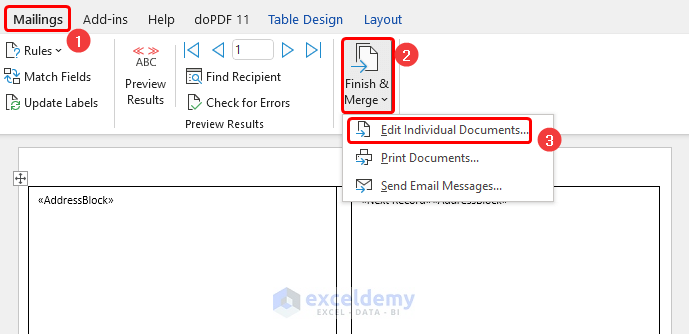
- Go to Mailings, select Finish & Merge, and choose Edit Individual Documents.
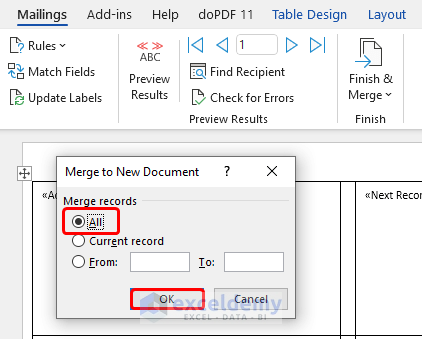
- In the dialog box, check the option “All” and click OK.
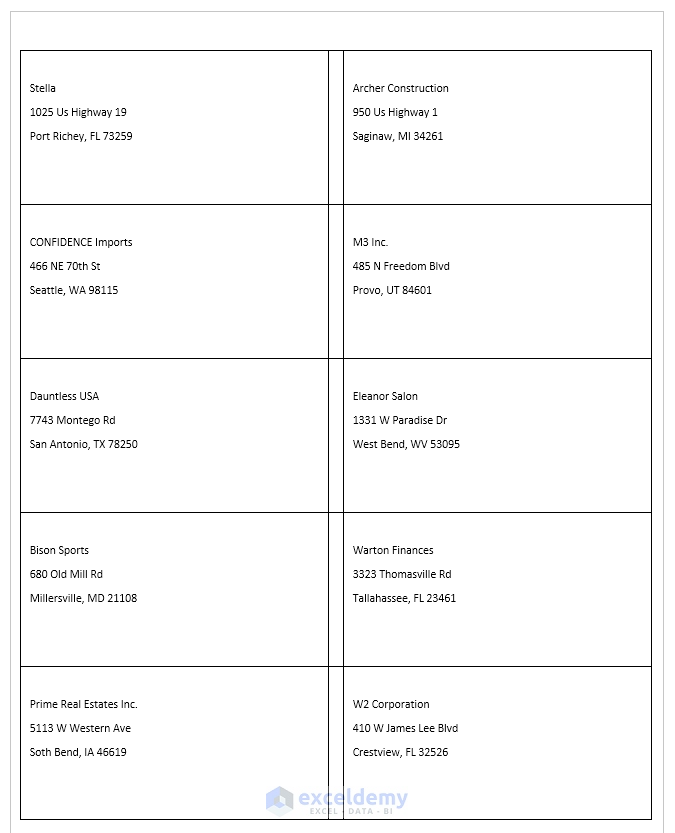
Eventually, all the labels appear in the Word document.

- Press CTRL + P to open the print option in Word.
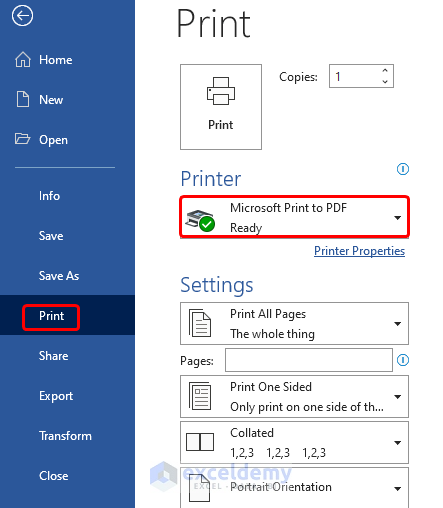
- You can see a preview of the labels from the preview window.
You can also print Avery 5160 Labels by following this linked article.
Read More: How to Print Address Labels in Excel
Method 2 – Print Single Avery Label Without Word from Excel
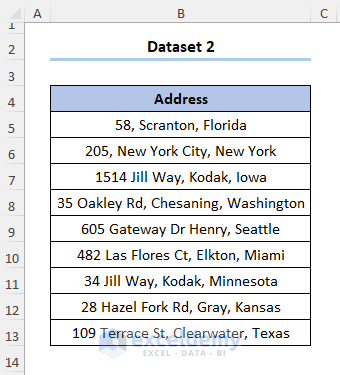
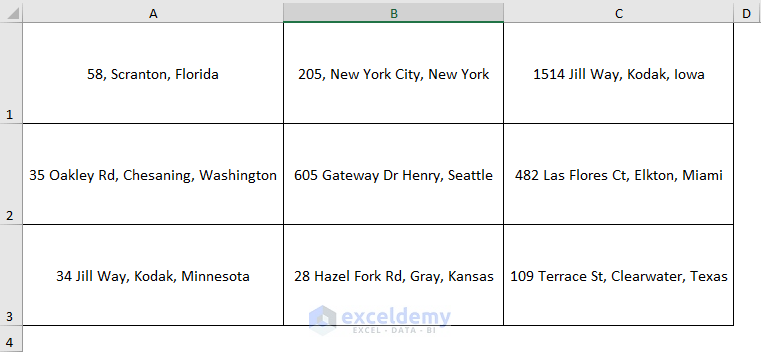
Suppose we have the following dataset in the B4:B13 cells with only one column showing the Address.
Step 1 – Make a Copy of the Dataset
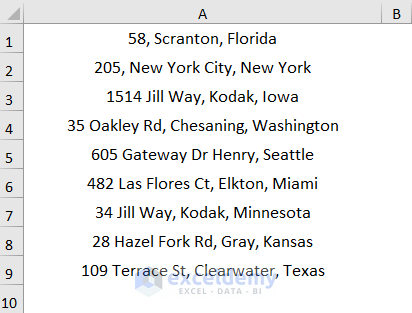
- Copy the dataset and paste it into a new worksheet.
Note: You need to paste the data in the first column starting from the A1 cell and remove any column headers.
Step 2 – Insert the VBA Code
- Go to the Developer tab and select Visual Basic.
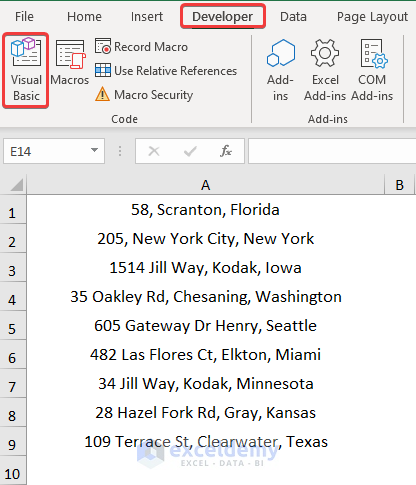
- Insert a Module where you’ll paste the VBA code.
 Copy and paste the code from here.
Sub Makelabels()
Application.Run "EnterColumn"
Cells.Select
Selection.RowHeight = 75.75
Selection.ColumnWidth = 34.14
With Selection
.HorizontalAlignment = xlCenter
.VerticalAlignment = xlBottom
.WrapText = False
.Orientation = 0
.AddIndent = False
.IndentLevel = 0
.ShrinkToFit = False
.ReadingOrder = xlContext
.MergeCells = False
End With
With Selection
.HorizontalAlignment = xlCenter
.VerticalAlignment = xlCenter
.WrapText = False
.Orientation = 0
.AddIndent = False
.IndentLevel = 0
.ShrinkToFit = False
.ReadingOrder = xlContext
.MergeCells = False
End With
End Sub
Sub EnterColumn()
Dim reference As Range
Dim item As Long
Dim data As Long
Set reference = Cells(Rows.Count, 1).End(xlUp)
data = 1
On Error Resume Next
incolno = InputBox("Enter Number of Columns Desired")
For item = 1 To reference.Row Step incolno
Cells(data, "A").Resize(1, incolno).Value = _
Application.Transpose(Cells(item, "A").Resize(incolno, 1))
data = data + 1
Next
Range(Cells(data, "A"), Cells(reference.Row, "A")).ClearContents
End Sub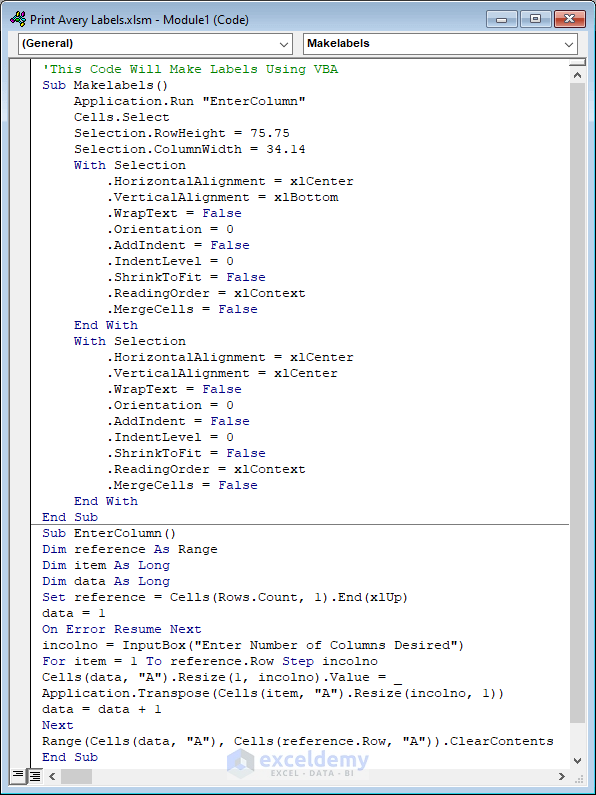
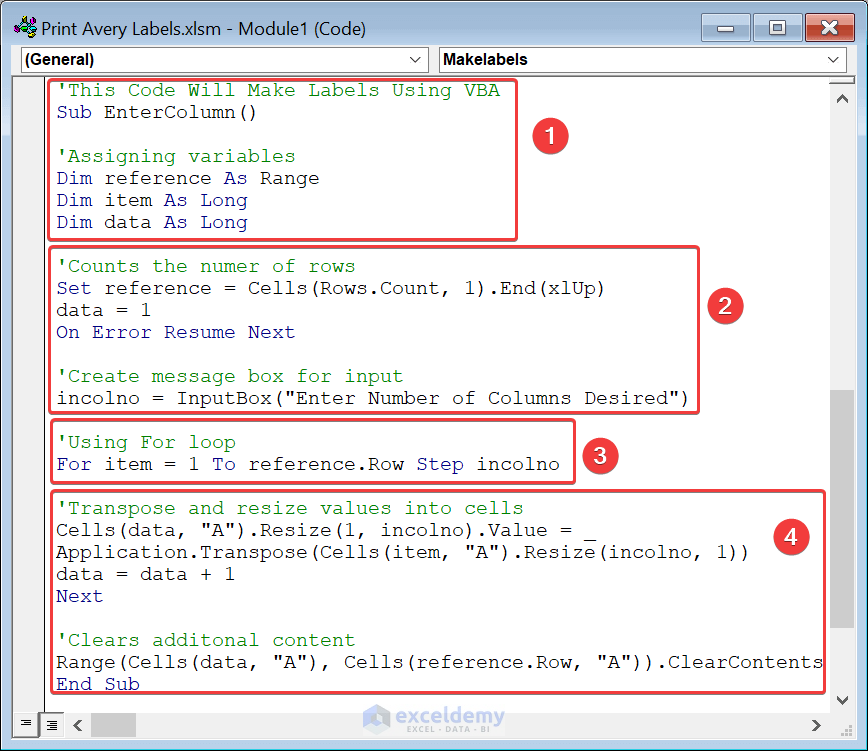
Code Breakdown:
The code is divided into two sections.
Section 1 – Explanation of EnterColumn() sub-routine
The explanation of the VBA code is provided below.
- The sub-routine is given a name, and the variables are defined.
- We count the number of rows and create an InputBox to take inputs from the user.
- A For loop runs as many times as specified in the InputBox.
- We Transpose the column into rows, resize the cells, and remove any extra contents.
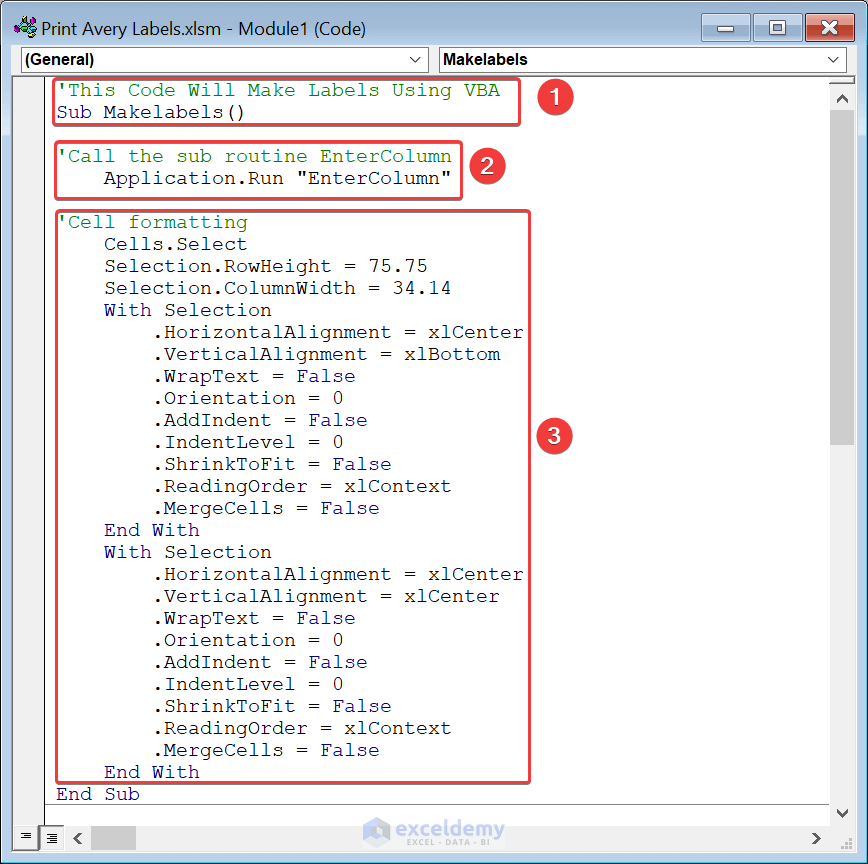
Section 2 – Description of Makelabels() sub-routine
- The sub-routine is given a name.
- We execute the sub-routine.
- We specify the cell formatting using the Cells property.
Step 3 – Running the VBA Code to Generate Labels
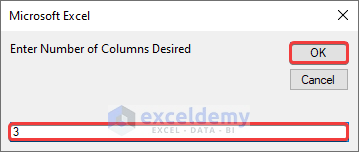
- Press the F5 key to run the Makelabels() sub-routine.
- In the dialog box, enter the number of columns.
- You can add borders using the All Borders option in the Home tab.
Step 4 – Print Labels from Excel
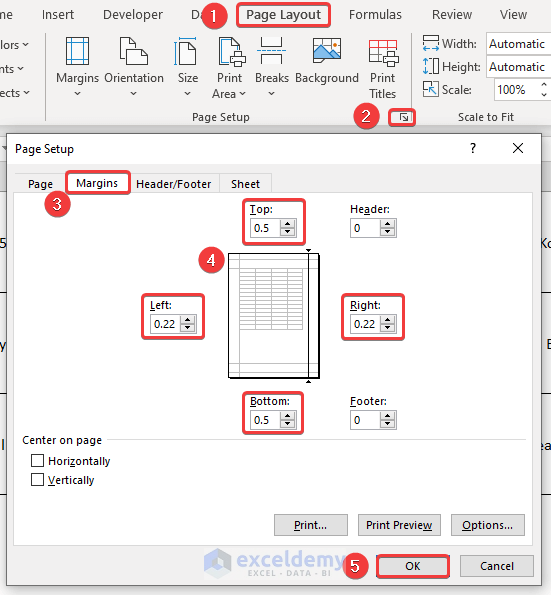
- Go to the Page Layout tab and click the Page Setup arrow at the corner.
- Select the Margins tab and adjust the page margin as shown below.
- Use CTRL + P to open the Print menu.
- Press the No Scaling drop-down and select Fit All Columns on One Page option.
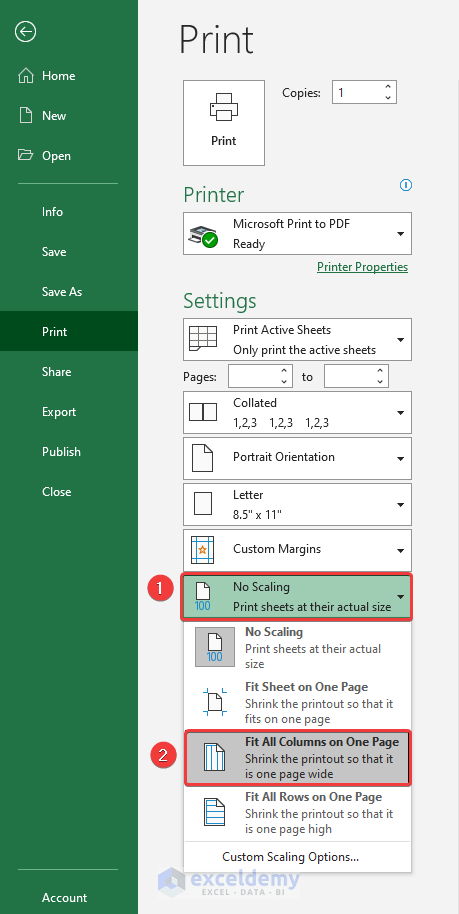
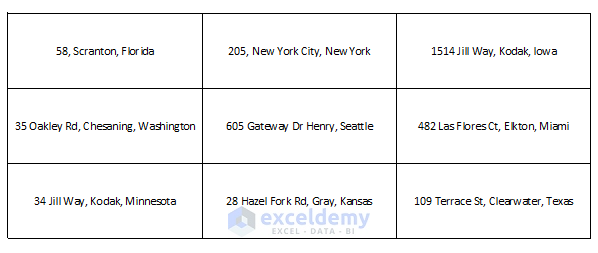
- You’re ready to print the labels.
Read More: How to Print Labels from Excel in Word
Things to Remember
- Method 2 only applies if you have a single column in your dataset.
- Format column headers so that they stand out from the rest of the data.
- Ensure there are no empty cells as this may lead to unexpected results.
Download Practice Workbook
Related Articles
<< Go Back To Print Labels in Excel | Mailing Labels in Excel | Mail Merge Excel | Learn Excel
Get FREE Advanced Excel Exercises with Solutions!

I am following the instructions to print labels from Excel and when I get to the point of setting the border it tells me to click “Grid”. Grid is not an option on my computer. What do I do to set the borders?
Hello Pat Grappe,
It might be a version difference or an issue with Excel’s settings. You can try the following steps:
1. Ensure that the cells where the labels will be printed are selected.
2. Go to the Home tab in Excel.
3. Click on the Borders option in the Font group, and choose the desired border style from the dropdown.
If the Grid option is not visible, this workaround will still allow them to set borders properly.
Regards
ExcelDemy