Step 1 – Creating Avery 8160 Labels from Excel Using Microsoft Word
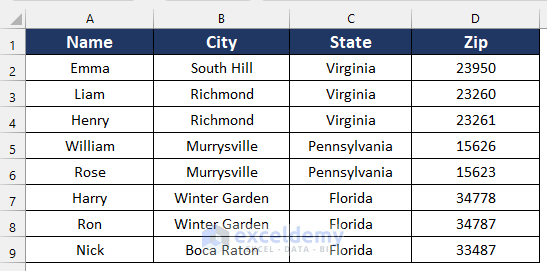
- Create a dataset. Here, the dataset contains Name, City, State and Zip.
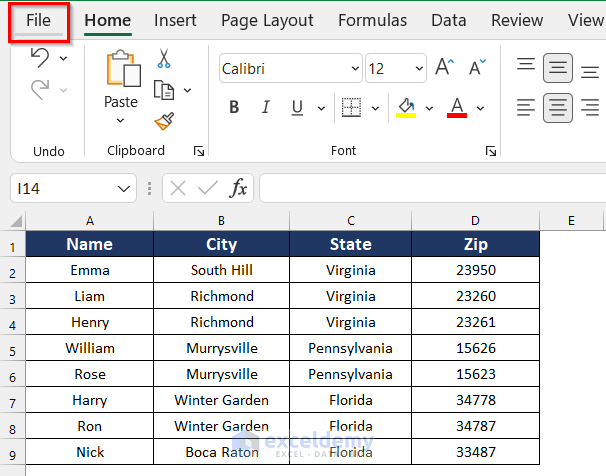
- Click the File tab.
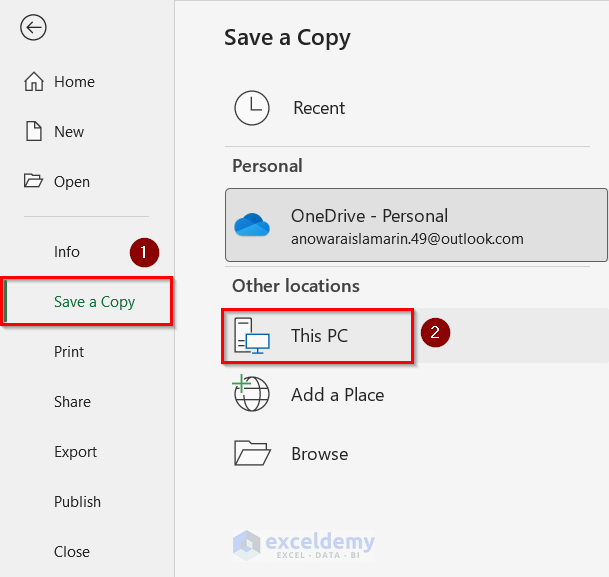
- Click Save a Copy to Save the Excel file.
- Select any location for the file. Here, This PC.
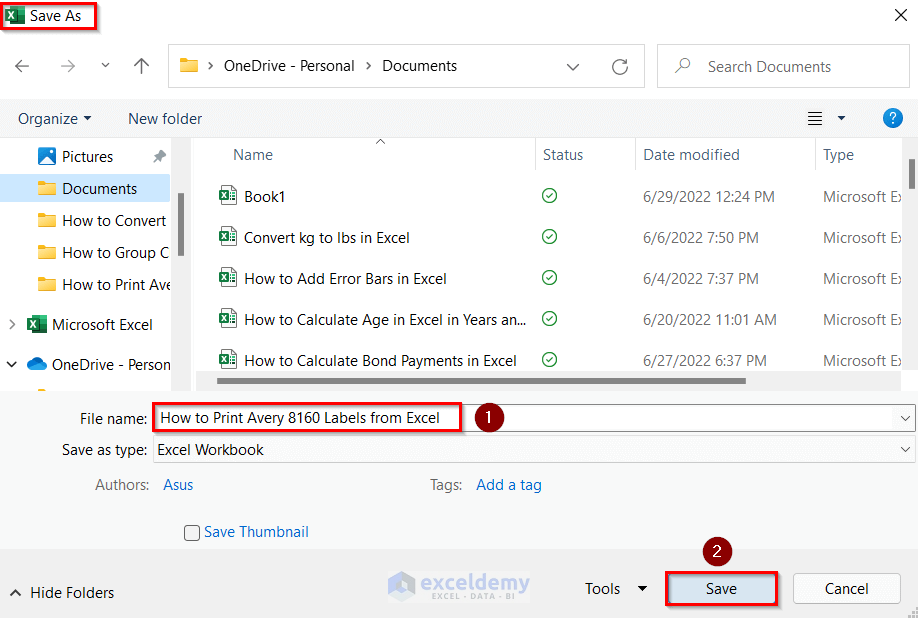
- In Save As, select a location.
- Enter a name in File name. Here,How to Print Avery 8160 Labels from Excel.
- Click Save.
- Open a Microsoft Word file.
- Click Blank document.

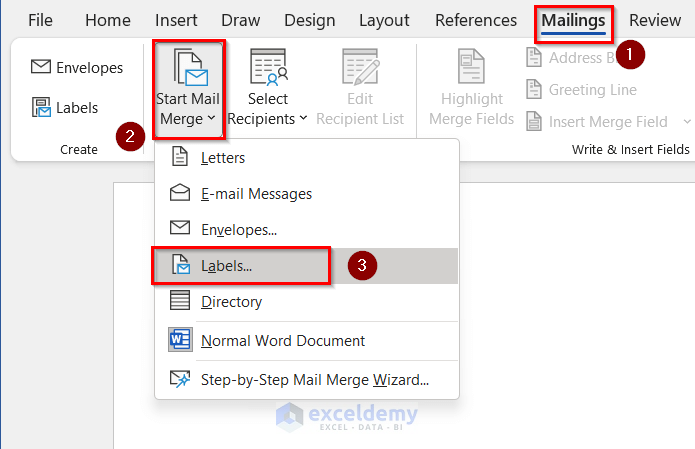
- Go to the Mailings tab >> click Start Mail Merge >> select Labels.
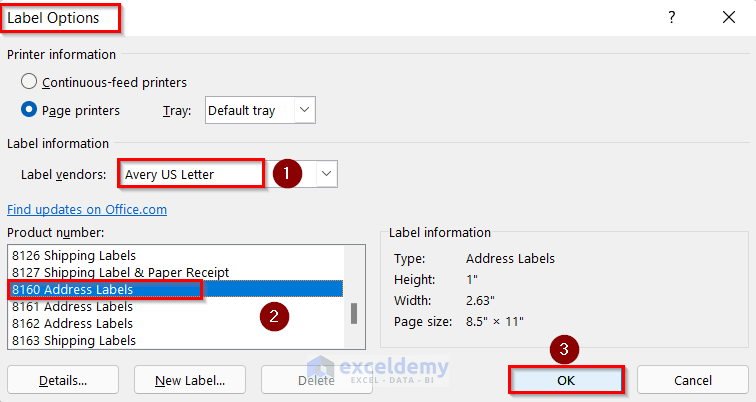
- In Label Options, select Avery US Letter as Label vendors.
- Select 8160 Address Labels as Product number.
- Click OK.
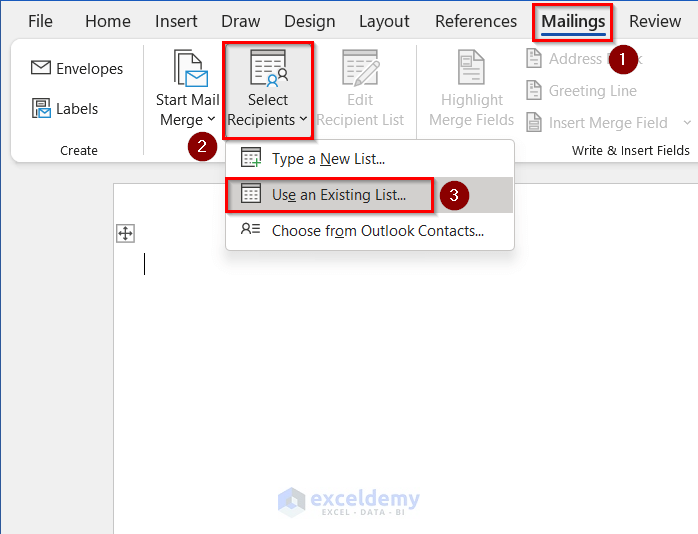
- In the Mailings tab >> click Select Recipients >> select Use an Existing List.
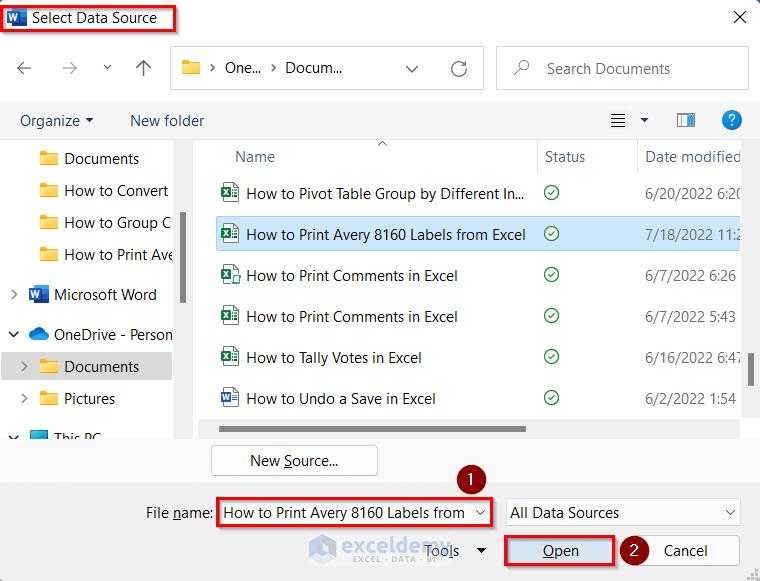
- In the Select Data Source, select the file you want to import. Here, How to Print Avery 8160 Labels from Excel.
- Click OK.
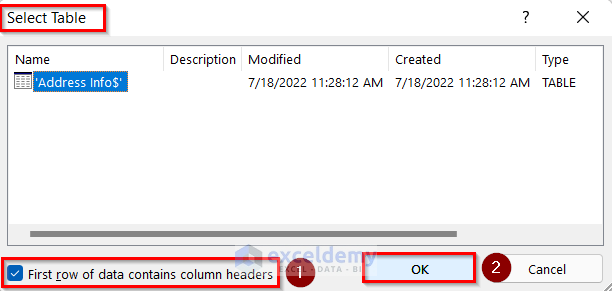
- In the Select Table box, the table is selected.
- Check First row of data contains column headers.
- Click OK.
Records were added from the Excel file.
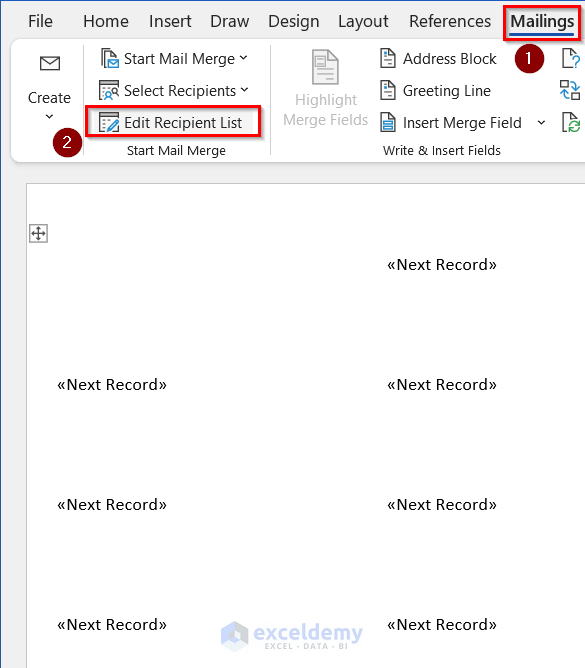
- Go to the Mailings tab to verify if the dataset has been correctly imported.
- Click Edit Recipient List.
- In the Mail Merge Recipient, check if the recipients were correctly imported.
- Click OK.

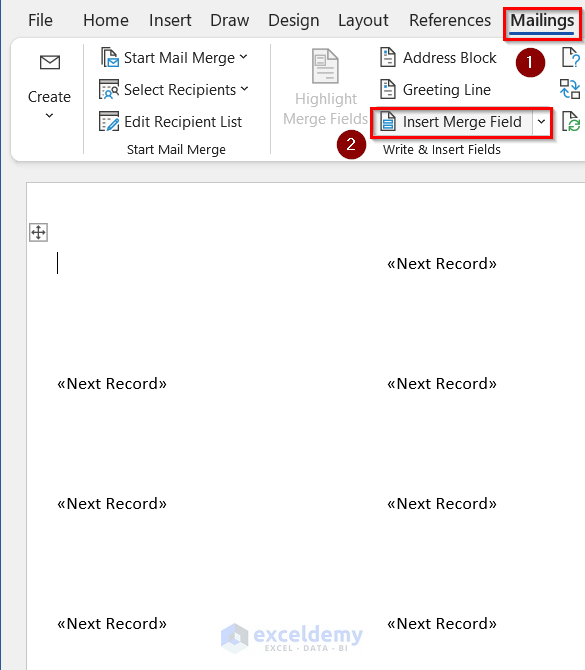
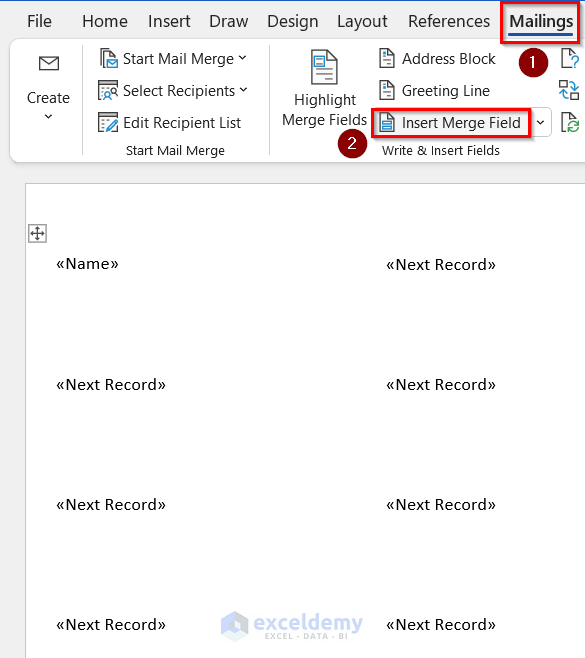
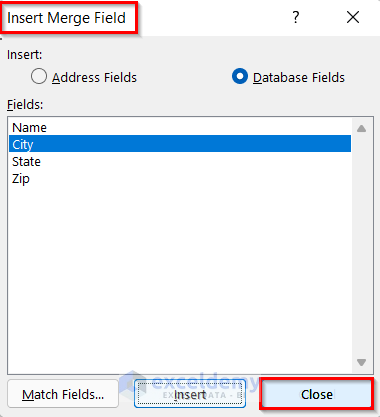
- Go to the Mailings tab >> click Insert Merge Field.
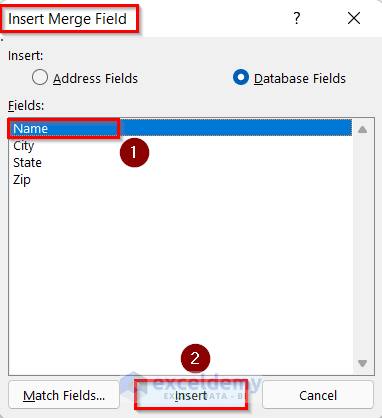
- In the Insert Merge Field, select Name in Fields.
- Click Insert.
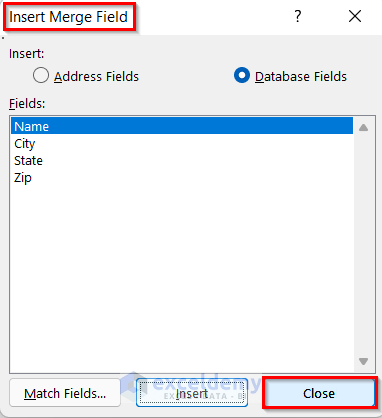
- Click Close.
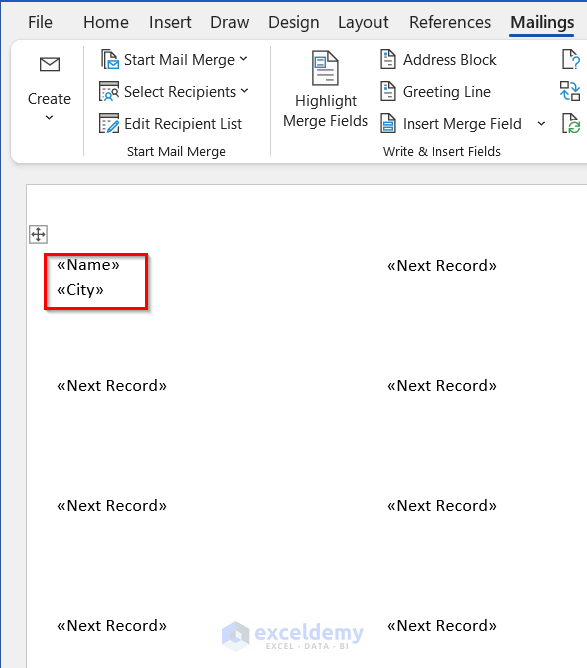
- The Name field is inserted.
- Press SHIFT+ENTER.

- Go to the Mailings tab >> click Insert Merge Field.
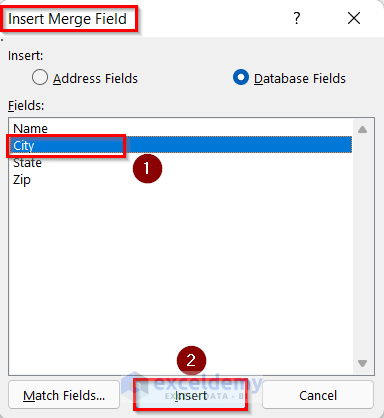
- In the Insert Merge Field box, select City in Fields.
- Click Insert.
- Click Close.
The City field is inserted.
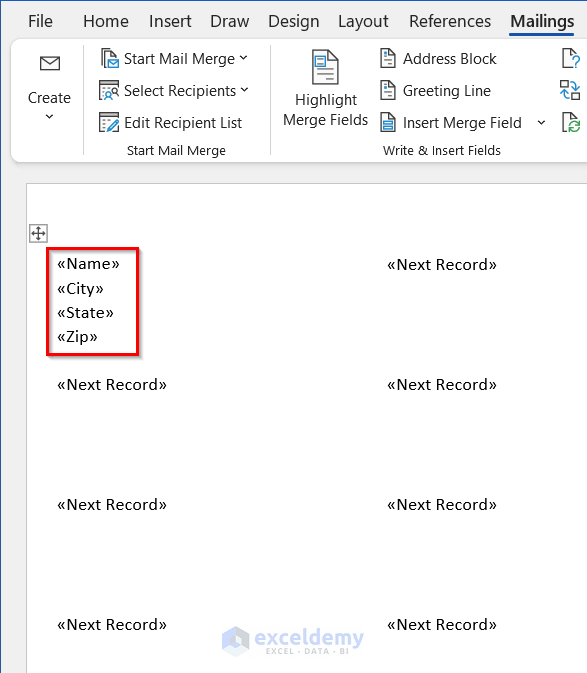
- Insert the State and Zip fields following the same steps.
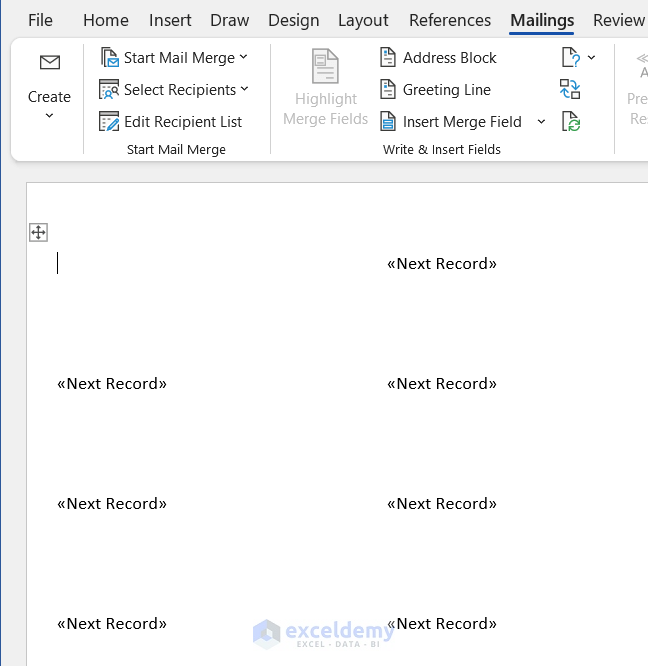
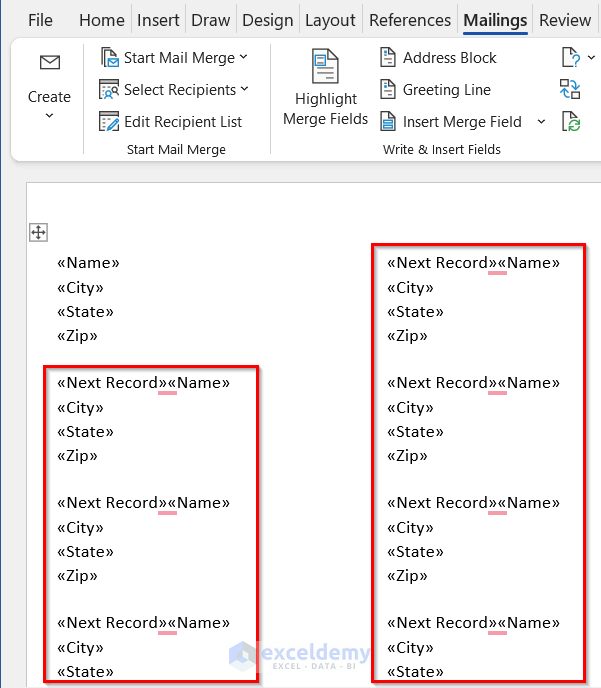
- In the Mailings tab >> click Update Labels.

- All labels are updated.
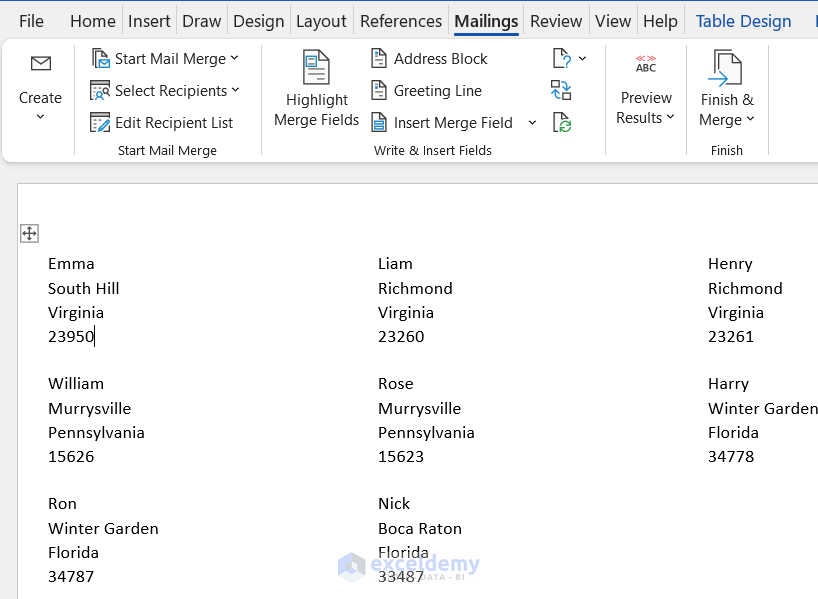
- Go to the Mailings tab >> click Preview Results >> select Preview Results.
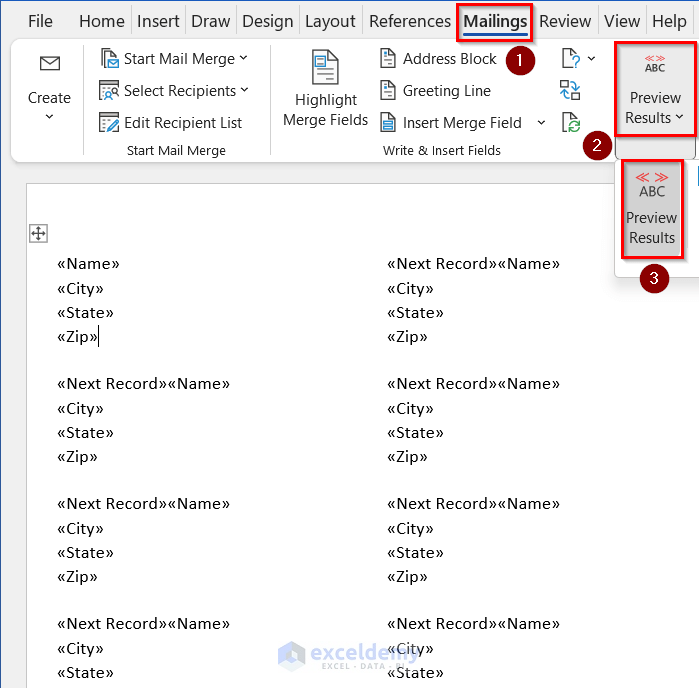
- Avery 8160 labels are created using Microsoft Word.
Read More: How to Print Avery 5160 Labels from Excel
Step 2 – Printing Avery 8160 Labels
- Click the File tab in the Microsoft Word file.
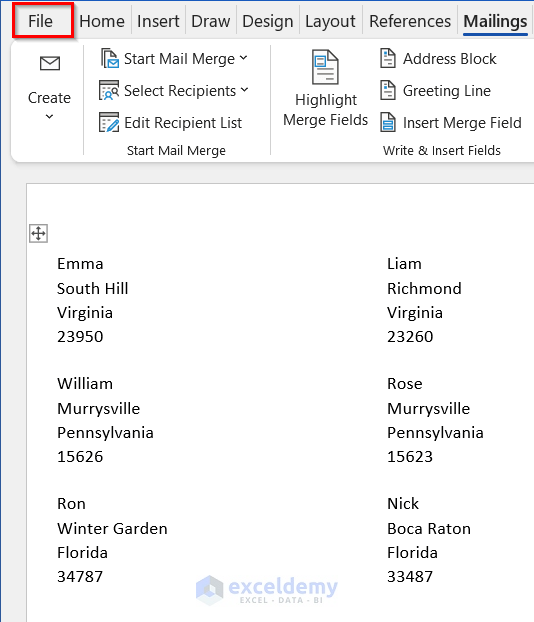
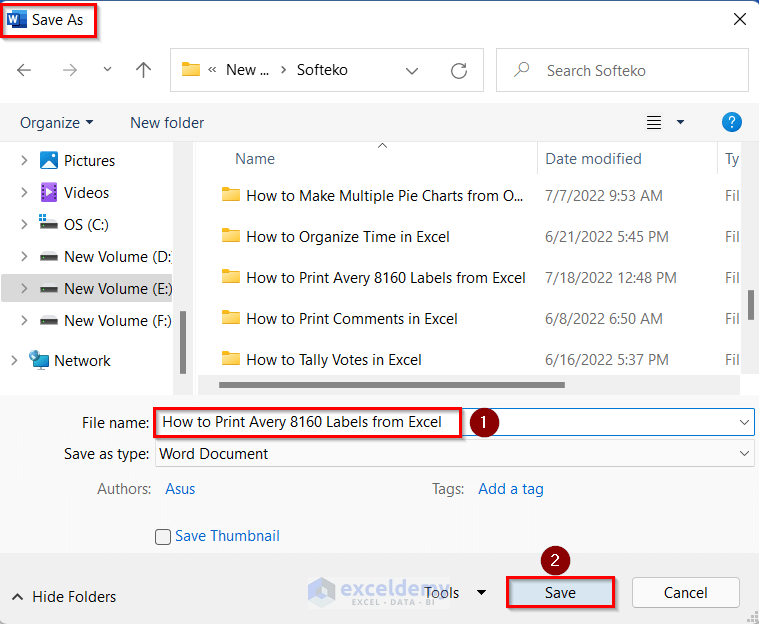
- Click Save As to save the Word file.
- Select a location for the file. Here, This PC.
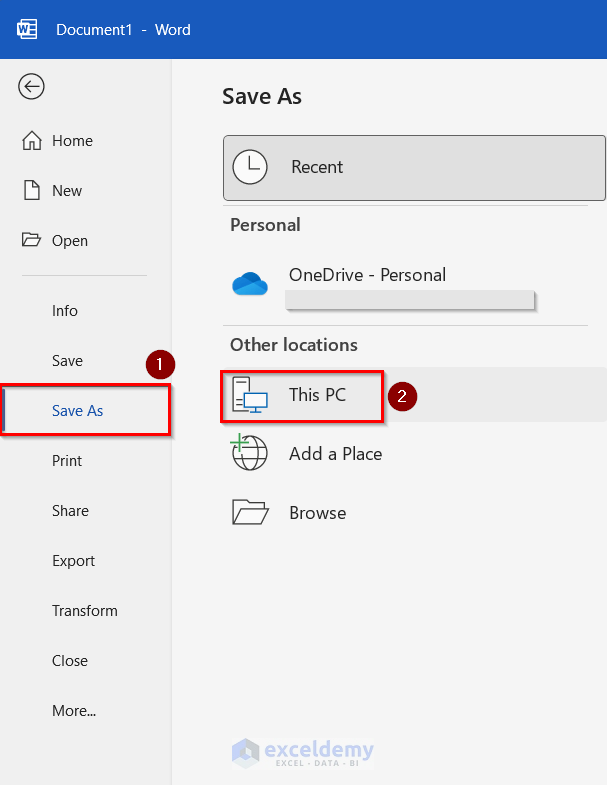
- In the Save As box, select a location.
- Enter a name in the File name box. Here, How to Print Avery 8160 Labels from Excel.
- Click Save.
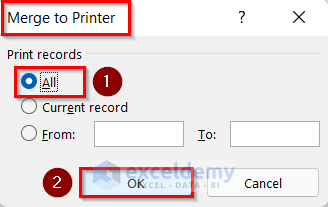
- Go to the Mailings tab >> click Finish & Merge >> select Print Documents.

- In the Merge to Printer box, check All in Print records.
- Click OK.
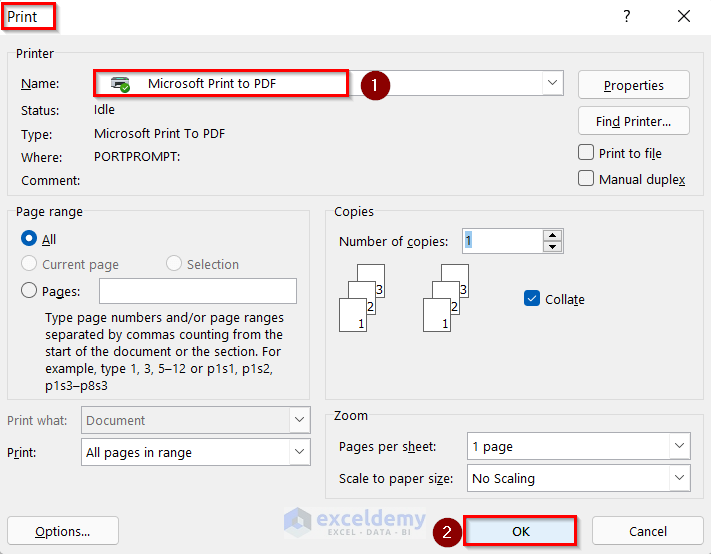
- In the Print box, select Microsoft Print to PDF in Name.
- Click OK.
- In the Save Print Output As, enter a name in File name. Here, How to Print Avery 8160 Labels from Excel.
- Click Save.
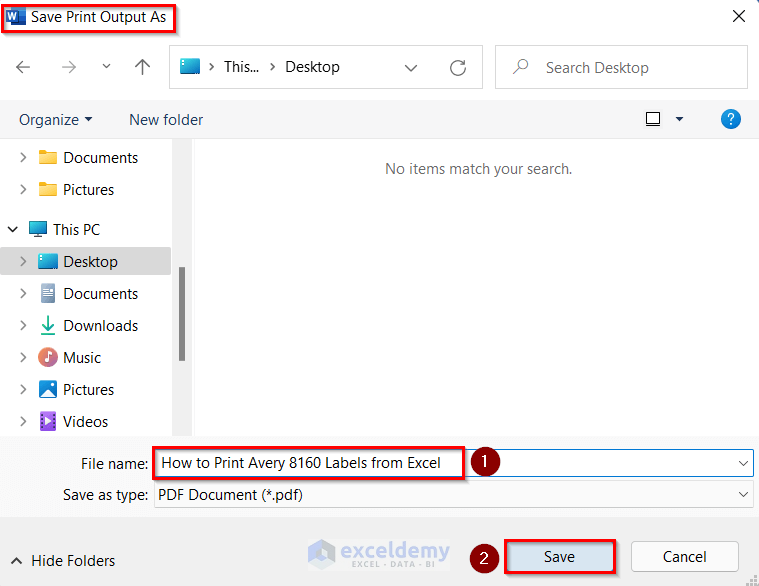
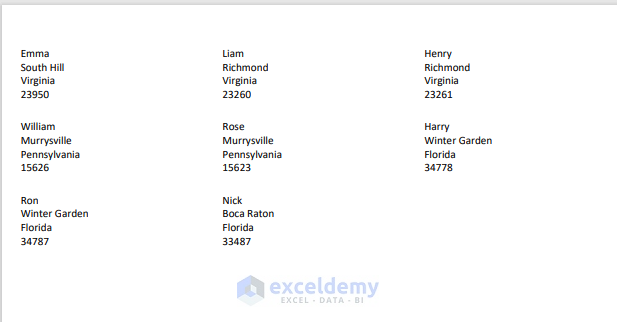
You will be able to print Avery 8160 labels:
Read More: How to Print Labels in Excel Without Word
Download Workbook
Related Articles
- How to Print Avery Labels from Excel
- How to Print Address Labels in Excel
- How to Print Labels from Excel in Word
<< Go Back To Print Labels in Excel | Mailing Labels in Excel | Mail Merge Excel | Learn Excel
Get FREE Advanced Excel Exercises with Solutions!
