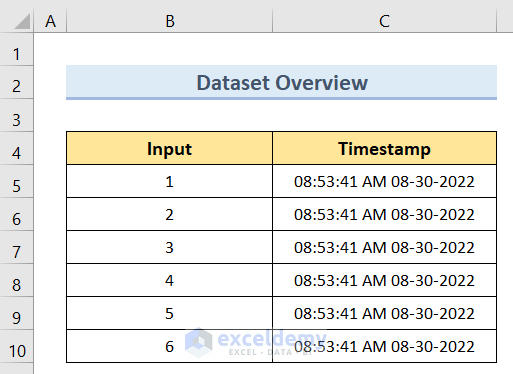
We’ll use a sample dataset, with Input in column B and the Timestamp in column C. We’ll input the timestamp in column C whenever we modify the respective cell in Input.
Method 1 – Using the File Tab to Get the Last Modified Date and Time of the File
Steps:
- Go to the File tab.
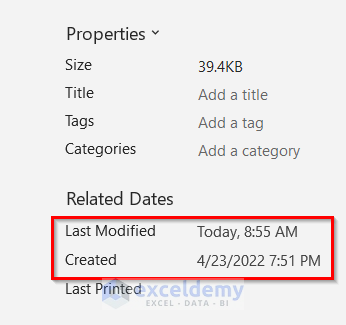
- Select the Info option.

- You will get the desired result.
Read More: How to Insert Excel Timestamp When Cell Changes Without VBA
Method 2 – Using VBA Code
Case 2.1 – Creating a User-Defined Function
Steps:
- Press Alt + F11 to open the VBA window and select the Module option from the Insert tab.

- Insert the following code in the window.
Function AutoTimestamp(xRef As Range)
If xRef.Value <> "" Then
AutoTimestamp = Format(Now, "hh:mm:ss AM/PM mm-dd-yyyy")
Else
AutoTimestamp = ""
End If
End Function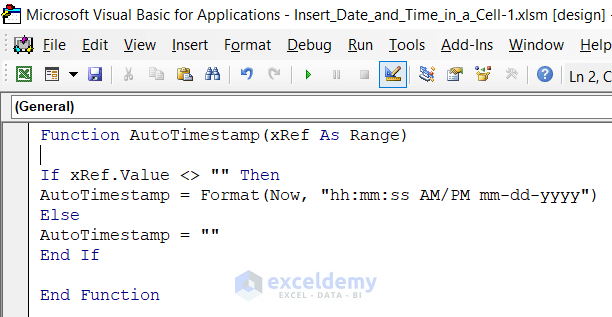
- You will get the desired result.

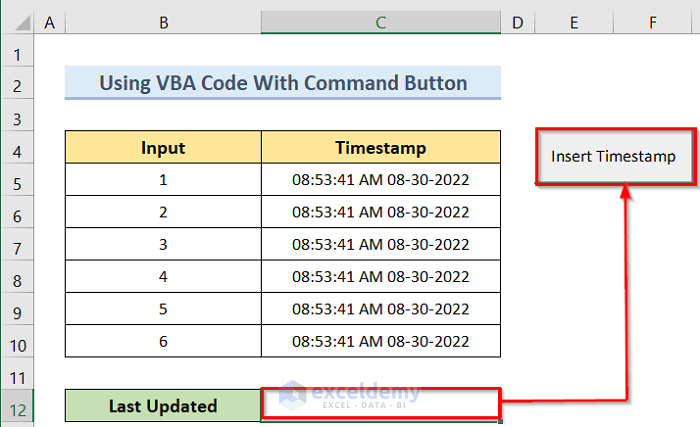
Case 2.2 – Using a Command Button
Steps:
- Go to Developer, then to Insert, and pick the first option in the ActiveX Controls group.
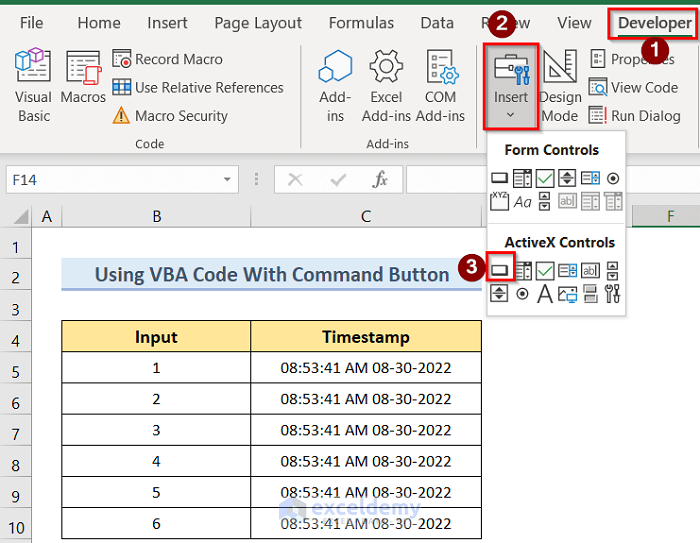
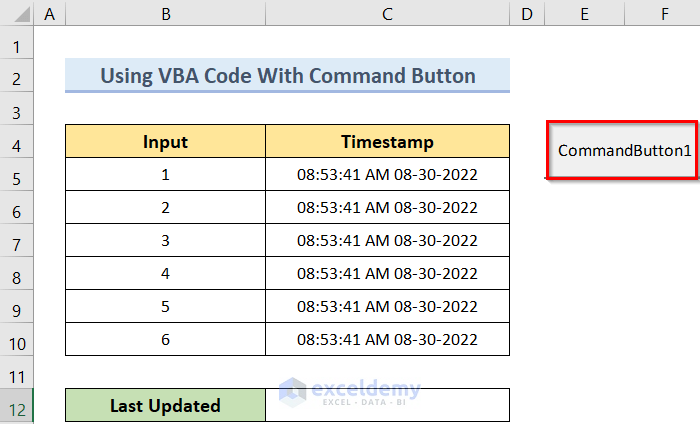
- Select the cell range and insert the CommandButton1.
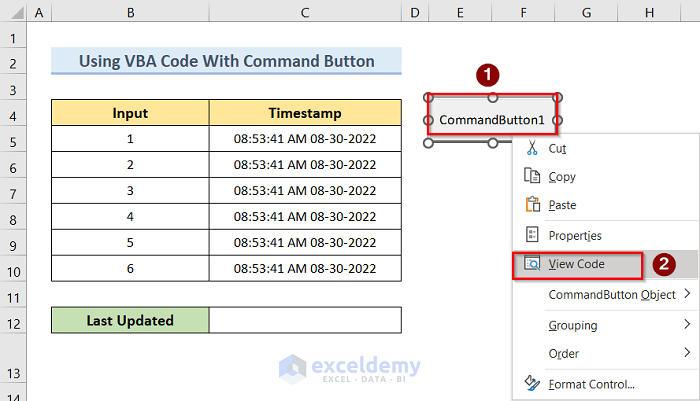
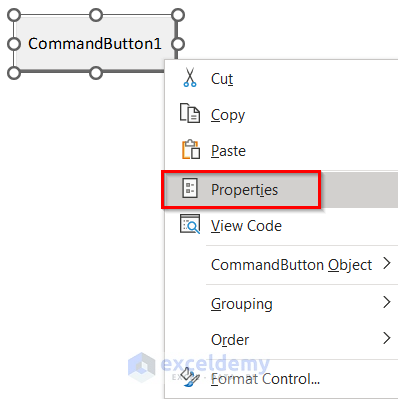
- Right-click on the button and select the View Code option.
- The VBA window will pop up. Select the Module option from the Insert tab and insert the following code in the window.
Private Sub CommandButton1_Click()
Range("C12").Value = Now()
End Sub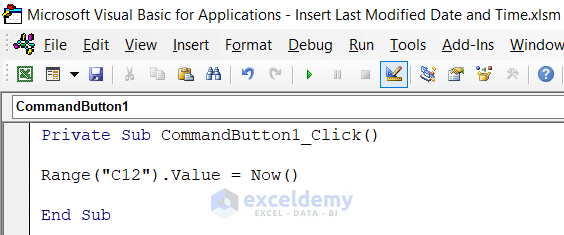
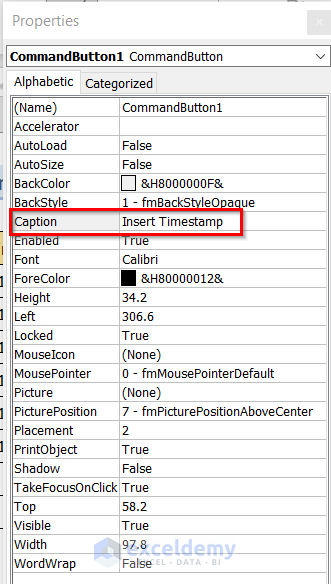
- If you want to change the name of the button, you can right-click on the button and select the Properties option.
- Make the desired change in the Properties dialog box.
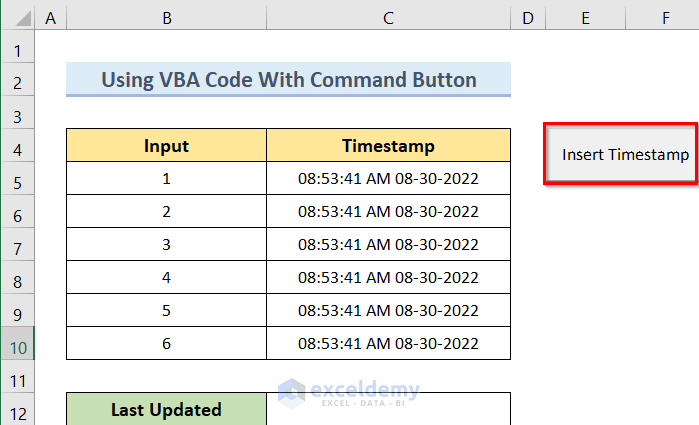
- Here’s the button.
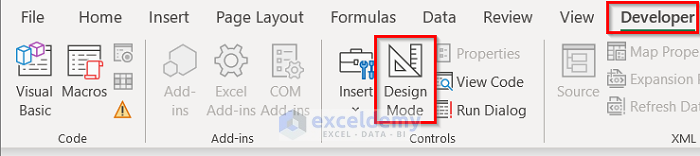
- Uncheck the Design Mode option in the Developer tab.
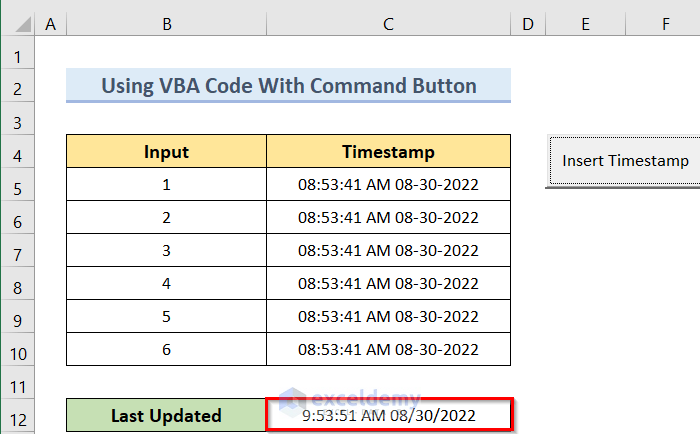
- Connect the button with cell C12.
- You will get the desired result.
Read More: How to Insert Timestamp in Excel When Cell Changes
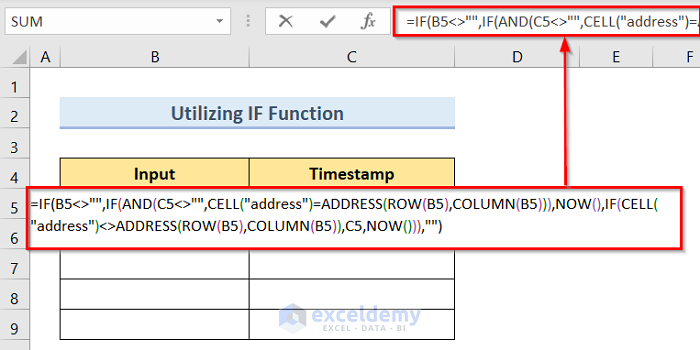
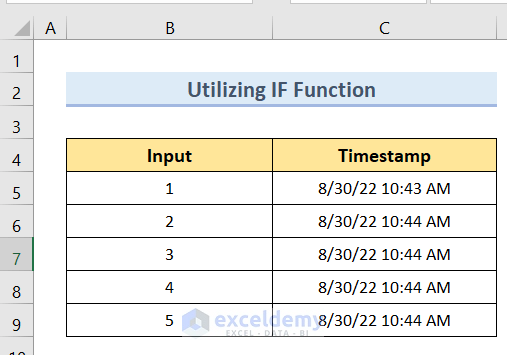
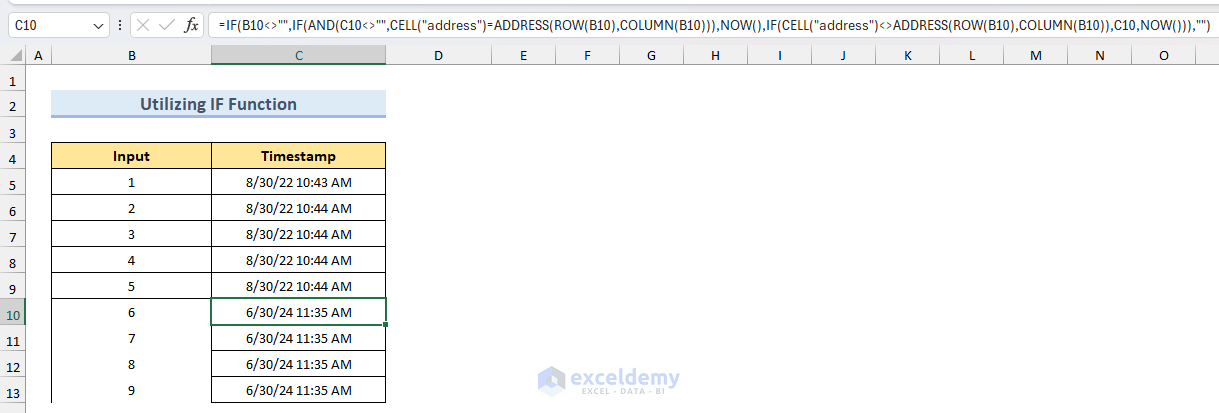
Method 3 – Utilizing the IF Function
To use the iterative formula you need to do the following changes in Excel options
Enable Iterative Calculations:
First, go to File > Options > Formulas.
Then, select Enable iterative calculation.

Steps:
- Insert the following formula in cell C5.
=IF(B5<>"",IF(AND(C5<>"",CELL("address")=ADDRESS(ROW(B5),COLUMN(B5))),NOW(),IF(CELL("address")<>ADDRESS(ROW(B5),COLUMN(B5)),C5,NOW())),"")
- Hit Enter and use the Fill Handle option to apply the formula to all desired cells.
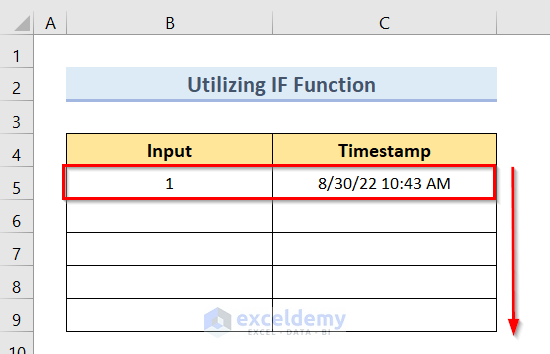
- If you put values in column B, then you will get the results in column C.
How Does the Formula Work?
- ADDRESS(ROW(B5),COLUMN(B5)),C5,NOW())): This portion represents the reference cells.
- NOW(),IF(CELL(“address”)<>ADDRESS(ROW(B5),COLUMN(B5)),C5,NOW())): this portion represents the selected range of the cell with conditions.
- IF(AND(C5<>””, CELL(“address”)=ADDRESS(ROW(B5), COLUMN(B5))): This portion represents the conditions within the defined reference cells.
How to Use the Date Formula in Excel
Steps:
- Insert the following formula in cell B5.
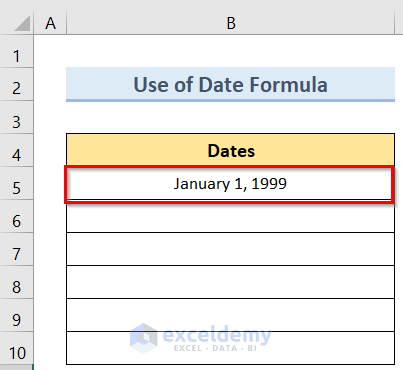
=DATE(1999,1,1)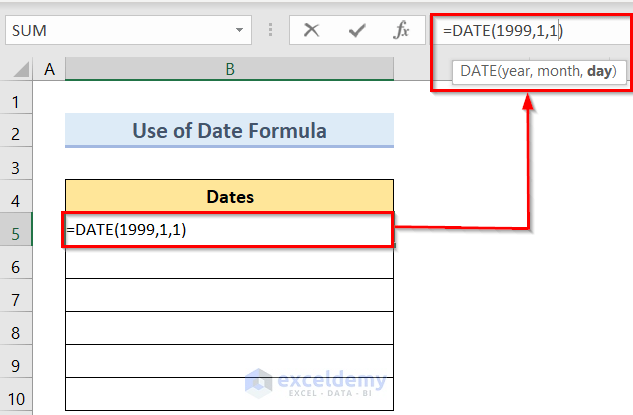
- After pressing the Enter button, you will get the result for this cell.
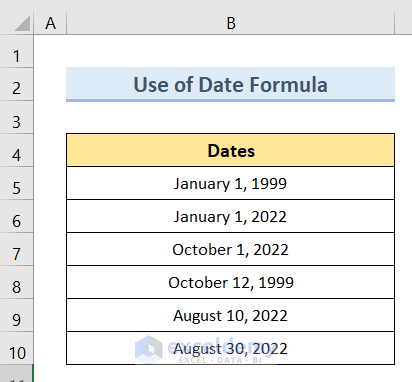
- If you insert the desired dates individually in column B, you will get the results in column C.
Things to Remember
- For the IF Function, if you are a Microsoft 365 user, you only have to press the Enter button to run the formula. Otherwise, you have to press the Ctrl + Shift + Enter buttons.
- When using VBA code, the files must be saved as an Excel-Macro Enabled Workbook.
Download the Practice Workbook
Related Articles
- How to Insert Current Date and Time in Excel
- How to Combine Date and Time in One Cell in Excel
- How to Auto Update Current Time in Excel
- Excel Current Time Formula
- How to Enter Date and Time in Excel
- How to Add Date and Time in Excel When Printing
<< Go Back to Timestamp | Date-Time in Excel | Learn Excel
Get FREE Advanced Excel Exercises with Solutions!

Hi, Using Method 3 (IF function), I get a circular reference error and nothing in column C.
Hello Patrick Raimond,
To use the iterative formula you need to do the following changes in Excel options
Enable Iterative Calculations:
First, go to File > Options > Formulas.
Then, select Enable iterative calculation.
Today’s Output:
Regards
ExcelDemy