Method 1 – Using a Shortcut Key to Insert the Current Date and Time
Steps:
- Select a cell to see the current date and time.
- Press Ctrl + ; (Semicolon).
The current date will be displayed.
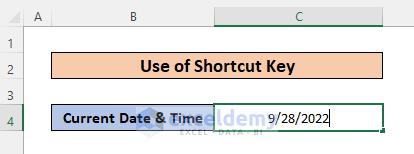
- Press the Spacebar and again Ctrl + Shift + ; (Semicolon).
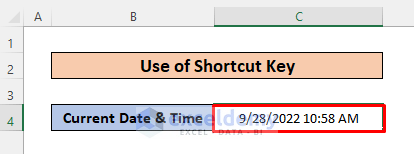
The current time will be displayed.
Read More: How to Combine Date and Time in One Cell in Excel
Method 2 – Applying the NOW Function to Insert the Current Date and Time
Steps:
- Select a cell to see the current date and time.
- Enter the following formula.
=NOW()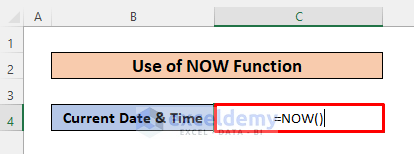
- Press Enter.
You will see the current time and date.
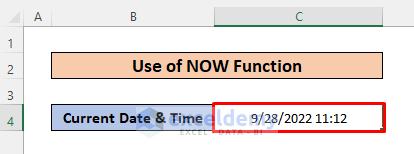
- Date and time will be d automatically updated.
Read More: How to Auto Update Current Time in Excel
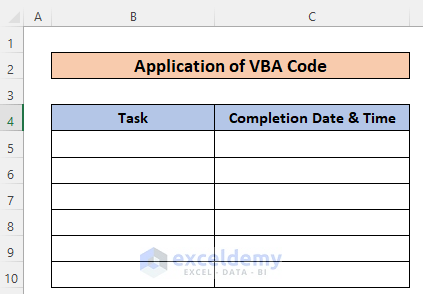
Method 3 – Running a VBA Code to Insert the Current Date and Time
Steps:
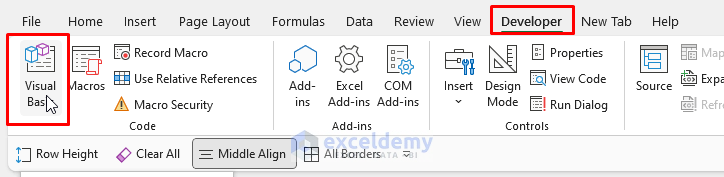
- Click the Developer Tab and select Visual Basic to open VBA Project window. You can also press Alt+F11.
- A new window will open.
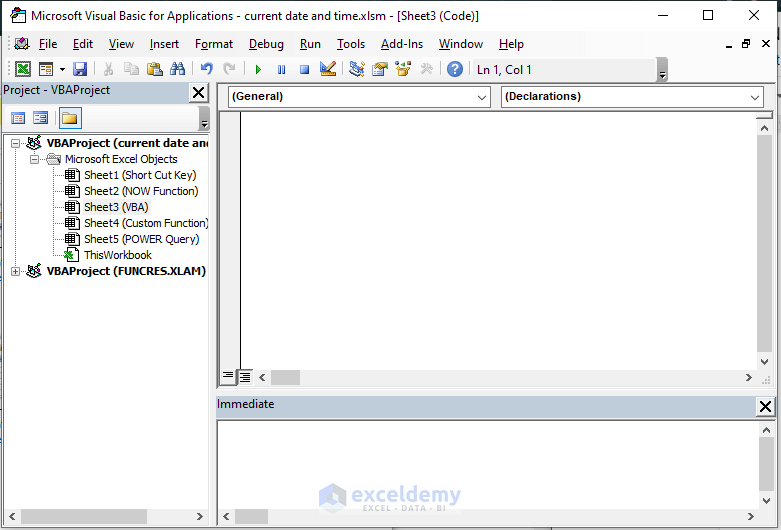
- Enter the following code.
'Code by Aniruddah
Private Sub Worksheet_Change(ByVal Tgt As Range)
On Error GoTo hdlr
If Tgt.Column = 2 And Tgt.Value <> "" Then
Application.EnableEvents = False
Tgt.Offset(0, 1) = Format(Now(), "dd-mm-yyyy hh:mm:ss")
Application.EnableEvents = True
End If
hdlr:
End Sub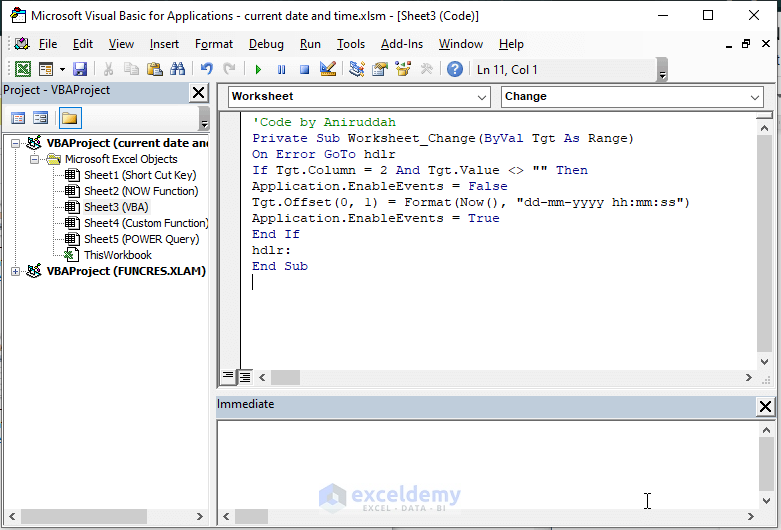
- Close the VB editor.
If you enter data in column B, the adjacent cell in column C will store time and date.
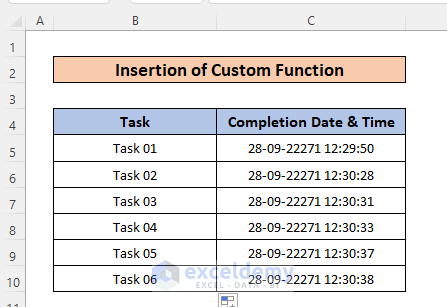
Method 4 – Using a Custom Function to Insert the Current Date and Time
Steps:
- Follow the steps described in Method 3 to open the VB editor.
- Click Insert and choose Module.
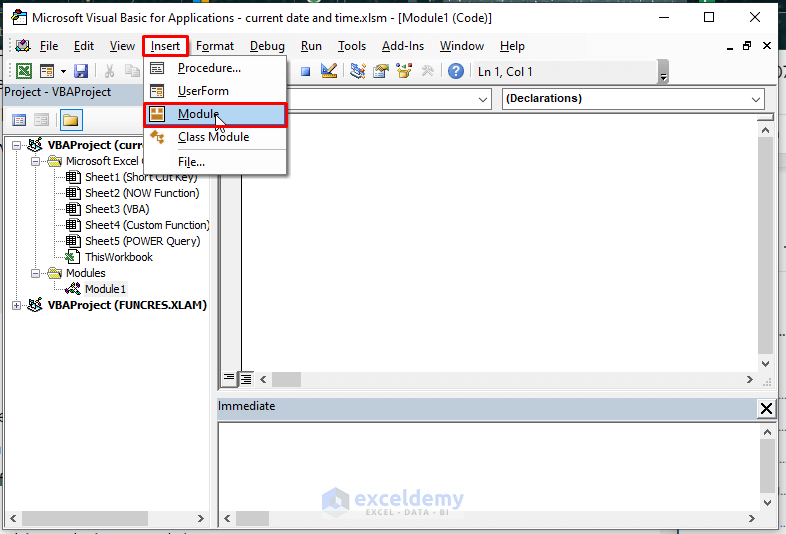
- Enter the code below into the window.
Function Time_Date_stamp(Reference As Range)
If Reference.Value <> "" Then
Time_Date_stamp = Format(Now, "dd-mm-yyy hh:mm:ss")
Else
Time_Date_stamp = ""
End If
End Function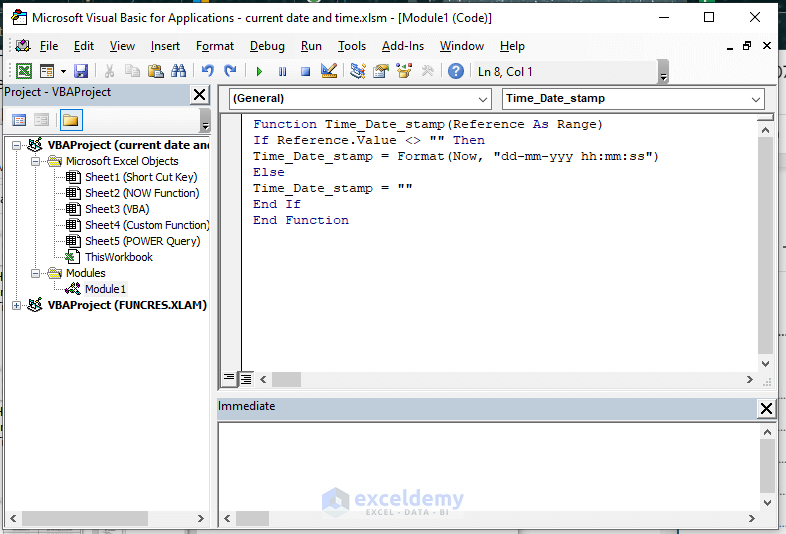
- Close the window.
- In C5, enter the following formula.
=Time_Date_stamp(B5)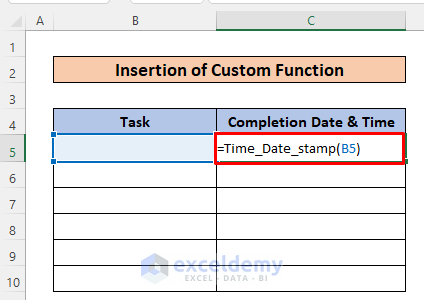
- Press Enter.
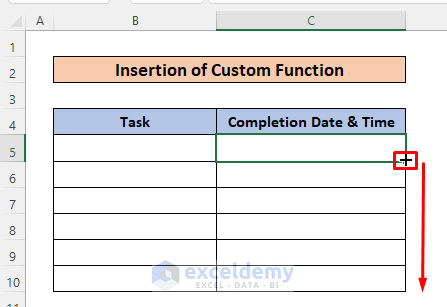
- Drag down the Fill Handle to see the result in the rest of the cells.
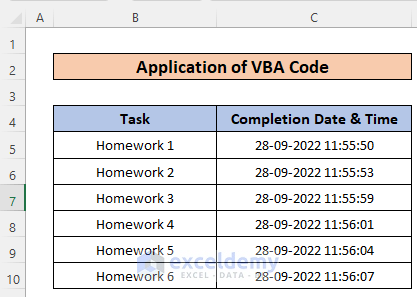
If you enter data in B5, C5 will store the day and time.
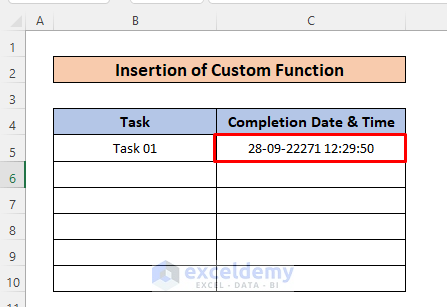
This is the output.
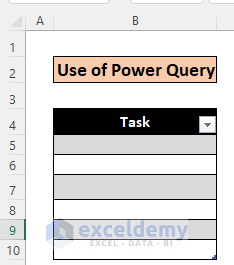
Method 5 – Use the Power Query to Insert the Current Date and Time
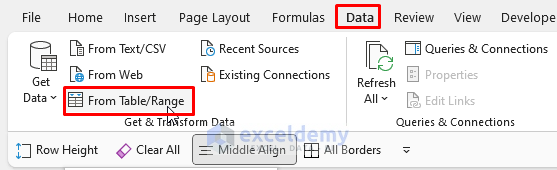
- Go to the Data tab.
- In Get & Transform Data, select From Table/Range.
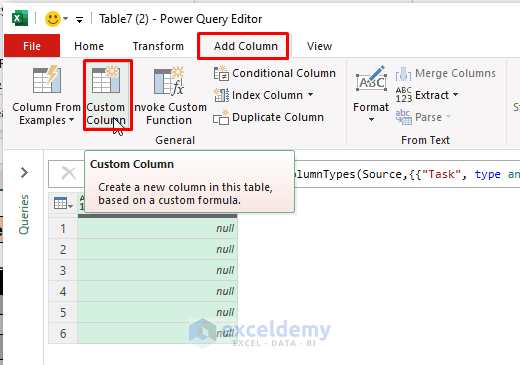
- The Power Editor window will open.
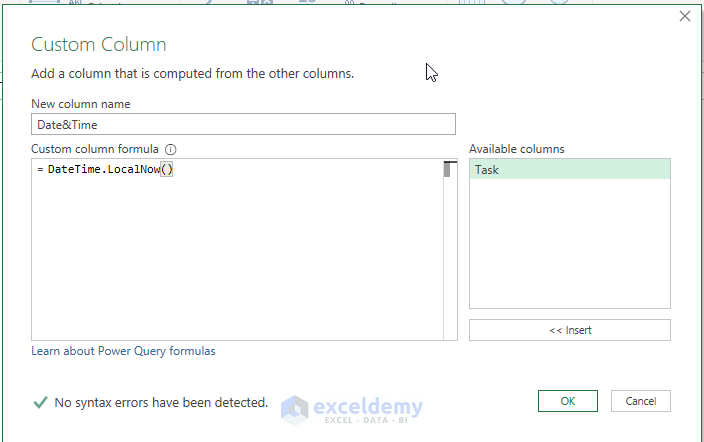
- In Add Column, select Custom Column.
- In the new window, enter the New Column Name (Date&Time).
- In Custom column formula, enter the formula shown below.
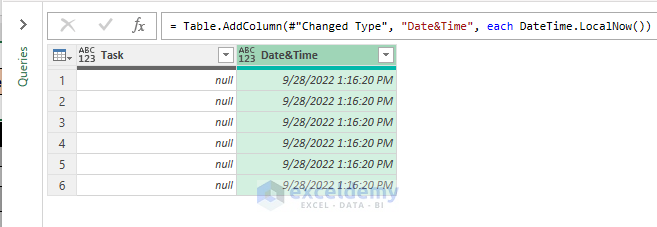
=DateTime.LocalNow()- Click OK.
A new window will be displayed.
- Go to the Home tab and click Close & Load To…
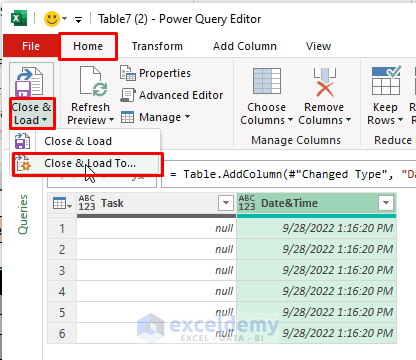
- Select the options shown below.
- Click OK.

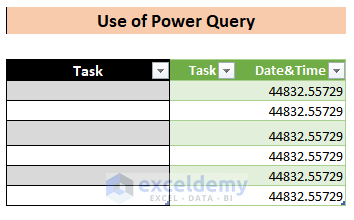
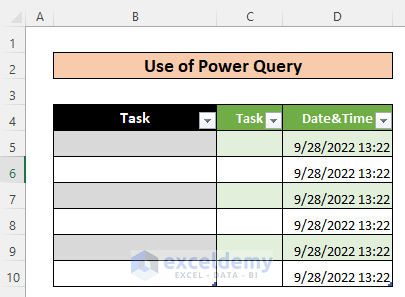
This is the output.
To format the Date&Time column:
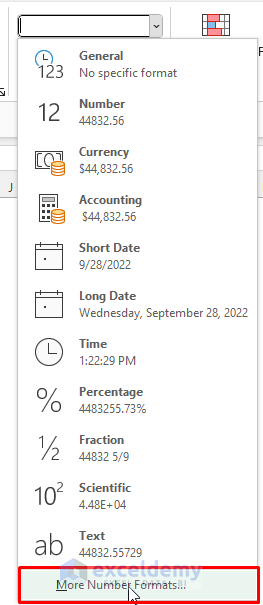
- Go to Number and click the arrow as shown below.

- Click More Number Formats.
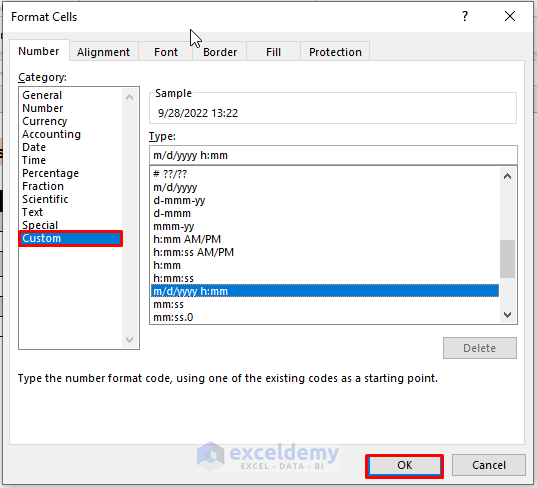
- In Custom, select the format shown below and click OK.
This is the output.
Download Practice Workbook
Download the practice workbook.
Related Articles
- Excel Current Time Formula
- How to Add Date and Time in Excel When Printing
- How to Insert Last Modified Date and Time in Excel Cell
- How to Insert Excel Timestamp When Cell Changes Without VBA
- How to Insert Timestamp in Excel When Cell Changes
<< Go Back to Timestamp | Date-Time in Excel | Learn Excel
Get FREE Advanced Excel Exercises with Solutions!

Great!
I was seriously thinking that how will I set a time for my Data Entry and tried many ways but you solved my problem.
Thanks a lot,
Akash
Dear Akash,
You are most welcome.
Regards
ExcelDemy