Method 1 – Enabling the Page Layout Option
- Go to the View tab from Ribbon.
- Choose the Page Layout option from the Workbook Views group.

The options to add header and footer are available in the image below.

Step 02: Editing Header and Footer
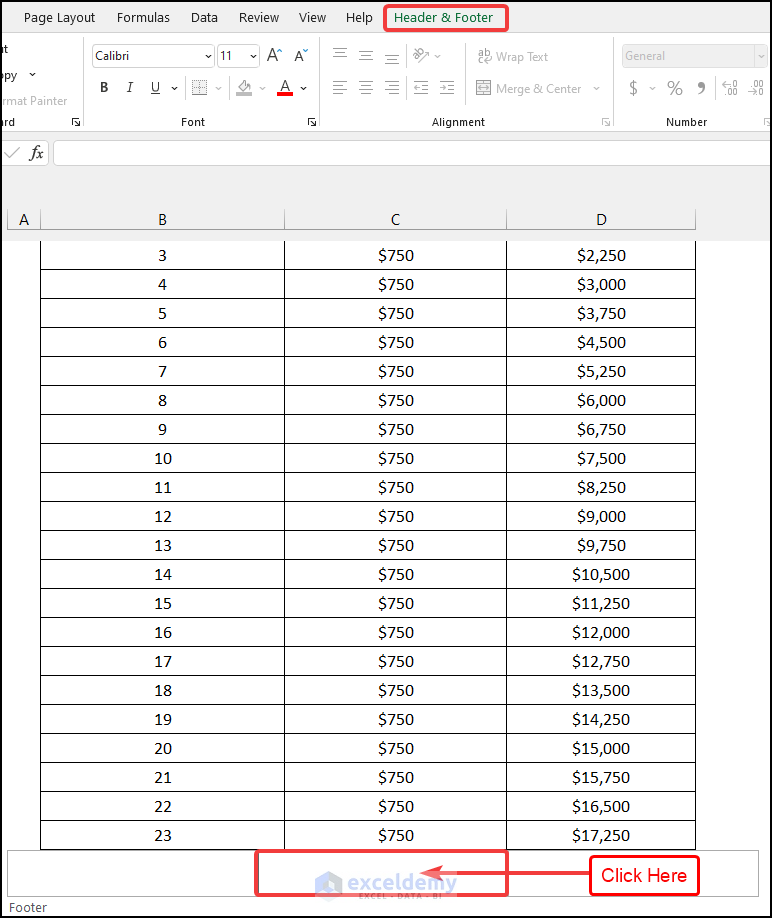
- Click on the area where you want to add the date to make the Header & Footer tab visible. Add the date to the center footer and the time to the right footer.
- Go to the Header & Footer tab from Ribbon.
- Choose the Current Date option.
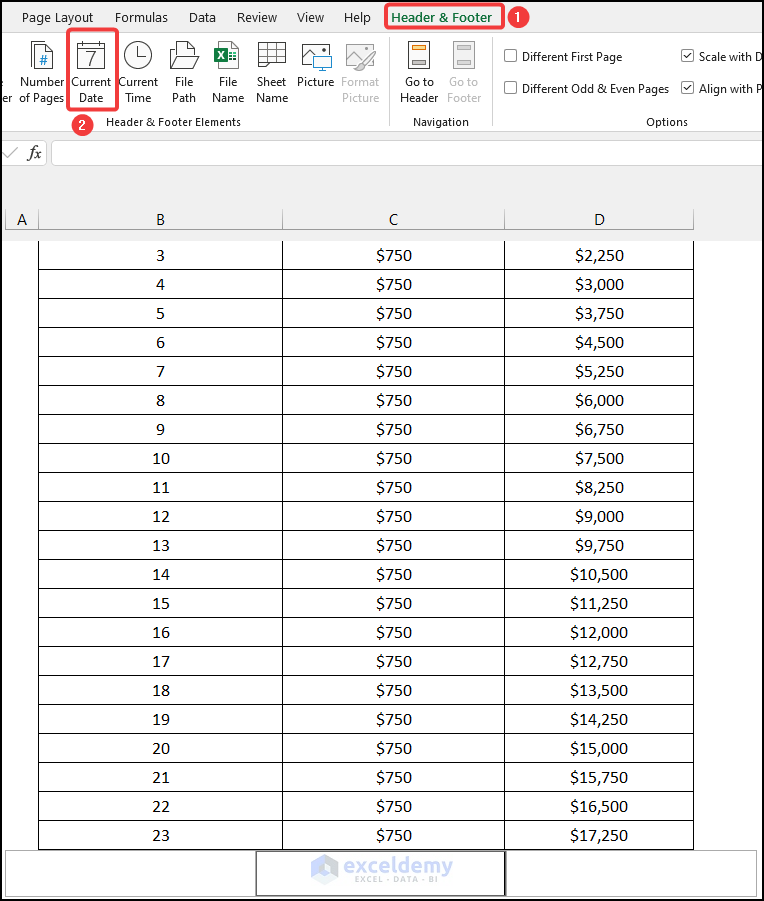
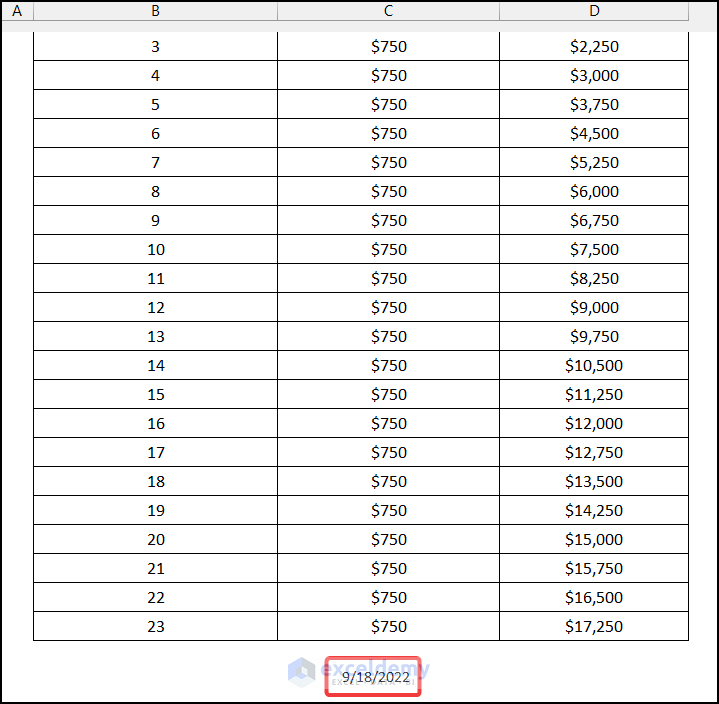
- Click anywhere on the worksheet to add the date as shown in the image below.
- Click on the right section of the footer.
- Go to the Header & Footer tab from Ribbon.
- Choose the Current Time option from the Header & Footer Elements group.
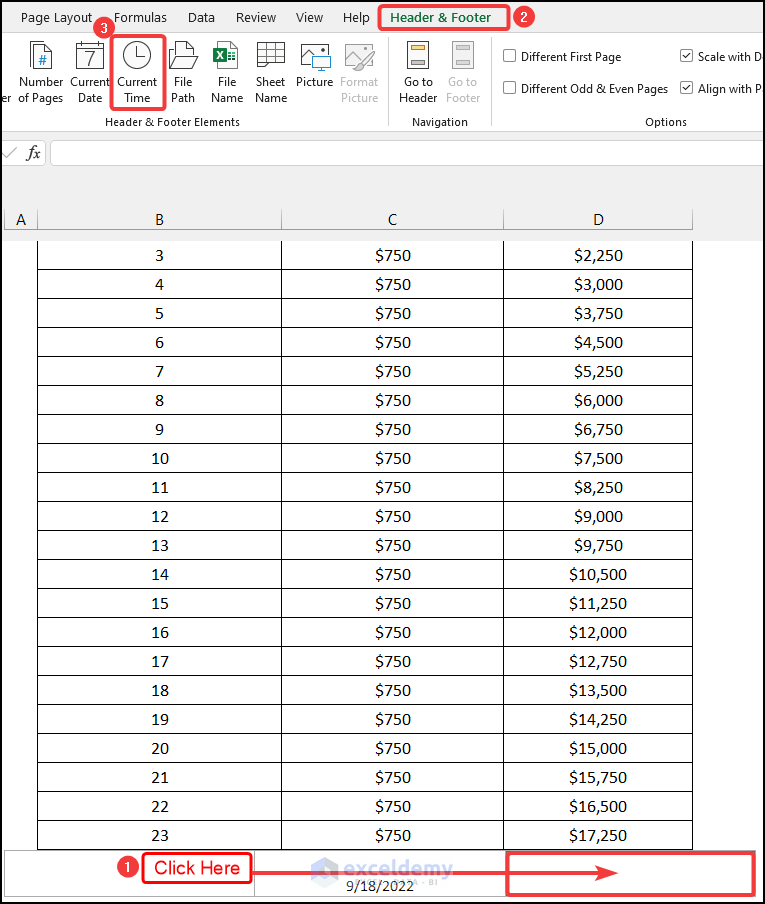
- Click anywhere on the worksheet, and the time will be added to the right section of the footer, as demonstrated in the following image.
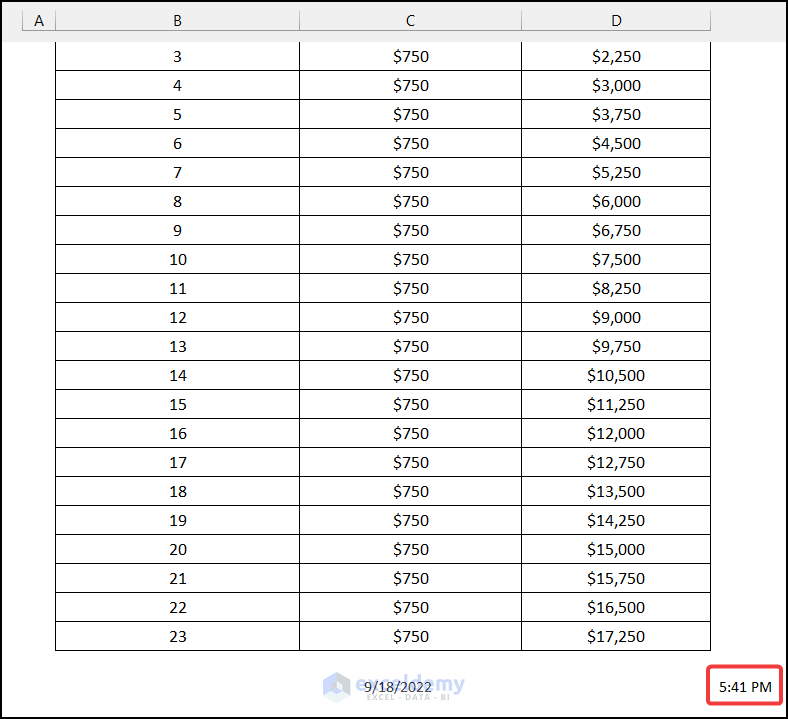
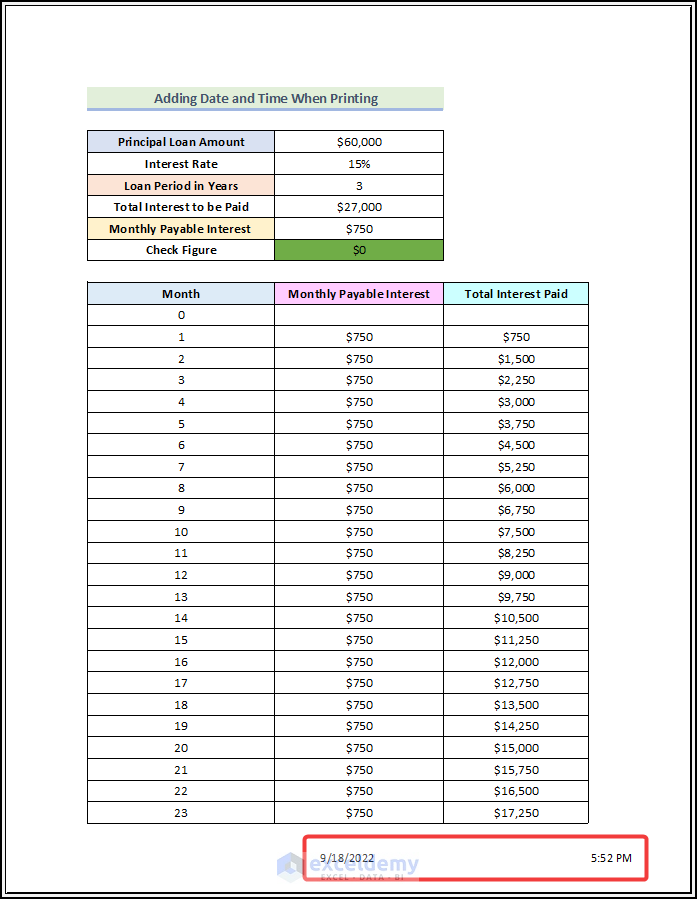
- Press the keyboard shortcut CTRL + P to open the Print Preview mode and you will see that the date and time are added to the worksheet.
Method 2 – Utilizing Page Setup Dialogue Box
Steps:
- Use the keyboard shortcut ALT + P + SP to directly open the Page Setup dialogue box from your worksheet.
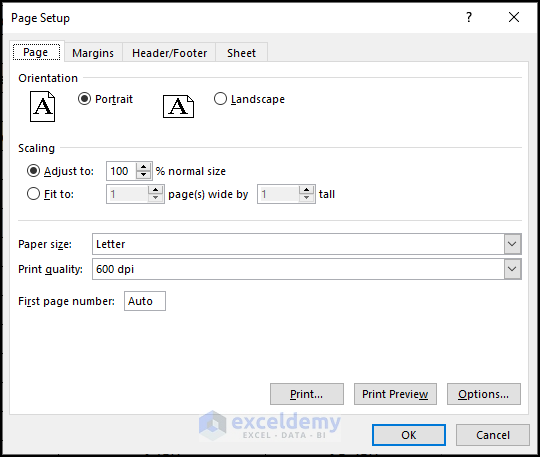
The Page Setup dialogue box will open on your worksheet as shown in the following image.
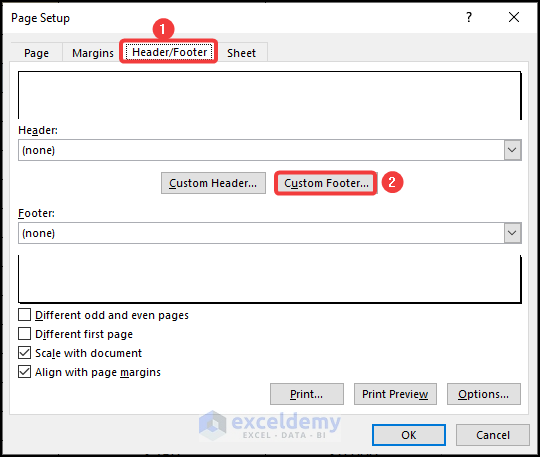
- In the Page Setup dialogue box, go to the Header/Footer tab.
- Choose the Custom Footer option.
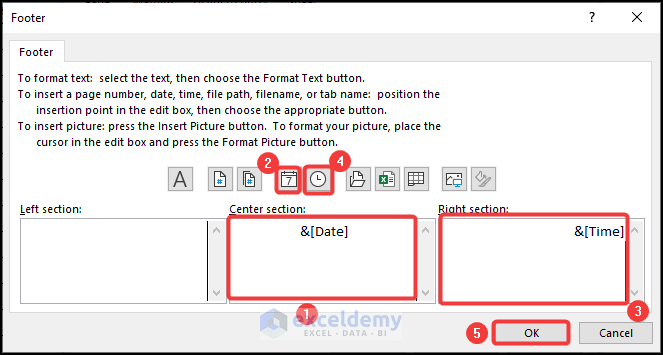
The Footer dialogue box will open.
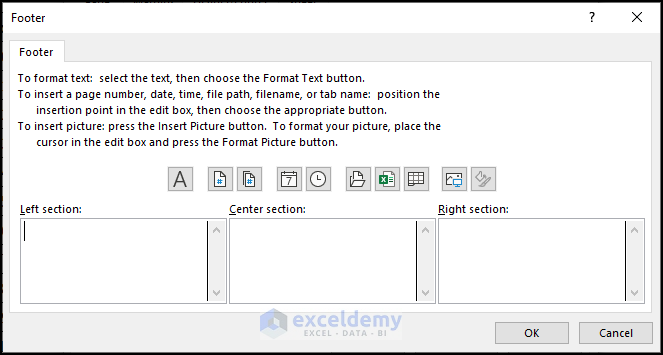
- In the Footer dialogue box, click on the Center section.
- Select the Insert Date option.
- Click on the Right section.
- Choose the Insert Time option.
- Click on OK.
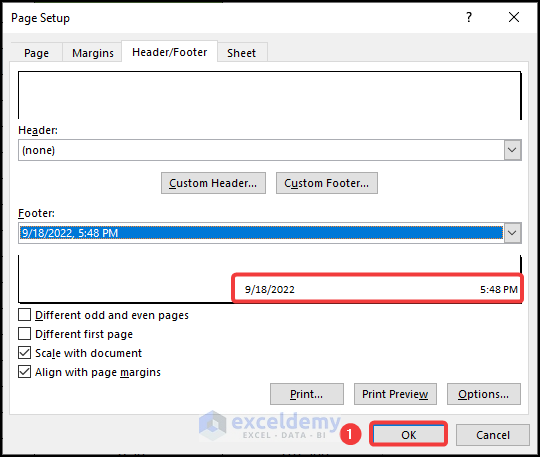
- You will be redirected to the Page Setup dialogue box. Click OK.
- Press the keyboard shortcut CTRL + P to open the Print Preview mode.
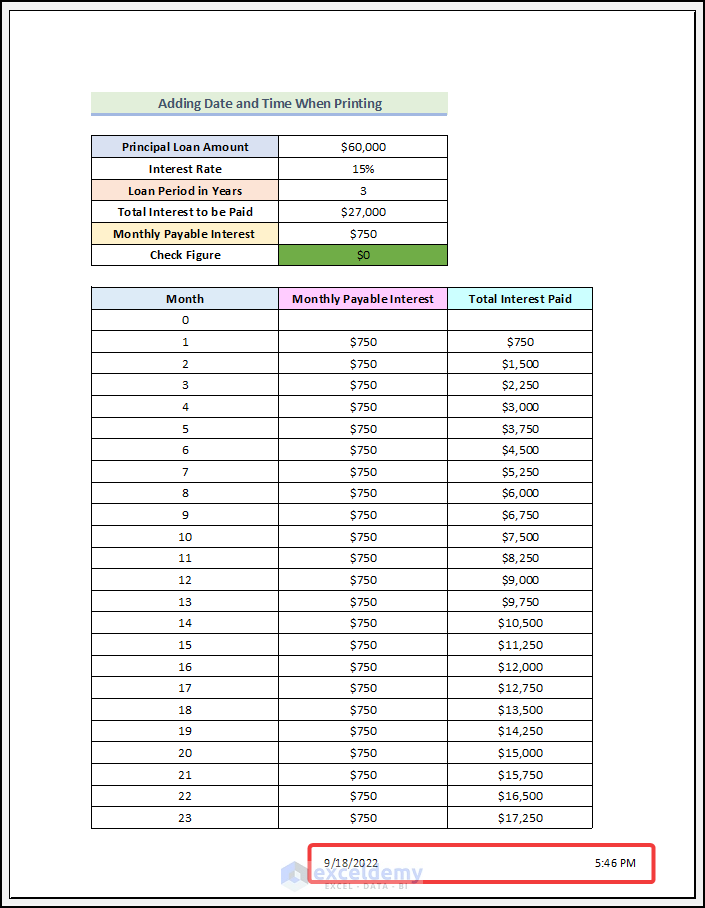
As demonstrated in the following image, both the date and time are added to the worksheet.
Method 3 – Using Header & Footer Option from Insert Tab
Steps:
- Go to the Insert tab from Ribbon.
- Choose the Header & Footer option from the Text group.
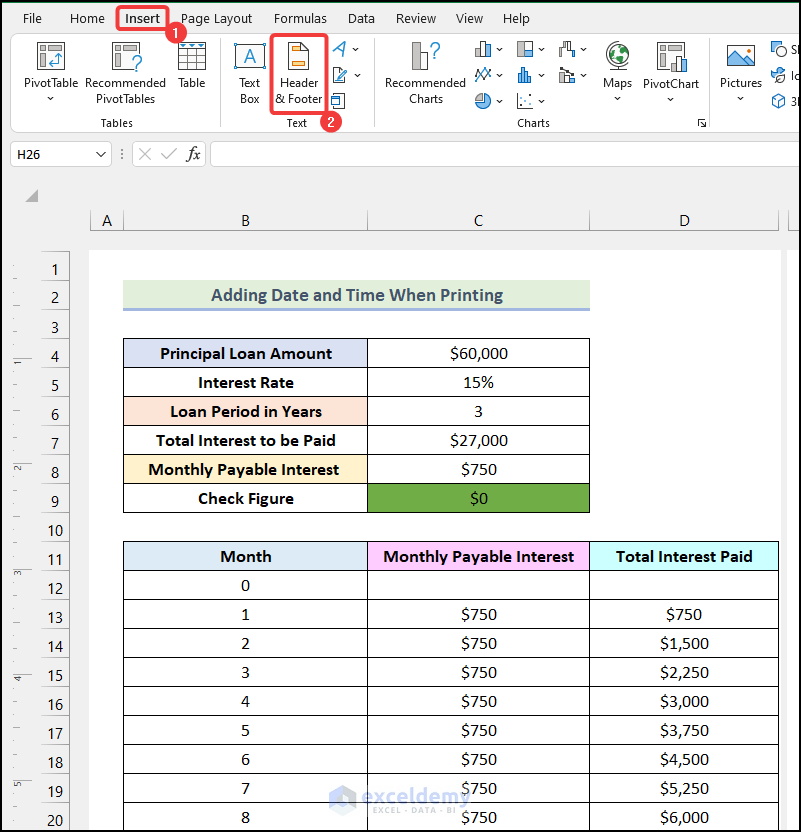
The options to add header and footer are available, as shown in the following picture.
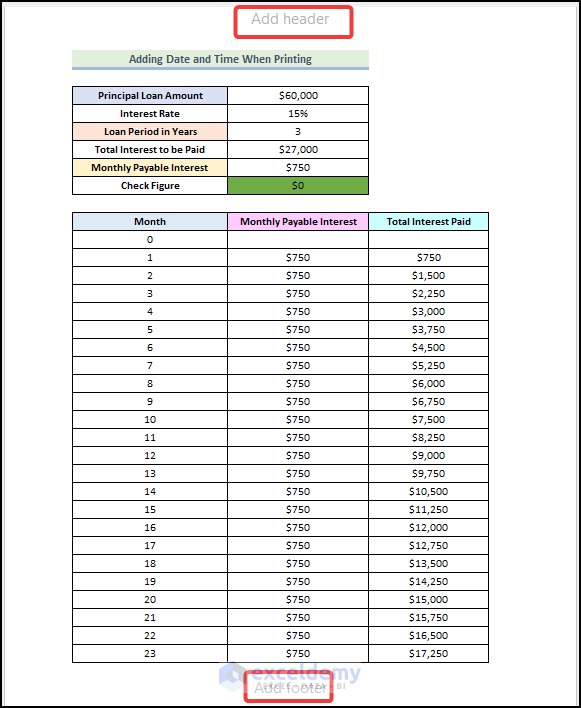
- Follow the steps mentioned in Step 02 of the 1st method.
You will see that the date and the time are added to your worksheet, as marked in the image below.

Things to Remember
- One thing to keep in mind is that you can see the header and footers only in the Page Layout view. If you can’t see the header and footers in your worksheet, you are most likely in Normal View.
Download Practice Workbook
Related Articles
- How to Insert Current Date and Time in Excel
- How to Auto Update Current Time in Excel
- Excel Current Time Formula
- How to Insert Timestamp in Excel When Cell Changes
- How to Insert Excel Timestamp When Cell Changes Without VBA
<< Go Back to Timestamp | Date-Time in Excel | Learn Excel
Get FREE Advanced Excel Exercises with Solutions!
