Method 1 – Employ Sort Feature
1.1 Sort Alphabetically Without Empty Column
Steps:
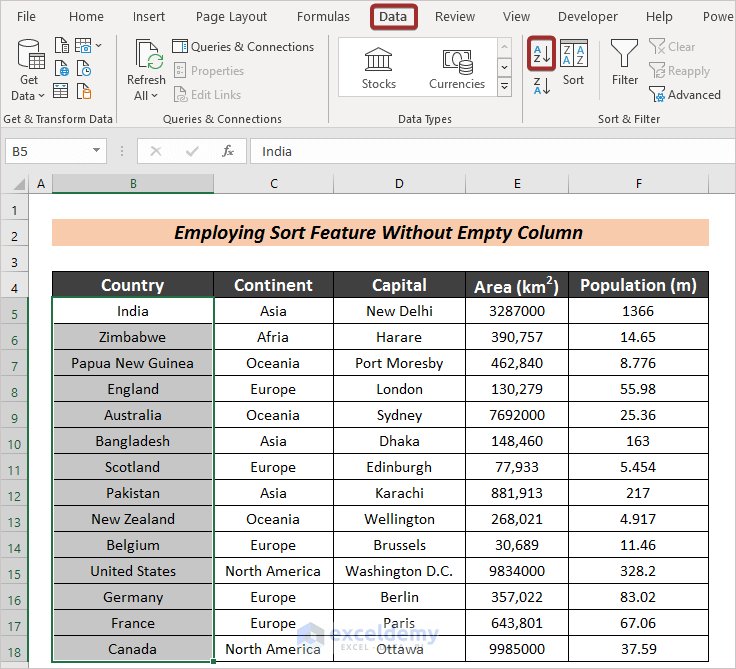
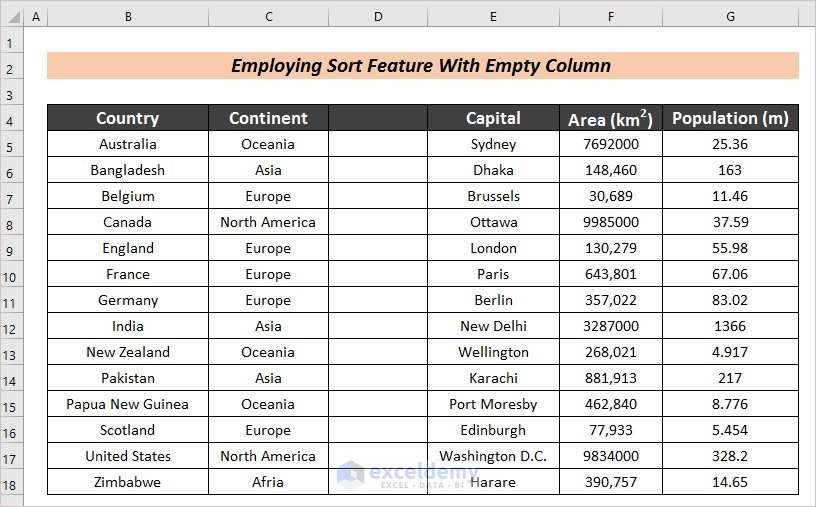
- Select any of the column cells that you want to sort. Sort based on the Country column.
- Go to the Data tab, and you will find several sorting options. See an option called A to Z. The alphabetical order is A to Z. Use this option.
- Click the option (A to Z).
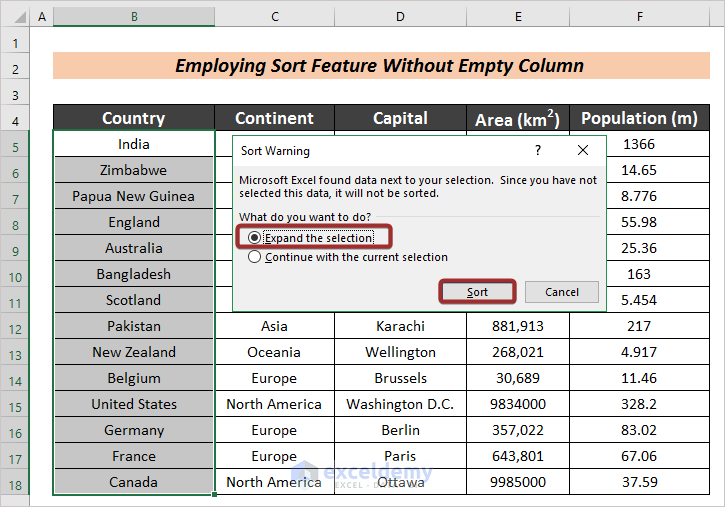
A Sort Warning dialog box will pop up. Find two options: Expand the selection and Continue with the current selection. Choose the second option; the data will be sorted, but only for the particular column that we have selected.
- Select the Expand the selection option and click Sort.
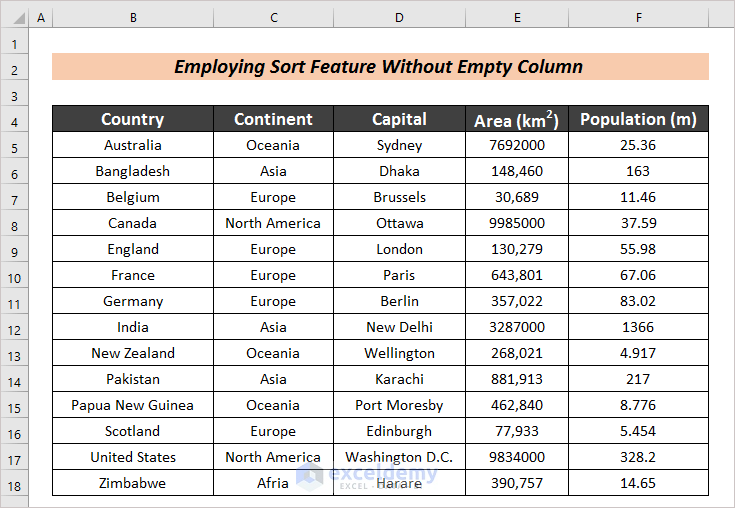
Find the countries sorted alphabetically and the rows along with that.
1.2 Sort Alphabetically with Empty Column
Steps:
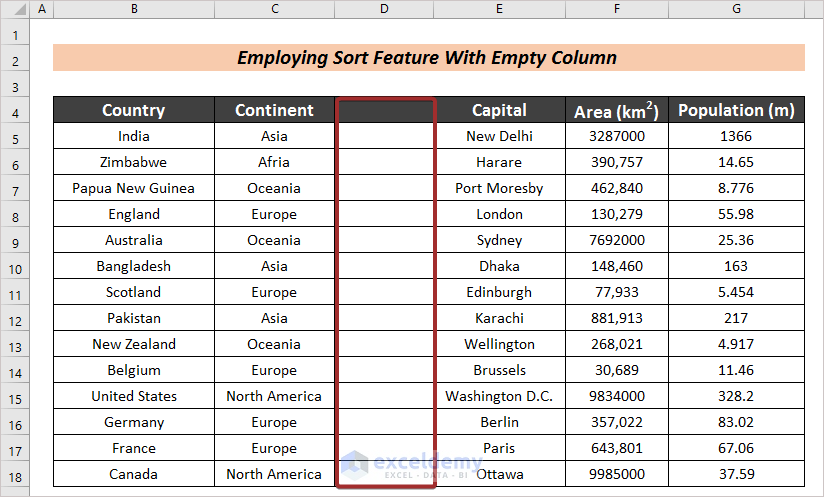
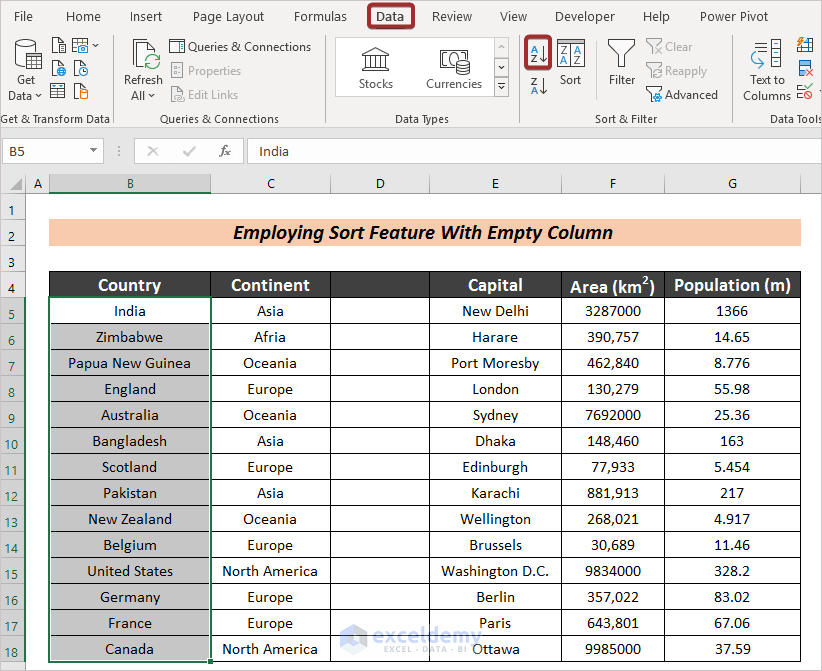
- Insert a column in between the Continent and Capital columns.
- Select the Country column and click the A to Z sort option.
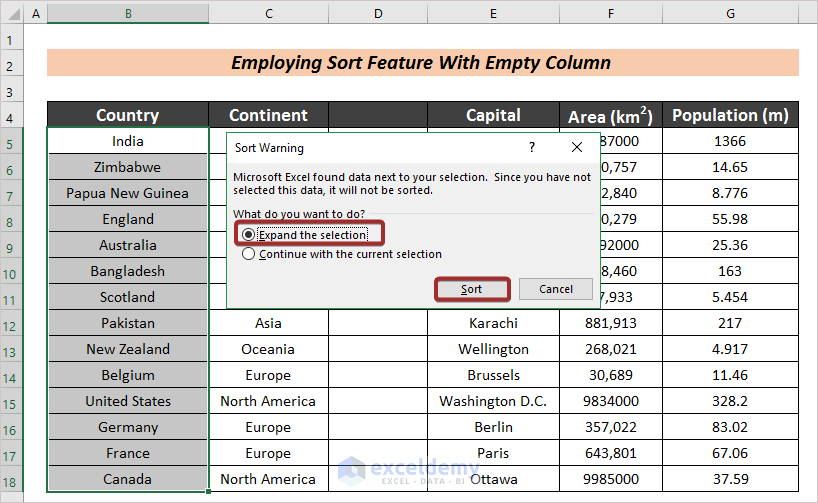
- The Sort Warning dialog box will pop up, and you know which option to select for the context of our task. Select Expand the selection and click Sort.
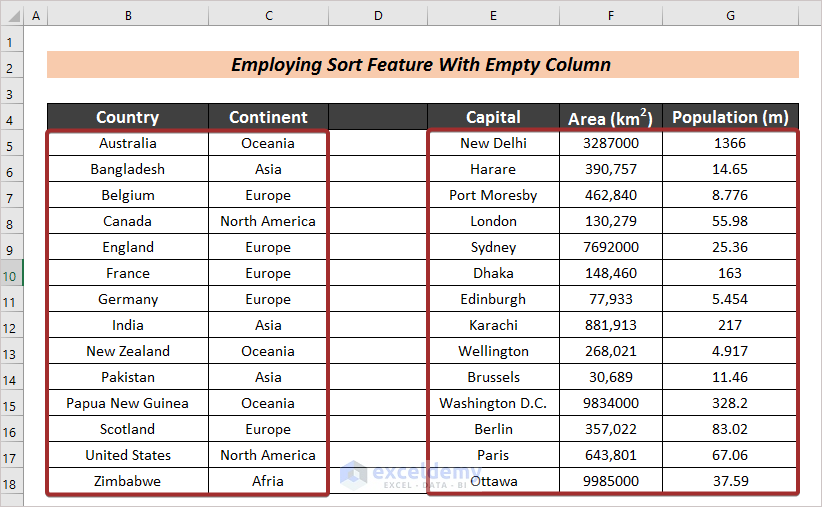
- The countries are in alphabetical order, and each country changes its row position along with its respective continent. The capital, area, and population cause the mismatch. That didn’t change with the respective country. Excel counts the columns together as long as no empty column is found. Excel found an empty column after the Continent column.
- Select the entire dataset first.
- Click the A to Z option from the Data tab.
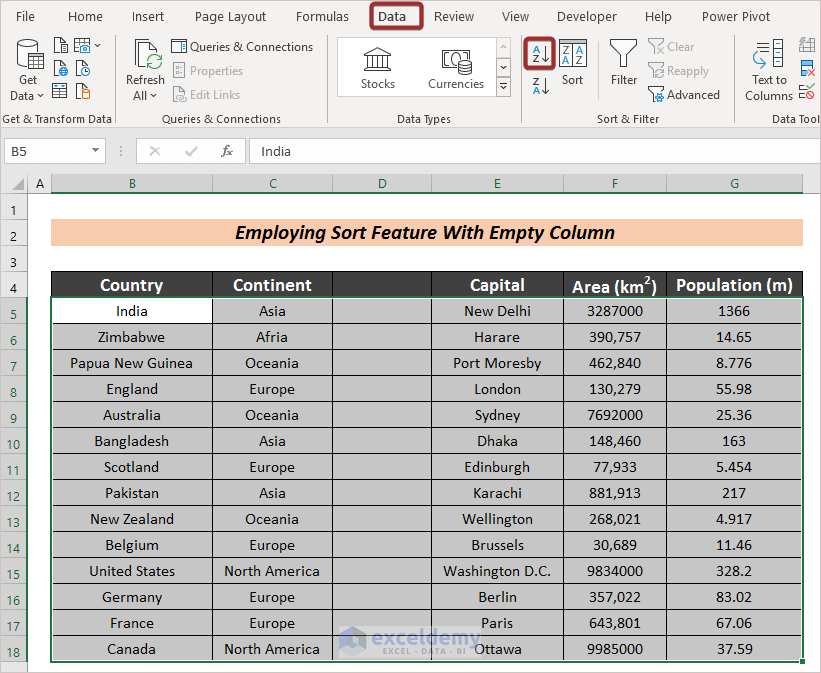
- The Sort Warning box will not pop up, and you will find the sorted result.
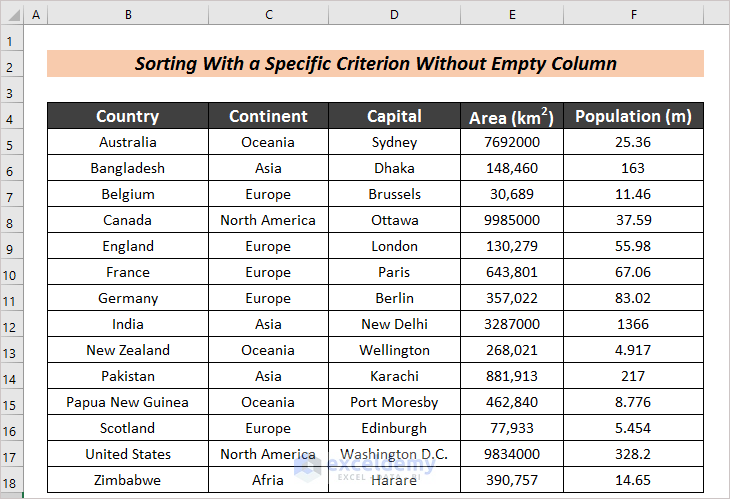
Method 2 – Sort with a Specific Criterion
2.1 Sort Alphabetically Without Empty Column
Steps:
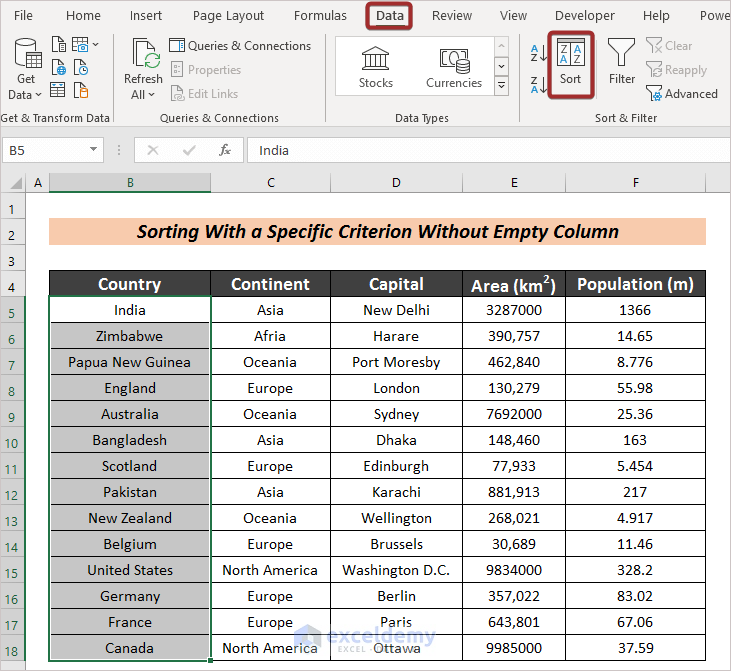
- Select any column cells (i.e., Country) you want to sort.
- Click the Sort option from the Data tab.
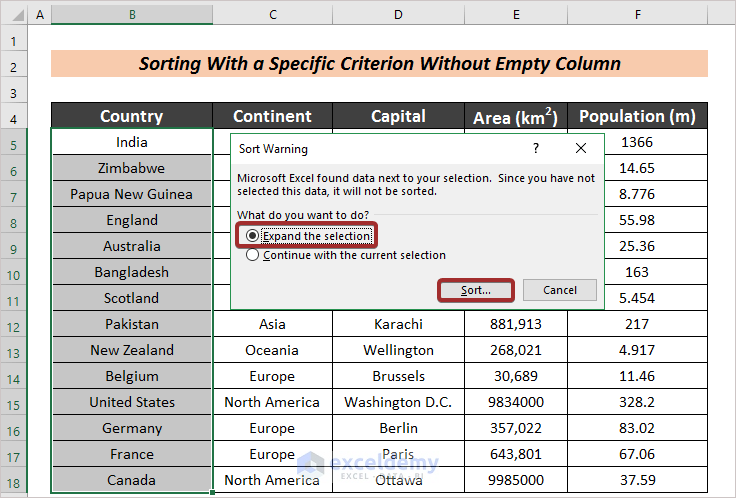
A Sort Warning dialog box will appear.
- Select Expand the selection and click Sort.
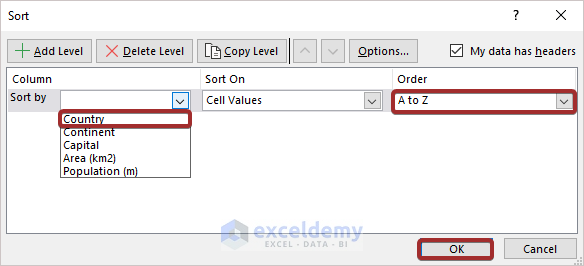
- Click the dropdown icon under the Column section and select the column you want to sort by.
- Mention the A to Z option from Order.
- Click on OK.
Find the countries sorted alphabetically and the rows along with that.
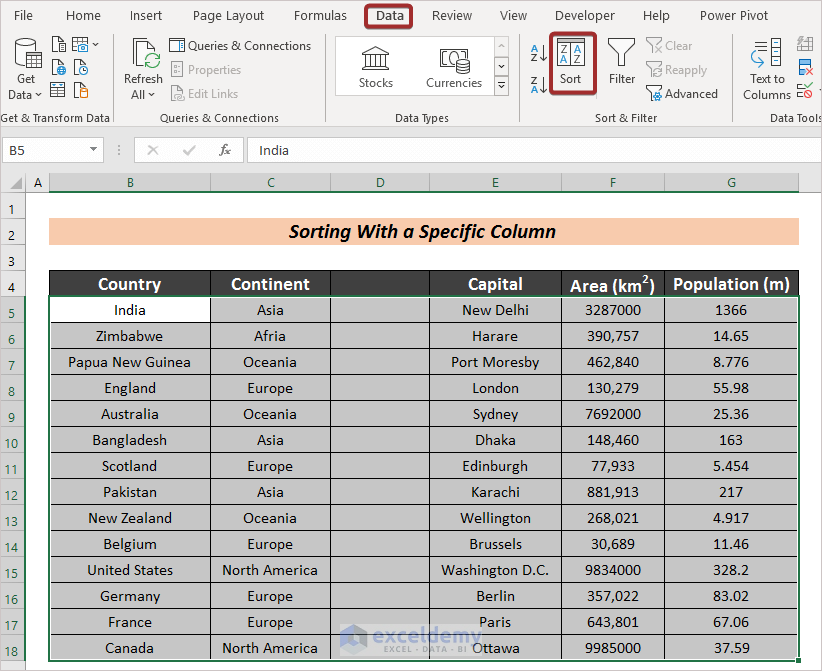
2.2 Sort Alphabetically with Empty Column
Steps:
- Select the entire dataset.
- Click the Sort option from the Data tab.
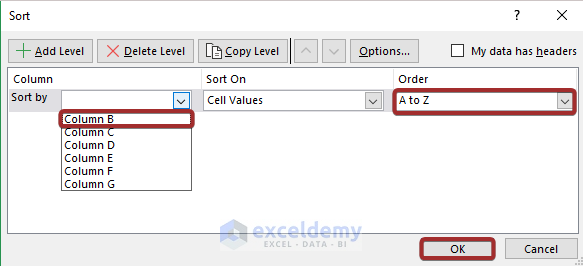
- Click the dropdown icon under the Column section and select the column you want to sort by (i.e., Column B).
- Mention the A to Z option from Order.
- Click OK.
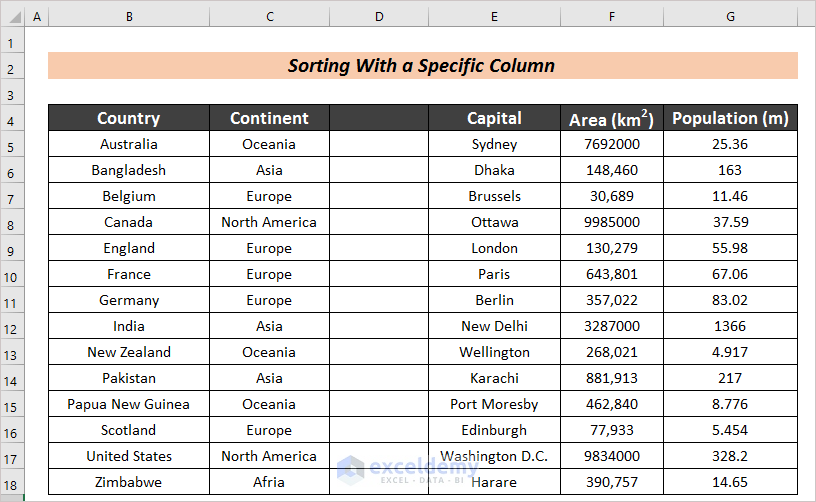
You’ll have our desired output.
Method 3 – Use the SORT Function
Steps:
- Pick a cell (i.e., H5) where you want the table sorted.
- Input the following formula in that cell.
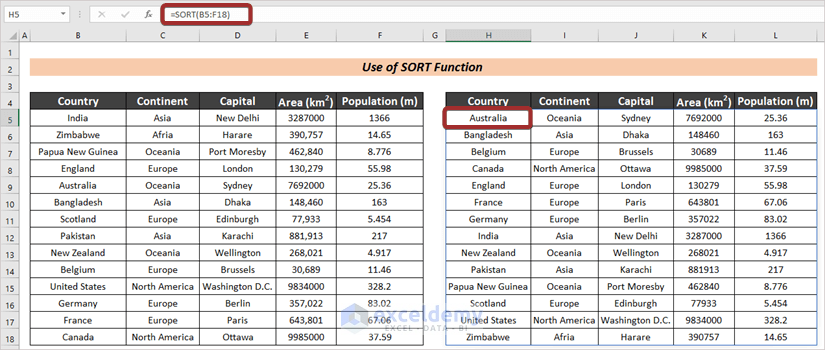
=SORT(B5:F18)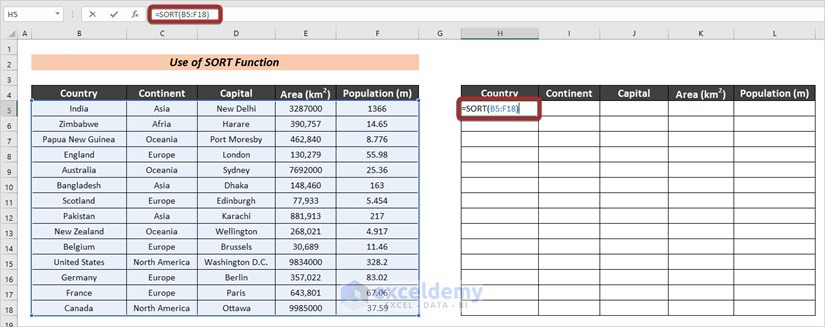
- Press ENTER to have the sorted result.
Method 4 – Apply SORT BY Function
Steps:
- Choose a cell (i.e., H5) where you want the table sorted.
- Input the following formula in that cell.
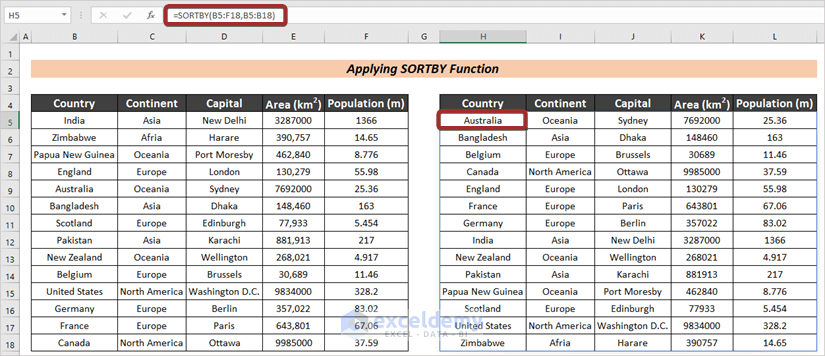
=SORTBY(B5:F18,B5:B18)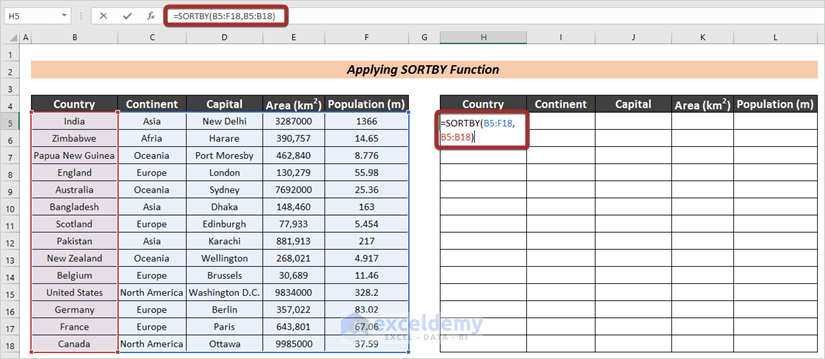
- Hit ENTER.
Download Practice Workbook
Related Articles
- Sorting Columns in Excel While Keeping Rows Together
- Excel Sort by Column Without Header
- How to Sort Column by Value in Excel
- Sort Multiple Columns in Excel Independently of Each Other
- How to Sort Multiple Columns in Excel
- How to Sort Two Columns in Excel to Match
<< Go Back to Sort in Excel | Learn Excel
Get FREE Advanced Excel Exercises with Solutions!
