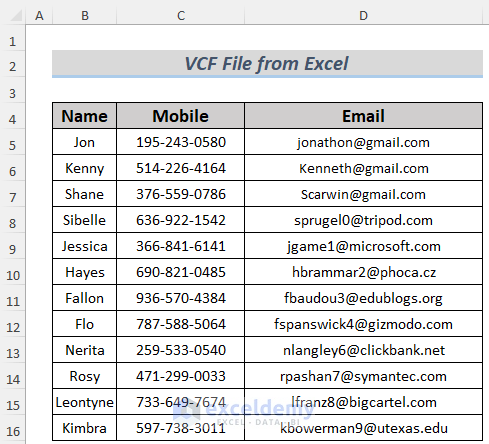
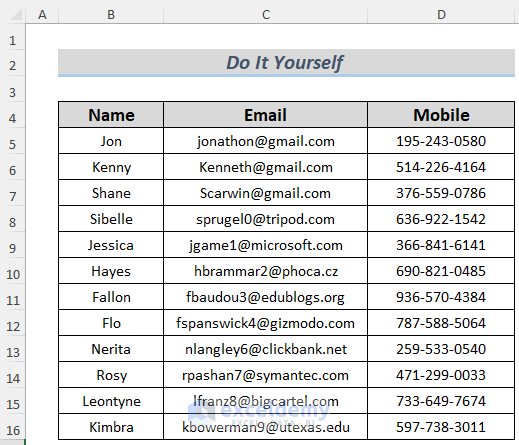
The dataset below contains people’s Names, Mobile numbers, and Email addresses. We will use this data to create vCard files.
Method 1 – Using Windows Contacts Feature
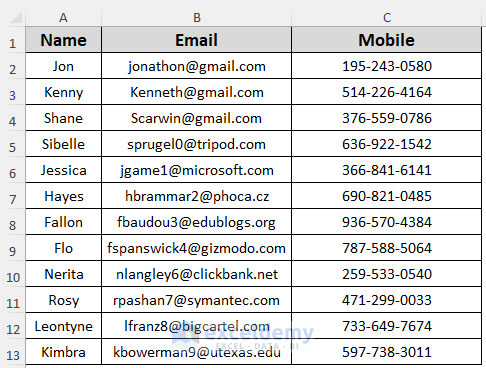
Windows has its own feature for creating vCard files from Excel. But we need to modify the file extension first. Let’s have a look at the description below. Keep in mind that any unnecessary header may cause you problems. So, I’m going to delete the second row of the sheet.
Steps:
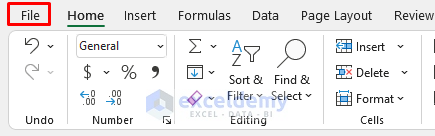
- Go to the File tab.
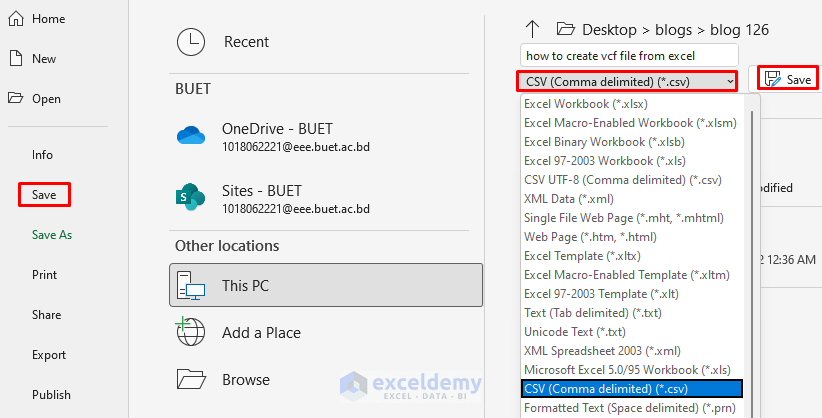
- Save the file using the CSV (Comma delimited) extension.
- Click on the Windows icon on the Start Menu and search for Contacts in the search bar.
- Click on Contacts.
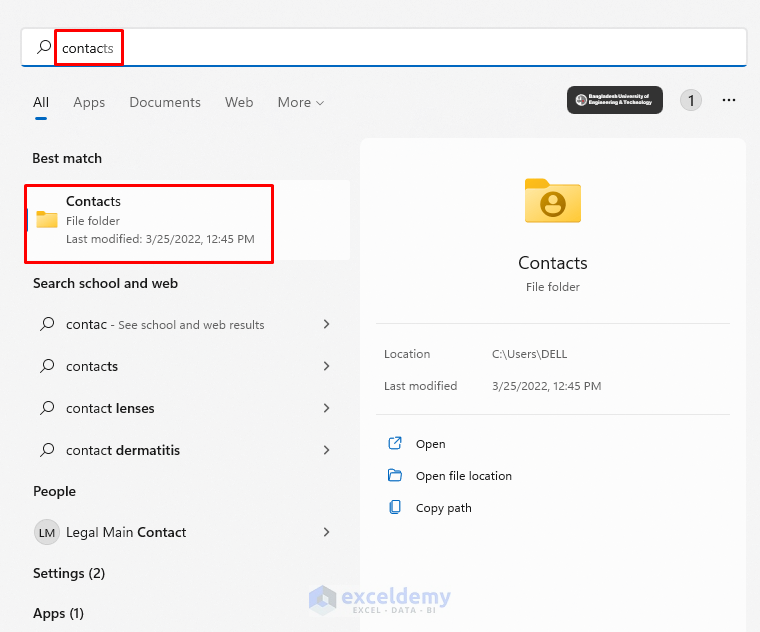
- The Contacts folder will open.
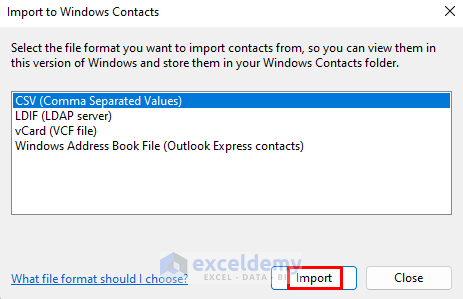
- Select the Import Tab.

- Select CSV (Comma Separated Values) from the Import to Windows Contacts.
- Click on Import.
- This command will lead you to the browser options to import your desired file.
- Select Browse.
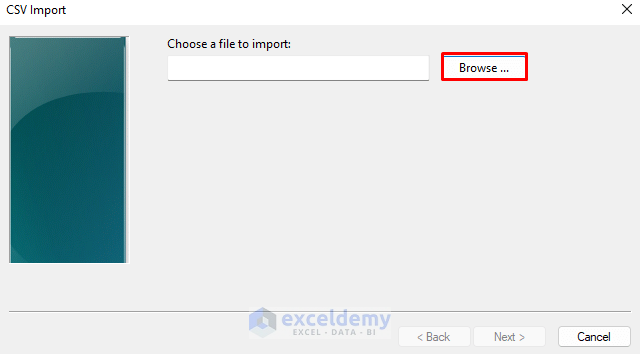
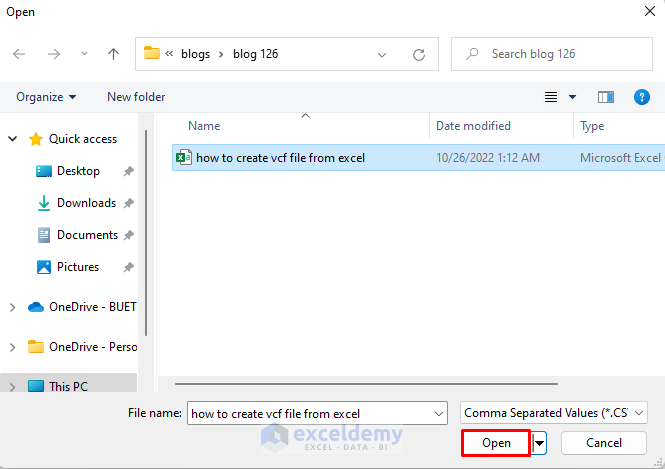
- Browse for the CSV file with the contact information that you created previously.
- Click Open.
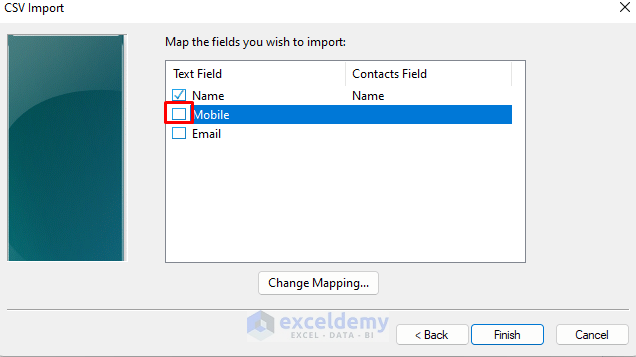
- Click on the Next button in the CSV Import window.

- You need to Map the column headers. Check Mobile, and you will see the Mapping Option.
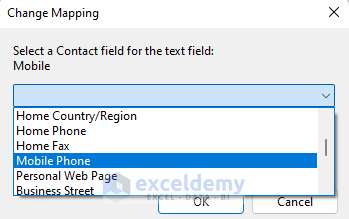
- Select Mobile Phone and click OK.
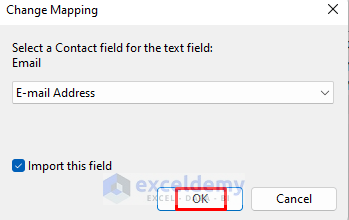
- Map the Email header to the E-mail Address and click OK.
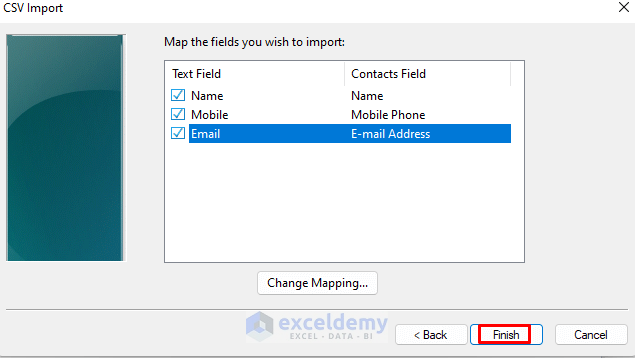
- Click on Finish.
This command will convert the CSV file to Windows Contacts format.
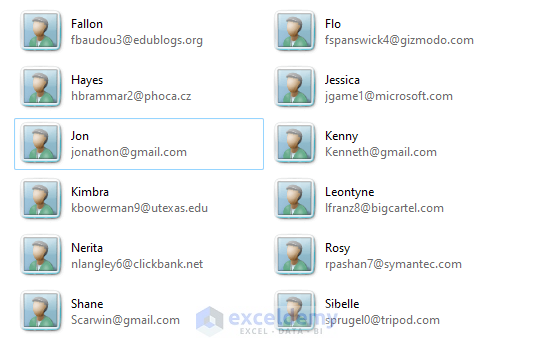
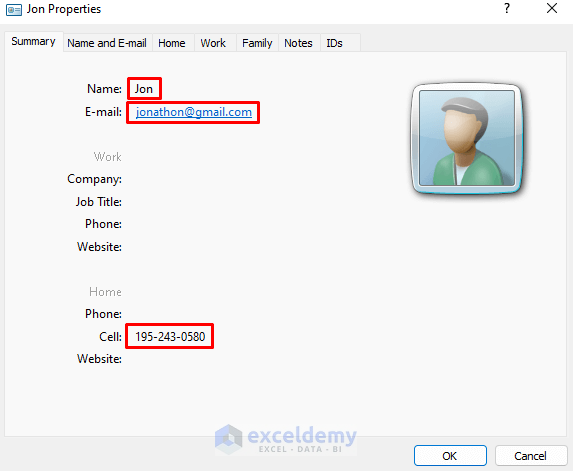
- Let’s open a file from this folder. The name, Email Address, and Cell phone number are in the exact place.
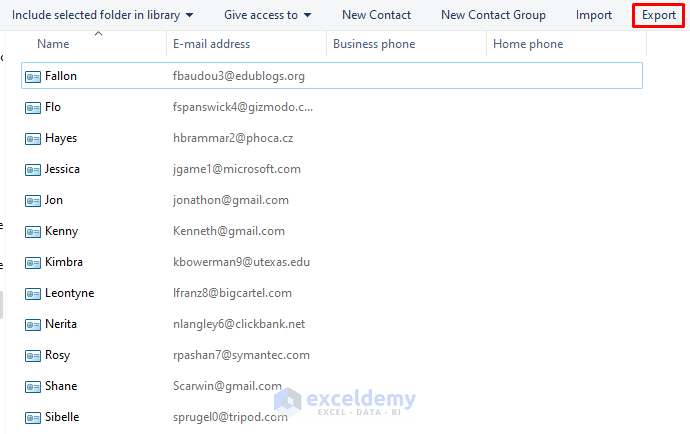
- We will convert these files to vCard or vCalendar.
- Select Export Tab.
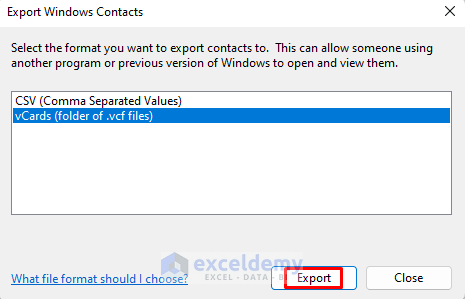
- Select vCards (folder of .vcf files).
- Click Export.
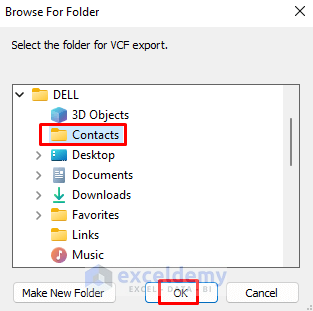
- Browse for the folder where these contacts are saved and click OK.
This operation converts these Contact files to VCF files.
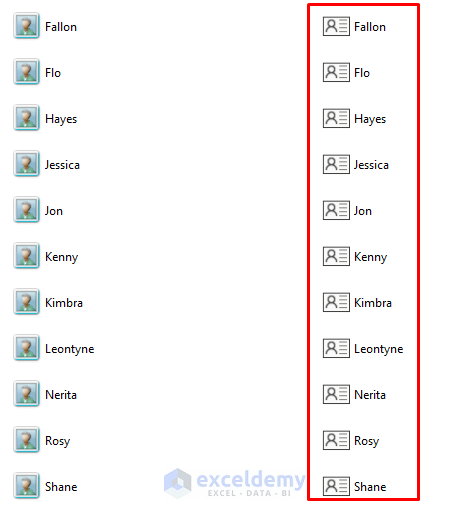
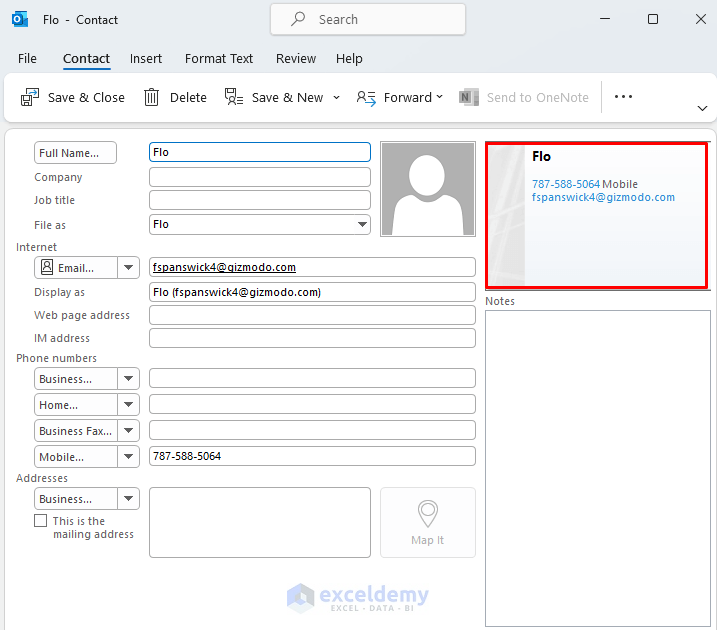
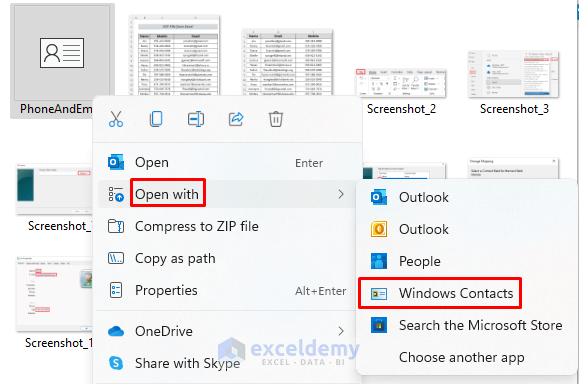
- Open any of these folders. They open with Outlook by default. You can also open them in Contacts format.
- You can see a summary of the contact information at the top right side of the window.
You can create VCF files from Excel using the Windows Contacts feature.
Method 2 – Using VBA to Create VCF File from Excel
Steps:
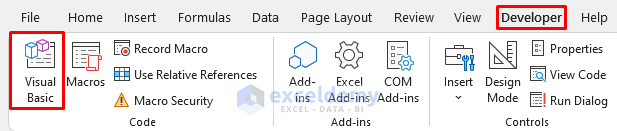
- Go to the Developer Tab and select Visual Basic.
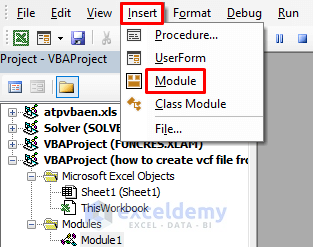
- The VBA editor will appear. Select Insert >> Module to open a VBA Module.
- Enter the following code in the VBA Module:
Sub CreateVCFFromExcel()
    Dim mn_File_Num As Integer
    Dim mn_start_row As Double
    mn_start_row = 2
    mn_File_Num = FreeFile
    mn_Output_Path = ThisWorkbook.Path & "\PhoneAndEmail.VCF"
    Open mn_Output_Path For Output As mn_File_Num
    While VBA.Trim(Sheets("Sheet1").Cells(mn_start_row, 1)) <> ""
        mn_Name = VBA.Trim(Sheets("Sheet1").Cells(mn_start_row, 1))
        mn_Email_Address = VBA.Trim(Sheets("Sheet1").Cells(mn_start_row, 2))
        mn_Mobile_Number = VBA.Trim(Sheets("Sheet1").Cells(mn_start_row, 3))
        Print #mn_File_Num, "BEGIN:VCARD"
        Print #mn_File_Num, "VERSION:3.0"
        Print #mn_File_Num, "FN:" & mn_Name
        Print #mn_File_Num, "EMAIL:" & mn_Email_Address
        Print #mn_File_Num, "TEL;TYPE=CELL;TYPE=PREF:" & mn_Mobile_Number
        Print #mn_File_Num, "END:VCARD"
        mn_start_row = mn_start_row + 1
    Wend
    Close #mn_File_Num
    MsgBox "The Contacts are Saved To: " & mn_Output_Path
End Sub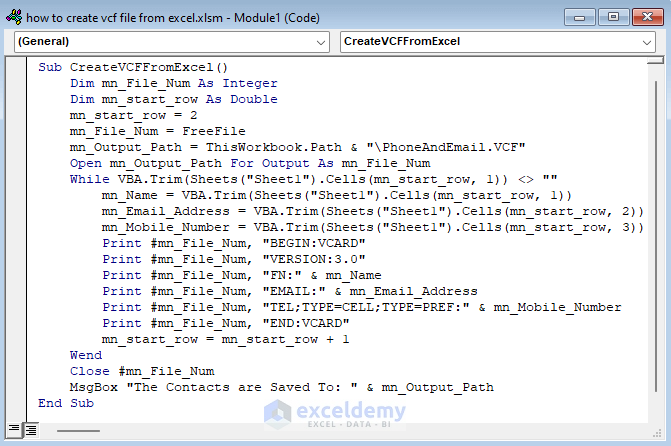
The code uses the VBA Trim function to separate the Name, Email, and Mobile columns. Then it applies the Print Statement to arrange these data properly in the vCard file. FN: refers to First Name, EMAIL: refers to the position where the Email Address will be saved, and TEL;TYPE=CELL means the phone numbers here are the Cell phone numbers.
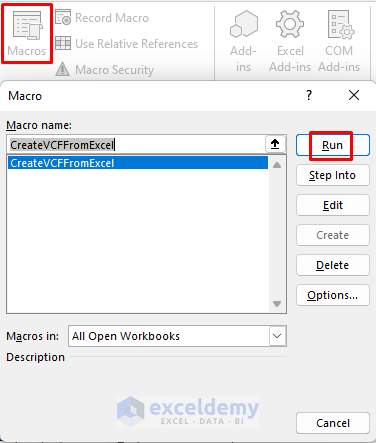
- Go back to your sheet and run the Macro.
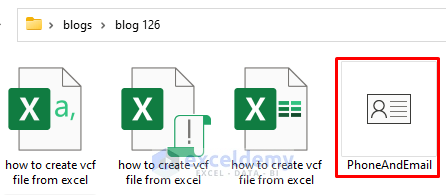
- A VCF file will be created named PhoneAndEmail in the file path of your Excel workbook.
- Open it with the Windows Contacts.
- This operation will show you the contact information of the first person in your dataset.
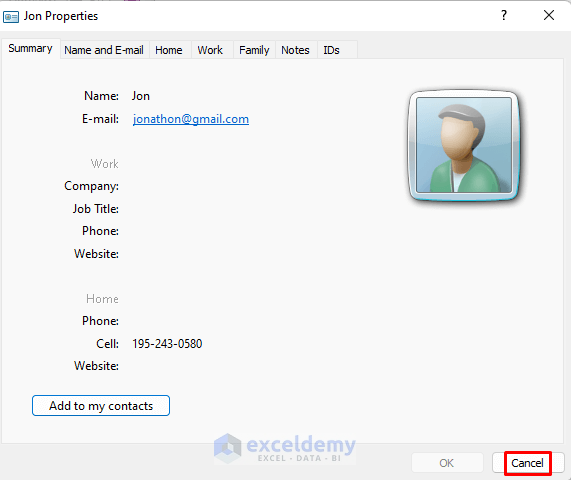
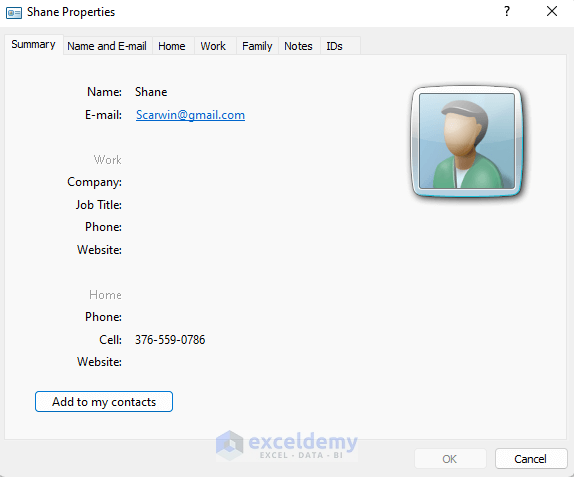
- All the contact information for the dataset is stored in PhoneAndEmail. If you command Cancel, it will show you the next contact.
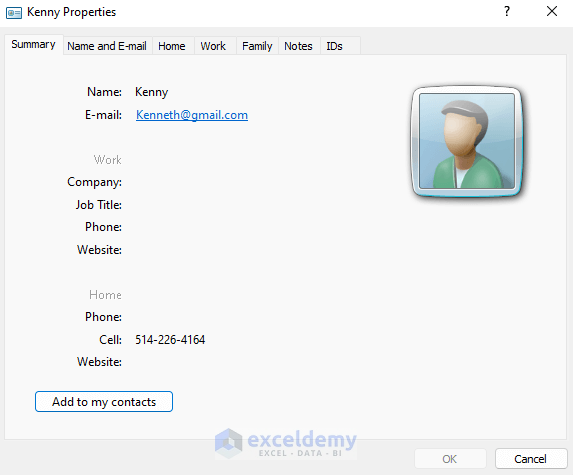
- Clicking on Cancel will lead you to the next contact, and so on.
You can create VCF files using the VBA.
Practice Section
I’m providing you with the dataset for this article so that you can practice these methods and gain expertise.
Download the Practice Workbook
Export Excel to vCard: Knowledge Hub
- Open VCF File in Excel
- Edit VCF File in Excel
- Convert Excel to VCF Without Software
- Convert CSV File to VCF Using Excel
<< Go Back to Export Data from Excel | Learn Excel
Get FREE Advanced Excel Exercises with Solutions!
