This is an overview.

The VBA TRIM Function
Summary
The Trim function in VBA removes the leading and trailing spaces from a supplied text string.
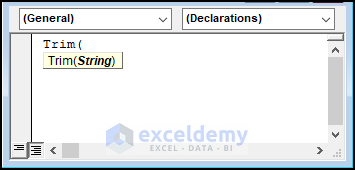
Syntax
Trim(string)
Arguments
| Argument | Required/Optional | Value |
|---|---|---|
| string | Required | It can be a text string or a variable that holds a text string. |
Note:
- The string can also be a cell reference.
- This function removes Leading Spaces, Trailing Spaces, but not in-between spaces.
- Save the file as a Macro-Enabled Worksheet.
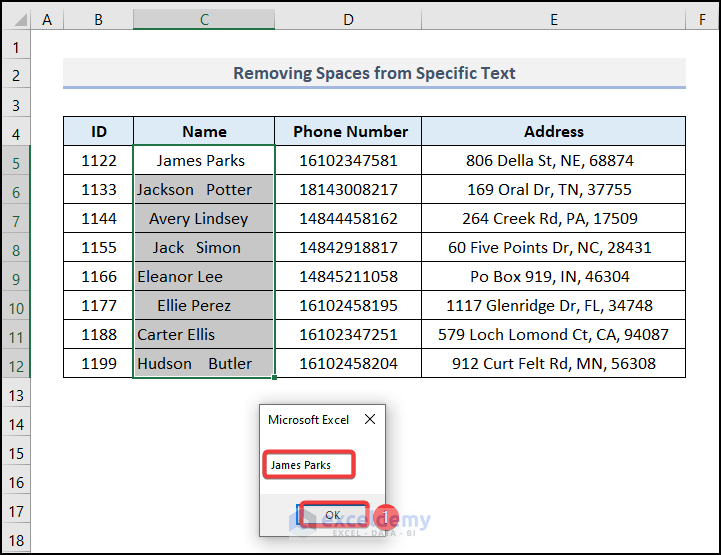
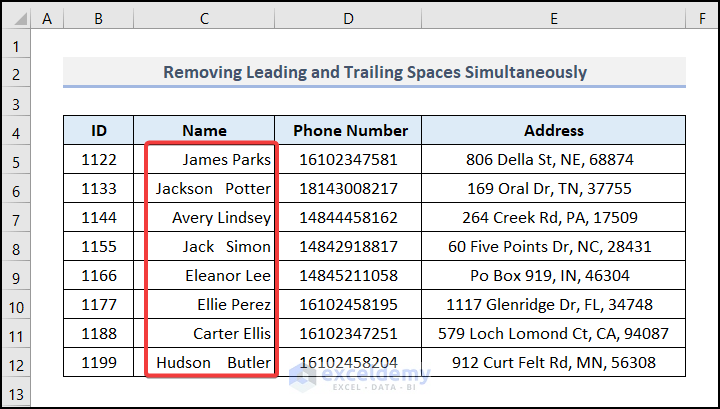
This dataset includes Employees’ ID, Name, Phone Number and Addresses.
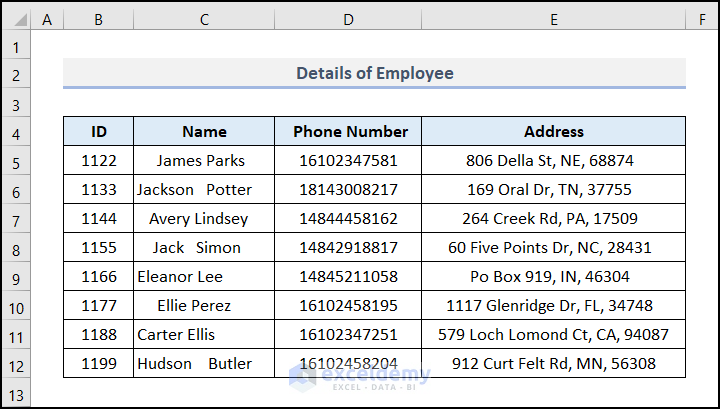
There are leading spaces.
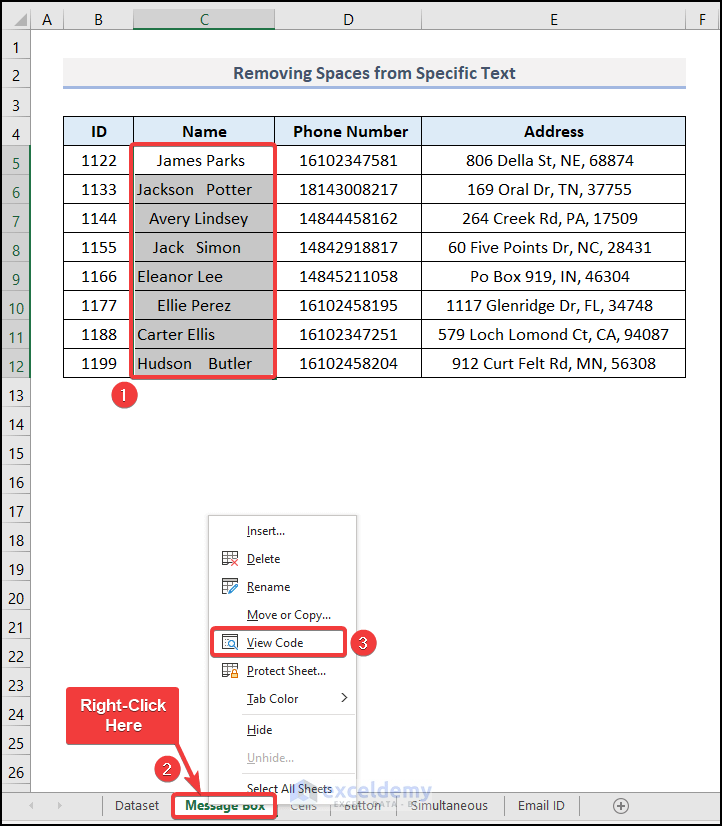
Example 1 – Removing Spaces from Specific Text
- Select C5:C12.
- Right-click the sheet name “Message Box”.
- Select View Code.
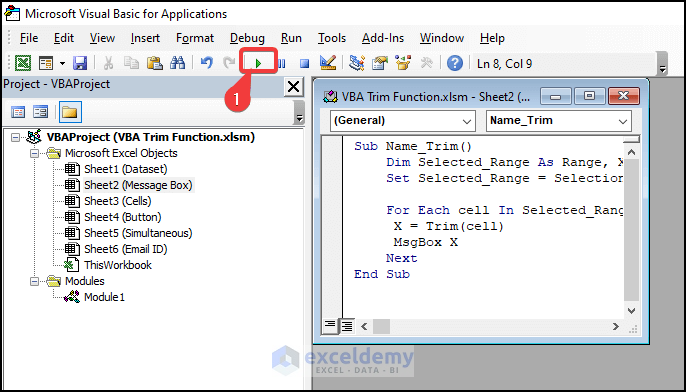
The Microsoft Visual Basic for Applications window is displayed.
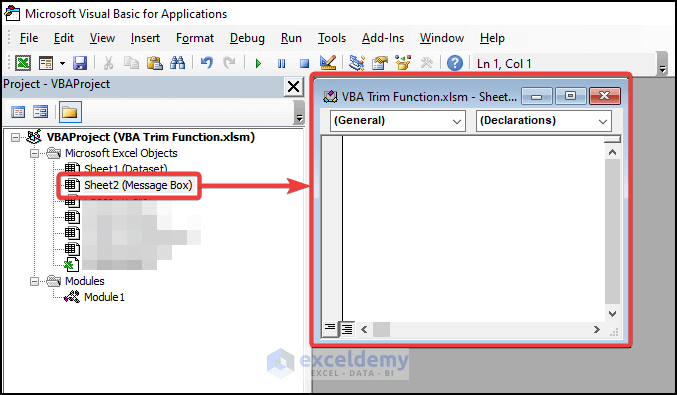
- Enter the following code in the module.
Sub Name_Trim()
Dim Selected_Range As Range, X As String
Set Selected_Range = Selection
For Each cell In Selected_Range
X = Trim(cell)
MsgBox X
Next
End Sub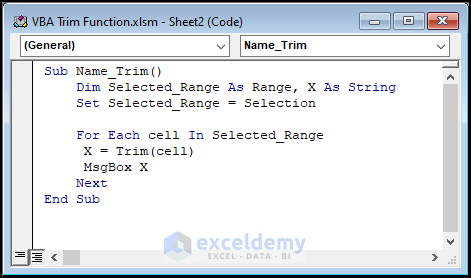
Excel shows a message box in the worksheet containing the name without any leading space.
- Click OK.
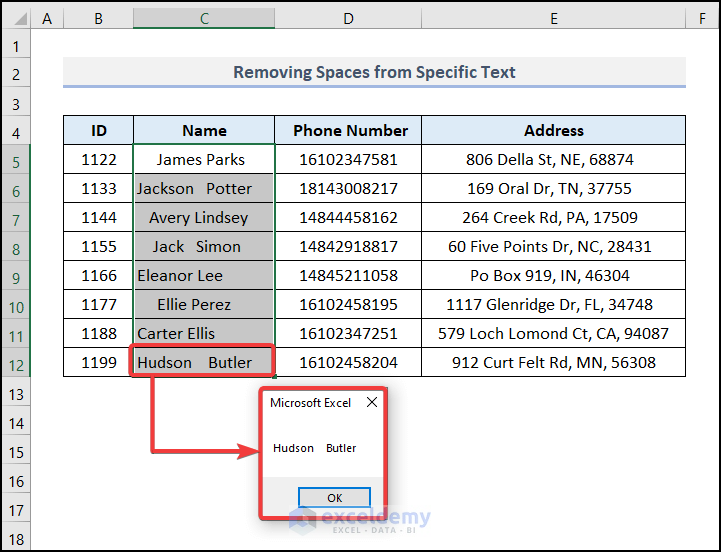
Other cell values will be shown without leading spaces in the message box.
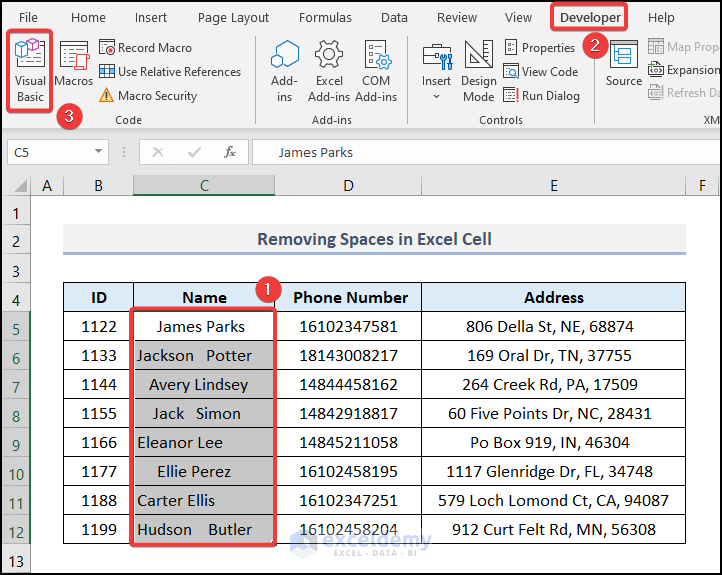
Example 2 – Removing Spaces in Cells
- Select C5:C12.
- Go to the Developer tab (If you don’t see it on the Ribbon, enable the Developer tab).
- Select Visual Basic in Code or press ALT + F11.
Sub EmName_Trim()
Dim Sel_Range As Range
Set Sel_Range = Selection
For Each cell In Sel_Range
cell.Value = Trim(cell)
Next
End Sub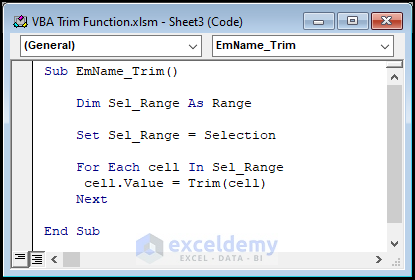
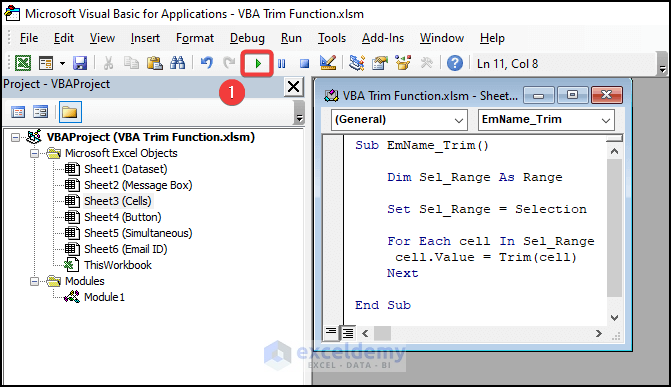
- Run this code following the steps described in the previous Example.
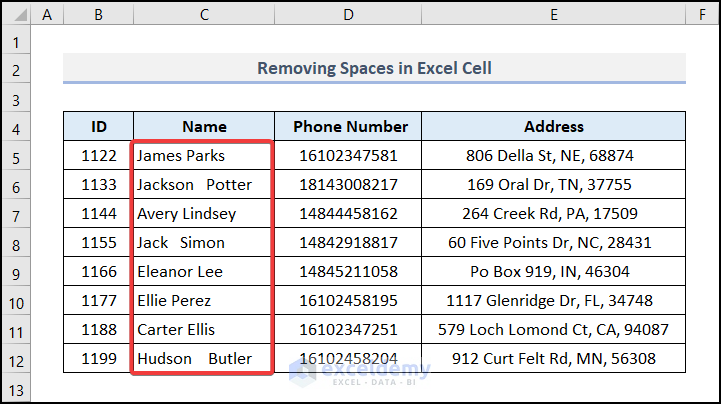
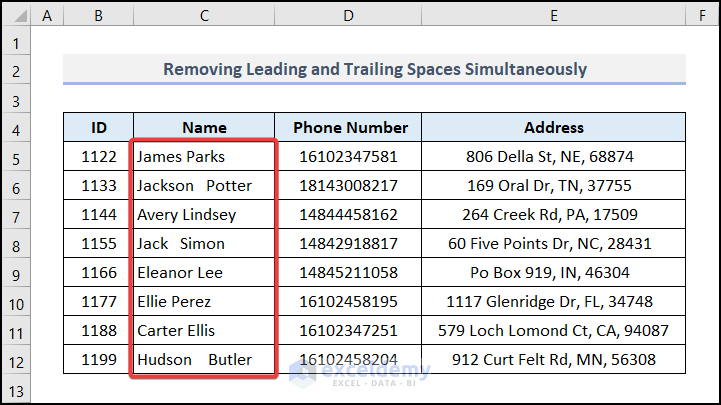
You can see the texts in the Name column without leading spaces. They are left aligned.
Example 3 – Using the VBA Trim Function with a Button
Steps:
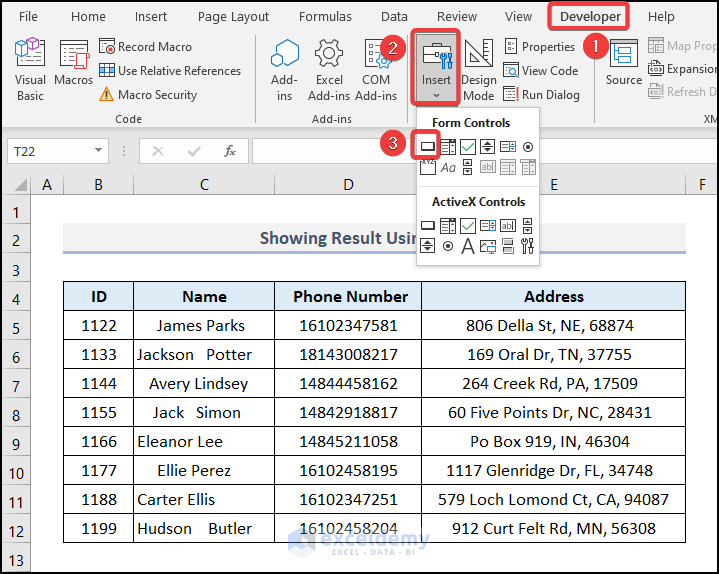
- Go to the Developer tab.
- Click Insert in Controls.
- In Form Controls, select Button.
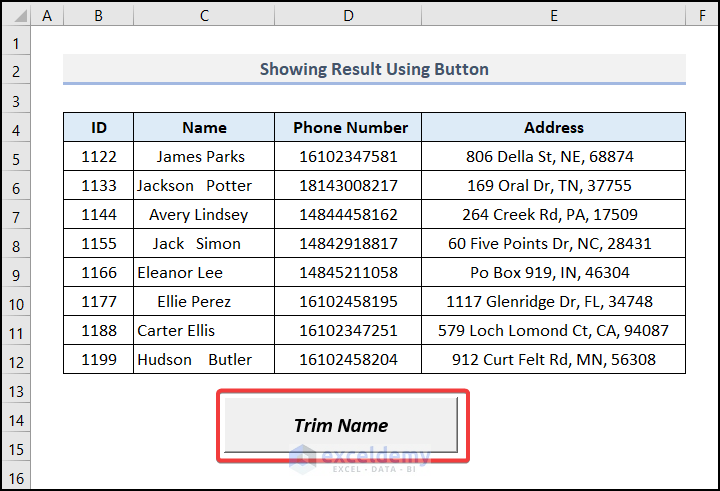
- You can place, resize and name the Button. Here, Trim Name.
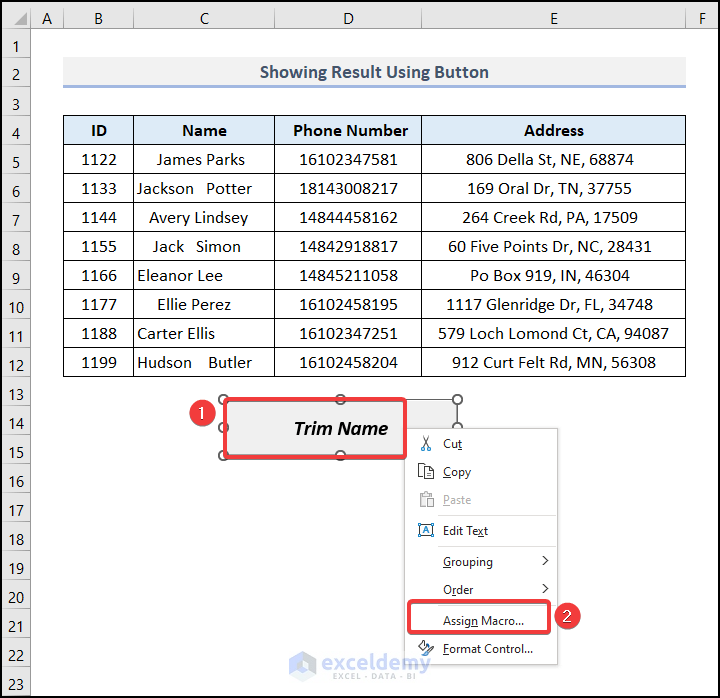
- Right-click the Button.
- Click Assign Macro.
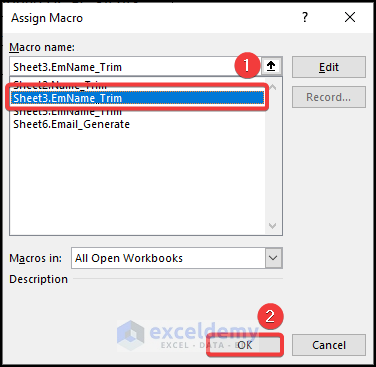
- In the Assign Macro dialog box, select the macro created in Example 2.
- Click OK.
- Selected C5:C8.
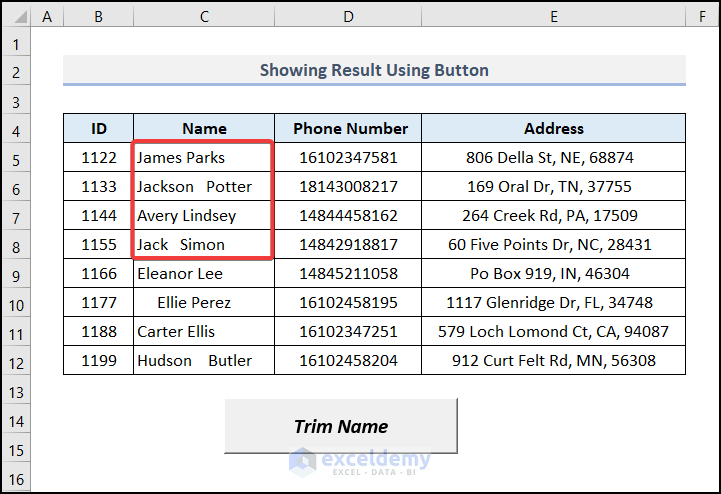
- Click the Trim Name Button.
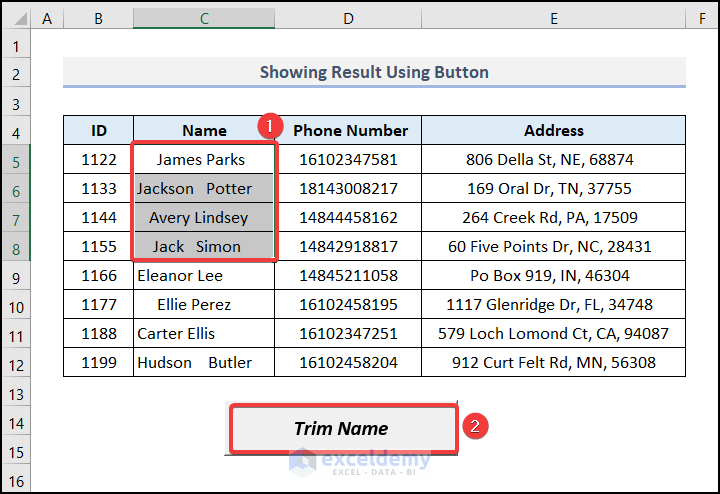
Values changed.
Example 4 – Removing Leading and Trailing Spaces Simultaneously
Steps:
- Select C5:C12.
- Go to the Home tab.
- Click Align Right in Alignment.
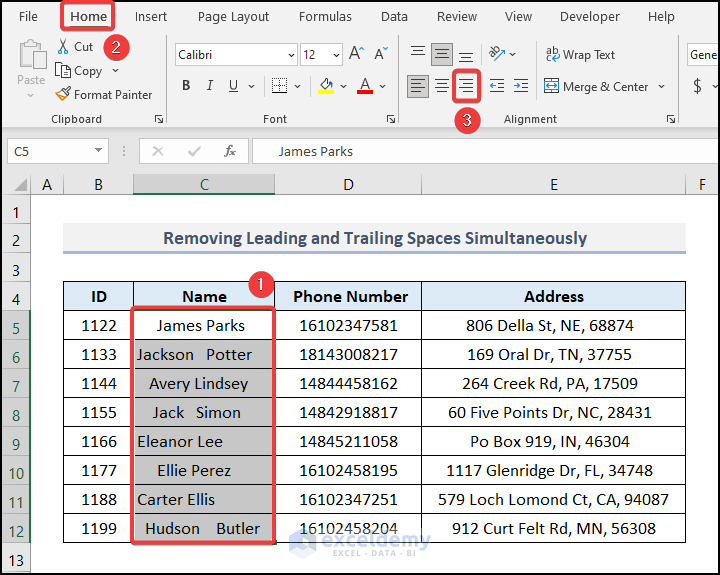
Trailing spaces are identified in C5, C6, C10, and C12.

- Repeat the previous steps and use the same code.
- Select C5:C12.
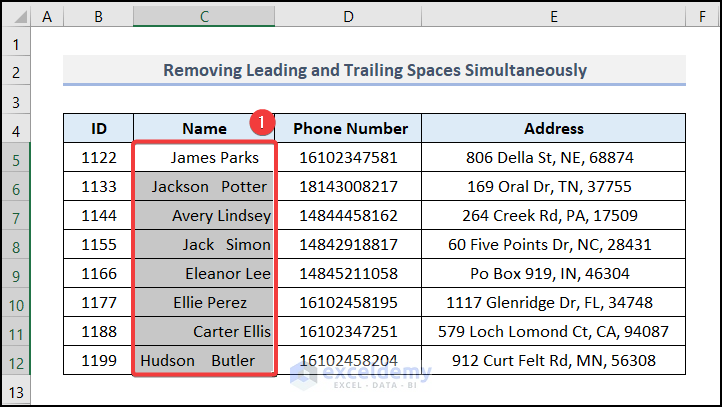
- Run the macro to see the change in the dataset.
Double-check the existence of leading spaces by selecting Align Left.
Example 5 – Generating an Email ID by Taking the Username as Input
Steps:
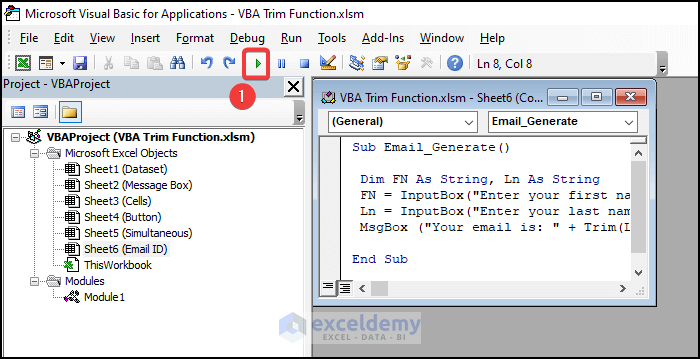
- Open the code module window.
- Enter the following code in the module.
Sub Email_Generate()
Dim FN As String, Ln As String
FN = InputBox("Enter your first name")
Ln = InputBox("Enter your last name")
MsgBox ("Your email is: " + Trim(LCase(FN)) + Trim(LCase(Ln)) + "@xyz.com")
End Sub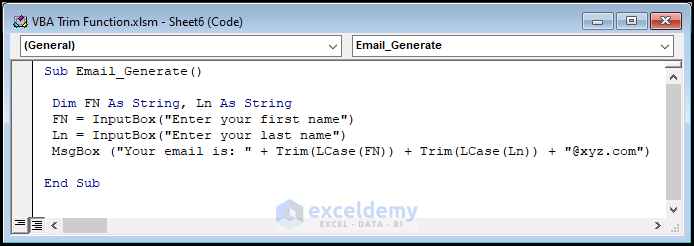
- Run the code.
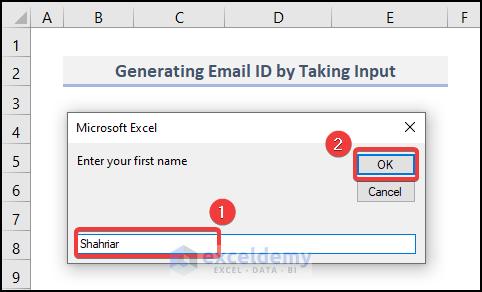
You will see an Input Box in your worksheet.
- Enter a name in the box.
- Click OK or press ENTER.
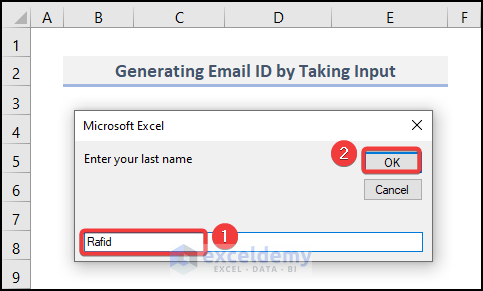
Another Input Box will be displayed.
- Enter the last part of the name.
- Click OK.
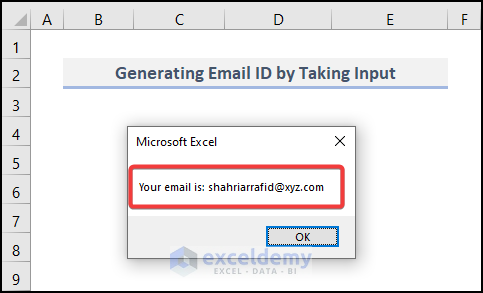
The output contains an email address, including the provided name.
Difference Between Excel TRIM & VBA Trim Function
- Excel TRIM function can remove in-between spaces. Any spaces between two words can be eliminated.
- VBA Trim function can only remove leading and trailing spaces.
Issues with the Trim function in VBA
If you use this code for digits with spaces to the right “14555557899200155 ”, the VBA Trim function will remove the trailing spaces but there will be a change in the value: “14555557899200155” will become “14555557899200100”. The last two digits are replaced with two zeros.
Solution:
Excel has an accuracy of 15 digits. The number 14555557899200155 has a length of 17 digits, which means you will lose the last two digits when you place it into an Excel sheet.
What to Do when the VBA Trim Function is Not Working
- Compile the code before assigning it to any button.
Download Practice Workbook
Download the following Excel workbook.
Related Articles
- How to Use VBA SPLIT Function in Excel
- Call a Sub in VBA in Excel
- How to Create a Body Mass Index Calculator in Excel Using VBA
- Use VBA Asc Function
- How to Use VBA Function Procedure with Arguments in Excel

