Example 1 – Sort Sunburst Chart Order Alphabetically in Excel
Step 1 – Insert Sunburst Chart
- Select the data range for the chart.
- Go to the Insert tab from the Ribbon.
- Select Insert Hierarchy Chart.
- Select Sunburst from the drop-down menu.

- A Sunburst Chart will be inserted. The inner ring represents the highest level of the hierarchy.
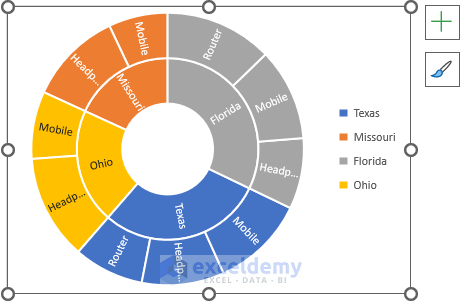
- In the following image, you can see how the chart looks at this stage.
Step 2 – Sort Sunburst Chart Order
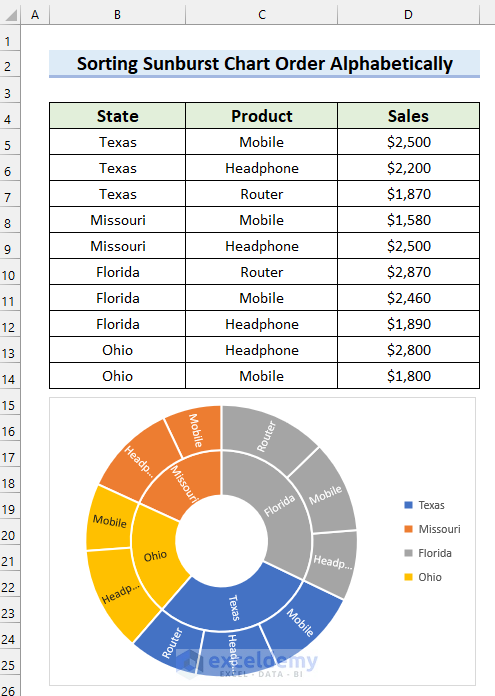
We will sort the data range alphabetically.
- Select the data range. We have selected the cell range B4:D14.
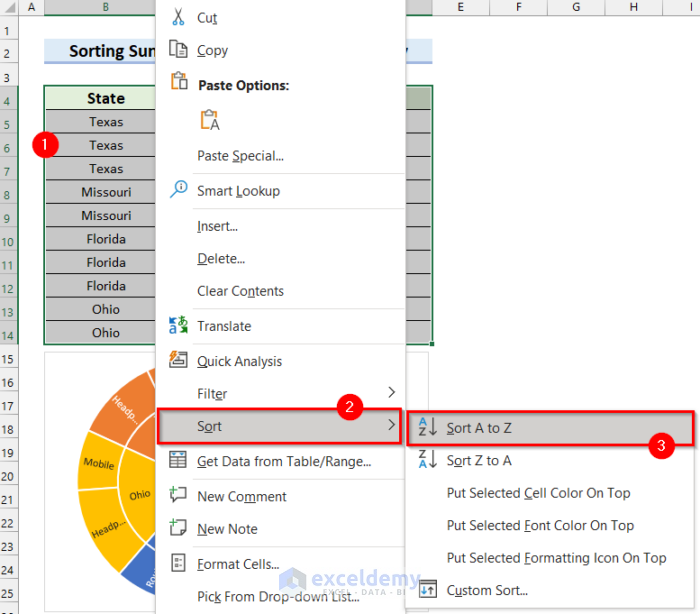
- Right-click on the selected range.
- Select Sort.
- Select Sort A to Z.
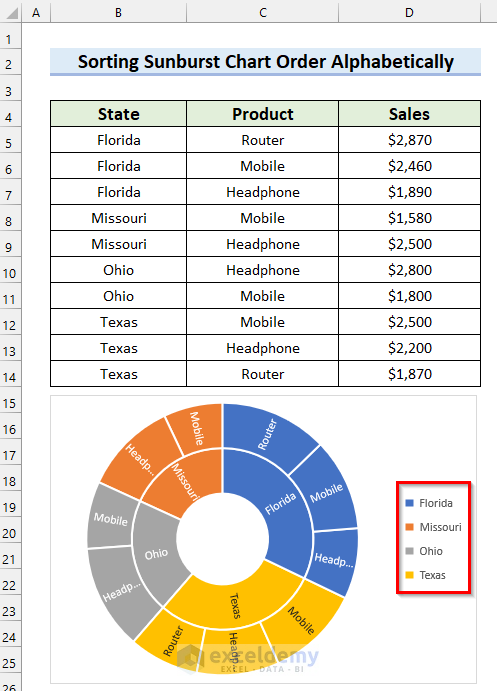
- If you look at the legends, you will see that they are rearranged accordingly. However, the order of data in the ring still remains the same because this is a must for a Sunburst Chart.
Read More: Create Sunburst Chart with Percentage in Excel
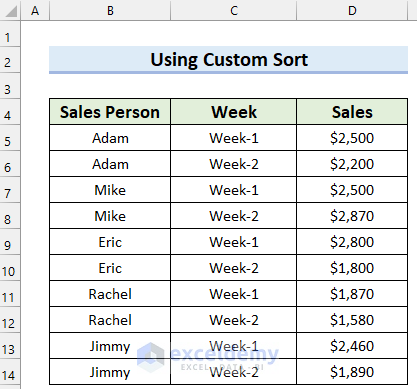
Example 2 – Use Custom Sort to Change Sunburst Chart Order in Excel
We will use a Custom list to sort the data in the data range so that it matches the order of the Sunburst Chart.
- Insert a Sunburst Chart by following Step 1 from Example 1.
- You can see that the order of data in the data range and in the chart do not match.
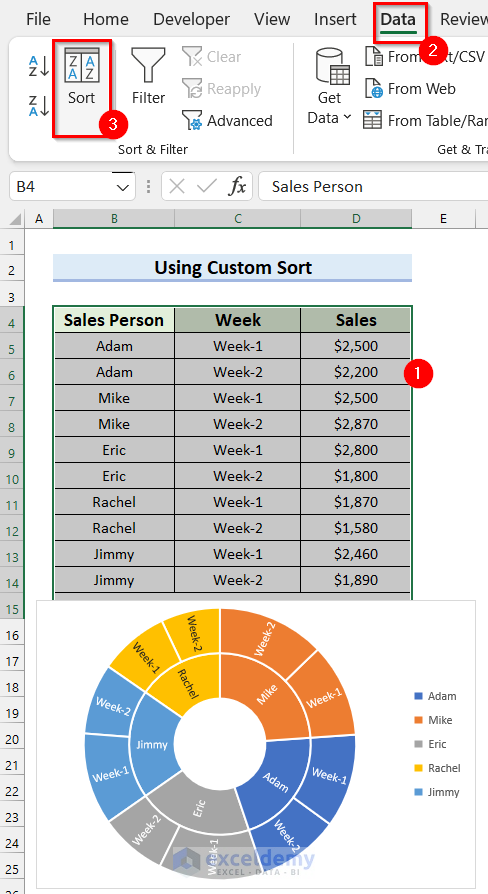
- Select the data range.
- Go to the Data
- Select Sort.
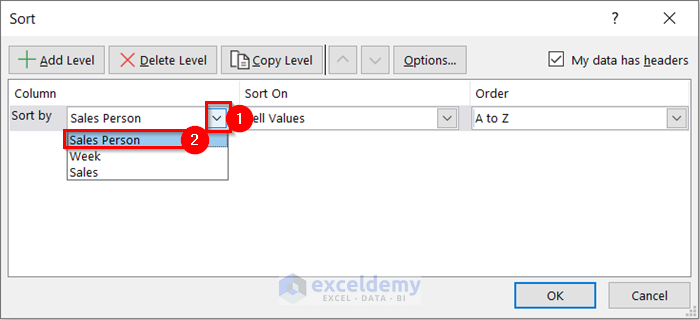
- In the Sort dialog box, click on the drop-down button for Sort by.
- Select the column you want the dataset to be sorted by. We have selected Sales Person.
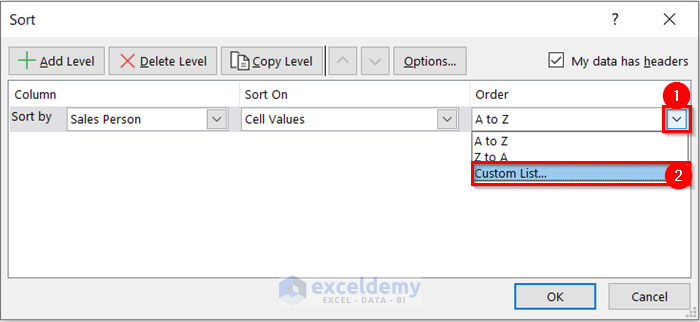
- Click on the drop-down option for Order.
- Select Custom List…
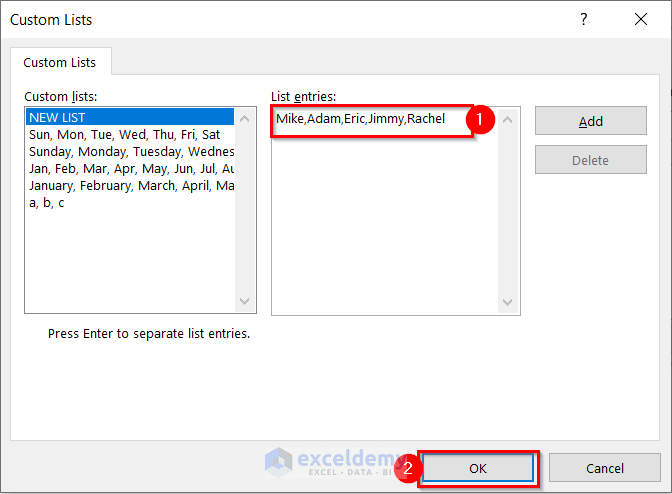
- The Custom Lists dialog box will appear.
- Enter the sort order in the List entries section.
- Select OK.
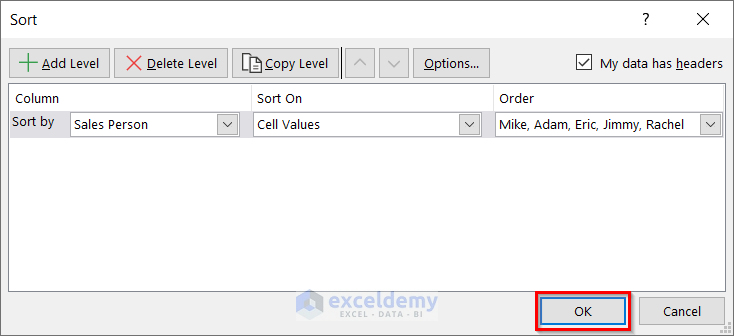
- The order will be added to the Sort dialog box.
- Select OK.
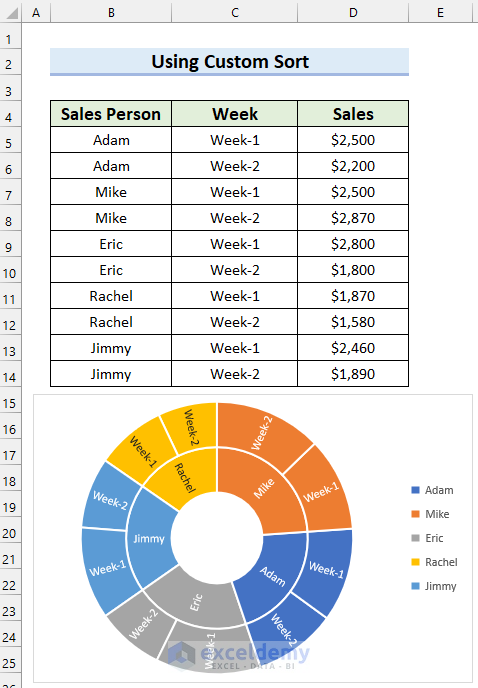
- You will see that the data order in the range and in the Sunburst Chart match.

Read More: How to Insert Sunburst Chart with Conditional Formatting in Excel
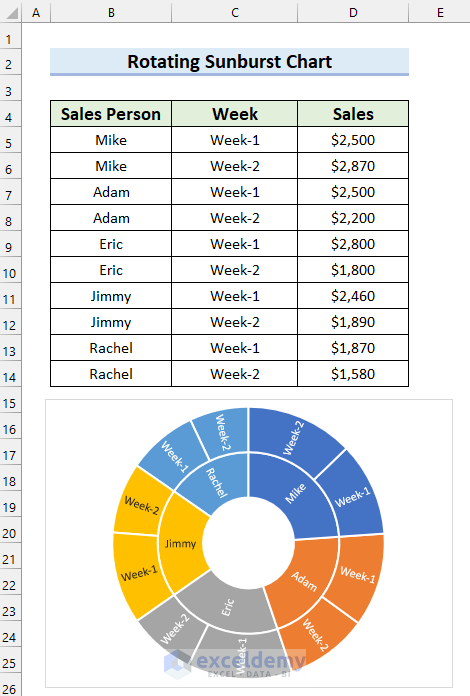
How to Rotate Sunburst Chart in Excel
You cannot rotate a Sunburst Chart in Excel. But you can use the Camera tool to take an image of the chart and rotate it.
Step 1 – Add Camera Tool in Quick Access Toolbar
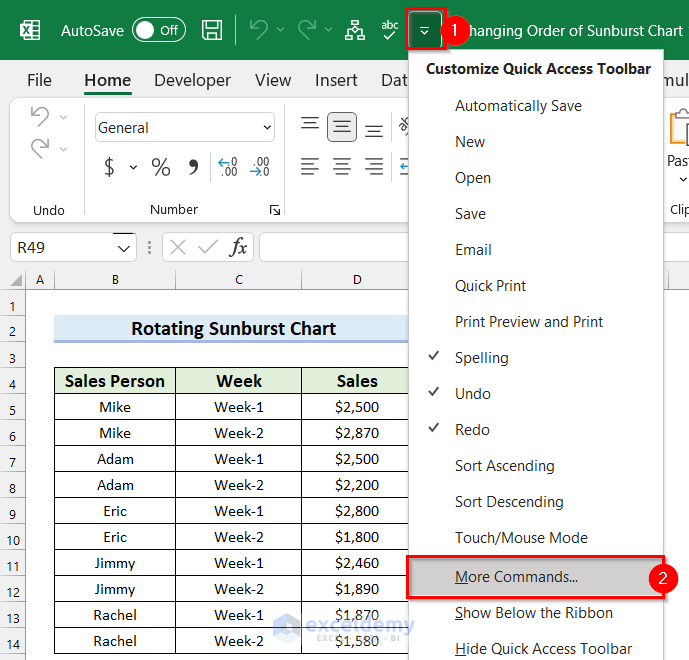
- Click on the Customize Quick Access Toolbar
- Select More Commands…
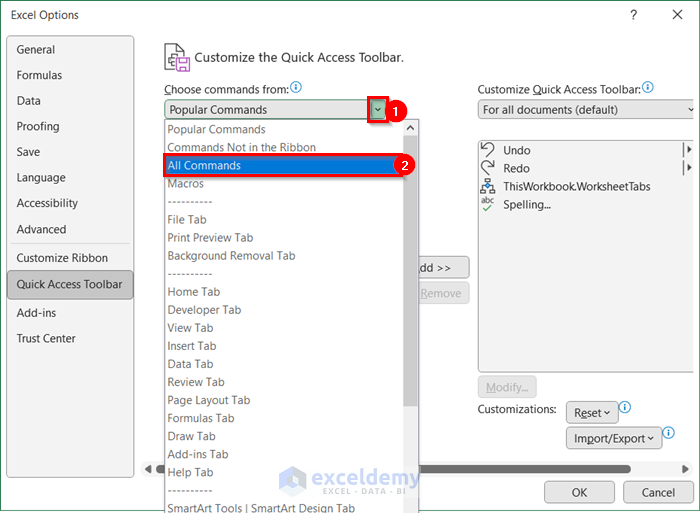
- In the Excel Options dialog box, click on the drop-down option for the choose command from section.
- Select All Commands.
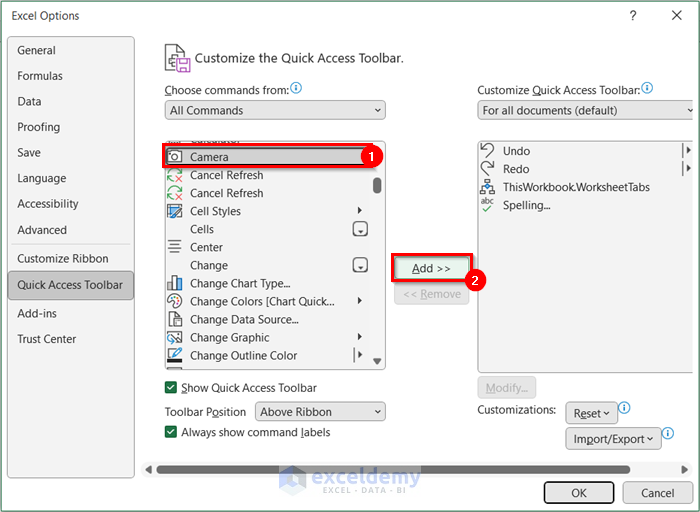
- Select Camera.
- Select Add.
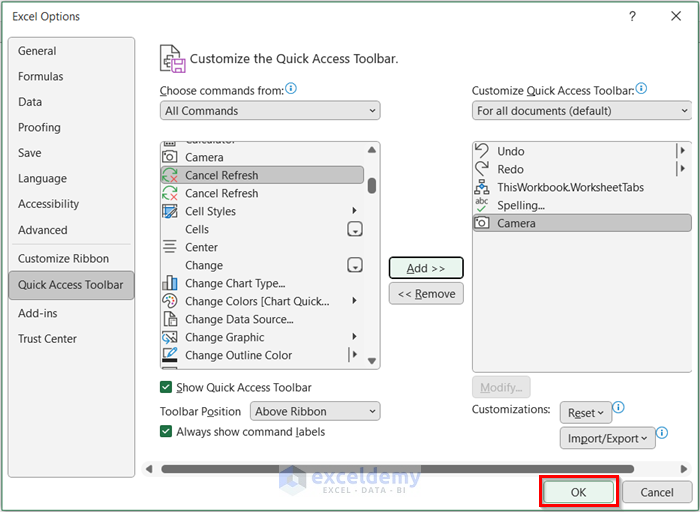
- The Camera tool will be added to the Quick Access Toolbar.
- Select OK.
Step 2 – Rotate the Sunburst Chart Using the Camera Tool
- Select the cells behind the Sunburst Chart.
- Select the Camera tool.
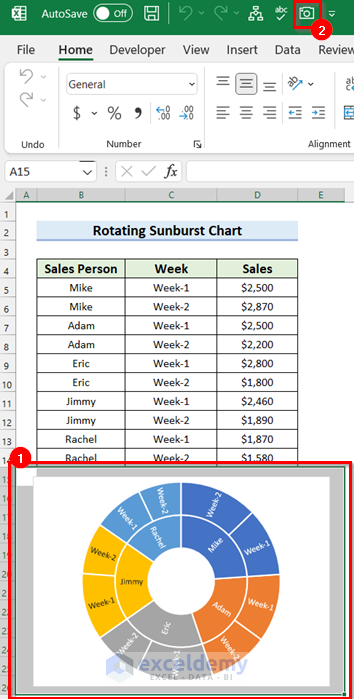
- It will select the area.
- Press Enter.
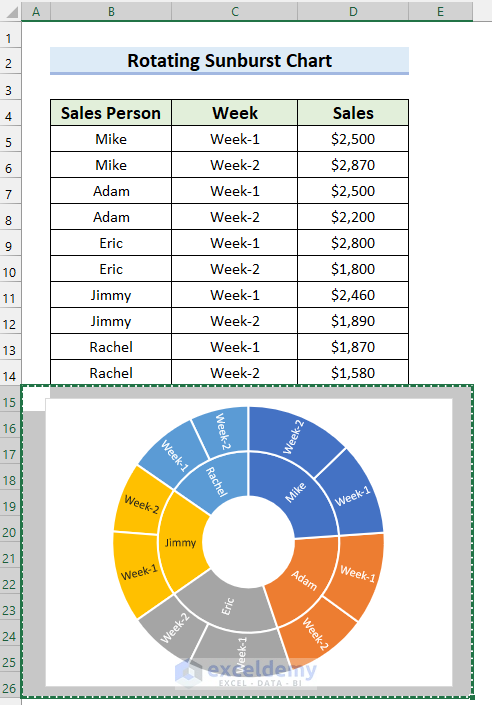
- You will get an image of the Sunburst Chart.
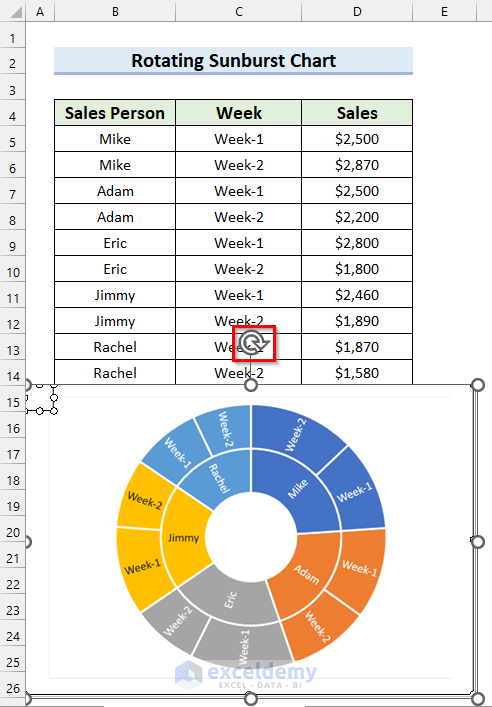
- You can select and rotate the marked button in the following image to rotate the chart.
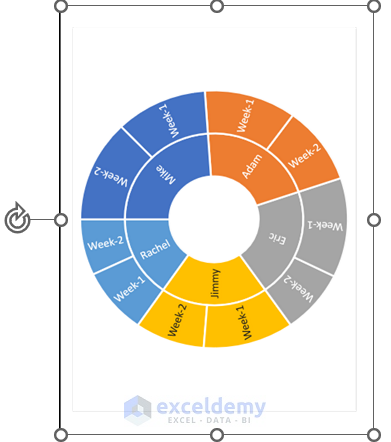
- In the following image, you can see that we have rotated the Sunburst Chart.
Download Practice Workbook
<< Go Back to Sunburst Chart in Excel | Excel Charts | Learn Excel
Get FREE Advanced Excel Exercises with Solutions!

Hello Mashhura,
Thanks for the tips to order the graph.
It’s work for the first level, but when i try to order the second level, in the table it’s OK, but not in the graph.
Do you have a solution ?
In you want i can send you an image
Nathalie
Hi there, Nathalie!
Thanks for sharing your confusion here.
Since your problem seems unique. We have three possible cases of solutions that you can use.
Solution 01: You can use the Custom Sort feature to order the graph according to your choice. And it should update it by itself.
Solution 02: Add a new sunburst graph according to the sorted data if it does not work.
Solution 03: you can use sort data based on multiple columns, and you can specify secondary and tertiary sorting criteria. Here’s how:
Excel will first sort the data based on the primary column you specified. If there are any ties in the primary column, it will then sort those tied rows based on the criteria you specified for the secondary column, and so on for additional levels.
Then, add a new sunburst graph based on the newly sorted data.
Hopefully, one of the solutions from here should resolve your issue.
Regards
ExcelDemy Team
Thanks, that’s nice.
But it does not work.
The primary level works well with sorting, but the secondary level, even if it is sorted in the Excel table, does not appear sorted in the graph. It’s too bad !
If you think of another solution, please share it.
Regards
Nathalie
Hello Nathalie,
I tried to sort it according to your comment. But, later, I discovered that Excel’s built-in sunburst chart does not natively support nested sorting. The sunburst chart in Excel is designed to represent hierarchical data with a radial layout, but it does not provide options for specifying the order of data within each level.
The “Treemap” chart better represents hierarchical data with nested sorting.
Regards,
Maruf Hasan
Exceldemy Team.