Method 1 – Changing the Cell Format
Steps:
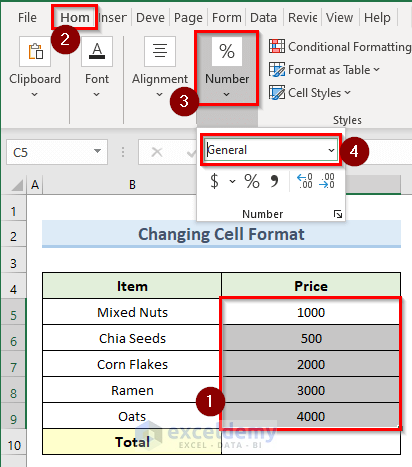
- Select all the cells from C5 to C9.
- Go to the Number section under the Home tab and select the General format from the drop-down.
- Click cell C10 and click AutoSum under Formulas.
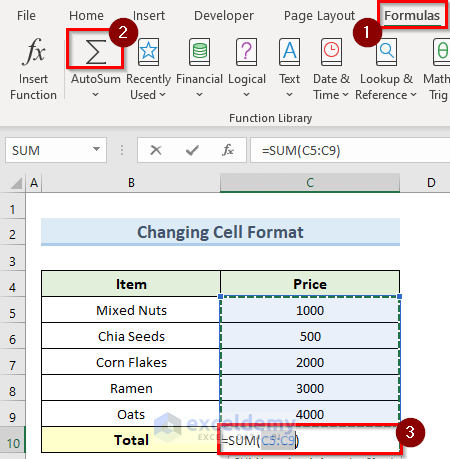
- Press Enter and this should perform the AutoSum operation properly.
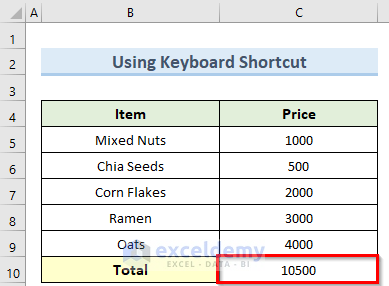
Method 2 – Trying Shortcut from Keyboard
Steps:
- Go to cell C10 and press Alt and = at the same time.
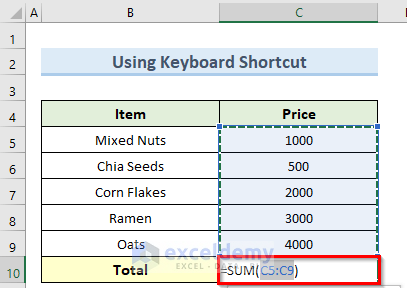
- Press Enter, and this will calculate the sum of the above cells.
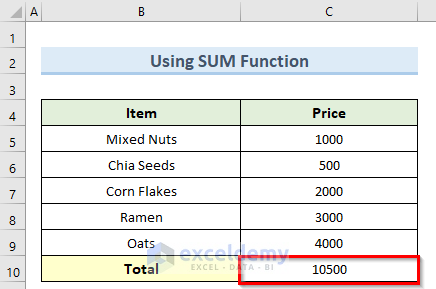
Method 3 – Using SUM Function
Steps:
- Double-click on cell C10 and insert the formula below:
=SUM(C5:C9)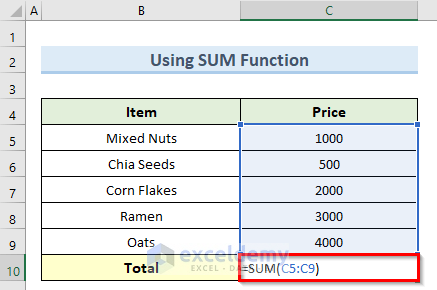
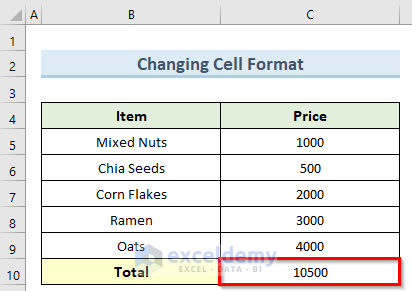
- Press the Enter key; this will find the Total for the above input prices inside cell C10.
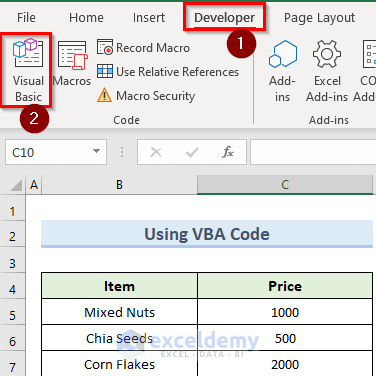
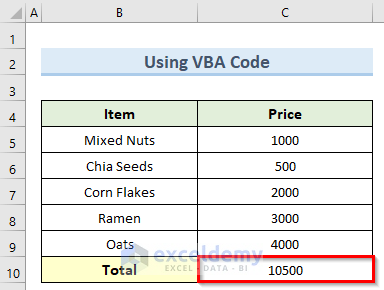
Method 4 – Sum Using VBA Code
Steps:
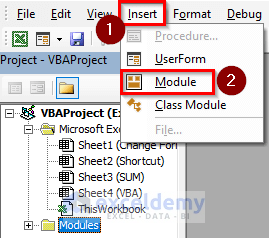
- Go to the Developer tab and select Visual Basic.
- Select Insert in the VBA window and click on Module.
- Type in the formula below in the new window:
Sub Test()
    Range("C10") = Application.WorksheetFunction.Sum(Range("C5:C9"))
End Sub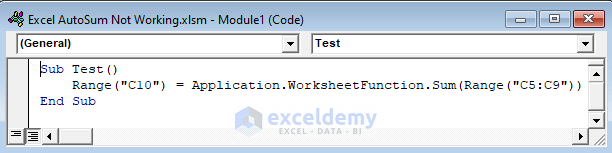
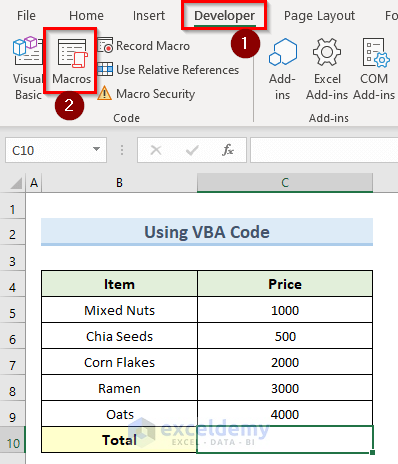
- Open the macro from the Developer tab by clicking on Macros.
- In the Macro window, select the Test Macro and click Run.
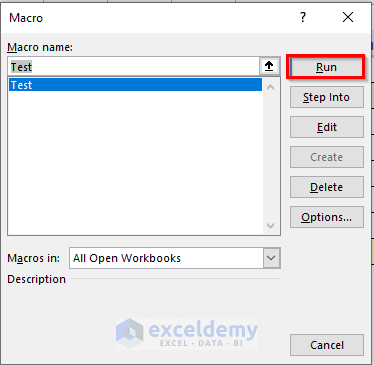
- The VBA code should solve the problem and do the sum operation.
Things to Remember
- Use the shortcut Alt+F11 to open the VBA window as an alternative.
- If you are a Mac user, you can use the option key instead.
- You can insert individual values or a range of cells inside the SUM function.
- Note that this function can take up to 255 arguments as inputs.
- Use the Alt+F8 shortcut keys to open the Macros window to see the macro.
Download Practice Workbook
You can download the practice workbook from here.
Related Articles
- How to AutoSum Horizontally in Excel
- How to Autosum Time in Excel
- How to Calculate Percentage Using AutoSum in Excel
- [Solved!] Excel AutoSum Is Not Working and Returns 0
- How to Turn Off AutoSum in Excel
<< Go Back to Autosum in Excel | Sum in Excel | Calculate in Excel | Learn Excel
Get FREE Advanced Excel Exercises with Solutions!
