Method 1 – Use Excel Templates to Create Inventory Database
STEPS:
- Launch the Microsoft Excel application.
- Go to the File tab.
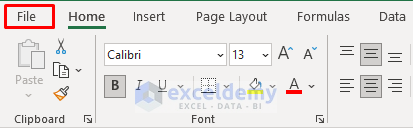
- Select New.
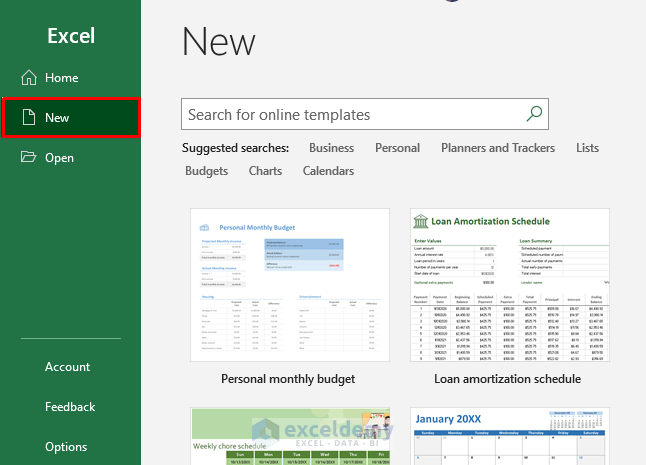
- Go to the Search bar and type Inventory Lists.
- Press Enter or click on the Search icon.
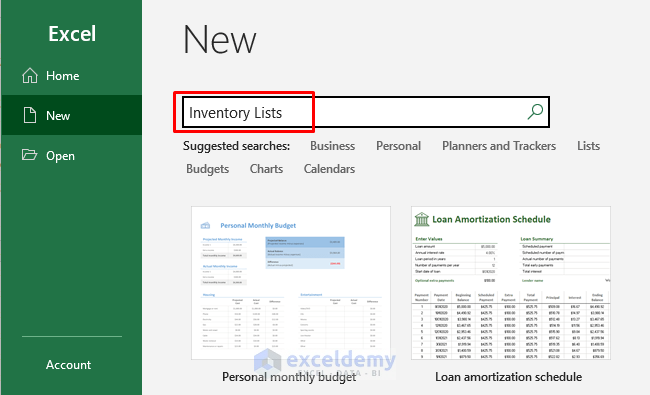
- Available templates will appear on the screen.
- Select the template you want to work on.

- After selecting the template, a message will pop up.
- Select Create from the message box.
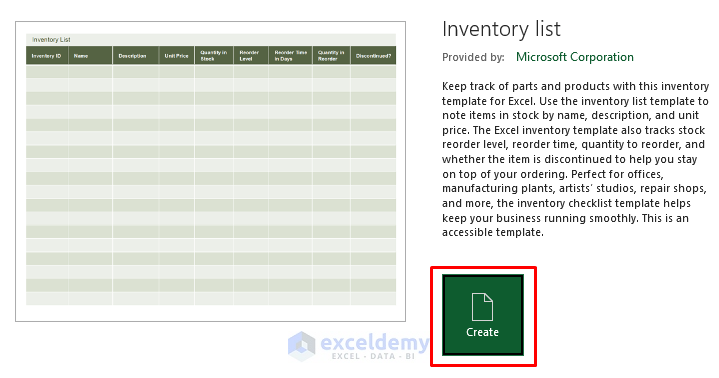
- The selected template will appear on a worksheet.
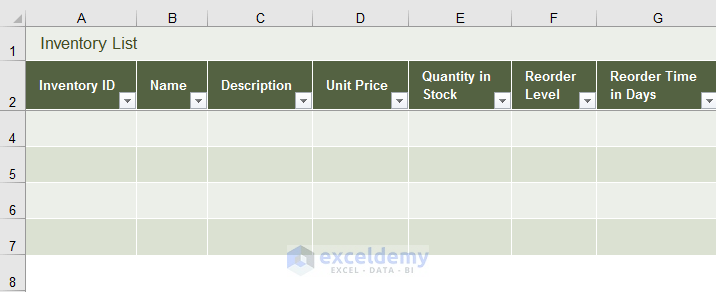
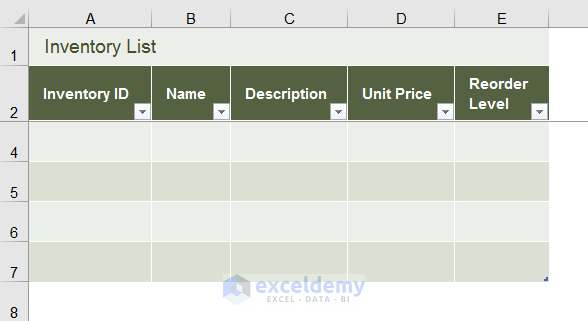
- Delete the columns you don’t need in your inventory database.
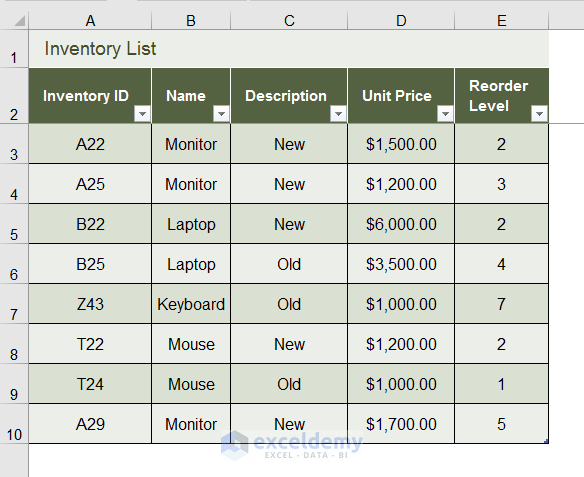
- Type the information about the products in the database.
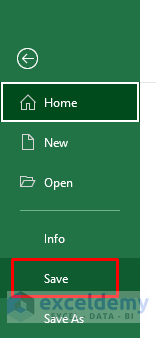
- Save the database from the File tab.
Method 2 – Manually Design Inventory Database in Excel
STEPS:
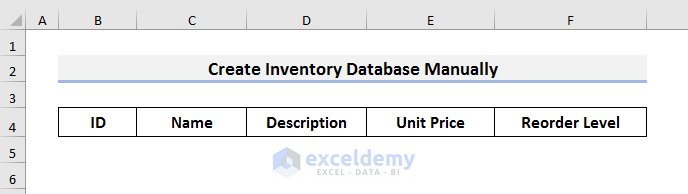
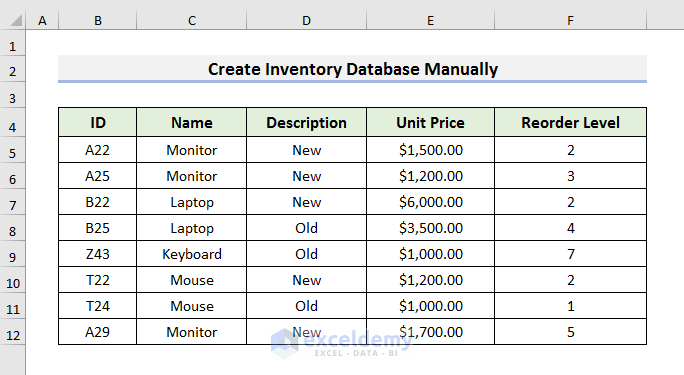
- Create the headers.
- We typed the headers in Row 4. We have used bold fonts and borders.
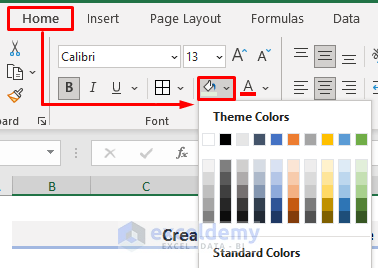
- Fill the headers with colors to highlight.
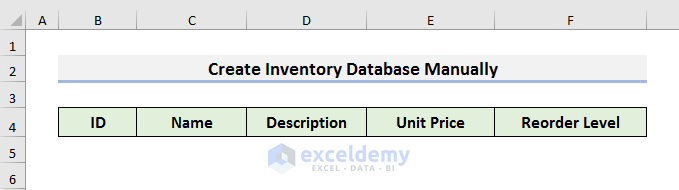
- Select the headers and fill them with colors from the Fill Color option of the Home tab.
- After filling with color, the database will look like the picture below.
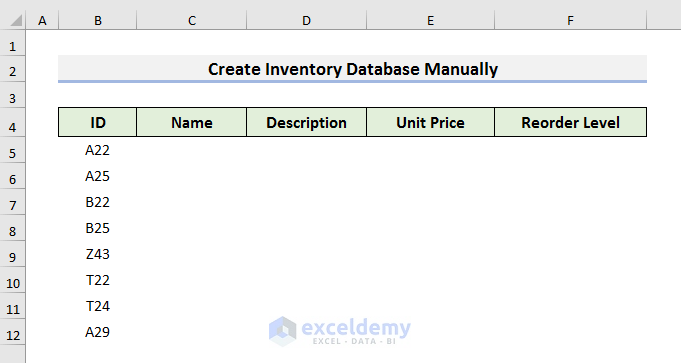
- Start typing the information in the database.
- After completing the database, apply borders to the cells. You can find different types of borders in the Font section of the Home tab.
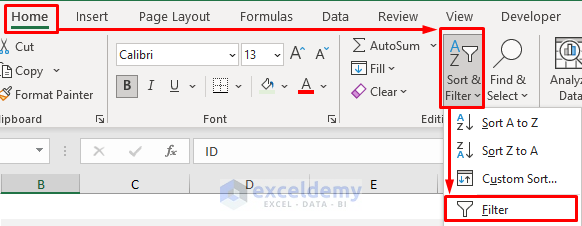
- Apply the filter, go to the Home tab, and select ‘Sort & Filter’. A drop-down menu will occur.
- Select Filter from the drop-down menu.
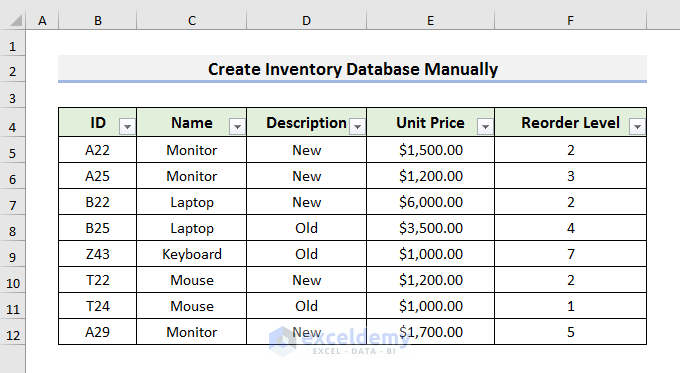
- The inventory database will look like the screenshot below.
Method 3 – Create Excel IN and OUT Inventory Database
STEPS:
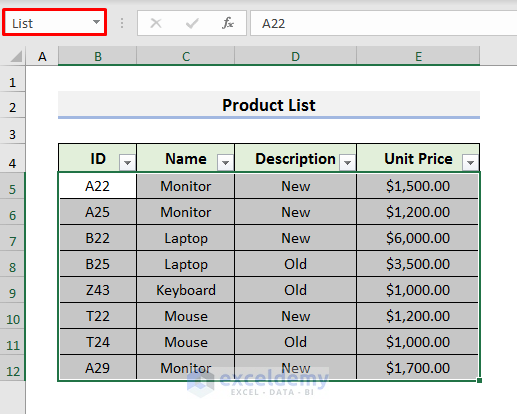
- Select the range B5:E12 and name it ‘List’. It is part of the product list dataset.
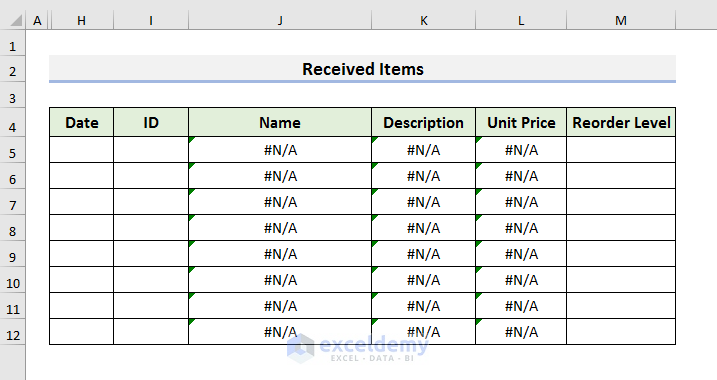
- Create the ‘IN and OUT’ inventory database.
- Create a structure like the image below.
- Select Cell J5 and type the formula:
=VLOOKUP(I5,List,2,FALSE)- Hit Enter to see the result. It will show an error at first.
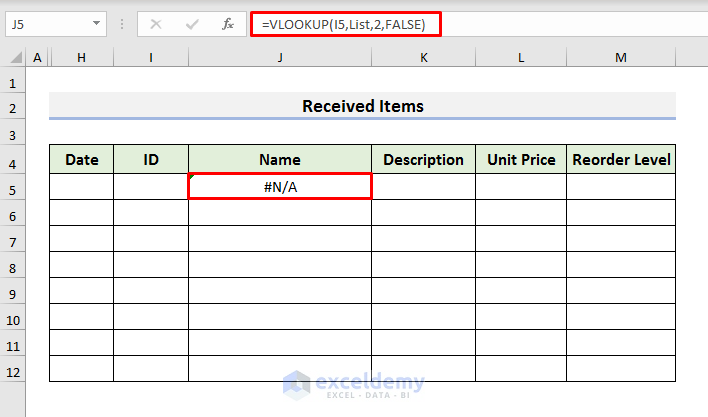
We used the VLOOKUP function to search for an item in the array named List. We will look for the id in Cell I5 in the List array. In this case, the column index should be 2. We need an exact match, we used FALSE in the last argument.
- Select Cell K5 and type the formula:
=VLOOKUP(I5,List,3,FALSE)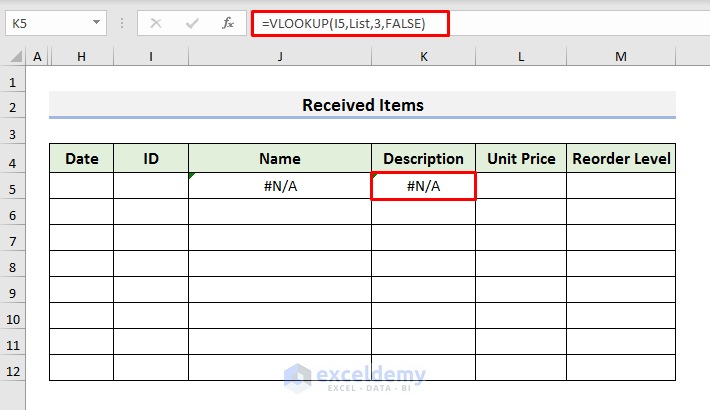
Column index 3 represents the third column of the array named List.
- One more time, select Cell L5 and type the formula:
=VLOOKUP(I5,List,4,FALSE)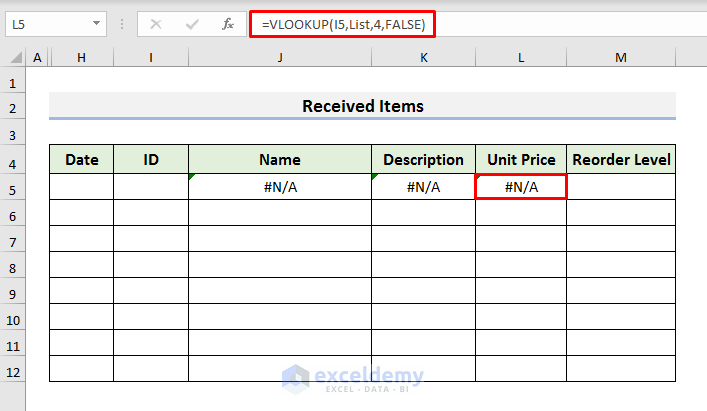
Column index 4 represents the fourth column of the array named List.
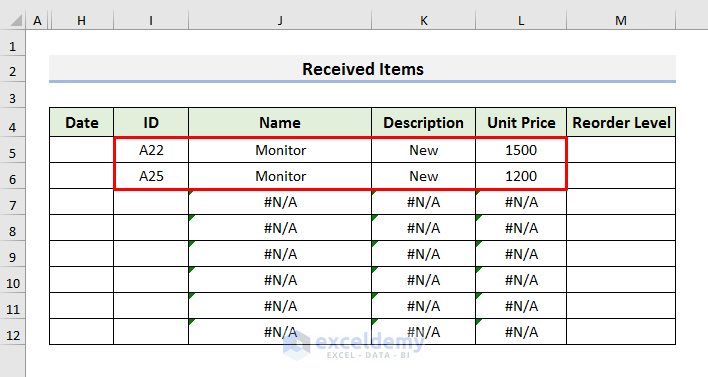
- Select Cell J5, K5 & L5 and drag the Fill Handle down to copy the formula.
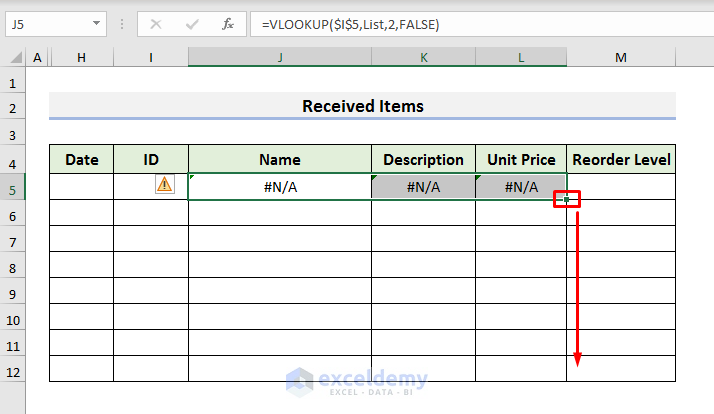
- See results like the picture below.
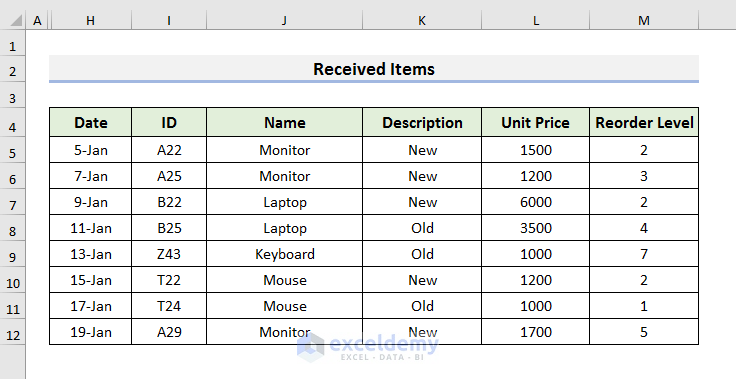
- Enter the IDs in the database and the changes will update automatically.
- Your dataset will look like this. You can also follow the same process to build another database to keep sales records.
Things to Remember
There are a few things you need to remember when you try to create an inventory database in Excel.
- Save the template before exiting the application to reuse it.
- Use the correct column index in the VLOOKUP formula.
- To save time, use Method-1.
Download the practice book here.
Related Articles
- Min Max Inventory Calculation in Excel
- How to Calculate Economic Order Quantity in Excel
- How to Calculate Stock to Sales Ratio Using Formula in Excel
<< Go Back to Inventory Management in Excel | Learn Excel
Get FREE Advanced Excel Exercises with Solutions!
