Method 1 – Creating a Biweekly Budget in Excel Manually
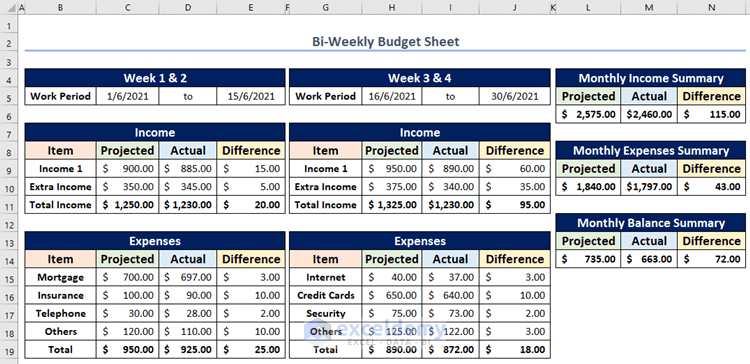
Here’s the overview of the biweekly budget we’ll make.

Step 1 – Add Headings on Top of the Budget Sheet
- Select the range B2:N2 (this range will cover the entire budget sheet).
- Go to the Home tab and the Alignment group, then click on Merge & Center.
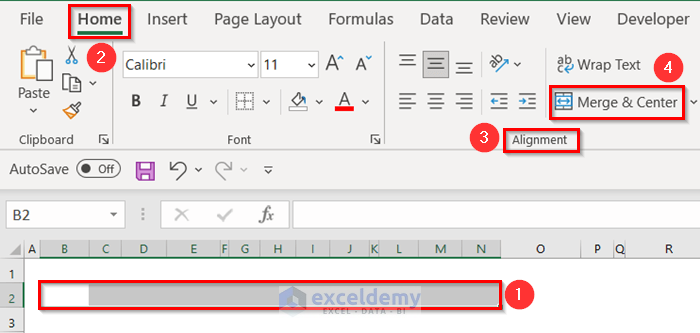
- Put ‘Bi-Weekly Budget Sheet’ in the merged range.

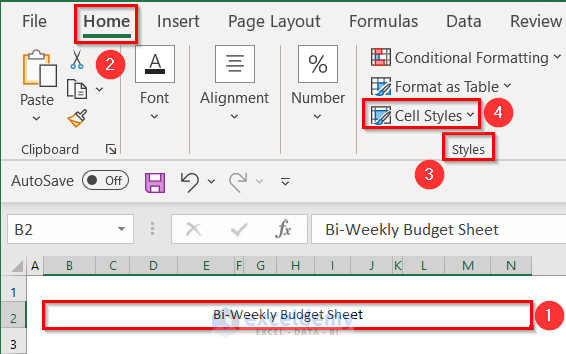
- To change the style of the heading, select the range (B2:N2) that you just merged.
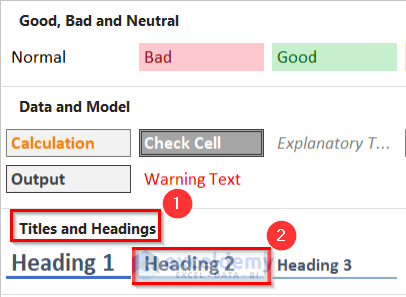
- Go to the Home tab and click on the Cell Styles drop-down.
- Go to the Titles and Headings section.
- Click on Heading 2.
- Here’s the look of the heading.

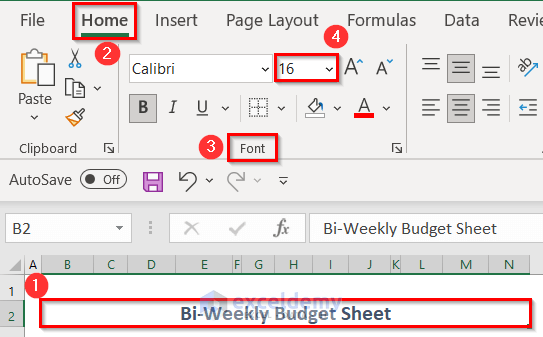
- Click on the heading (Bi-weekly Budget Sheet).
- Go to the Home tab and the Font group, then change the Font Size to 16.
Step 2 – Insert a Heading for Two Biweekly Budgets in the Month
- Select the range B4:E4.
- Go to the Home tab.
- Click on Merge & Center in the Alignment group.
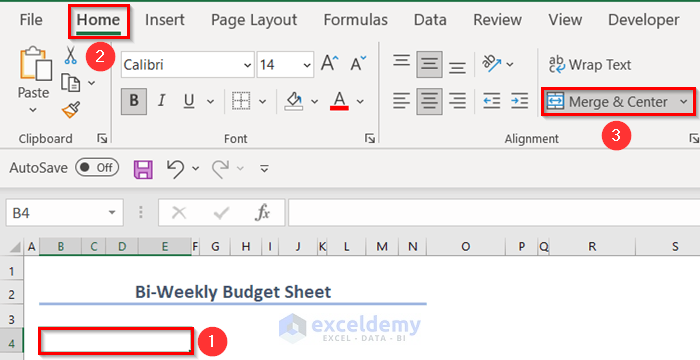
- Type ‘Week 1 & 2’ in the merged range B4:E4.
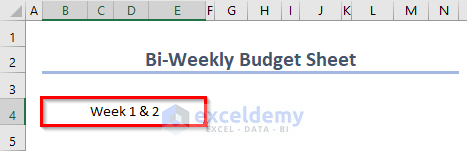
- Select the heading and click on Bold (B).
- Change the Font Size to 14 and go to the Fill Color drop-down and select any color you want.

- To change the font color of the heading, click on the heading and click on the Font Color drop-down, then choose any color.

- Here’s the result based on the formatting we chose.
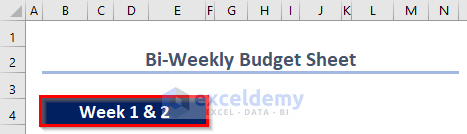
- Prepare the heading for Week 3 & 4 in the same way in G4:J4.
- To provide a border to the ‘Week 1 & 2’ heading, select the heading (Week 1 & 2) and click on the Border drop-down, then choose All Borders.
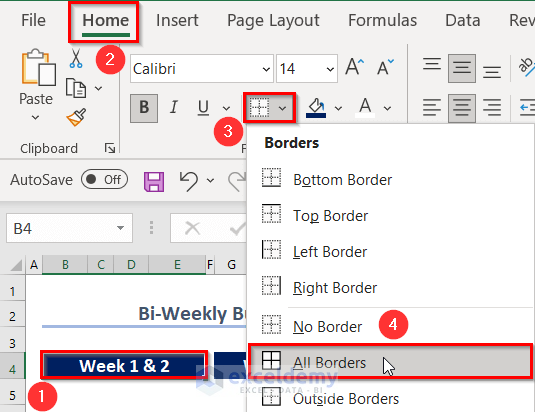
- Add a border to the ‘Week 3 & 4’ heading.

Read More: How to Create Actual Vs Budget Variance Reports in Excel
Step 3 – Prepare the Work Period and Income Tables
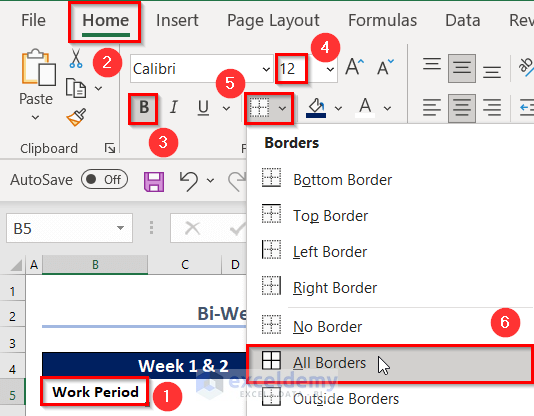
- Type ‘Work Period’ in cell B5.
- Select cell B5 and click on Bold (B), change the Font Size to 12, and click on the Border drop-down then choose All Borders.
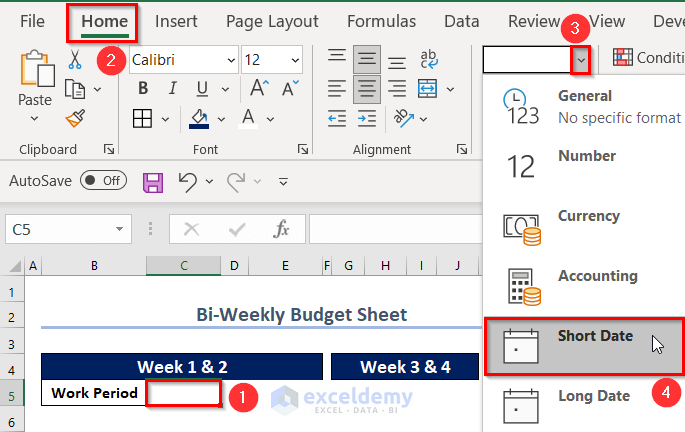
- In cells C5 and E5, we want to enter the start and end dates of the first two weeks. Change the Number Format of those cells to Short Date.
- Type the start date (1/6/2021) of the Work Period.

- Insert the end date (15/6/2021).
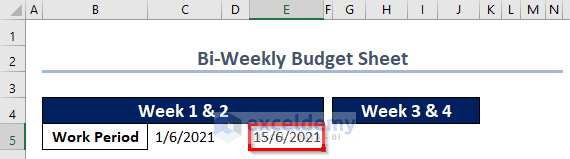
- Type ‘to’ in between the cells of the two dates (cell D5).
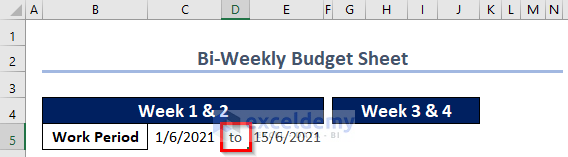
- Select the range C5:E5, go to the Home tab, and click on the Border drop-down.
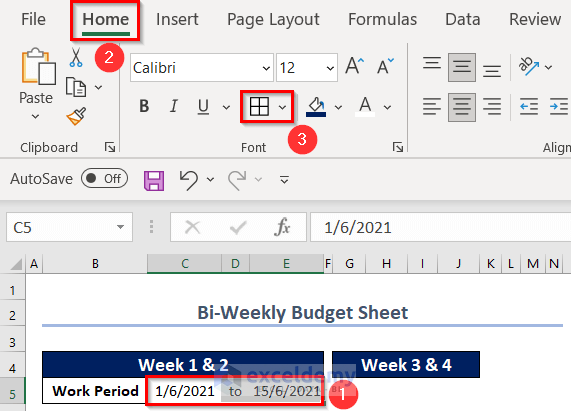
- Choose All Borders from the Border drop-down.

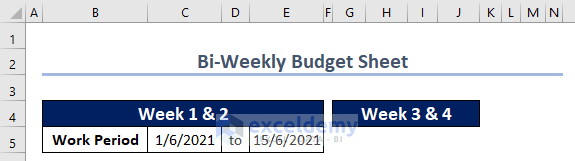
- Here’s the Work Period table of Week 1 & 2.
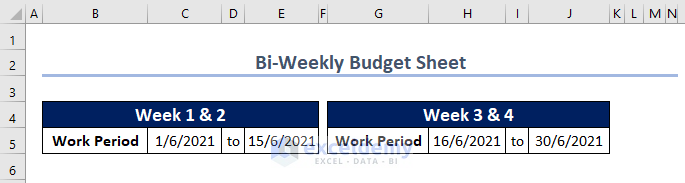
- Make a Work Period table for Week 3 & 4.
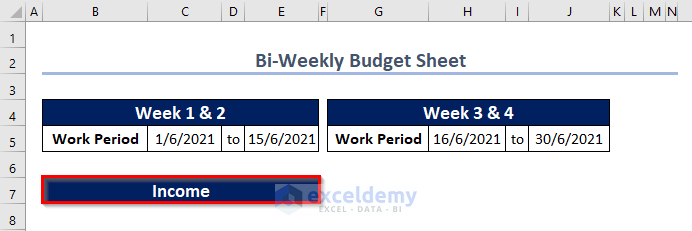
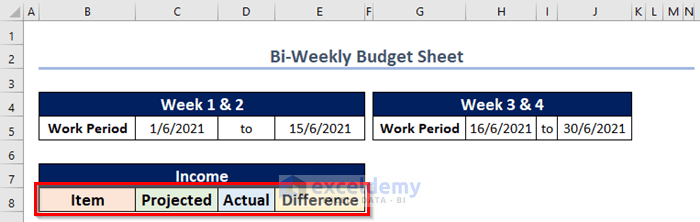
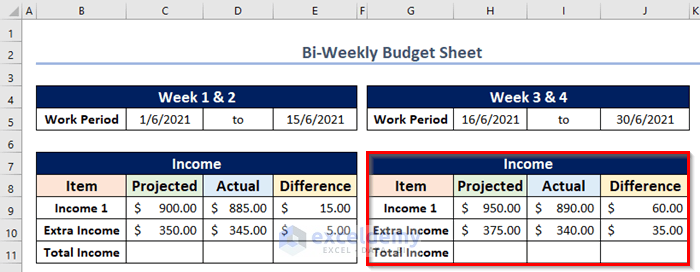
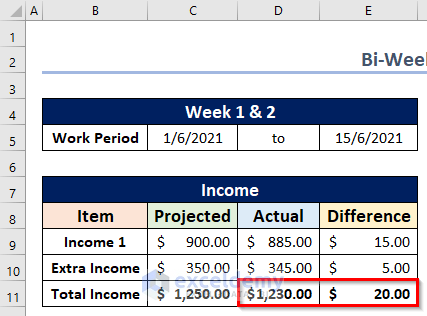
- Insert the Income heading for Week 1 & 2 in row 7.
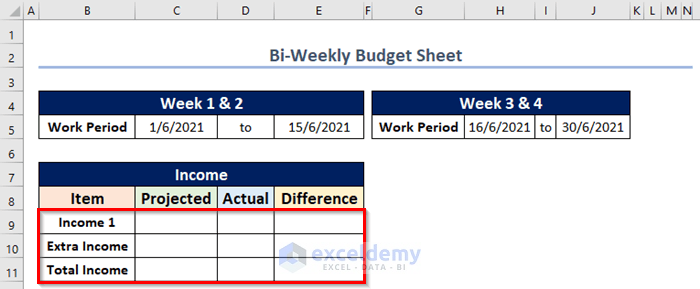
- Create the headings for the Items, Projected and Actual Incomes, and the Difference between the Projected and Actual Incomes.
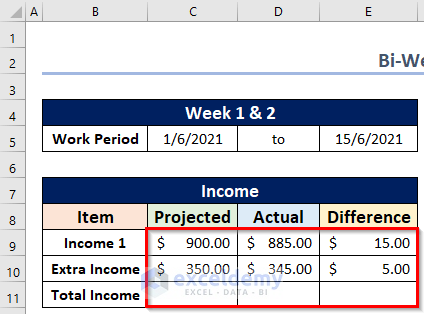
- Input the names of the Items and insert a border into the entire table.
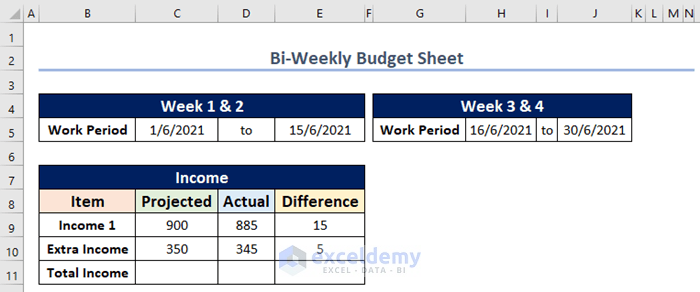
- Enter the Projected and Actual Incomes of the Items.
- Calculate the Difference between the Projected and Actual incomes in E9:
=C9-D9- Hit Enter and fill the formula down one cell.
- Select the range C9:E11, go to the Home tab, and choose Accounting from the Number Format drop-down.
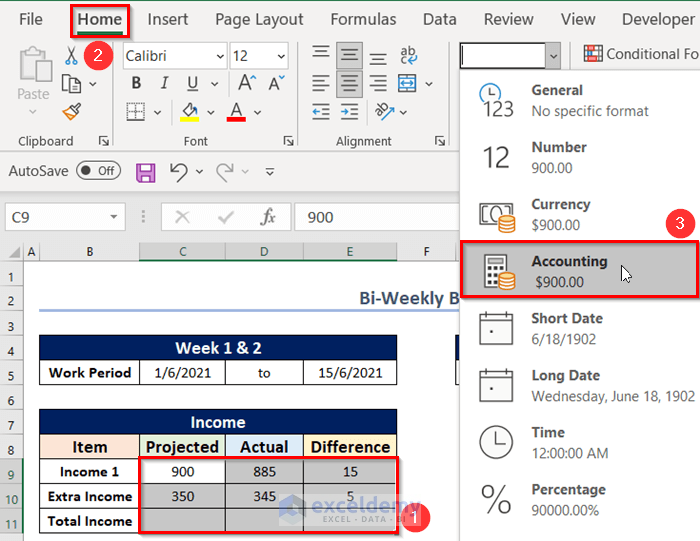
- The $ sign will be added before the Income values (see screenshot).
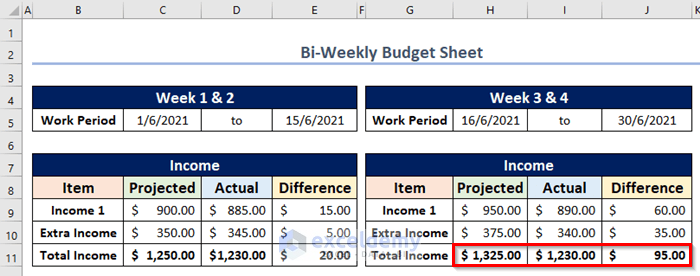
- Make another Income table for Week 3 & 4 in the same way.
Read More: How to Create Renovation Budget in Excel
Step 4 – Calculate Total Incomes
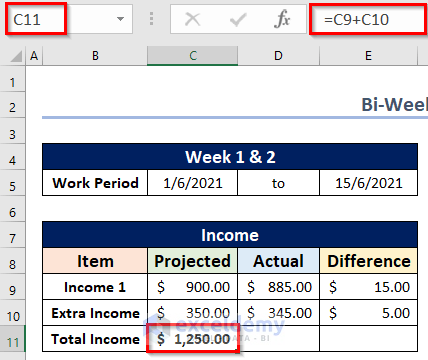
- To calculate the Total Projected Income in Week 1 & 2, use the formula below in cell C11:
=C9+C10- Press the Enter key.
- Calculate the Total Income for the Actual and Difference columns in cells D11 and E11, respectively.
- Calculate the Total Incomes in Week 3 & 4.
Read More: How to Create Budget and Expense Tracker in Excel
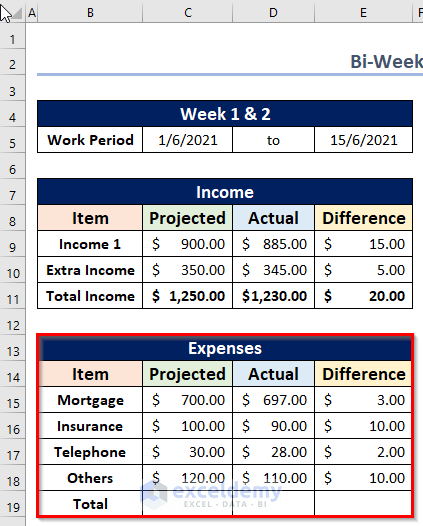
Step 5 – Form Datasets for Expenses
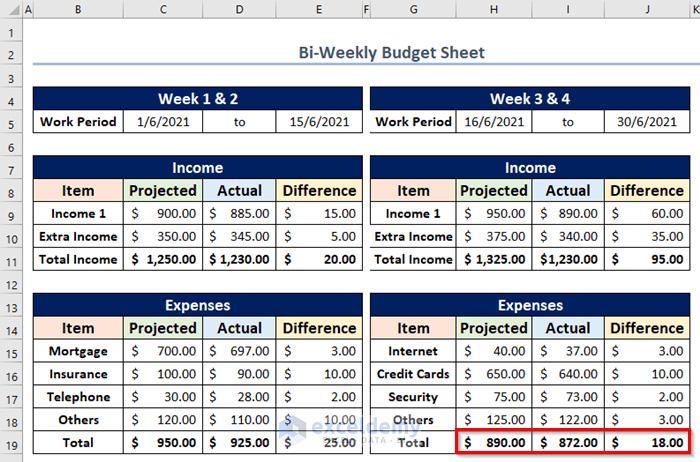
- Insert the dataset for Expenses in Week 1 & 2 like the following figure.
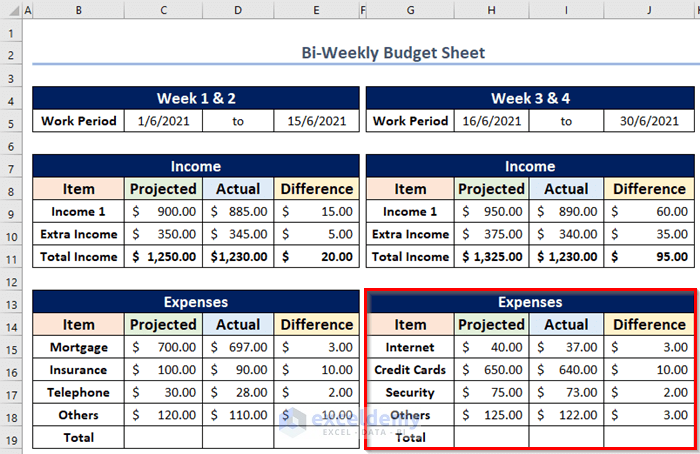
- Insert the Expenses table for Week 3 & 4.
Read More: How to Create a 50-30-20 Budget Spreadsheet in Excel
Step 6 – Determine the Total Expenses for Two Biweekly Budget Plans
- Go to cell C19.
- Enter the formula with the SUM function in cell C19 to get the Total Projected Expenses:
=SUM(C15:C18)- Hit Enter.
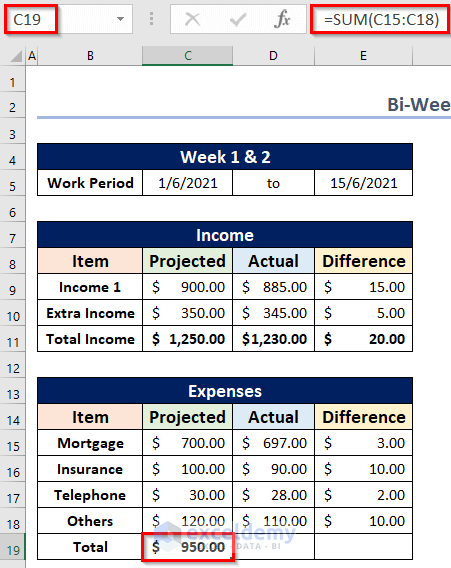
- AutoFill to calculate the Total Expenses in cells D19 and E19, respectively.
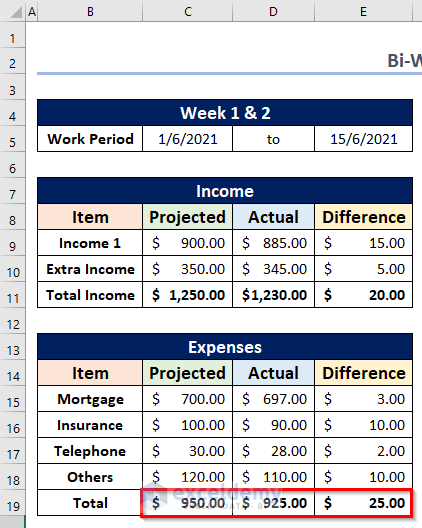
- Determine the Total Expenses in Week 3 & 4 (see screenshot).
Read More: How to Prepare a Sales Budget with Example in Excel
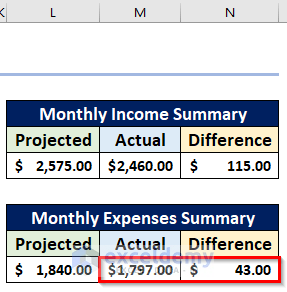
Step 7 – Create the Monthly Income and Expenses Summary
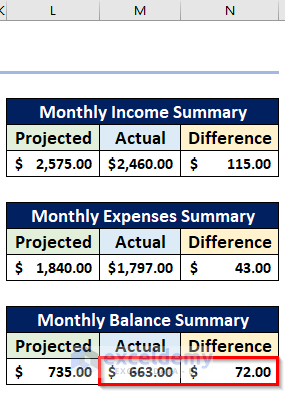
- Create a dataset (L4:N6) for the Monthly Income Summary.
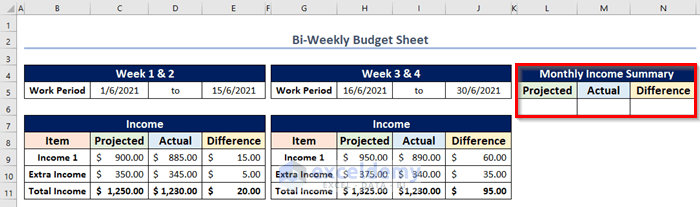
- Select cell L6.
- To find the total Projected Monthly Income, apply the following formula in the cell:
=C11+H11- Press Enter.
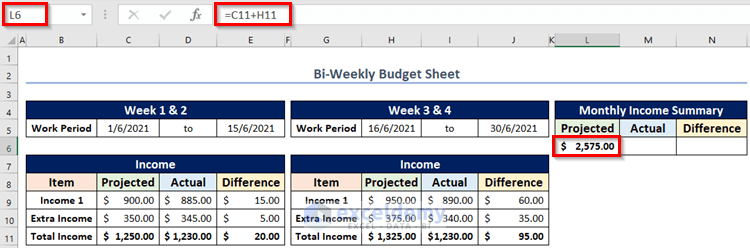
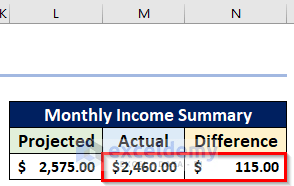
- Compute the monthly Actual income and Difference in cells M6 and N6, respectively. You can use AutoFill.
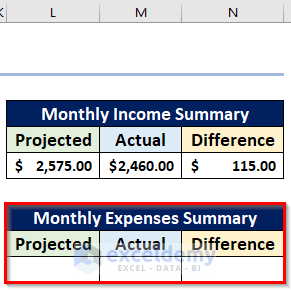
- Make another dataset (L7:N10) for determining the Monthly Expenses Summary.
- Calculate the total Projected Monthly Expenses by using the following formula in cell L10:
=C19+H19- Hit Enter.
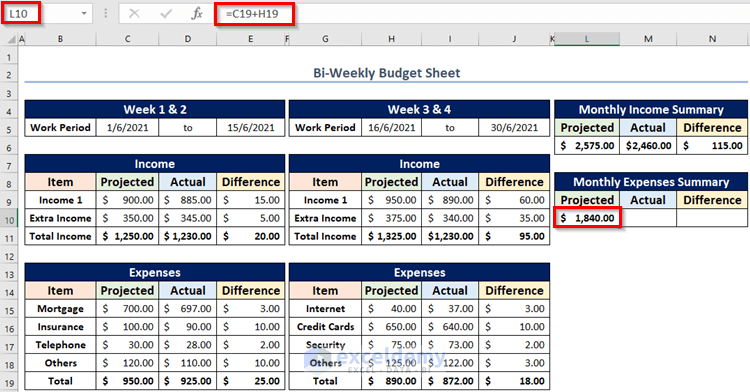
- Determine the total Monthly Expenses in cells M10 and N10 via AutoFill.
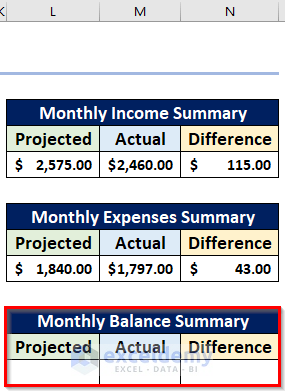
Step 8 – Compute the Monthly Balance
- Insert a table (L12:M14) for the Monthly Balance Summary like in the following picture.
- Calculate the Projected Monthly Balance by inserting the formula below in cell L14:
=L6-L10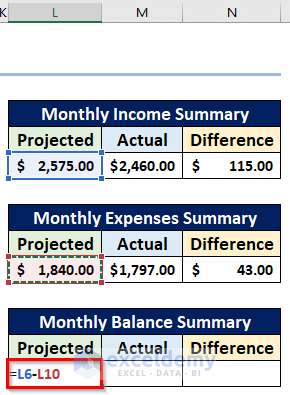
- Press the Enter key.
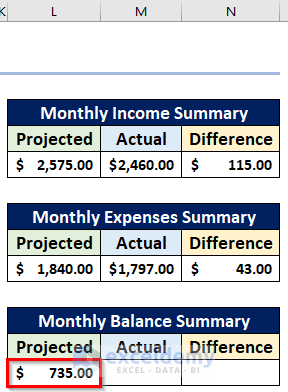
- Determine the Monthly Balance Summary for the Actual and Difference columns via AutoFill.
Final Output
Method 2 – Downloading the Built-in Biweekly Budget Template in Microsoft Excel
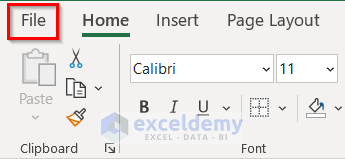
- Go to the File tab.
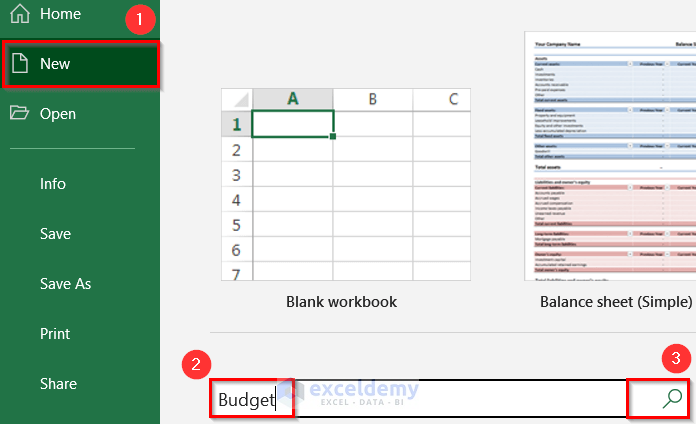
- Click on New.
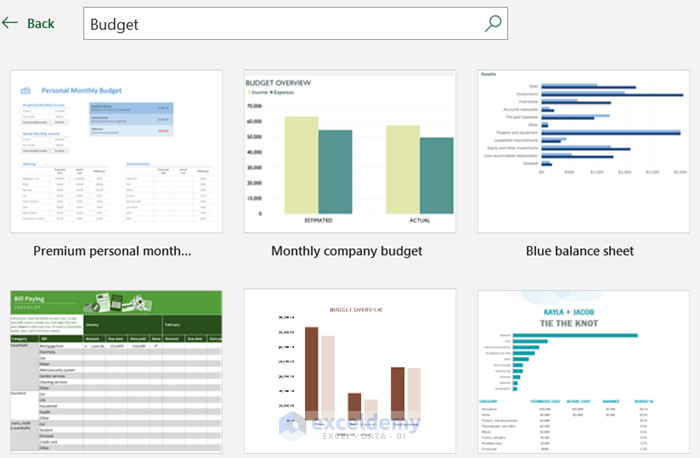
- Type Budget in the search bar.
- Click on the search icon.
- You will see some Budget templates.
- Download any Budget template and modify it as per your requirements.
Download the Practice Workbook
Related Articles
- How to Make Food and Beverage Budget in Excel
- How to Create a Budget with Irregular Income in Excel
- How to Prepare a Vacation Budget in Excel
- How to Create Uncertainty Budget in Excel
- Create Retirement Budget Worksheet in Excel
<< Go Back to Budget Template | Finance Template | Excel Templates
Get FREE Advanced Excel Exercises with Solutions!
