To apply the single accounting underline format in Excel, follow the steps:
- Select your data or range of data.
- Press Ctrl + 1 from the keyboard, not from the numeric keypad.
- From the Format Cells dialog box, click on the Font tab,
- Choose Single Accounting from the Underline field.
- Click OK to apply the single accounting underline format.
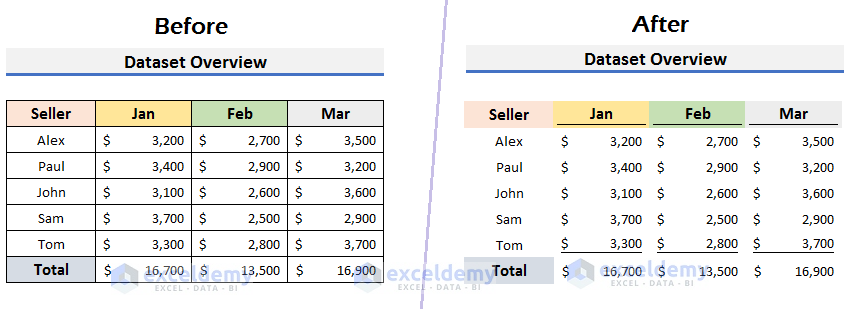
Consider the following image that provides an overview of this Excel tutorial. The right side of the image shows the single accounting underlined format on the selected cells of Excel.
What Is the Single Accounting Underline Format in Excel?
The single accounting underline is a formatting style commonly used in financial and accounting documents to emphasize or separate specific cells or ranges. It involves applying a line under the characters in a cell, creating a professional and neat appearance suitable for financial reports, tables, and statements. The underline serves to draw attention to important figures, making it easier for readers to navigate and interpret financial data.
Uses of Single Accounting Underline Format in Excel: The single accounting underline format serves various purposes in financial documents. For example, it can be applied to highlight total sales figures, emphasize subtotals in expense sheets, or draw attention to net profit in financial statements. This formatting tool is particularly useful for creating organized and professional-looking spreadsheets, ensuring key financial metrics are highlighted, and facilitating quick analysis of critical data points, making it an essential feature for effective financial reporting and analysis in Excel.
2 Ways to Apply Single Accounting Underline Format in Excel
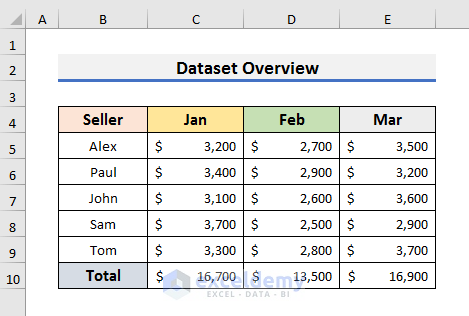
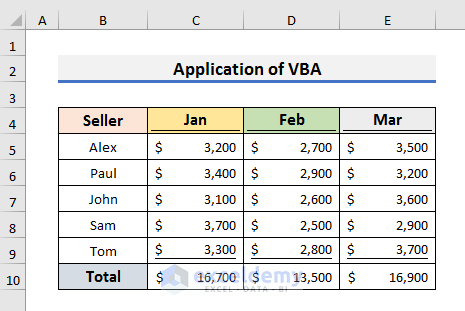
Consider the following sample data named as Dataset Overview. We have some seller names in the Seller column and their monthly sales for three months: January, February, and March. We’ll apply the single accounting underline format to the column heads of the months (Jan, Feb, and Mar) and to the cells above the Total row.
Method 1 – Using the Format Cells Dialog Box
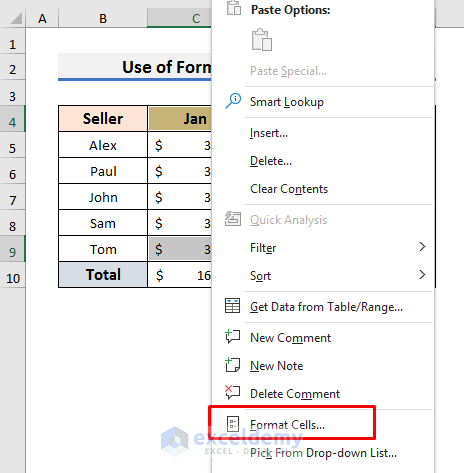
- Select the cells that you want to apply the single accounting underline format. In our sample data, the cells selected for formatting are C4:E4 and C9:E9.
- Right-click on the selected cells, and from the context menu, choose Format Cells. Alternatively, go to the Home tab and, from the Font group, click the Dialog Box Launcher button (
 ).
).
Shortcut: Press Ctrl + 1 (from the keyboard, not from the numeric keypad) to directly open the Format Cells dialog box.
- The Format Cells dialog box will appear.
- Click on the Font tab and select Single Accounting from the Underline field.
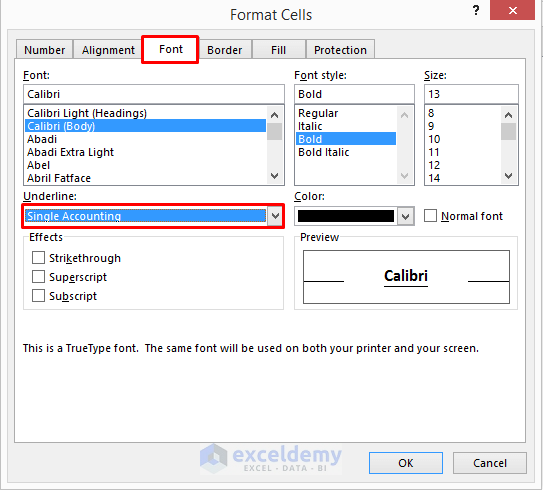
- Click OK to apply single accounting underlines to the selected cells.
This will convert the formats of the selected cells into single accounting underlined.

Note: No dedicated keyboard shortcut exists for applying a single accounting underline format in Excel. To insert a single underline, select your data ranges and press Alt + H + 3 + U sequentially. The keyboard shortcuts Ctrl + 4 and Ctrl + U can quickly apply the single underline format to the selected cells in Excel.
Method 2 – Using Excel VBA
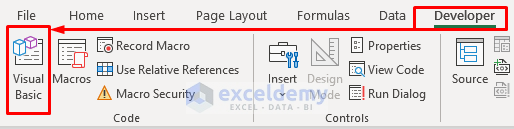
- Open the Visual Basic Editor by clicking on Visual Basic tool from the Developer tab.
Shortcut: Press Alt + F11 to open the Visual Basic Editor directly.
- Click on Insert and select Module. Or, right-click on any item in the project explorer on the left, then select Insert and choose Module.
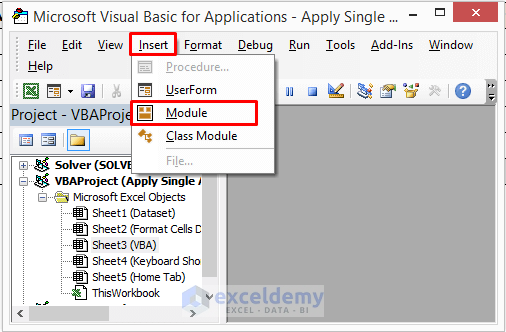
- Copy and paste the following codes into the module:
Sub Single_Accounting_Underline() Selection.Font.Underline = xlUnderlineStyleSingleAccounting End Sub - Save (Ctrl + S) and close the VBA editor.
- Select your data ranges. The selected data ranges are C4:E4 and C9:E9.
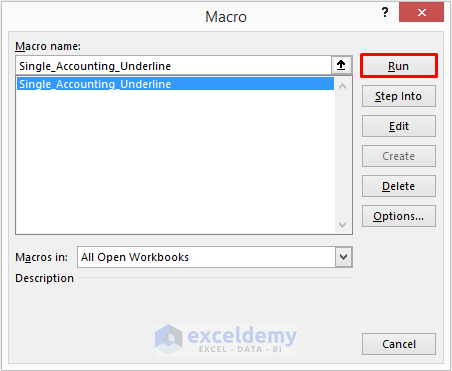
- Press Alt + F8 to open the Macro dialog box. Alternatively, from the Developer tab, click on Macros.
- Select Single_Accounting_Underline from the list of Macro name.
- Click Run.
- Shortcut: Before closing the VBA editor, you can also run the macro by pressing F5.
This will convert the formats of the selected cells into single accounting underlined, making them suitable for displaying financial data in a clear and organized manner. You can change macro name (Single_Accounting_Underline) as per your requirement.
Download the Practice Workbook
Frequently Asked Questions
How to apply the double accounting underline format in Excel?
To apply the Double Accounting Underline format in Excel, simply select the target cells, navigate to the Home tab, and find the Underline field in the Font group. Click on the drop-down arrow and choose Double Accounting to instantly apply a double underline beneath the characters. This formatting style is especially useful in financial documents, providing a distinct emphasis on numeric data for a polished and professional appearance in Excel spreadsheets.
Can I customize the appearance of the single accounting underline?
Yes, you can customize the line style, color, and other formatting options by right-clicking on the selected cells, choosing Format Cells, and navigating to the Font tab.
What are the differences between a single underline and a single accounting underline format?
In Microsoft Excel, the single underline and single accounting underline formats both involve underlining text, but they differ in their specific applications and visual characteristics. The single underline places a line directly beneath the text, while the single accounting underline is designed for financial contexts, positioning the underline slightly lower to accommodate characters with descenders, such as “g” or “y.” This format ensures a polished and professional appearance in financial documents, enhancing readability by preventing overlap with descending characters. In contrast, the single underline is more versatile, serving general highlighting purposes. The choice between the two depends on the nature of the document, with the single accounting underline being particularly suitable for financial reports and statements.
How can I remove the single accounting underline format in Excel?
To remove the single accounting underline format in Excel, select the cells or range where the formatting is applied. Navigate to the Home tab, locate the Underline icon in the Font group, and choose None or No Underline from the drop-down menu. Alternatively, if you used the keyboard shortcut to apply the single underline, pressing Ctrl + U or Ctrl + 4 while the cells are selected will remove the formatting, providing flexibility in adjusting the appearance of your Excel spreadsheet.
<< Go Back to Accounting Number Format | Number Format | Learn Excel
Get FREE Advanced Excel Exercises with Solutions!
