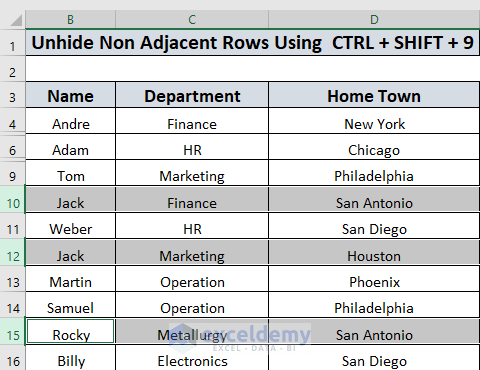
Dataset Overview
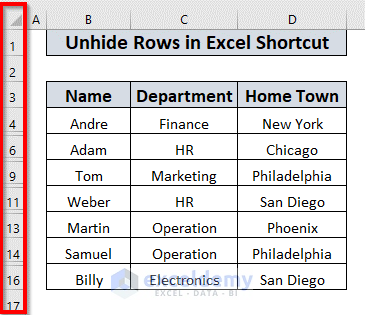
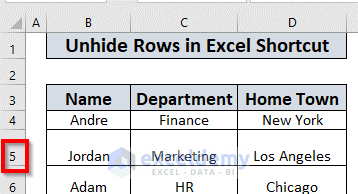
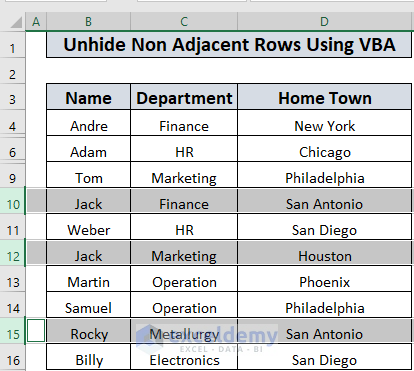
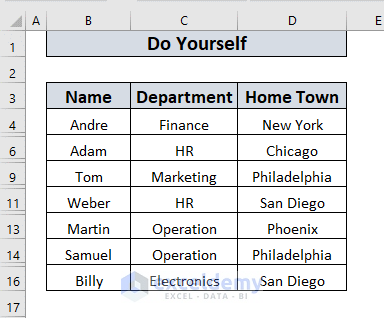
Our dataset to demonstrate these methods, is a list of students with their hometowns and departments. The 5th, 7th, 8th, 10th, 12th, and 15th rows are hidden.
Method 1 – Double Click
- In your datasheet, locate the hidden row (e.g., 5th row).
- Place your mouse pointer between the 4th and 6th rows.
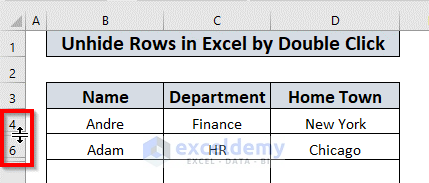
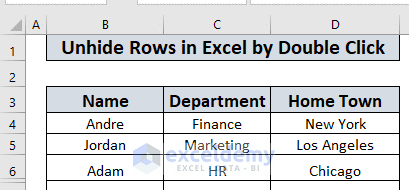
- Double-click the mouse to unhide the 5th row.
- Repeat for other hidden rows.
Read More: How to Unhide Rows in Excel
Method 2 – Shortcut (CTRL + SHIFT + 9)
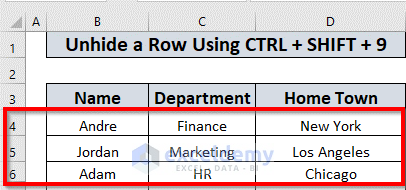
2.1. Unhide a Row using CTRL + SHIFT + 9
- Select adjacent rows (e.g., 4th and 6th) around the hidden row.
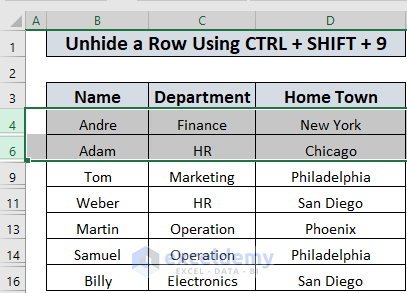
- Press CTRL + SHIFT + 9 to unhide the selected row.
Excel will unhide the 5th row, as it was between the selected 4th and 6th rows.
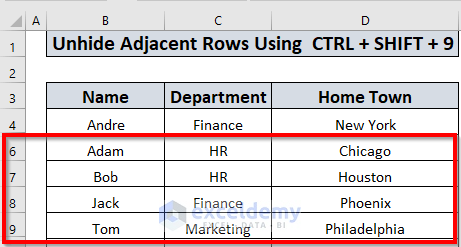
2.2. Unhide Several Adjacent Rows using CTRL + SHIFT + 9
- For multiple adjacent hidden rows, select the appropriate range (the 6th and 9th rows).
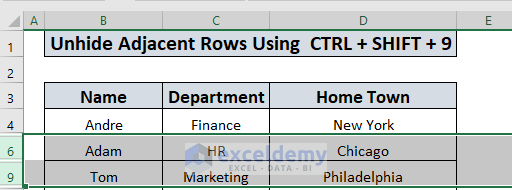
- Then press CTRL + SHIFT + 9.
The 7th and 8th rows will appear.
2.3. Unhide Several Non-Adjacent Rows using CTRL + SHIFT + 9
- Select a range of rows where the hidden rows exist, select from 9th row to 16th row.
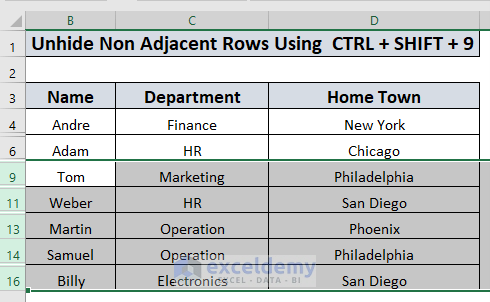
- Press CTRL + SHIFT + 9.
The 10th, 12th, and 15th rows will appear.
Method 3 – Shortcut using VBA
3.1. Shortcut to Unhide a Row in Excel using VBA
To unhide a row, (the 5th row in this case):
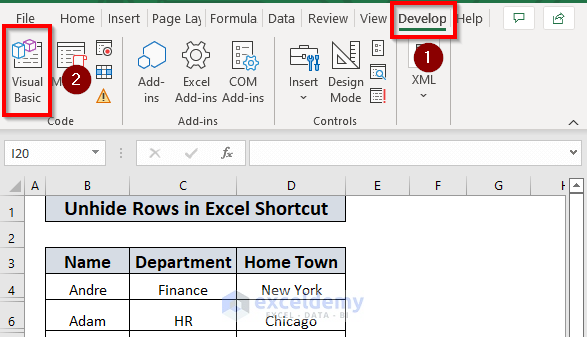
- Go to Developer tab and select Visual Basic.
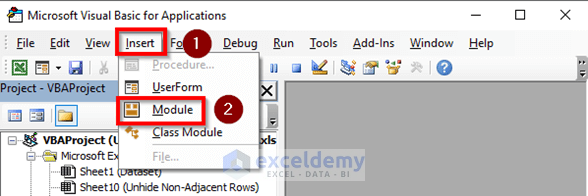
- Insert a new module (Insert tab and choose Module).
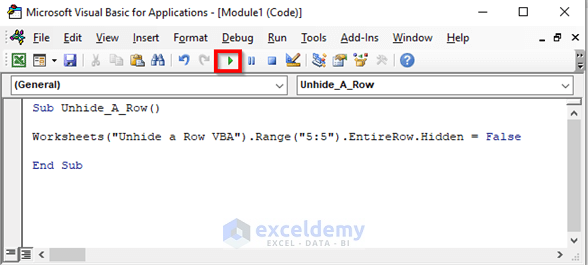
- Enter the following code:
Sub Unhide_A_Row()
Worksheets("Unhide a Row VBA").Range("5:5").EntireRow.Hidden = False
End Sub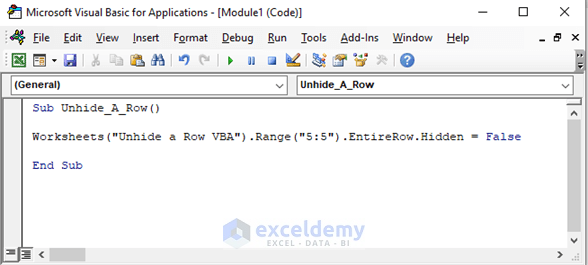
Here, a Sub Procedure Unhide_A_Row was created, and it mentioned the worksheet. The Range.Hidden property was used and set to False as it must unhide the entire row. Range (“5:5”) indicates that the range starts and ends in the 5th row.
- Run the program to unhide the 5th row in the specified worksheet.
Excel will unhide the 5th row in the “Unhide a Row VBA” datasheet.
3.2. Shortcut to Unhide Adjacent Rows in Excel using VBA
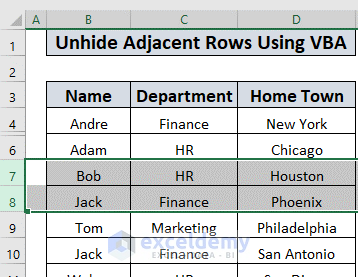
In our dataset, 7th, and 8th, two adjacent rows are hidden. To unhide these rows using VBA:
- Open the VBA editor and insert a new module (follow the steps explained in section 3.1).
- Enter the following code:
Sub Unhide_Adjacent_Rows()
Worksheets("Unhide Adjacent Rows VBA").Range("7:8").EntireRow.Hidden = False
End Sub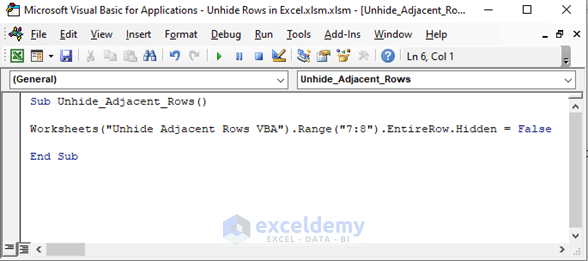
Here, a Sub Procedure Unhide_Adjacent_Rows was created, and it mentioned the worksheet. The Range.Hidden property was used and set to False as it must unhide the entire row. Range from (“7:8”) indicates that the range starts with the 7th row and ends at the 8th row.
- Run the program to unhide the 7th and 8th rows in the specified worksheet.
3.3. Shortcut to Unhide Non-Adjacent Rows in Excel using VBA
In our dataset the 10th, 12th, and 15th rows are non-adjacent and hidden. To unhide these rows using VBA:
- Open the VBA editor and to insert a new module (follow the steps explained in section 3.1).
- Enter the following code:
Sub Unhide_Non_Adjacent_Rows()
Worksheets("Unhide Non Adjacent Rows VBA").Range("10:10,12:12,15:15").EntireRow.Hidden = False
End Sub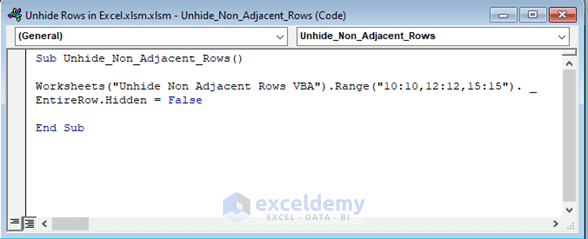
Here, a Sub Procedure Unhide_Non_Adjacent_Rows was created, and it mentioned the worksheet. The Range.Hidden property was used and set to False as it must unhide the entire row. Ranges from (“10:10,12:12,15:15”) indicate that the 10th, 12th, and 15th rows were selected.
- Run the program to unhide the 10th, 12th and 15th rows in the specified worksheet.
Note: A line break was used at the 2nd line. It is optional. The code will also run if you do not use the line break.
3.4. Unhide All Rows in Worksheet using VBA
- To unhide all the hidden rows in the worksheet, using VBA:
- Open the VBA editor and insert a new module (follow the steps explained in section 3.1).
- After inserting a new module, enter the following code:
Sub Unhide_All_Rows()
Worksheets("Unhide All Rows VBA").Rows.EntireRow.Hidden = False

End Sub
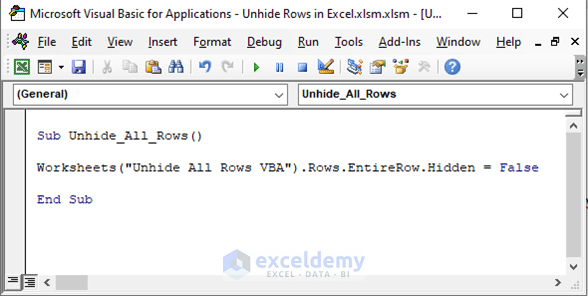
Here, a Sub Procedure Unhide_All_Rows was created, using the Worksheet.Cells Property and setting the property to False as it must unhide all the hidden rows in the worksheet.
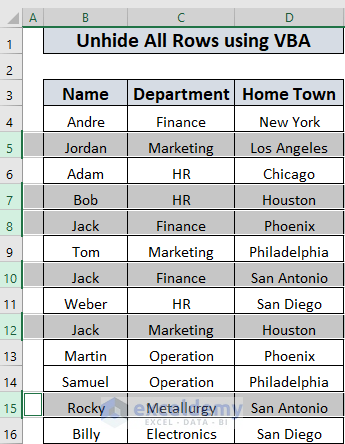
- Run the program. Excel will unhide the 5th, 7th, 8th, 10th, 12th, and 15th rows in the datasheet.
Practice Workbook
A practice worksheet has been attached.
Download Practice Workbook
You can download the practice workbook from here:
Related Articles
- How to Unhide Top Rows in Excel
- [Fix]: Unable to Unhide Rows in Excel
- Unhide All Rows Not Working in Excel
- [Fixed!] Excel Rows Not Showing but Not Hidden
<< Go Back to Hide Rows | Rows in Excel | Learn Excel
Get FREE Advanced Excel Exercises with Solutions!
