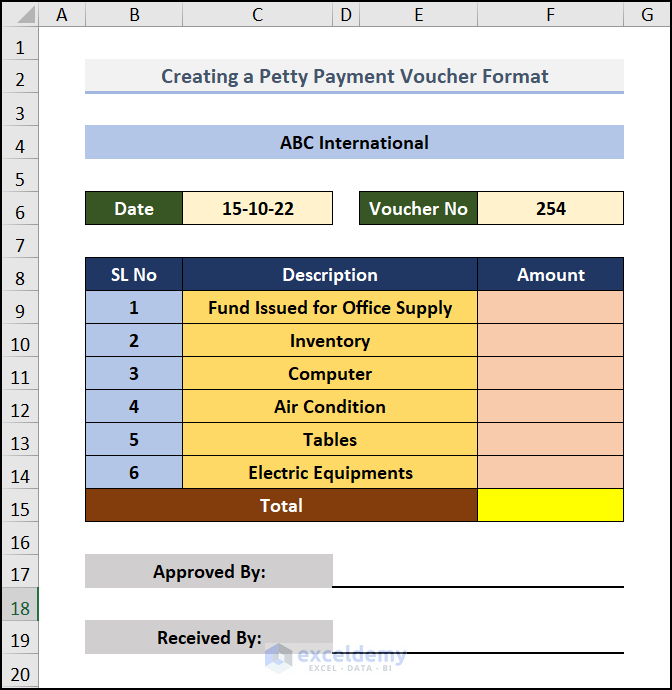
This is an overview.
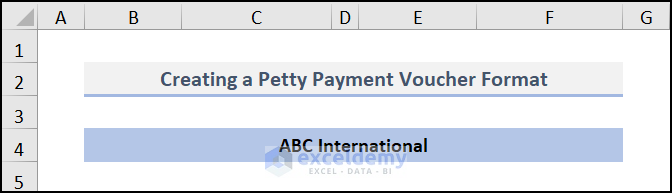
Step 1- Create Headers with the Company Name
- Merge & Center B2:F2 to create a header with the Company Name.
Step 2 – Enter the Date and Voucher Number
- Go to C6 and enter the function:
=TODAY()
It will dynamically change the date.
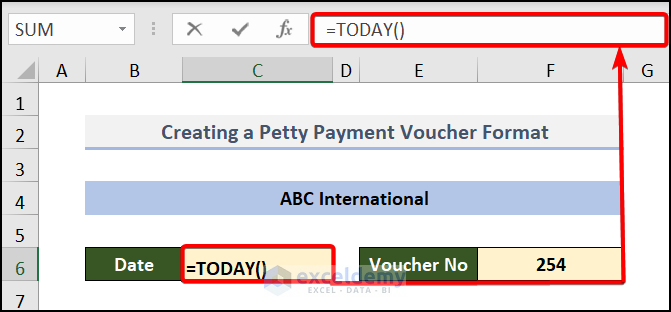
- Enter the voucher number in F6.
This is the output.

Read More: How to Make a Cash Payment Voucher Format in Excel
Step 3 – Enter Data to Set up the Voucher Format
- Enter the cause of disbursement as Description and create a Serial Number.

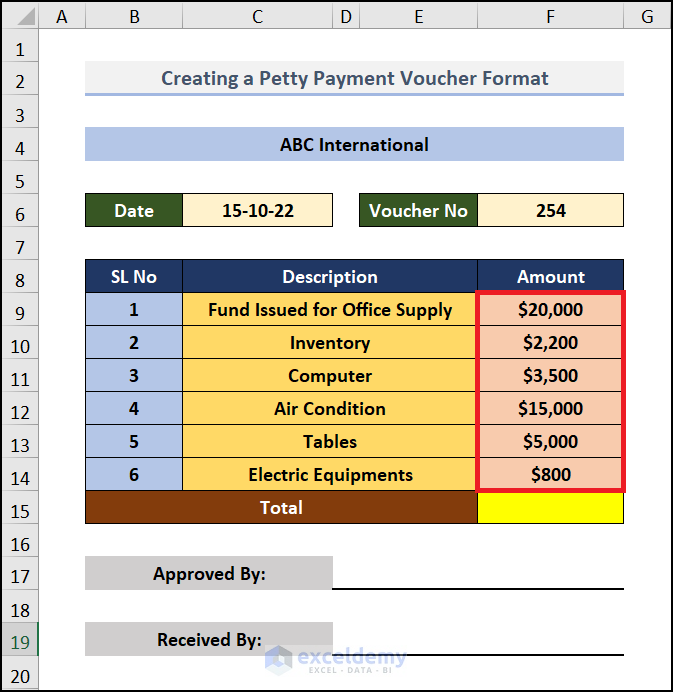
- Add the cash flow of your transactions.
This is the output.
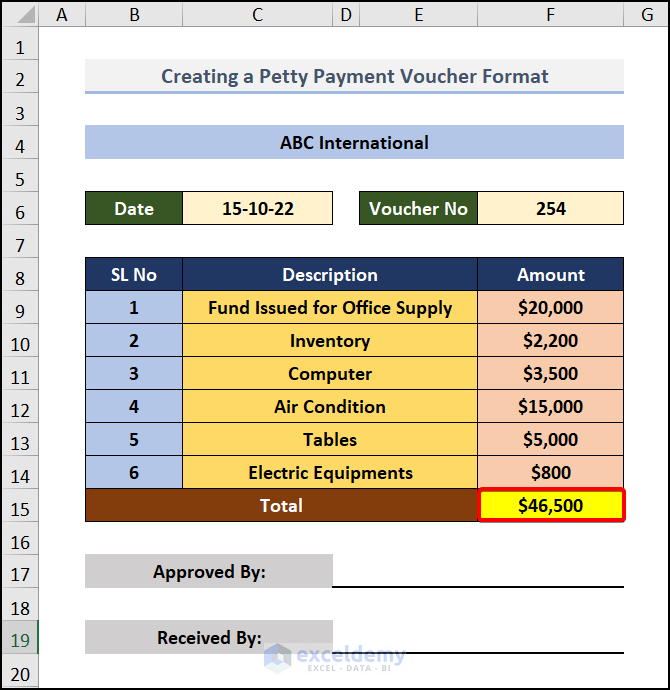
Step 4 – Calculate the Total Amount
- Go to F15 and enter the formula
=SUM(F9:F14)
F9:F14 represent the “Amount” of cash. The SUM function adds the value of F9:F14.
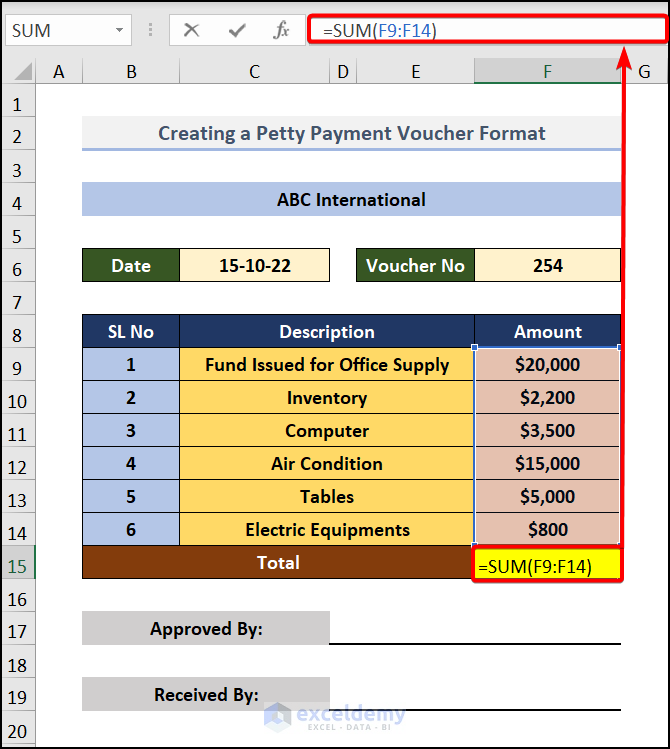
- Press ENTER to see the result.
Read More: How to Create a Salary Payment Voucher Format in Excel
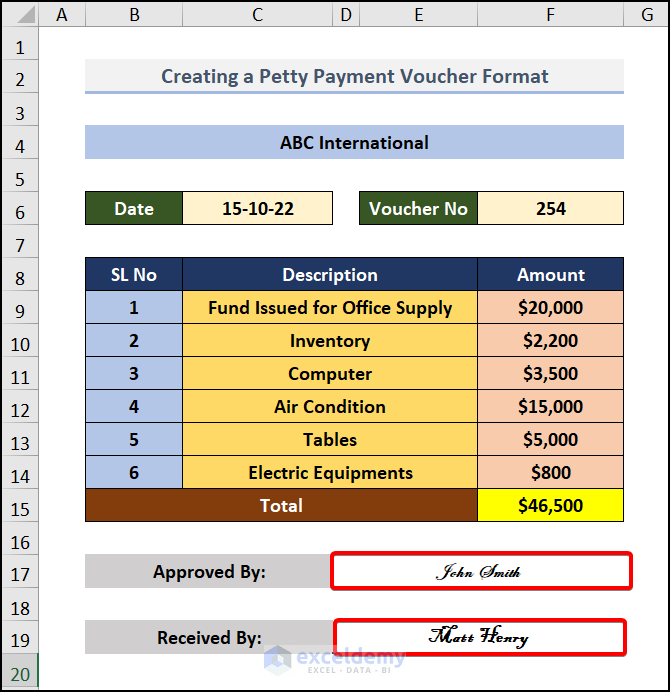
Step 5 – Enter the Signature
- Enter the signature of the person who approved the voucher and keep a space for the receiver’s signature.
Read More: How to Make a Cheque Payment Voucher Format in Excel
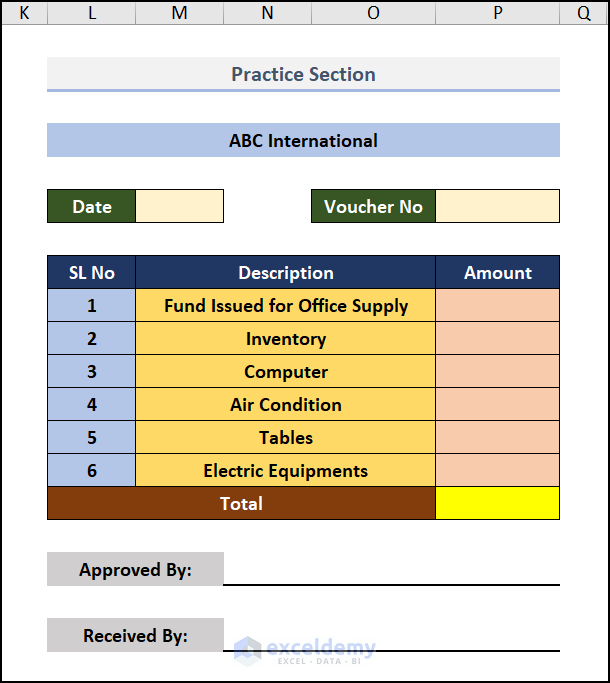
Practice Section
Practice here.
Download Practice Workbook
Download the following workbook.
Related Articles
<< Go Back to Payment Voucher | Finance Template | Excel Templates
Get FREE Advanced Excel Exercises with Solutions!
