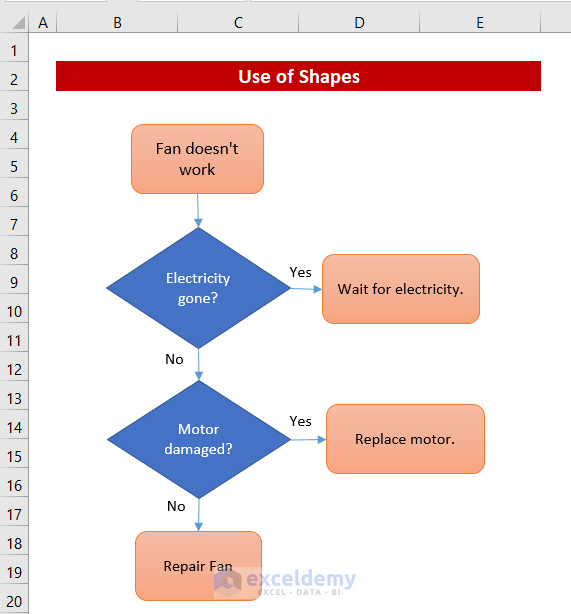
Method 1 – Insert Shapes to Make a Yes No Flowchart in Excel
Steps:
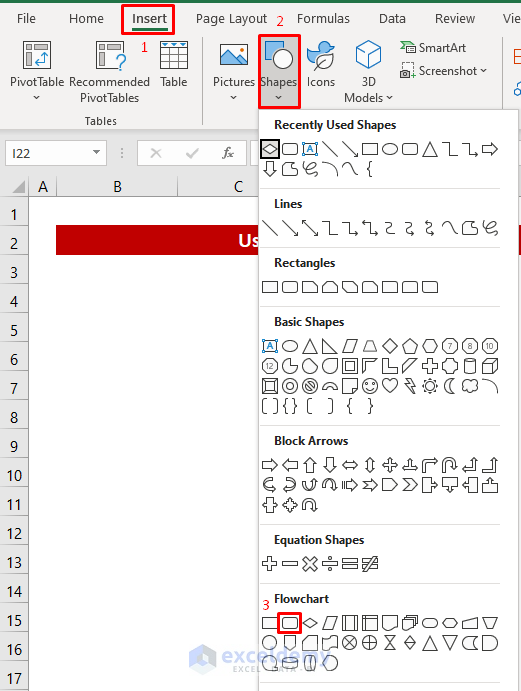
- Insert a shape: Insert > Shapes.
- Select the required shape for the Flowchart Shapes.
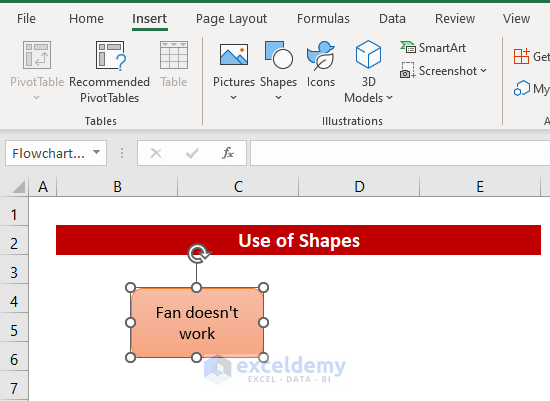
- Get the shape in your sheet, double-click on it, and type your text.
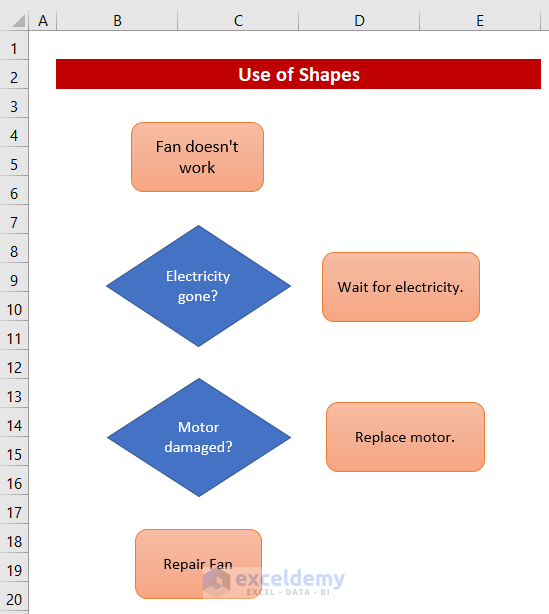
- Insert more shapes as you required. You can just copy and paste a shape using CTRL + C and CTRL + V.
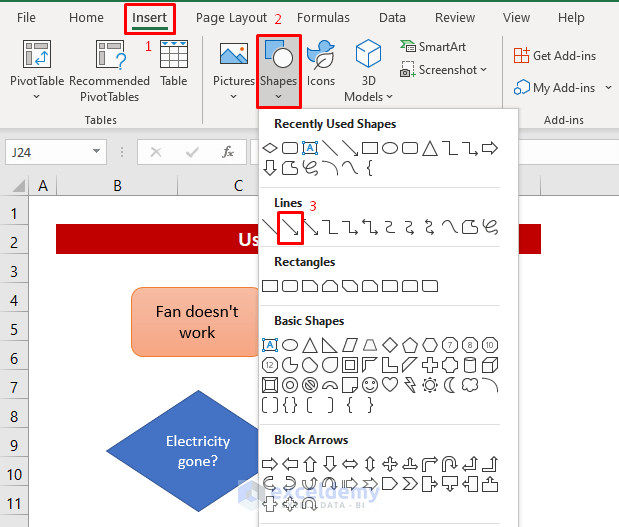
Insert arrows in the flowchart.
- Click: Insert > Shapes and select the arrow shape from the Line section.
- Keep the cursor on the circle shape of an inserted box then you will get a plus sign.
- Click and drag your mouse to the next shape.
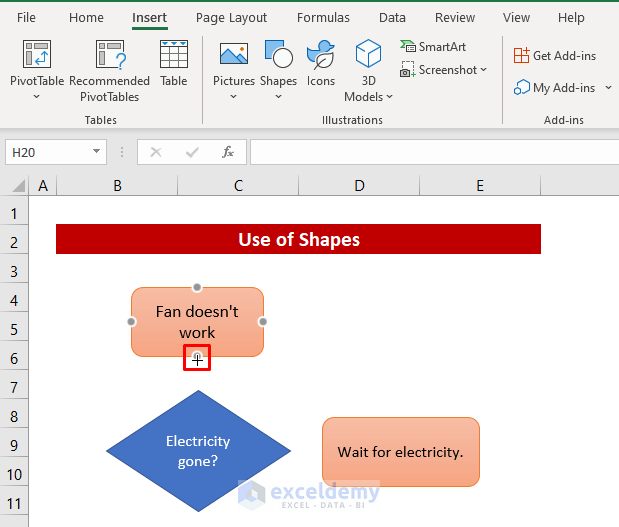
- Release the mouse and the arrow will be connected with the boxes.

The arrow will move with the shape for any connected shape, too; it won’t be disconnected.

- The same procedure adds other needed arrows to the flowchart.
Add the Yes / No text box.
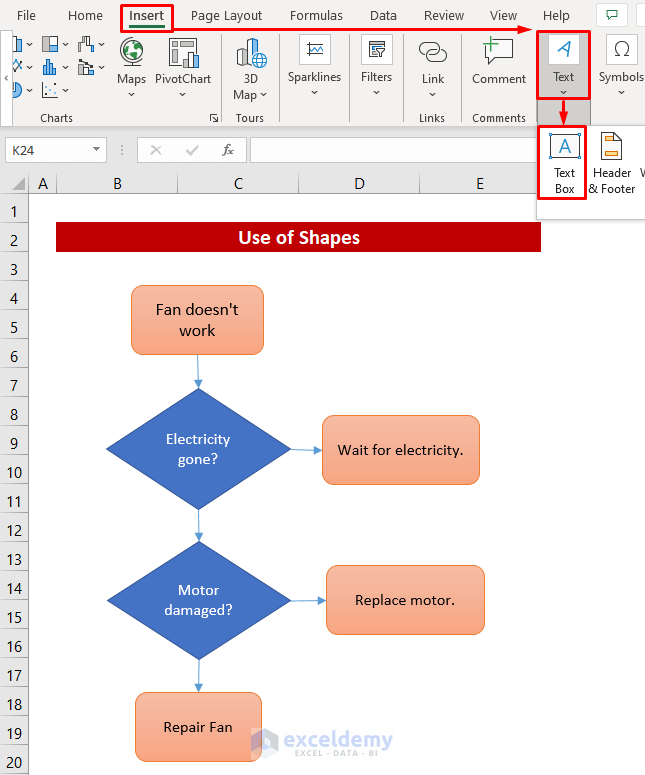
- Get a text box like the image below, and type Yes or No.
- Drag and place it close to the arrow.
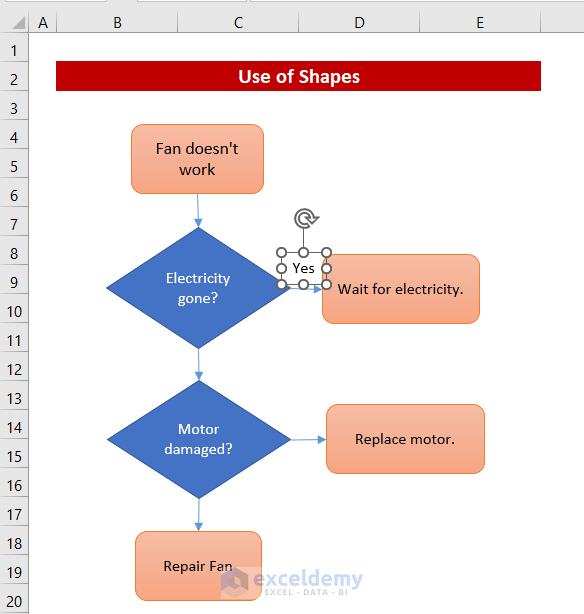
- Insert text boxes for the other arrows.
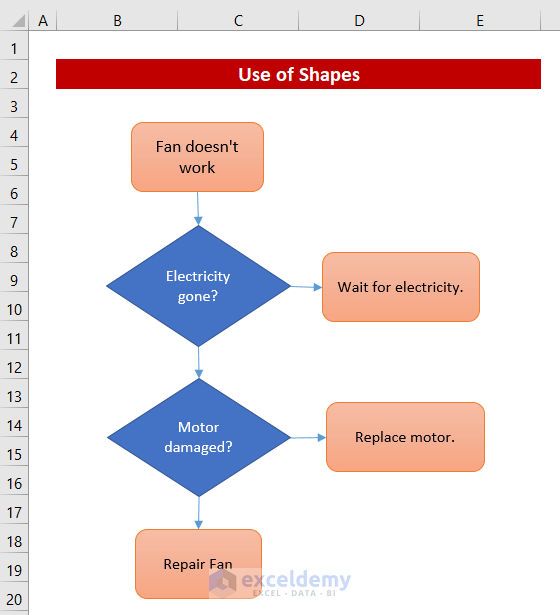
The flowchart is completed.
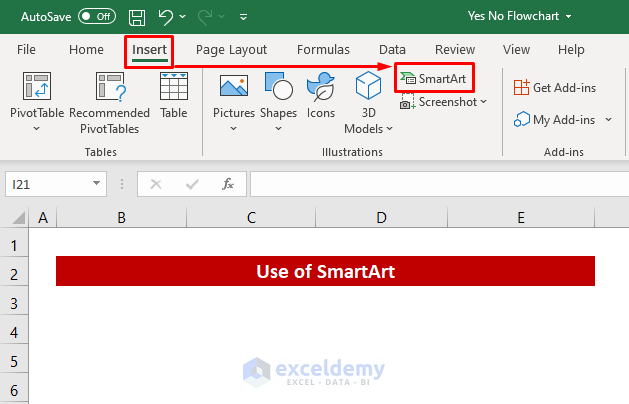
Method 2 – Insert SmartArt to Make a Yes No Flowchart
Steps:
- Click as follows: Insert > SmartArt.
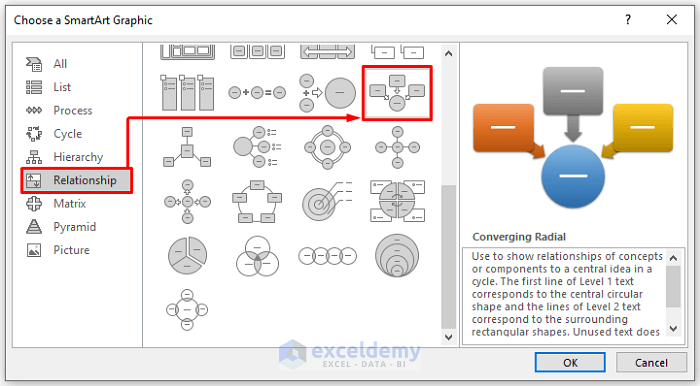
- Select your required flowchart from the categories. I selected Converging Radial.
- Press OK.
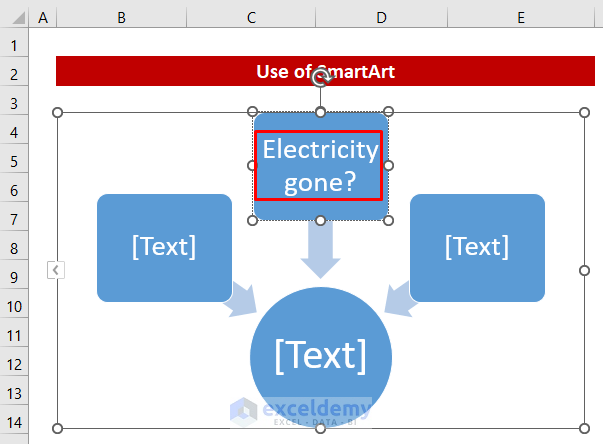
- For the outlook of the flowchart, just double-click on any shape and write your text.
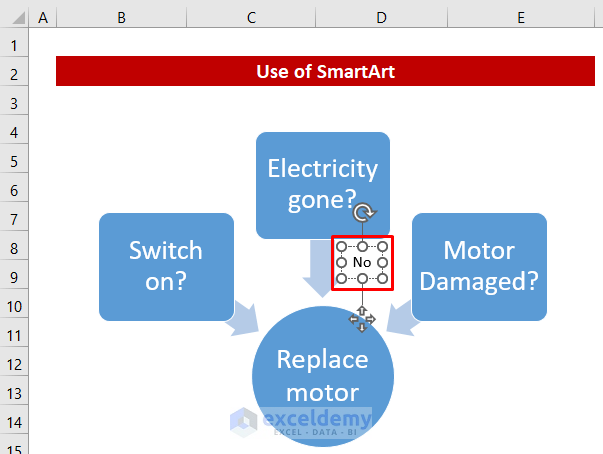
Add Yes / No.
- Follow the 10th step from the first method to insert a text box.
- Type the text and place it near the related arrow.
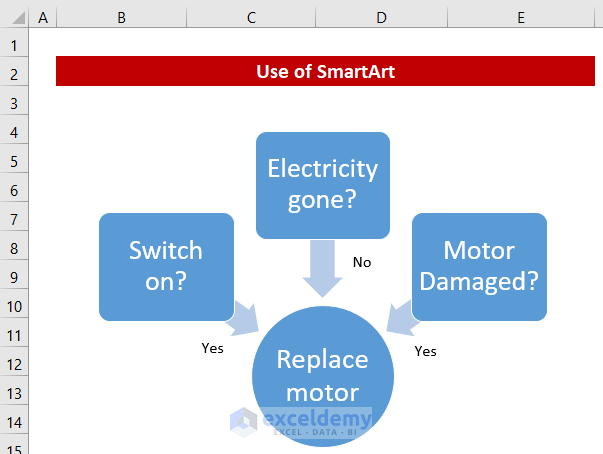
Here’s the completed flowchart.
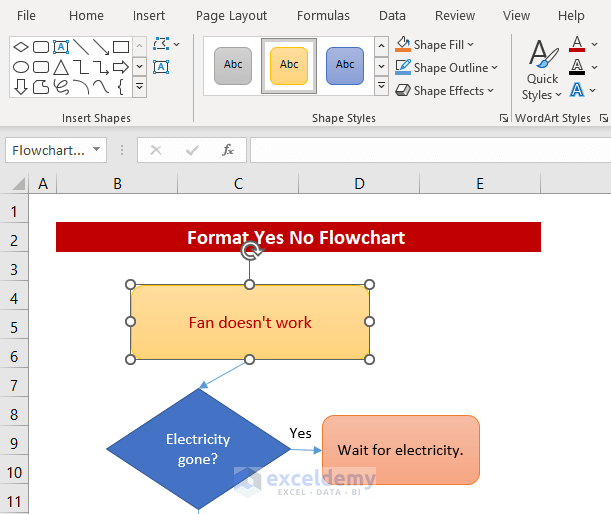
How to Format Yes No Flowchart in Excel
Excel has huge customizations to change the formats of the flowchart. Like, we can change the shape, color, text color, text font, alignment, etc. Let’s see how to change some major formats.
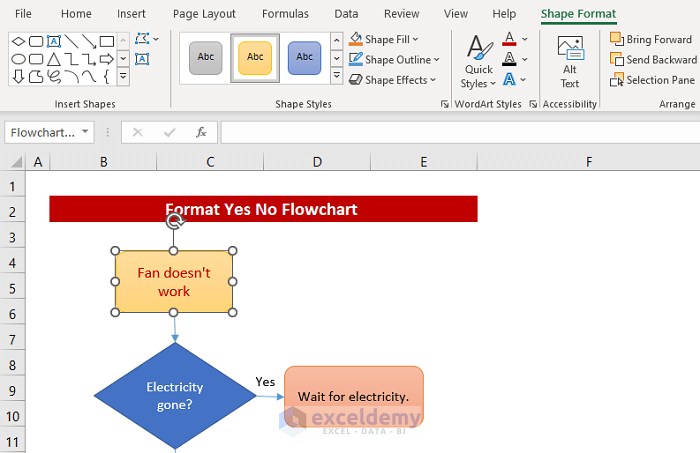
Format Shape Color
First, we’ll learn how to change the color of a shape.
Steps:
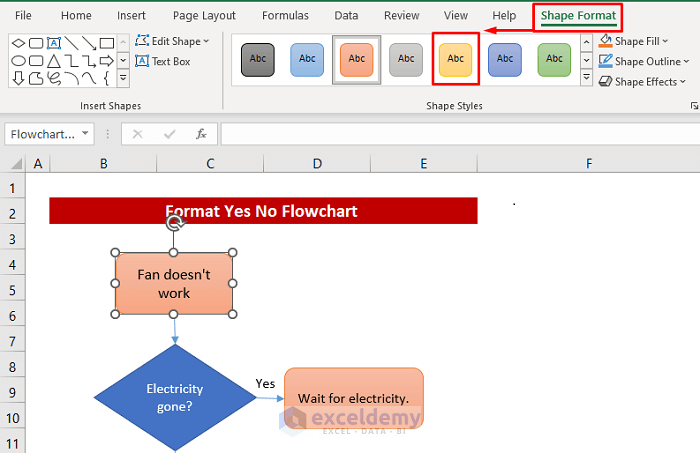
- Select the shape.
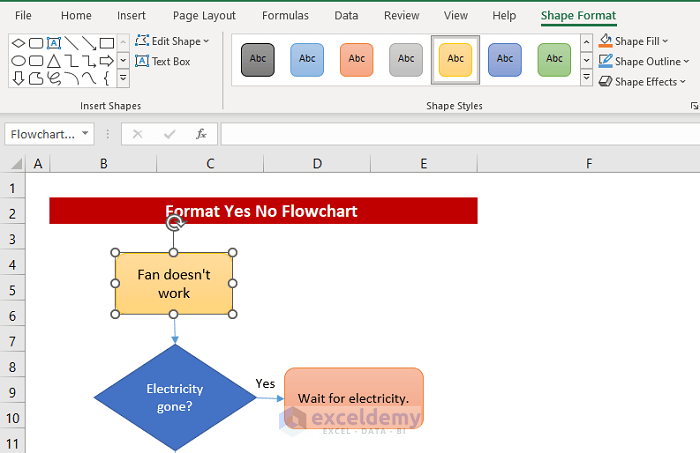
- From the Shape Format tab, pick any color from Shape Styles. I chose yellow.
The color is changed.
Format Text Color
We can change the text color too from the same Shape Format ribbon.
Steps:
- Select the shape whose text color you want to change.
- Click the Text Fill option from the WordArt Styles.
- Choose the desired color from the appeared menu. I chose red.
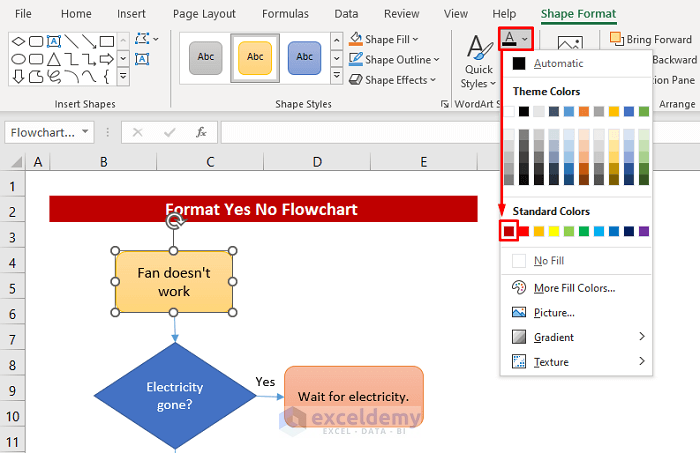
Excel has changed the text color successfully.
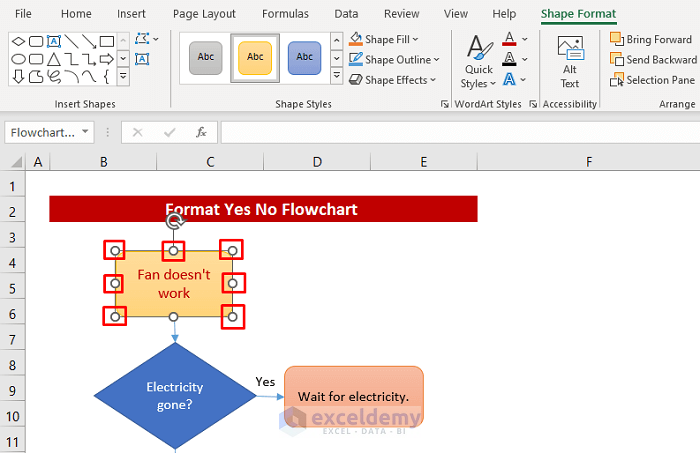
Format Shape Size
See how to change the size of a shape. You won’t need any command, the mouse is enough to do it.
Steps:
- Click on any shape, we get eight small circles around the shape as shown in the image below. Click and drag any circle, the shape size will change along with that direction.
Dragged toward the right direction.
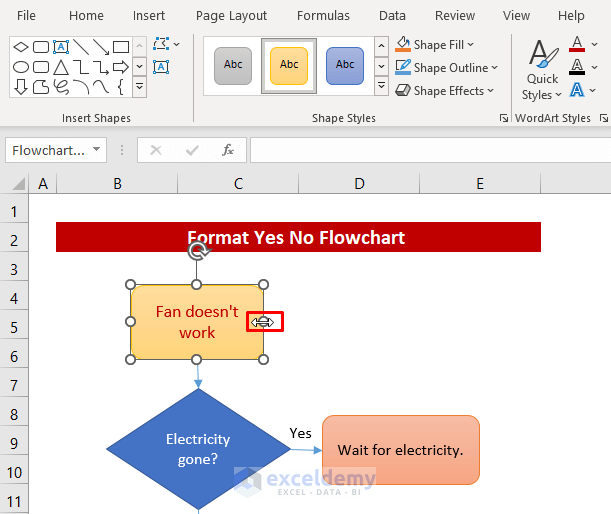
The shape size increased in that direction.
Download Practice Workbook
You can download the free Excel workbook from here and practice on your own.
Related Article
<< Go Back to Flowchart in Excel | Learn Excel
Get FREE Advanced Excel Exercises with Solutions!
