Suppose we have a dataset containing some months and the temperature in degrees in two locations. The dataset has no titles. Let’s add some.
Method 1 – Making a Title Directly in a Cell
This the simplest and usually most suitable method to make titles.
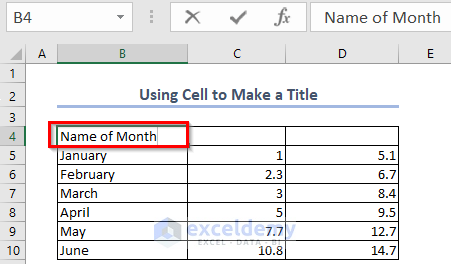
Step 1 – Entering the Title
- Double-click on cell B4.
- Enter “Name of Month” in the cell (an appropriate heading for the data in the column below).
- Press ENTER.
- Do the same thing for the cells C4 and D4, naming them Temp in London (deg C) and Temp in New York (deg C).
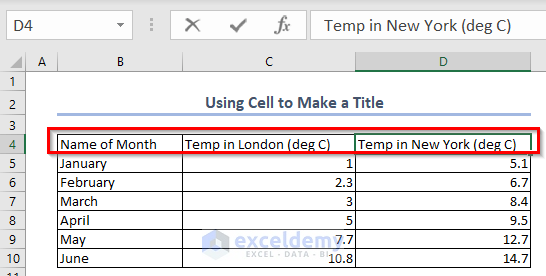
We have titles in row 4.
Step 2 – Formatting the Titles
After adding titles, it’s important to format them to stand out from normal data cells.
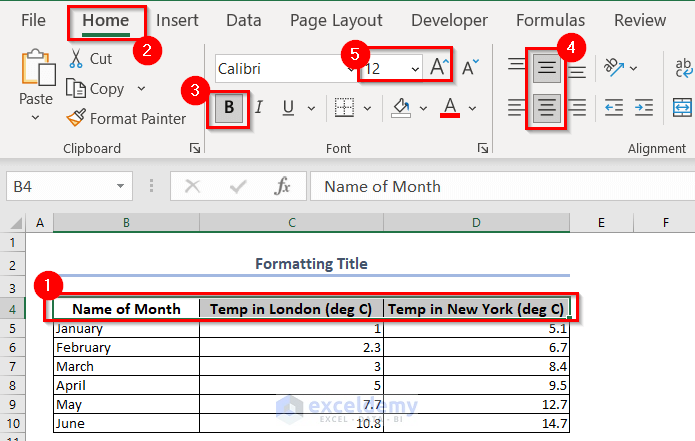
- Select the titles i.e. cells B4:D4.
- Go to the Home tab.
- Select Center and Middle alignment.
- Click B on the Font group or press CTRL+B to make the titles bold.
Now, let’s change the font size.
- Select cells B4:D4 again.
- Go to the Home tab.
- Select Font size option.
- Select a font size (Here, we used 12).

We can also add a background to the title cells.
- Select the cells from B4:D4.
- Go to the Home tab.
- Select the Fill Color icon.
- Choose a color (Here, we used Light Blue).
Our titles are done.
Read More: How to Center a Title in Excel
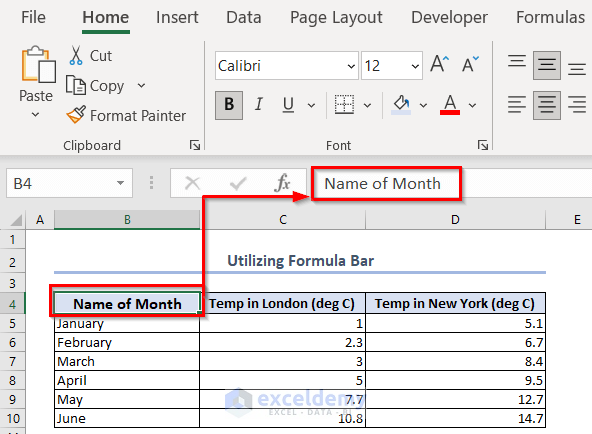
Method 2 – Using the Formula Bar to Make a Title
We can add titles in the Formula Bar instead of in the cell.
Steps:
- Click on cell B4 cell (single click).
- Click on the Formula Bar.
- Type Name of Month, the required title, in the Formula Bar.
- Repeat the process for cells C4 and D4 typing Temp in London ( deg C) and Temp in New York ( deg C) respectively in the Formula Bar.
- Format the titles following Step 2 of Method 1 above.
The output should look like this:
Method 3 – Using the Header & Footer to Create a Title
We can add headers for all the worksheets, including adding a logo/picture along with titles, using the Header & Footer feature of Excel.
Steps:
- Select any cell.
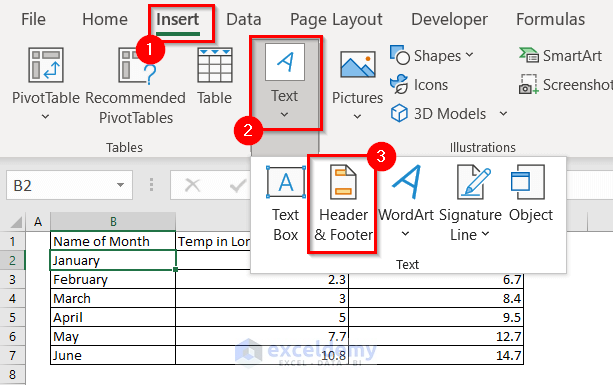
- From the Insert tab, select Text.
- Choose Header & Footer.
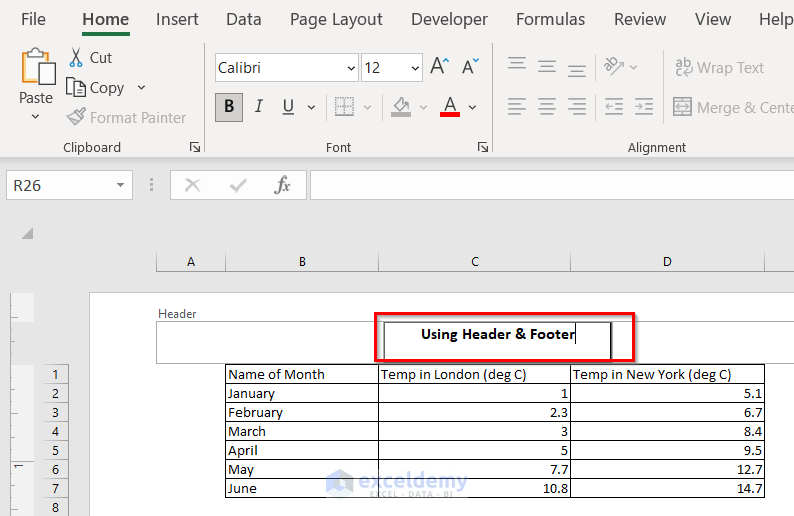
- Click on Add header.
- Type the title for your worksheet.
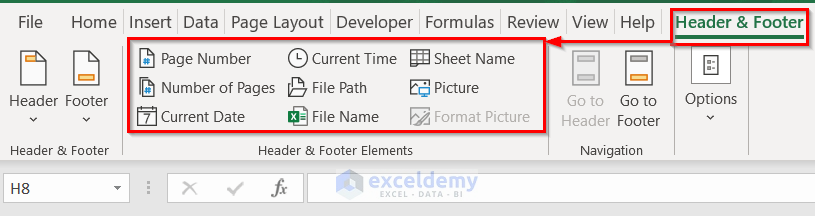
- If you want, add other elements from Header & Footer Elements in the Header & Footer tab.
To display the Header & Footer tab, click on the Header box.
Centering a Title with an Appropriate Cell Style
The style we’ll use for the main title in our dataset is Centering Title.
Steps:
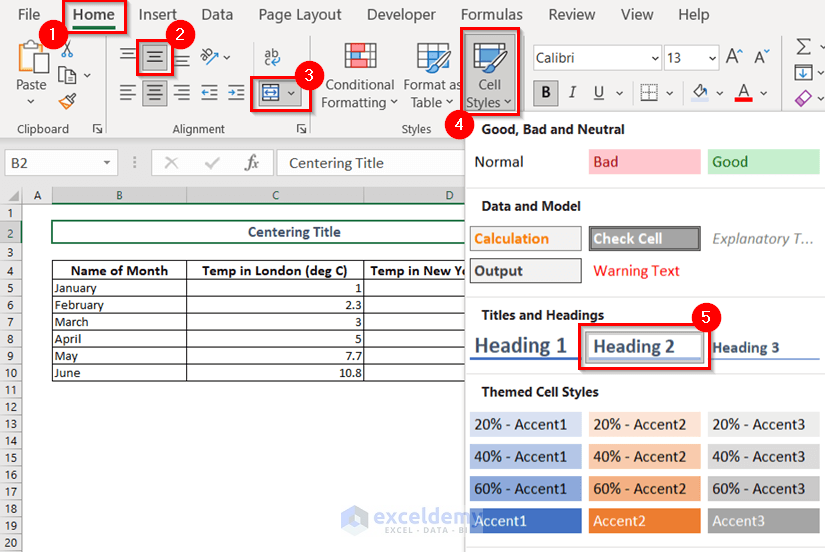
- Select cells B2 to D2.
- Go to the Home tab.
- Select the Center and Middle alignment options from the Alignment box.
- Select Merge & Center.
Cells B2:D2 will be merged, with the title centered within the merged cell.
- Select the merged cell.
- From the Home tab, click on the Cell Styles option.
- Select Heading 2 (or any option from the Titles and Headings group as desired).
Our title will look like this.
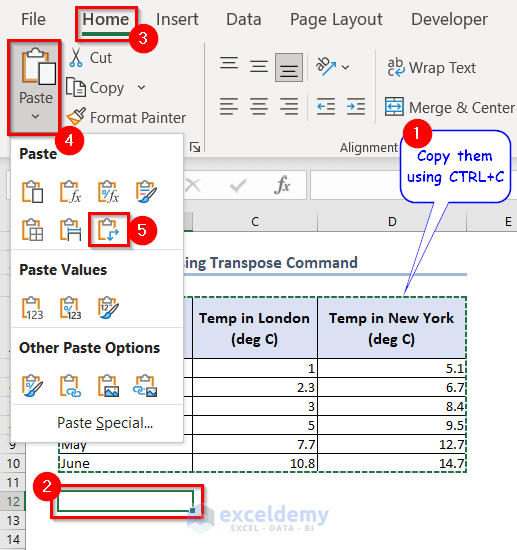
Using Transpose to Convert Column Title to Row Title
We can easily convert column title to row titles or vice versa by using the Transpose command.
Steps:
- Select the whole dataset.
- Press CTRL+C.
- Select the cell where the transposed titles will be placed (here, B12).
- Go to the Home tab.
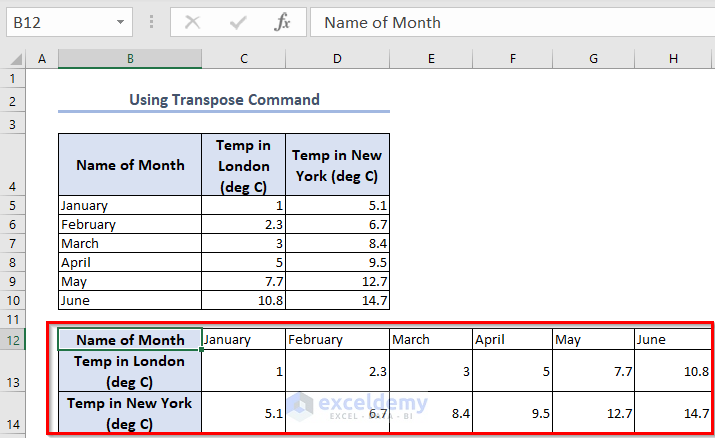
- Select the Transpose (T) icon from the Paste options.
All the Column Titles are converted to Row Titles, and the whole dataset is transposed.
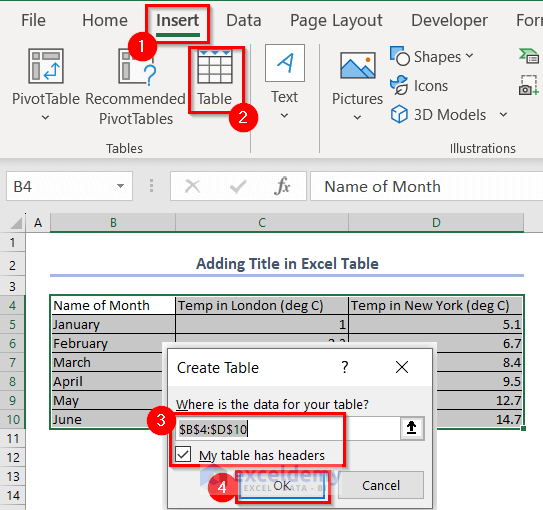
How to Add a Title to an Excel Table
There is a built-in option to add titles to Excel tables: Excel counts the column headers as the titles. This feature can be enabled or disabled easily.
Steps:
- Select the data.
- From the Insert tab, click on Table.
- In the Create Table dialog box that opens, check My table has headers (or uncheck to disable table headers).
- Click OK.
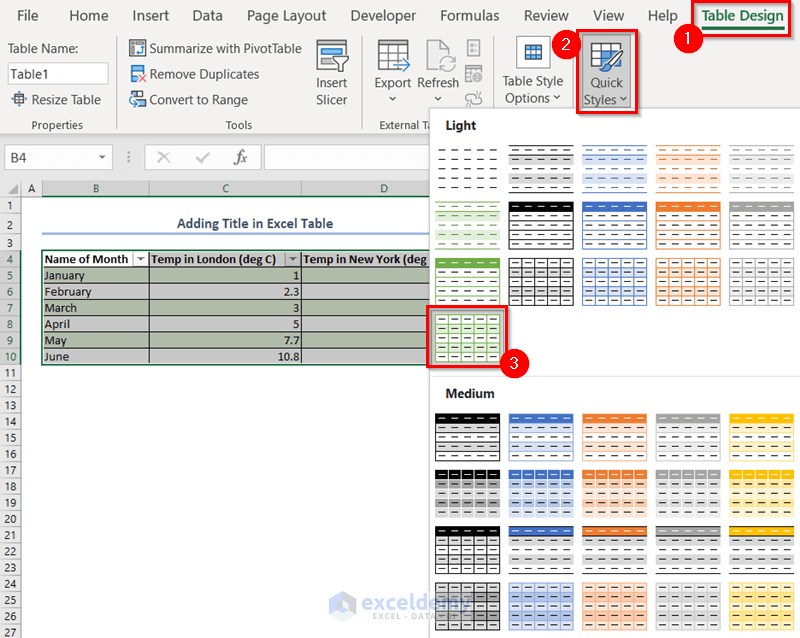
- Then from the Table Design tab, select a color combination.
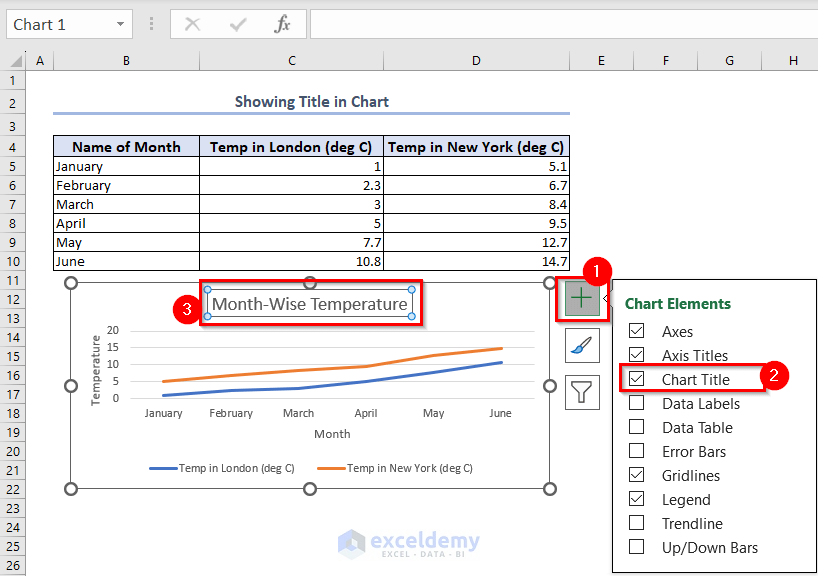
How to Include a Title in a Chart
Steps:
- Click on the chart.
- Click on Chart Elements (Plus sign).
- Check Chart Title.
- Double click the text input box.
- Type the title for the chart.
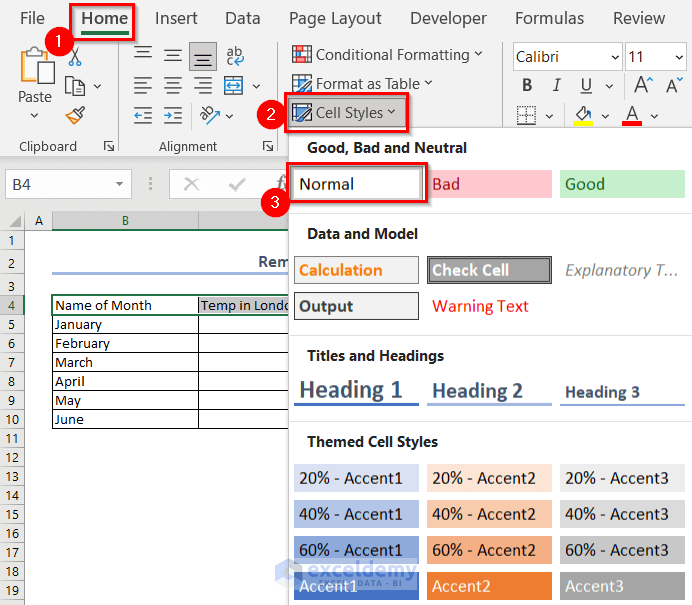
How to Remove Titles
Steps:
- Select the title cells.
- From Cell Styles, press Normal.
The cells become like ordinary data cells.
Things to Remember
- While following Method 1, make sure that the cells are double-clicked. A single click will not open the cell for writing and editing, it will just select the cell.
- We can change the Font Type, Color of the font, and create Borders of different types for the titles from the Font box in the Home ribbon.
Frequently Asked Questions
1. Can I resize the title in Excel?
You can increase or decrease its size by changing the Font size under the Home tab. Or you can change the row height or column width using the cursor.
2. Where is the title bar in Excel?
The title bar is located at the very top of the Excel window, above the ribbon, and below the menu bar (if it is visible). The title bar displays the name of the Excel application and the name of the currently open workbook.
3. How do I display the title bar?
Go to the rightmost upper corner of the Excel workbook >> click on Ribbon Display Options >> select Show Tabs and Commands.
Download Practice Workbook
Related Articles
- How to Make a Title Page in Excel
- How to Merge and Center a Title in Excel
- How to Insert Subtitle in Excel
<< Go Back to Title in Excel | Worksheet Formatting | Learn Excel
Get FREE Advanced Excel Exercises with Solutions!
