Method 1 – Disable Scroll Area to Limit Columns in Excel.
STEPS:
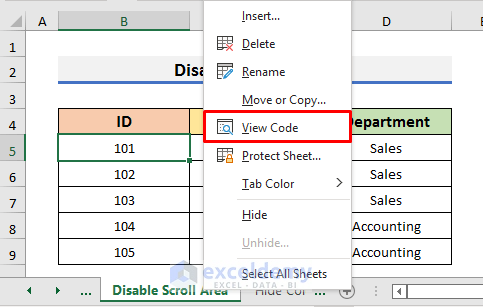
- Right–click on the sheet name to open the Context Menu.
- Select View Code from there. It will open the Visual Basic window.
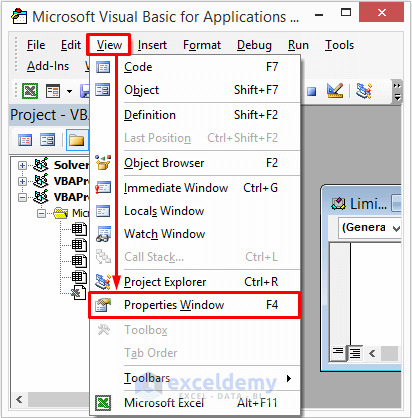
- In the Visual Basic window, click on View. A drop-down menu will appear.
- Select Properties Windows.
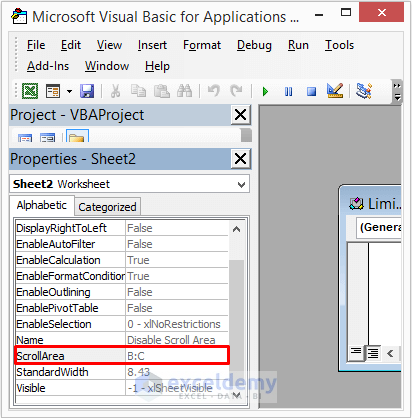
- In the Properties Window, go to the ScrollArea field and type the columns you want to operate.
- Operate on Columns B and C. So, we have typed B: C in the ScrollArea field.
- Press Ctrl + S to save the changes.
- Close the Visual Basic window.
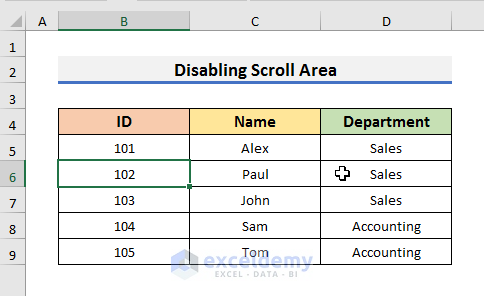
- If you go to the dataset, you can operate on Columns B and C. You won’t be able to scroll in any other columns.
Method 2 – Limit Columns by Hiding
STEPS:
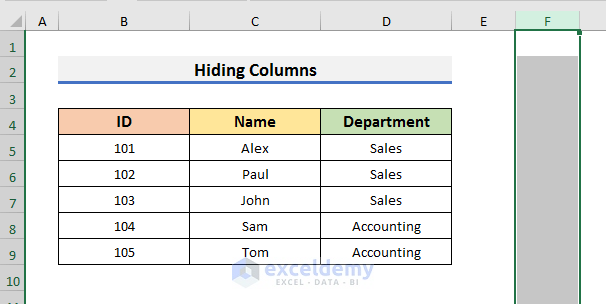
- Select the column from where you want to start hiding.
- That is Column F.
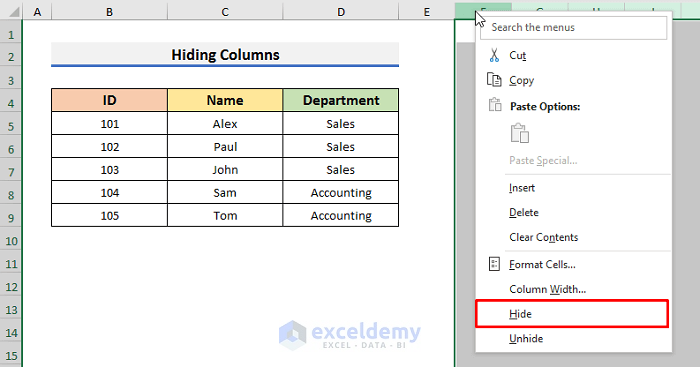
- Press Ctrl + Shift + Right Arrow to select all the columns from Column F.
- Right–click on the top of the selected columns to open the Context Menu.
- Hide from there.
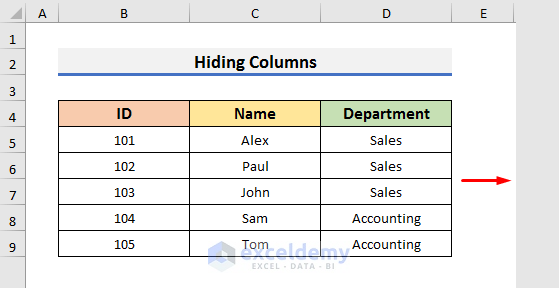
- All columns will be hidden except Columns A to E.
Method 3 – Change Width to Limit Columns in Excel
STEPS:
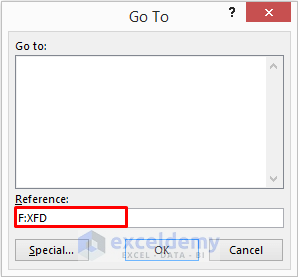
- Press Ctrl + G to open the Go To dialog box.
- Type F: XFD in the Reference box.
- F is the column from where we want to start changing the width and XFD is the last column of the Excel sheet.
- Click OK.
- Right–click on the selected columns to open the Context Menu.
- Select Column Width from there. It will open the Column Width dialog box.
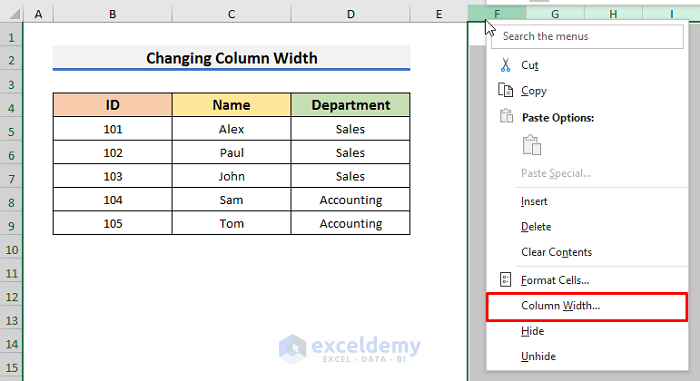
- In the Column Width dialog box, type 0 in the Column width box.
- Click OK to move forward.

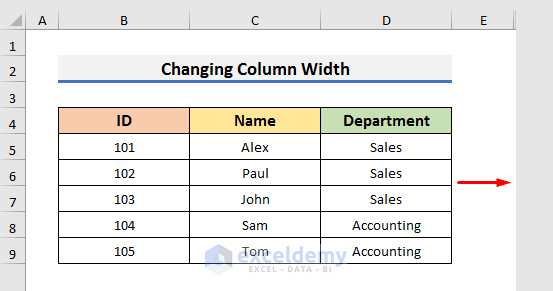
- The Excel sheet is limited to Columns A to E only.
Download Practice Workbook
Related Articles
<< Go Back to Row and Column Limit | Rows and Columns in Excel | Learn Excel
Get FREE Advanced Excel Exercises with Solutions!
